Introduction
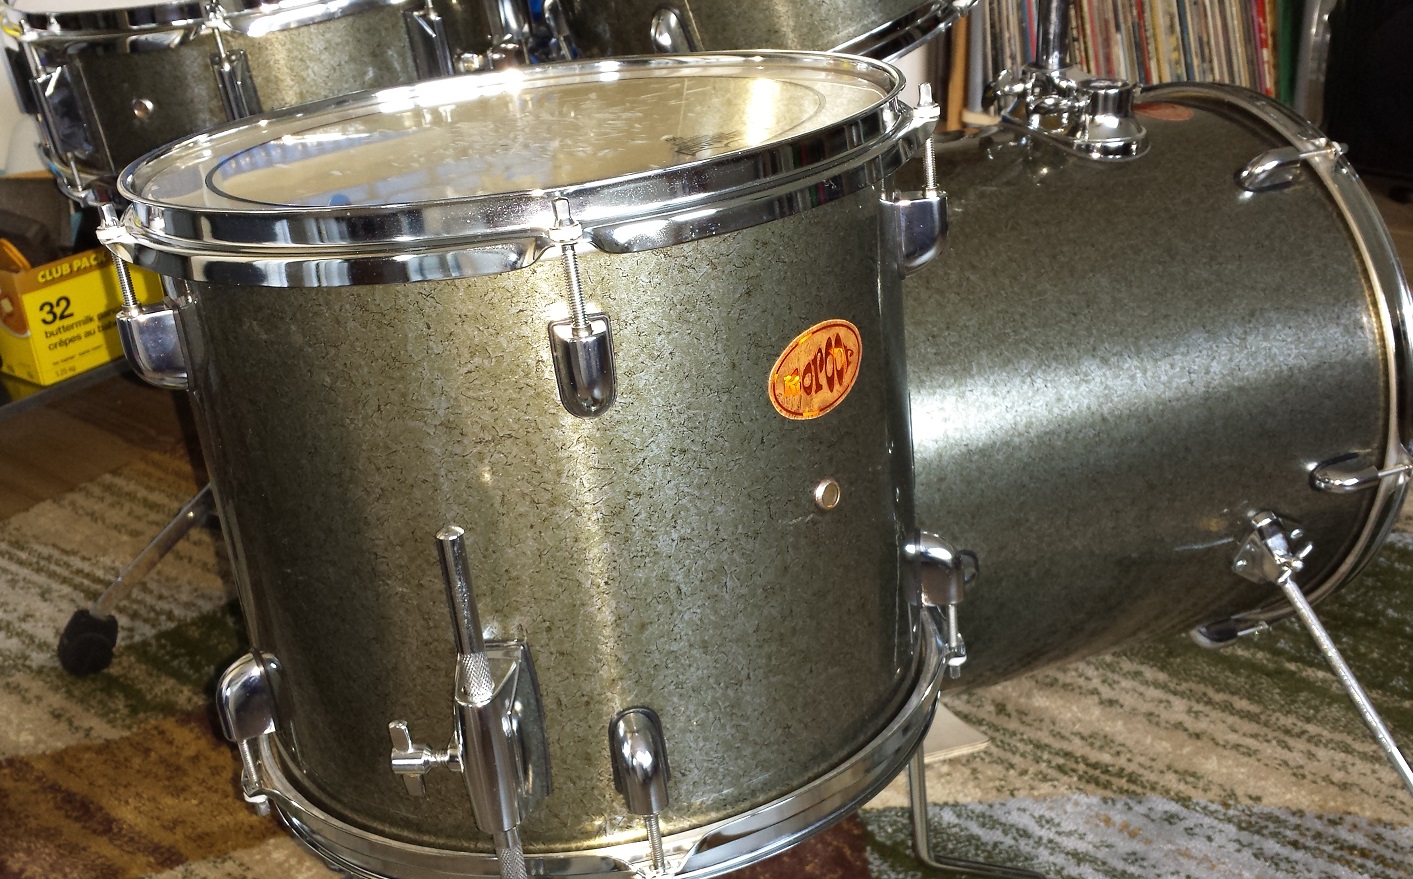
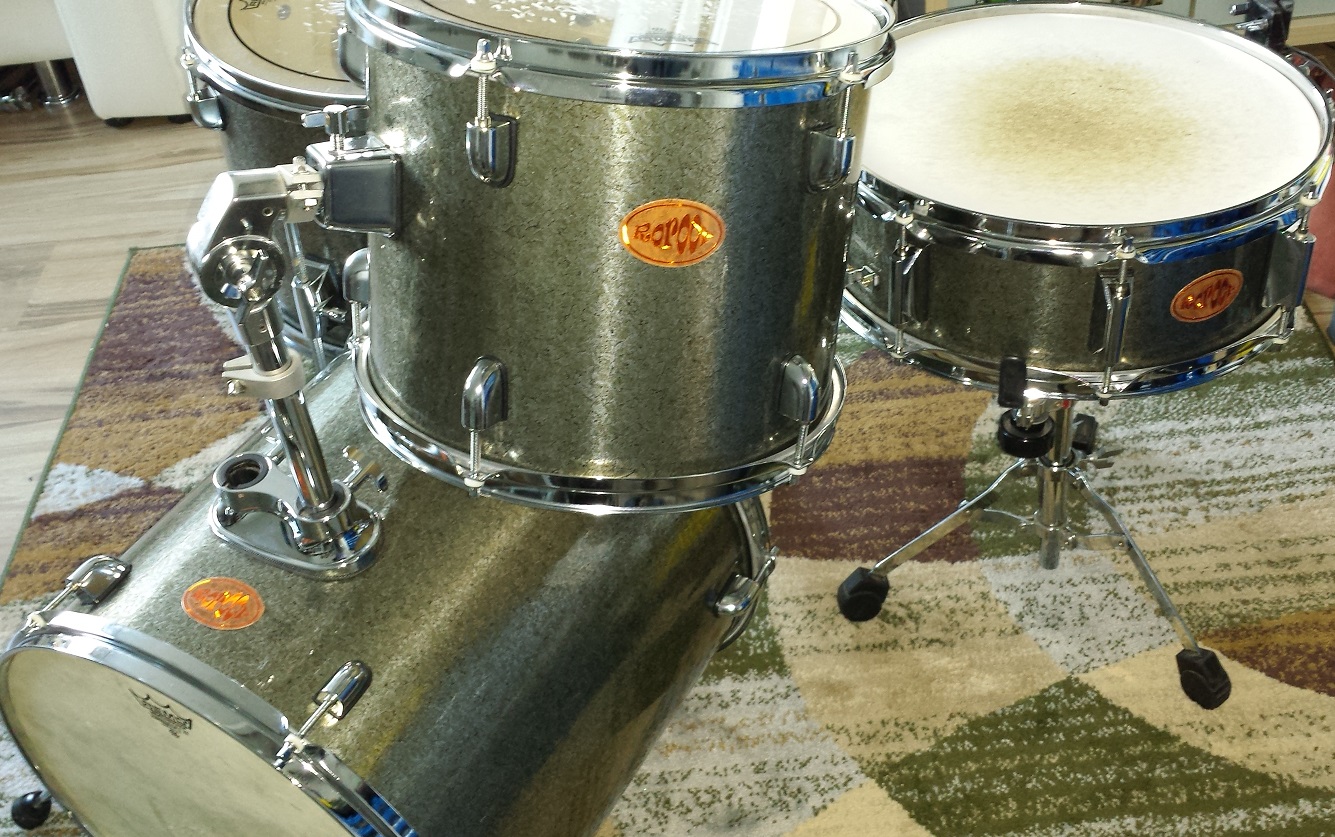
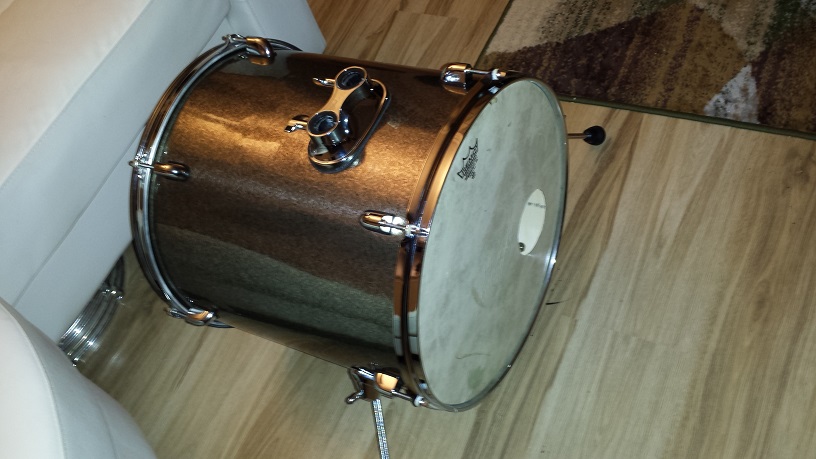
Just as I had run almost dry on shells, a buddy shows up on my door step. Check this out, he proclaims; “Someone took the bass drum from this kit for a double bass set-up and gave me the rest of the kit for next to nothing!” Want it? So we worked out a deal on the drums and here we go again. Time for another lil’ bop kit. There are no badges on these drums, just a wine red metallic wrap, nice hardware with isolation gaskets and real nice sounding shells. Even without tuning, they have a distinctive musical, singing note with lots of sustain. This should be fun. I’d been eyeing a fairly calm, very tasteful wrap from Walopus for a while, called “Purlesque Graphite Pearl“. These drums will be perfect for a tasteful DIY Compact Bop Kit.
DIY Compact Bop Kit
Let’s get started on a Tasteful DIY Compact Bop Kit
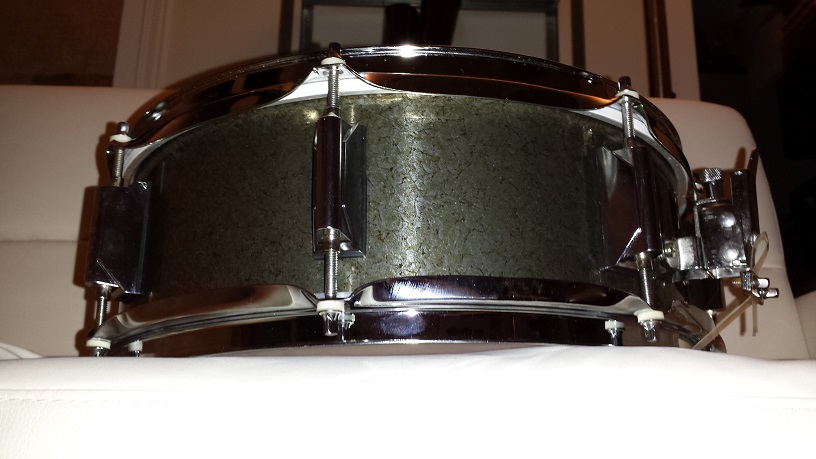
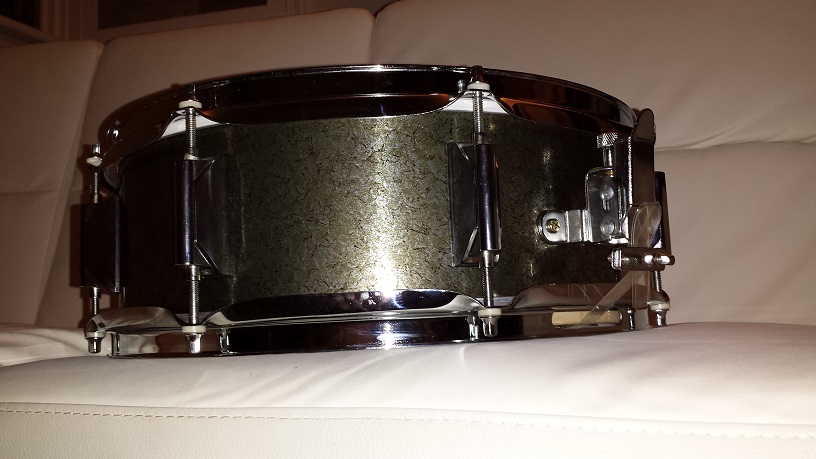
The Snare
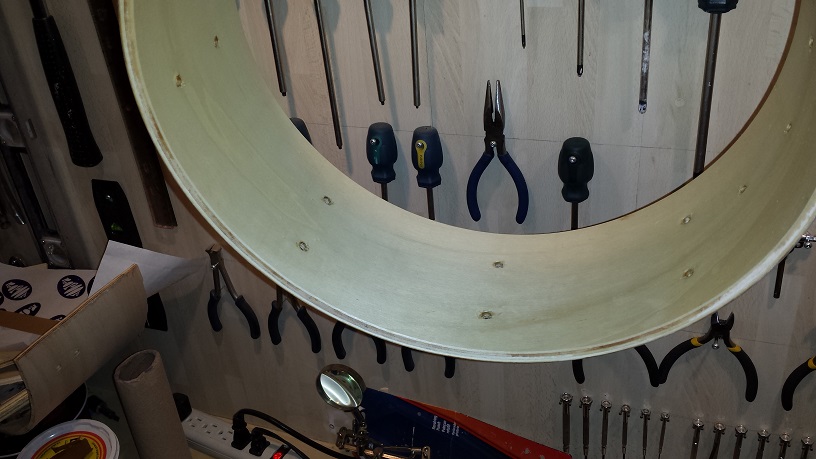
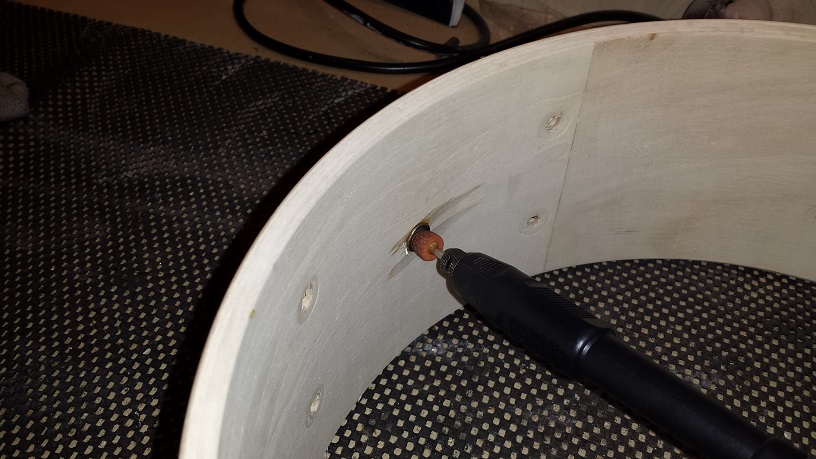
All the metal parts get removed and tossed in a coffee can. My regular parts container of choice. This is another kit with pesky double-flanged air vent grommets so the Dremel-type tool gets another workout. Once the inside flange is ground off the vent can be popped out, joining the other parts in the can. A bit of coziness from the heat gun softens up the adhesive holding the wrap in place so it may be peeled off. See the wrap removal section of our Drum Wrap Instructions page for further instrux.
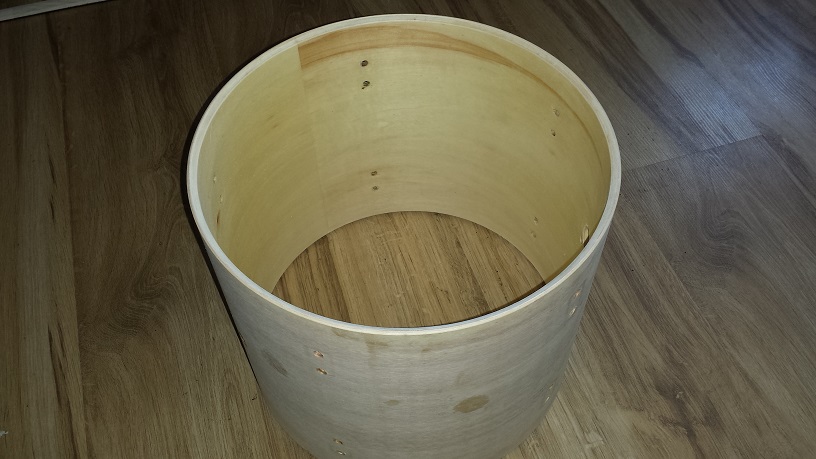
Danish Oil as an interior sealer worked really well for our DIY Bop Kit project, so I decided to use the same treatment for this DIY Compact Bop Kit as well. Two coats with 24 hours of dry time in between leaves the snare shell still looking natural but with a warmer tone to the birch? poplar? basswood? shell interior. I can’t tell what the wood species is. They sound like birch but look more like poplar to me, but I’m no expert. keep in mind to mask the bearing edges before sealing the interiors, unless you plan on sanding or re-cutting them.
Once the Danish oil is fully cured I bring the snare shell outside in the crisp Canadian fall to sand the bearing edges. This is to remove any Danish Oil overspill and also ’cause I like to make the bearing edges silky smooth and with a bit more roundness to the outside bevel. Not enough to be considered a real round-over, but enough for a slight increase in head-to-shell contact area.
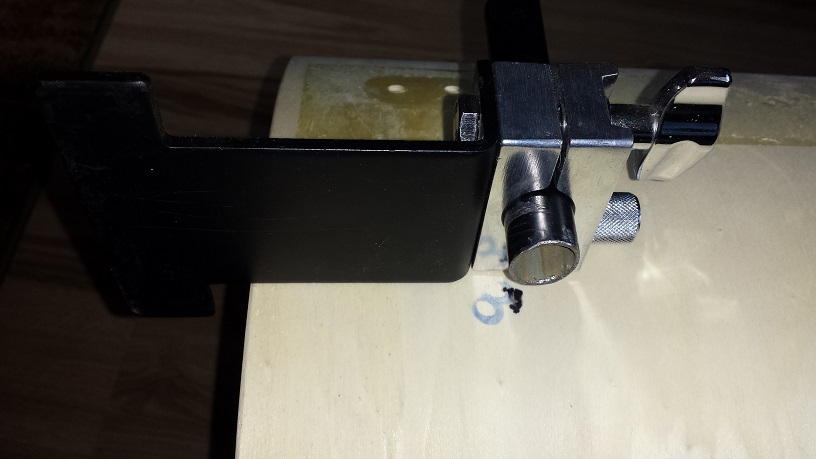
With the sanding out of the way, we can move on to wrapping. We follow the process for “Method 4” of our Drum Wrap Instructions page. Since the 14″ shell is large enough to fit my corded drill inside, I use this to drill out the holes through the wrap. It can also be done with a knife but it’s faster and easier with the drill.
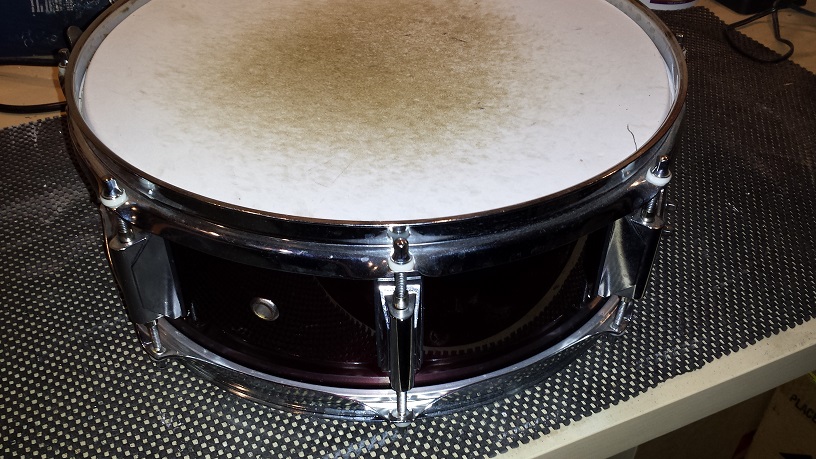
Now only the re-assembly remains. Try not to over-tighten the lug screws, but don’t be afraid to tighten the other screws fairly firm.

Tom Tom Time
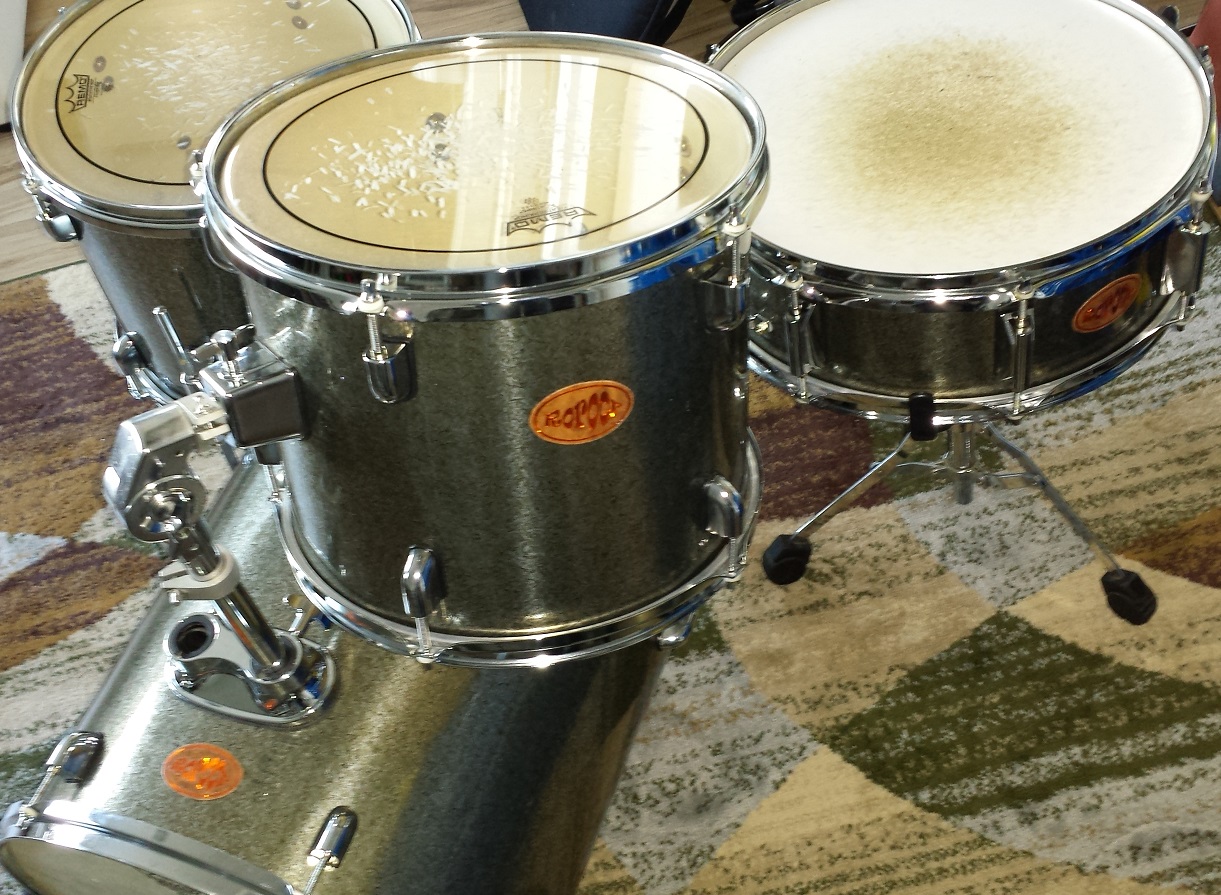
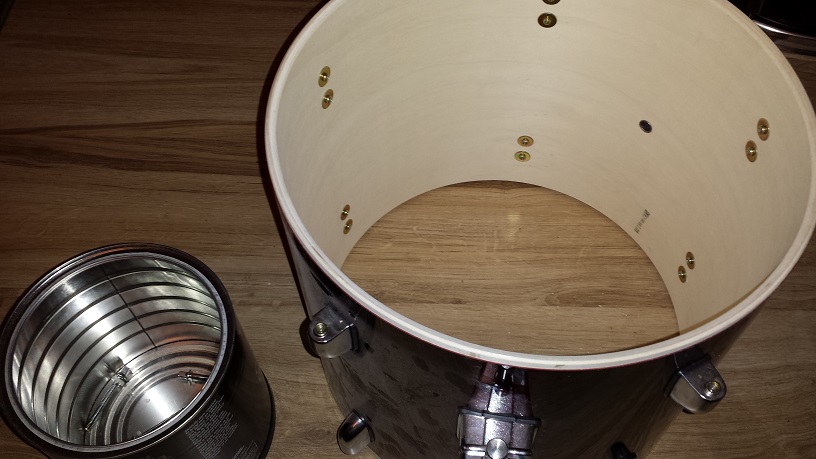
Good thing I have a lot of empty coffee cans. All the metal parts, including the stubborn air vent grommet go in the coffee can. Well except the counter hoops of course. usually when we make a little bot kit around a 16″ bass drum we go with a 10″ tom tom. These drums sound so nice however, that I don’t want to split them up and the 12″ will tune really high before starting to choke. Thus, this kit will have a 12″ tom tom and a 13″ floor tom.
Next the wrap comes off in the same manner as with the snare above. Slop on a coat of Danish Oil and let it dry overnight. Then another coat of Danish Oil and another good night’s sleep before sanding the bearing edges. See the snare above for more detail.
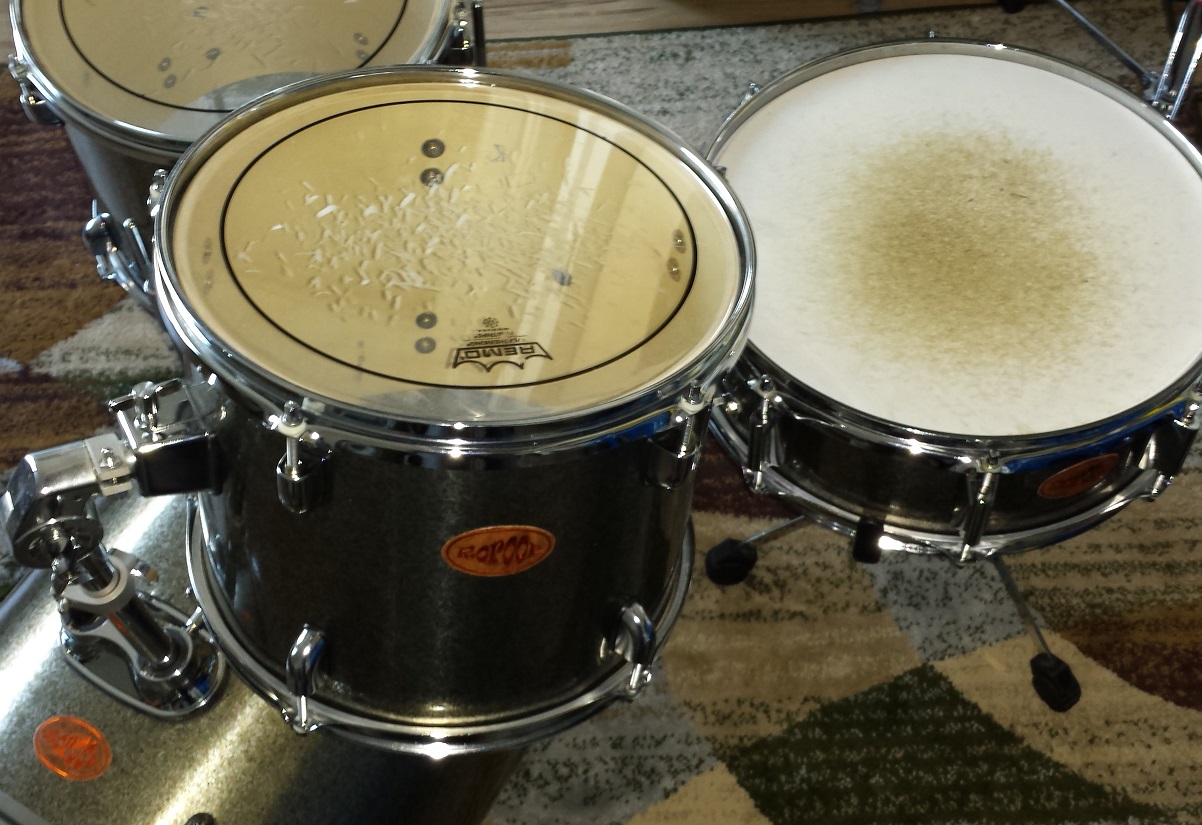
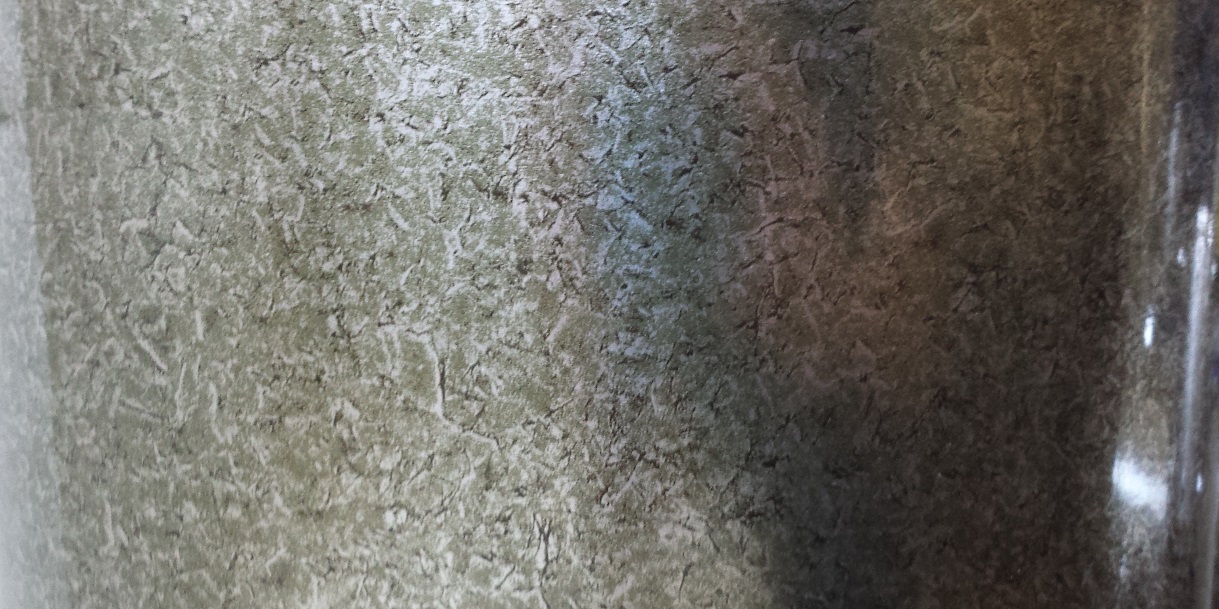
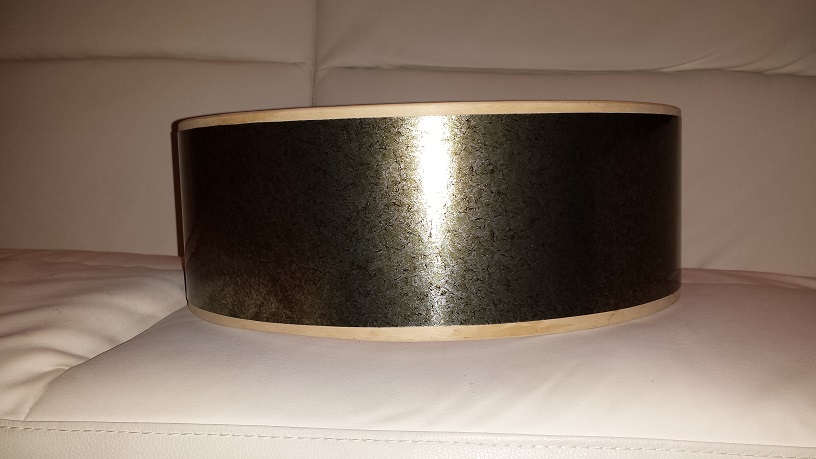
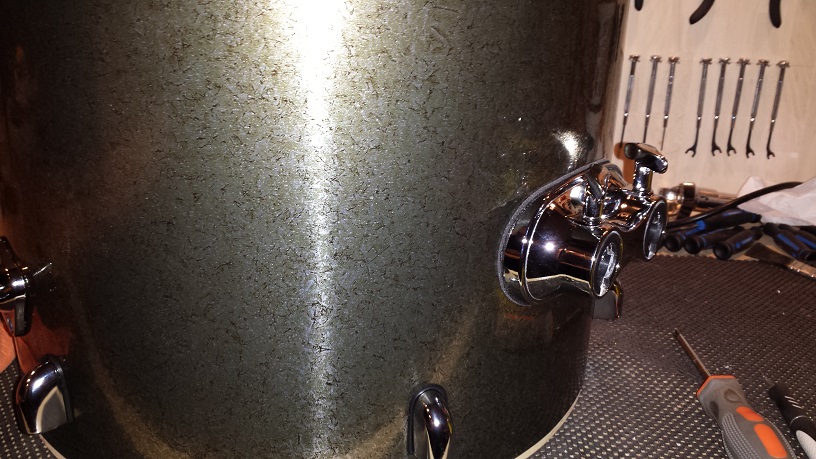
I’m really diggin’ this wrap I chose. It doesn’t have nearly the same “mystique” about it in the pictures as it does in real life. Once the tom is wrapped up, we can return the metal parts and tune it up. With the sealer and attention to the bearing edges it sings even fuller and richer than it did before.


The Floor Tom
The only difference in the process for the floor tom is that we need to drill holes for the leg brackets. Start by positioning your brackets around the shell to get them evenly spaced and to ensure they don’t interfere with anything else. If you’ll be adding a badge at some point you need to keep in mind the badges future position. On some drums a floor tom leg hides the wrap seam or even the vent hole. Some manufacturers place the badge by, or even integrated with, the vent hole. If you have a 6-lug tom it’s easy to use the rows of lug holes as a guide.
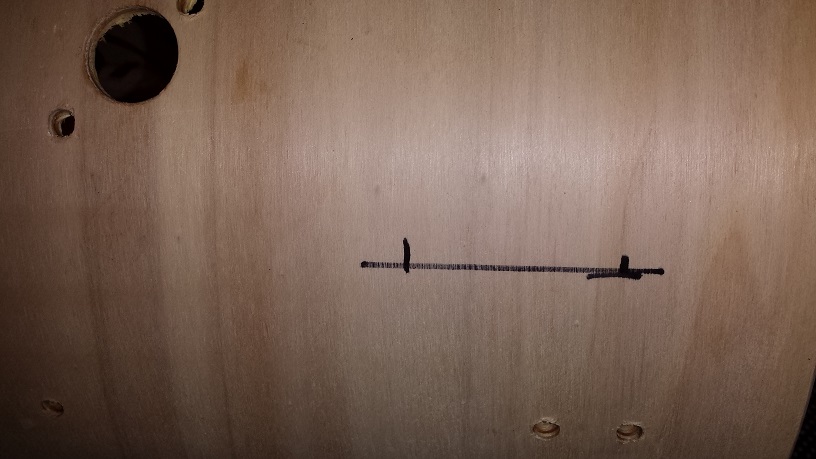
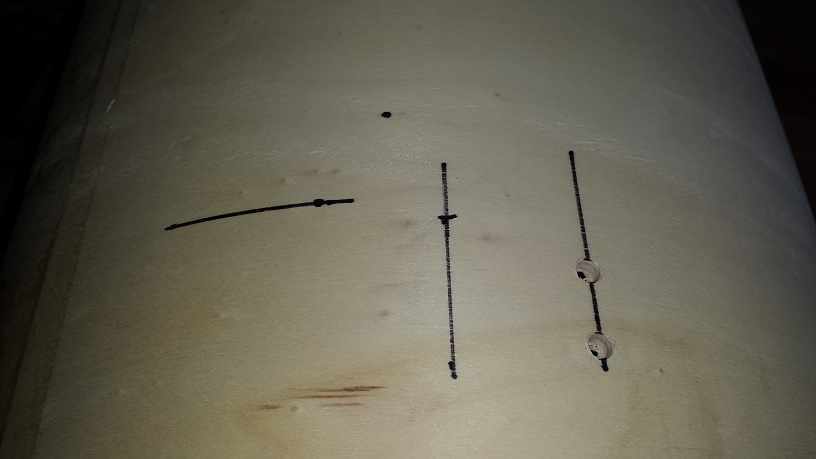
Next determine the distance from the bottom edge. Since a 13″ shell is shorter than a 16″, generally the brackets need to be placed lower to allow for more overall height. I usually place the bottom hole about 5 cm from the bottom, so that’s where I make my first mark. Then I use a square to draw a straight vertical line up the shell side. Mark the second hole according to the distance between the screw posts on the bracket.
Using a brad point bit in a corded drill, I start by gently drilling from the outside until the point pokes through. Then drill the rest of the hole from the inside. This way any break-through is avoided.
Proceed as with the tom tom above.

The Floor Tom to Bass Drum Conversion
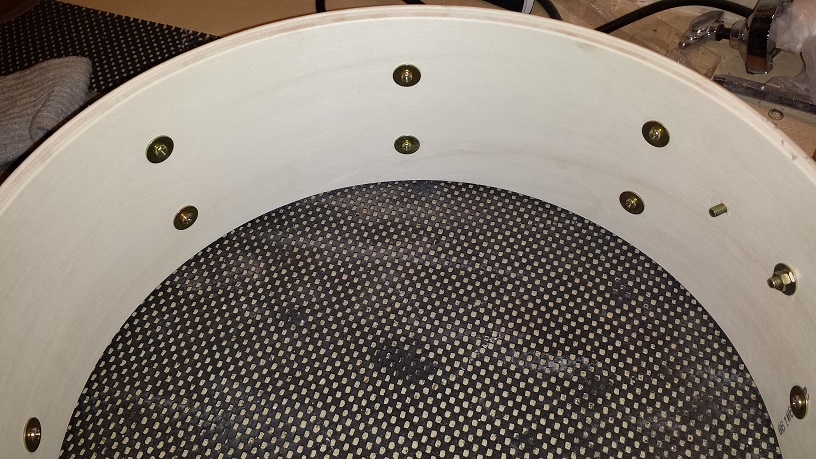
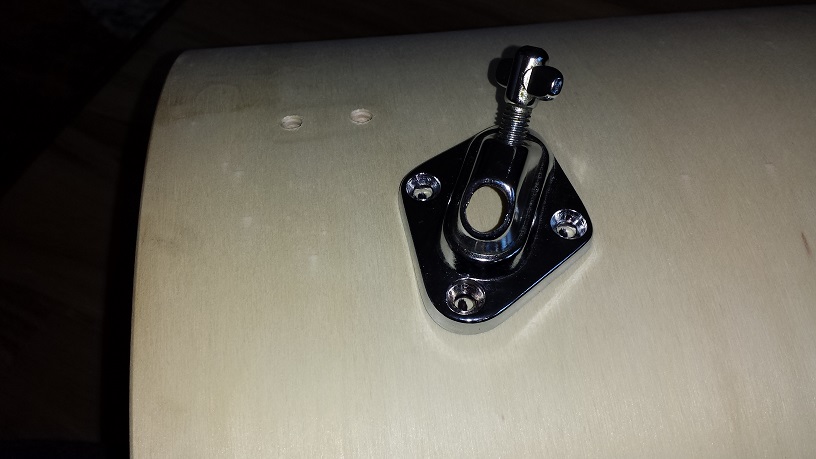
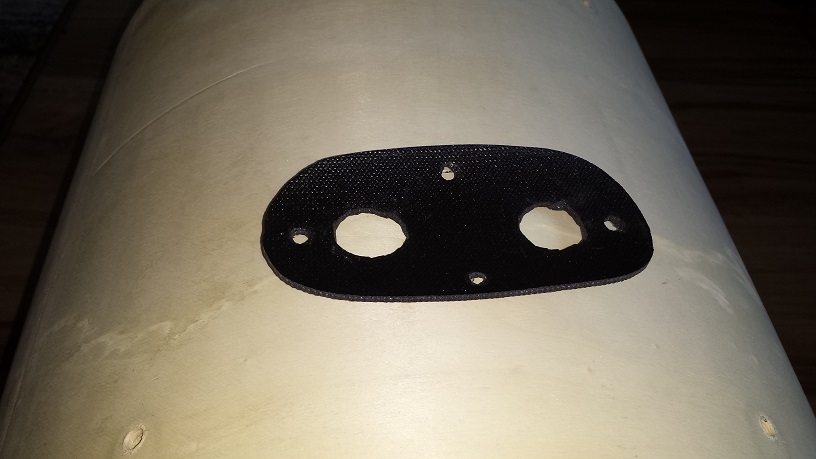
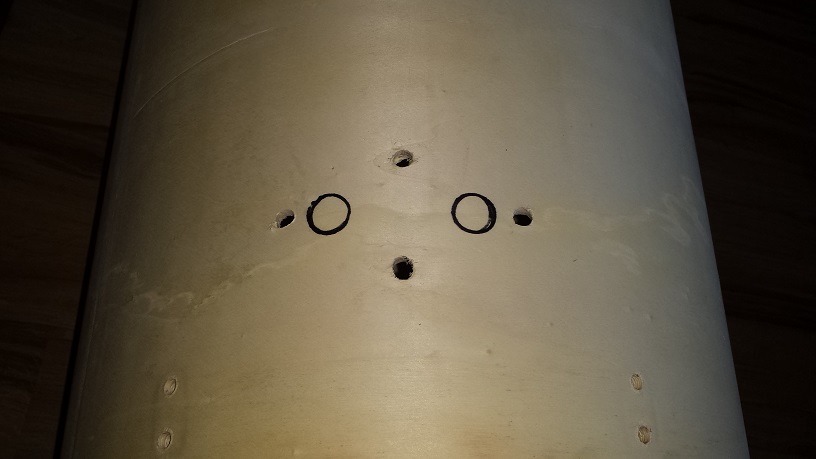
Converting the floor tom to a bass drum involves a fair bit of measuring, marking and drilling. We’ll start with the tom mounting platform. To make it simpler, I’ll make the DIY Isolation Gasket for it first. That way it can be used as a template. Start with making the marks at roughly the right positions, then using the lines of the lug holes and the edge of the drum as reference make the correct marks straight and centred. Finally use the BatMan mask, I mean ISO gasket to trace the pass through holes.
Drill the screw holes using a brad point bit in a corded drill. Cordless drills are generally speaking too slow to get a nice clean hole. Drill from the outside until the brad point pokes through. Drill the rest of the hole from the inside. This way there is no breaking through of the last ply.
The pass-through holes are drilled in the same manner, only with a 1″ spade bit and at slower speed.
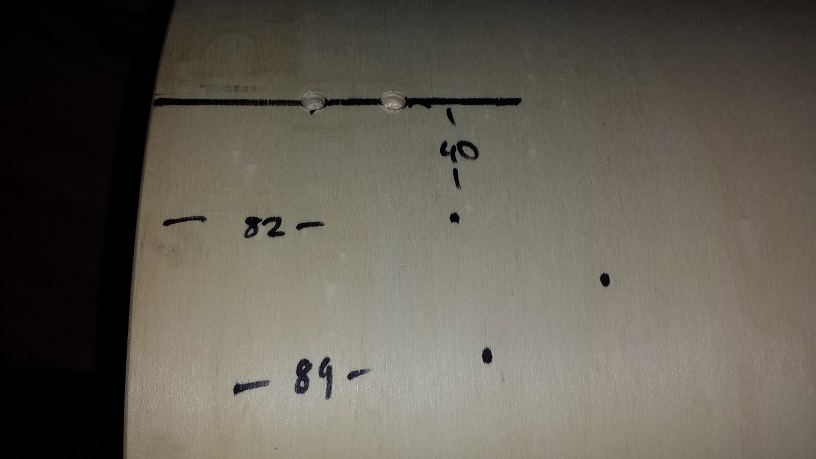
Next up are the spurs. The first one is fairly easy. Simply hold it in place on the shell, moving it around to find a position and angle that seems balanced. Mark the screw holes. In order to mirror the position on the opposite side of the shell, we measure the distance from the mark to the drum’s edge. Do this for the two holes closest to the edge. Next make a straight line through the closest pair of lug holes and measure the distance from the drill marks to this line. Now you have X and Y references that can be duplicated on the other side. Proceed with drilling as above. Keep in mind that the spur passes through at an angle, so either drill an angled hole with utmost precision, or simply drill a big hole like I did.
For this kit we’ll be making a standard “Jungle-Gig”-style riser. Therefore I use an actual Pearl JG16 riser as a template to determine the position of the bracket. Not that it actually matters since we can make the riser to fit the dimensions used, but I like to follow some sort of standard so that parts are interchangeable.

Once the rough position is determined I once again use the edge of the drum and the adjacent lug hole lines as reference points to ensure the marks are centred and straight. Drilling is again performed in the same manner as before.
Now that the former floor tom, now bass drum shell is adequately perforated, we can proceed with applying a couple of coats of Danish oil in the same manner as with the other drums above.
Once the second coat of sealer is fully cured we can move on to sanding the edges. The same process as for the other drums also applies to the bass drum.
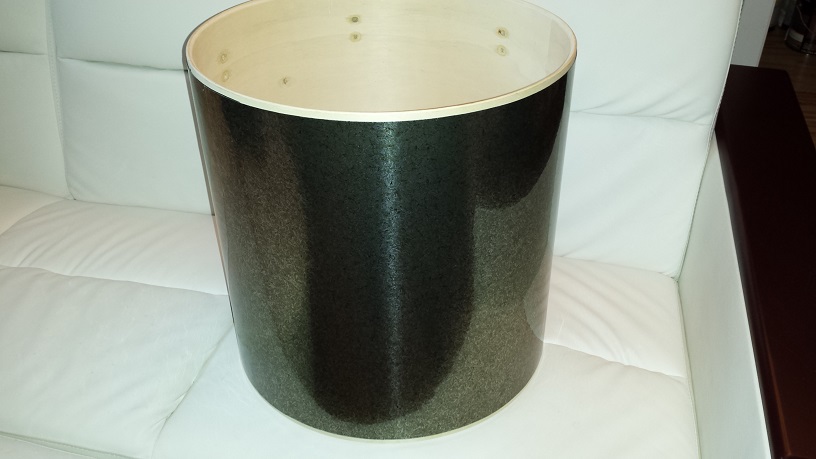
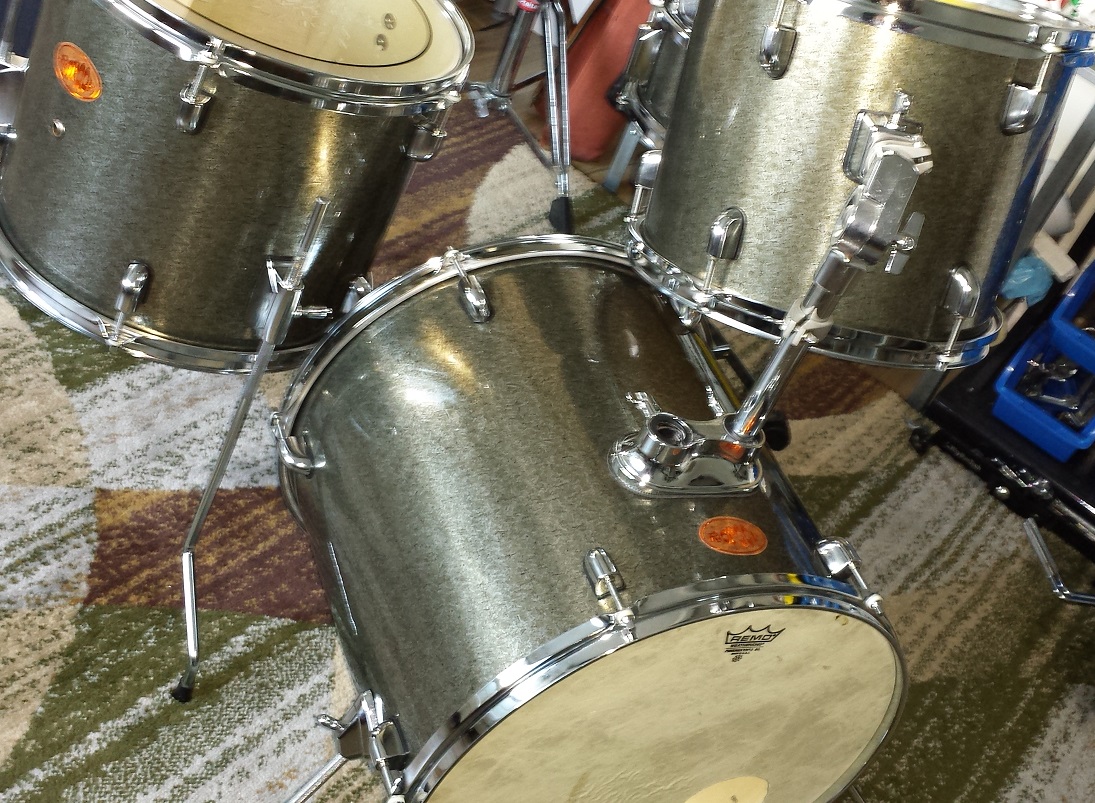
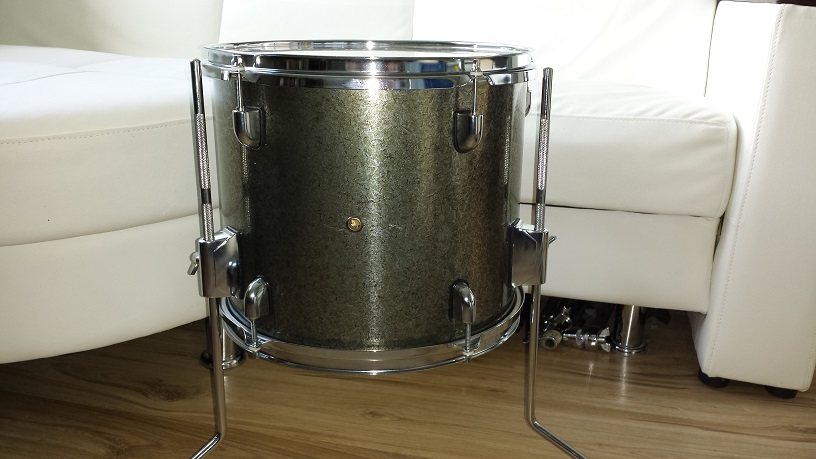
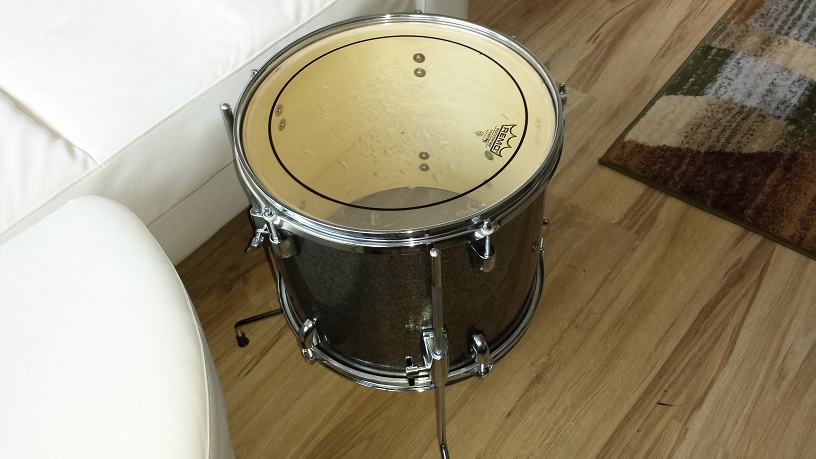
Let’s see…. what’s left? Oh yes. The bass drum now get’s wrapped in the same manner as the other drums and all the parts are returned to where they came from, except of course for the floor tom leg brackets. Instead we have the addition of the tom mounting platform, spur brackets and the bracket for attaching the riser. Which reminds me, I still have to cobble together another riser for this kit. I have an idea for a new super simple design but will cover this on the DIY Bass Drum Risers page.


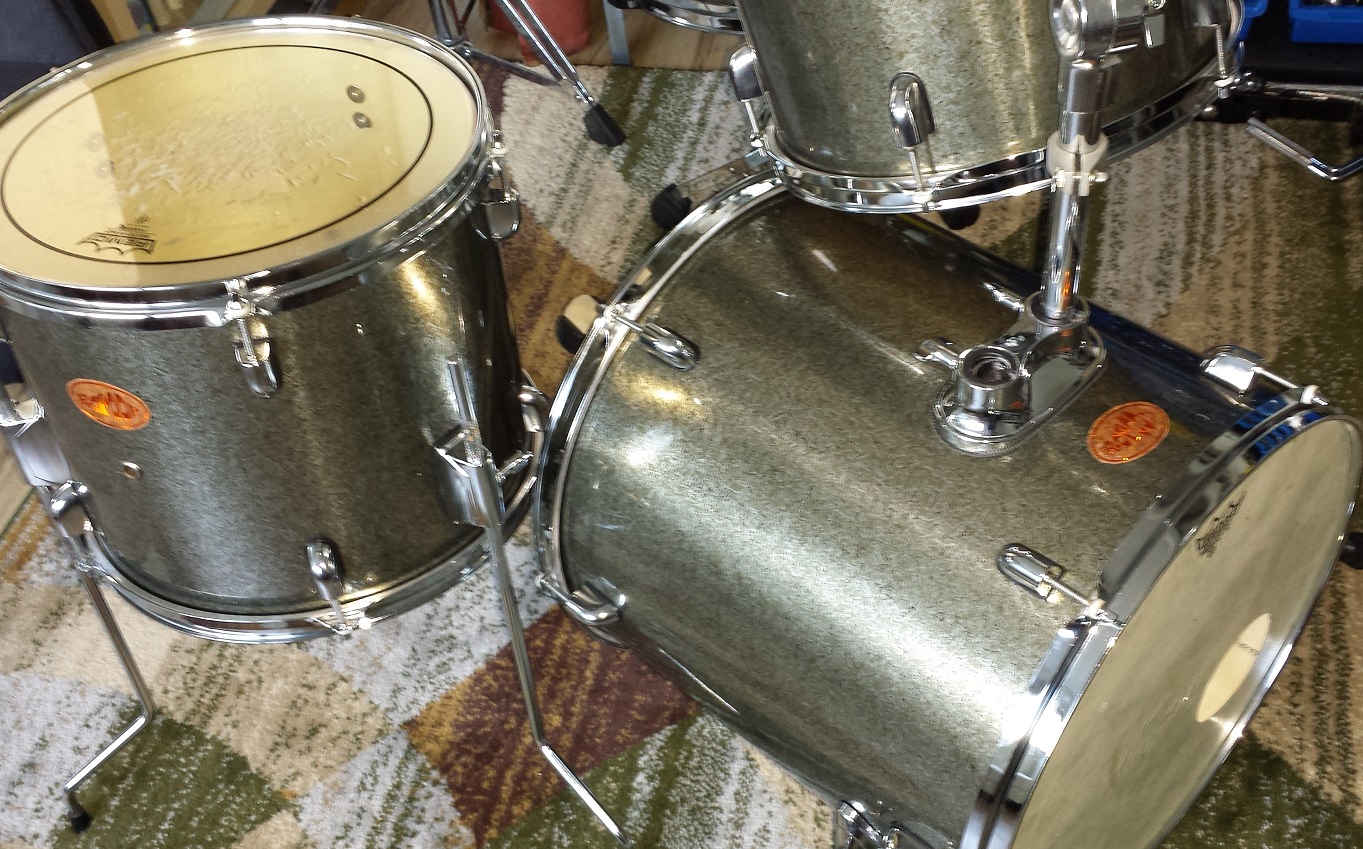
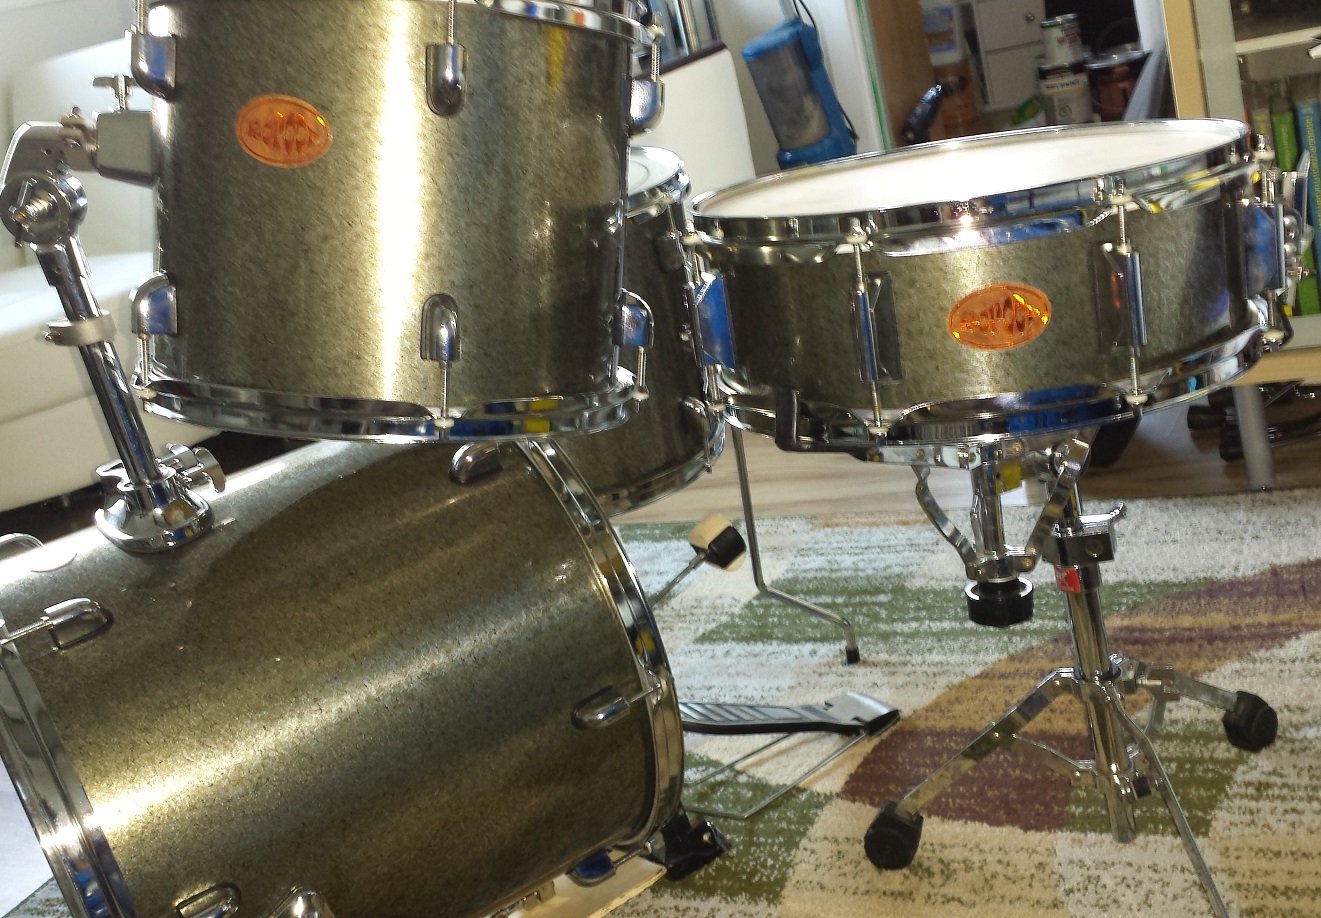
The Finished Tasteful DIY Compact Bop Kit