Step-by-Step, Illustrated Instructions to make a Low-Cost, Height-Adjustable, Super-Portable and Ultra-Compact DIY Cocktail Drum Kit.
Introduction
Contrary to what many people may think, making your own DIY Cocktail Drum Kit is neither difficult nor costly. With modest handyman skills, some basic tools, a couple of orphan toms and some additional hardware I’ll show you how to get a kick-ass result. Cocktail style kits are by default compact as the the bass drum and floor tom are both combined on a footprint no larger than the diameter of the floor tom shell used. This project also takes portability to a new level by making the bass / floor tom double as a carry-case for the entire kit.
Materials Required: 1 Complete floor tom (We use a standard 16″ in this example, but a 14″, or 15″ is suitable as well.), 1 Rack tom (This will become both the tom-tom and the snare. Our example uses A 12″ tom), 3 additional tom leg brackets, 1 snare wire “cluster”, 1 internal damper like those found in older drums (Not entirely necessary), A handful of miscellaneous mounting hardware, and a pedal suitable for vertical stroke conversion (See our DIY Cocktail Pedal Conversion)
Tools needed: Drill, Screwdriver(s), Power-saw (preferably a table saw), miscellaneous hand tools
Preparation

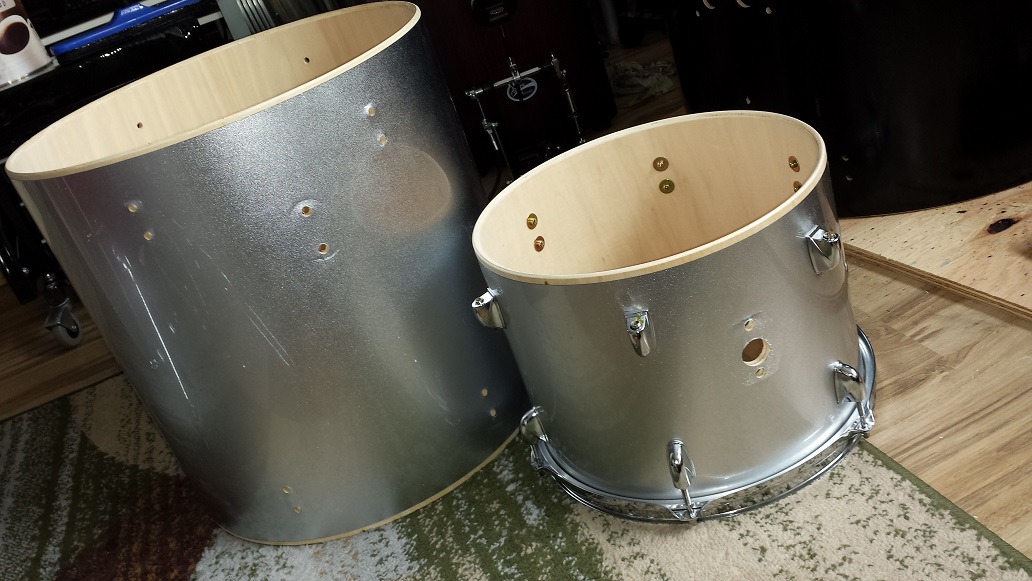
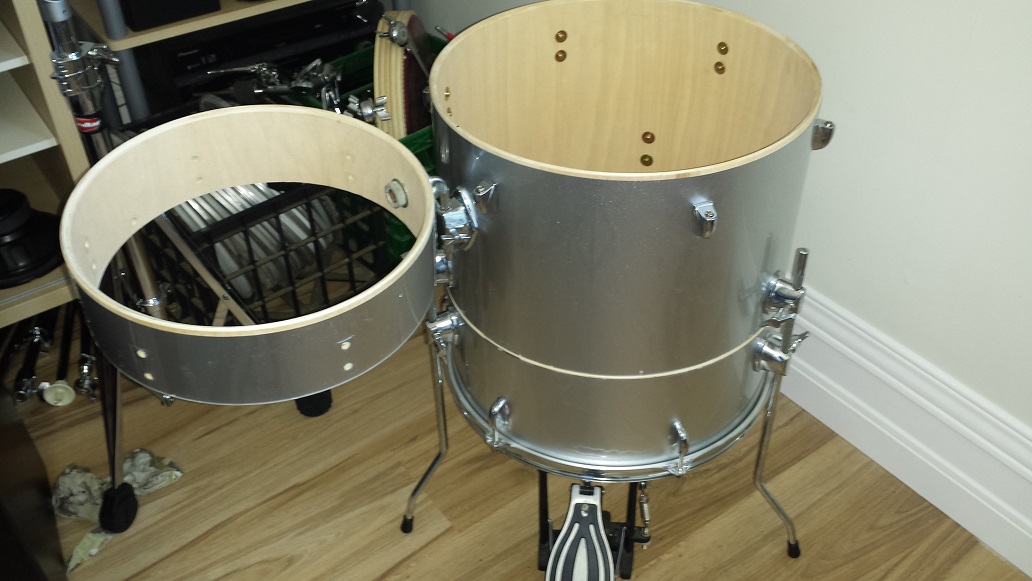
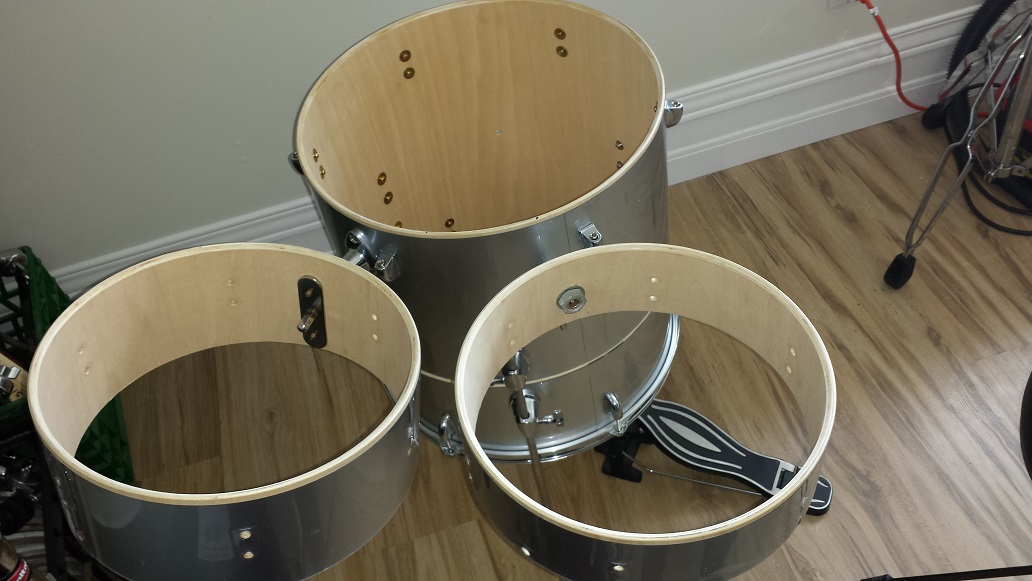
The first order of business is to cut both shells into two pieces. The 12″ tom needs to be cut roughly in half while the floor tom will get separated about a third from the bottom. We do this in order to obtain height-adjustment and internal storage in regards to the floor tom. If we’re lucky there will be enough height adjustment that the finished kit can serve as either stand-up or sit-down. One half of the rack tom will serve as a concert tom, while the other half magically morphs into a single-headed snare. In our example we are attempting to leave the wrap on. This may or may not prove to be a good idea. Do remove all lugs and other hardware though. In either case, we start with taping along the cut-line, both inside and out, to avoid cracking, splintering and other unpleasant side-effects. It is also a good idea to equip your saw with the finest toothed blade available.
Use the table saw fence as a guide, slide the shell into the blade and then rotate it all the way around. After removing the tape, some fraying of the wrap edge was present. This would probably not occur had the wrap been adhered in it’s entirety, rather than just at the leading edge. I cut a quick round-over in the router to rectify this. After removing the duct-tape-residue I also applied some glue/water mix along the freshly cut edge, allowing it to wick in between the wrap and the shell. Hopefully this prevents any further cracking of the wrap. Once the glue/water is completely dry, sand the edge smooth.
Configuration
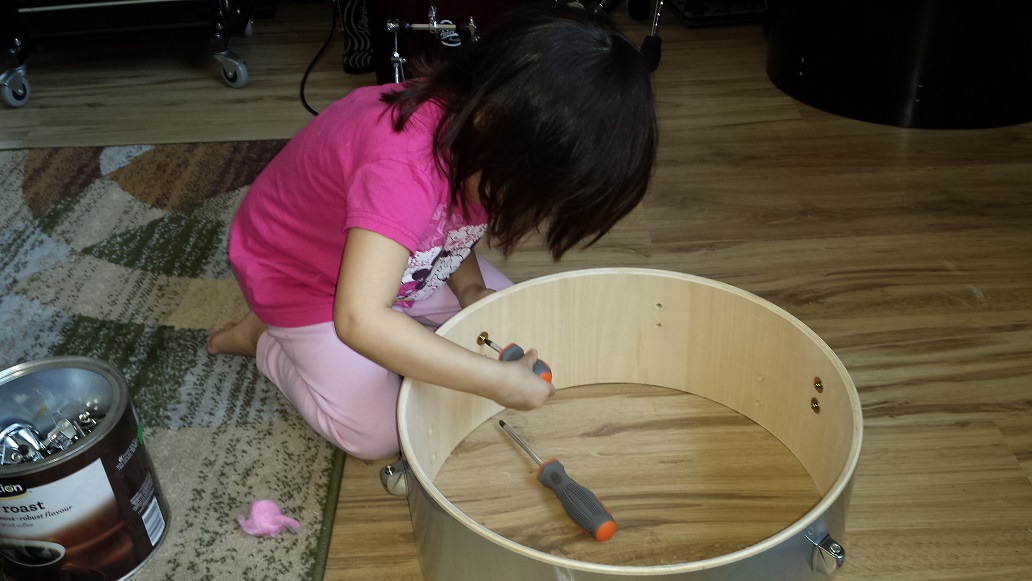
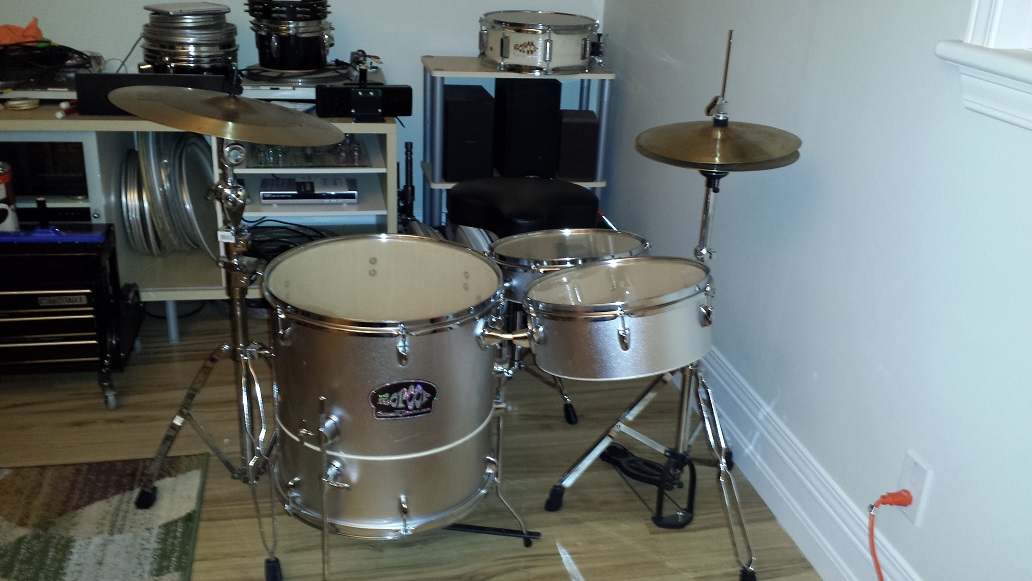
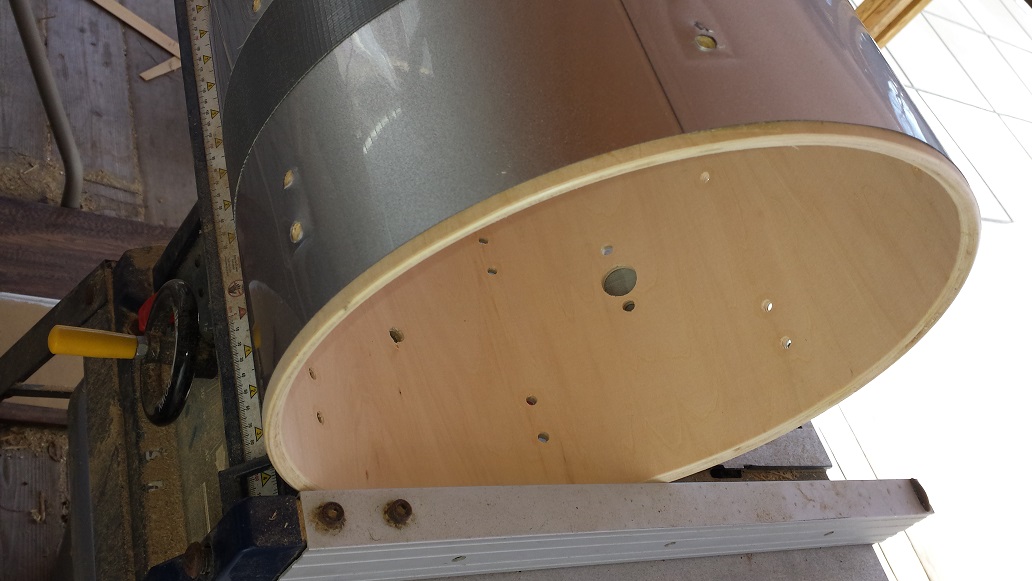
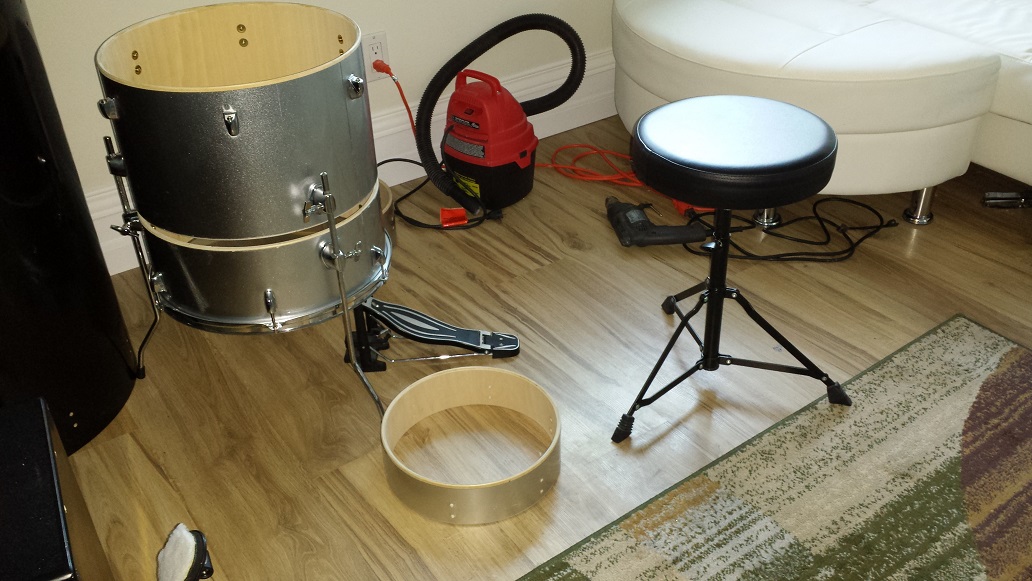
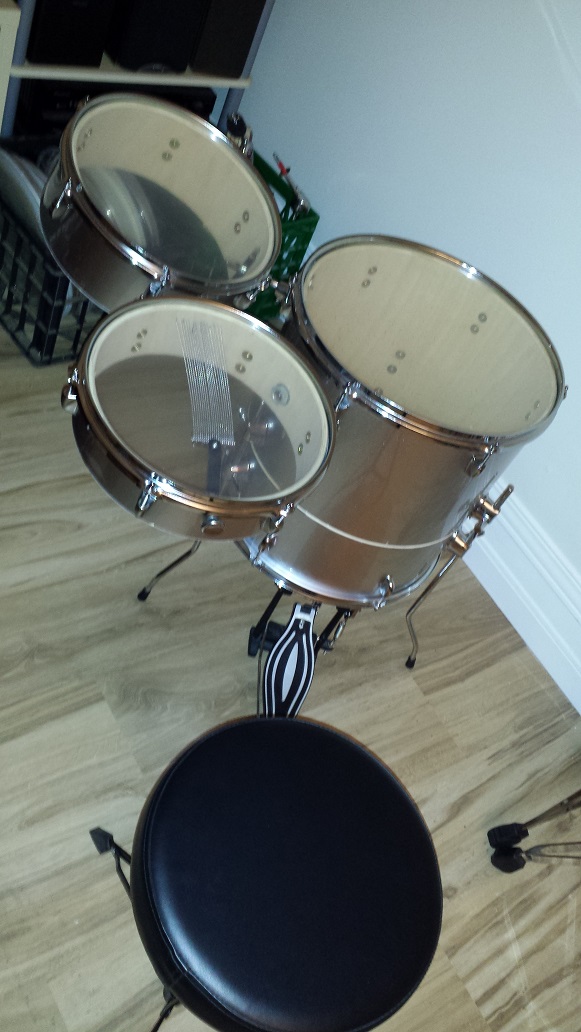
With the shells prepared we can start configuring our DIY Cocktail Drum Kit. The smaller half of the former floor tom will be our bass drum. Since it doesn’t require any additional holes, we can go ahead and assemble it. Install the lugs, leg brackets, head, rim and legs. (Since this is a low budget operating, we do employ free labour from time to time.) The floor tom will require holes for the 3 extra tom leg brackets. Mark the hole positions ensuring that they line up with the leg brackets on the bass drum. The floor tom will be attached to the same legs with the ability to slide vertically for height adjustment.
To avoid splintering the wood on the inside, use a brad-point bit. Start with drilling from the outside of the shell. Stop immediately as soon as the point pokes through the inside. Insert the point in the tiny hole inside the shell and drill the rest of the hole from the inside outward. Proceed with installing the leg brackets and lugs.
Before we can decide on a method for mounting the snare drum to the floor tom, we need to determine it’s position relative to said tom. Place your pedal between two of the tom legs, so the beater is centred under the head. Position your throne so the pedal is at a comfortable position for you. Check that you can comfortably operate the pedal. While sitting on the throne, foot on the pedal, the other foot where the Hi hat pedal would be, place the snare drum shell on the floor at the position most natural to you.
Click any picture for a full size view
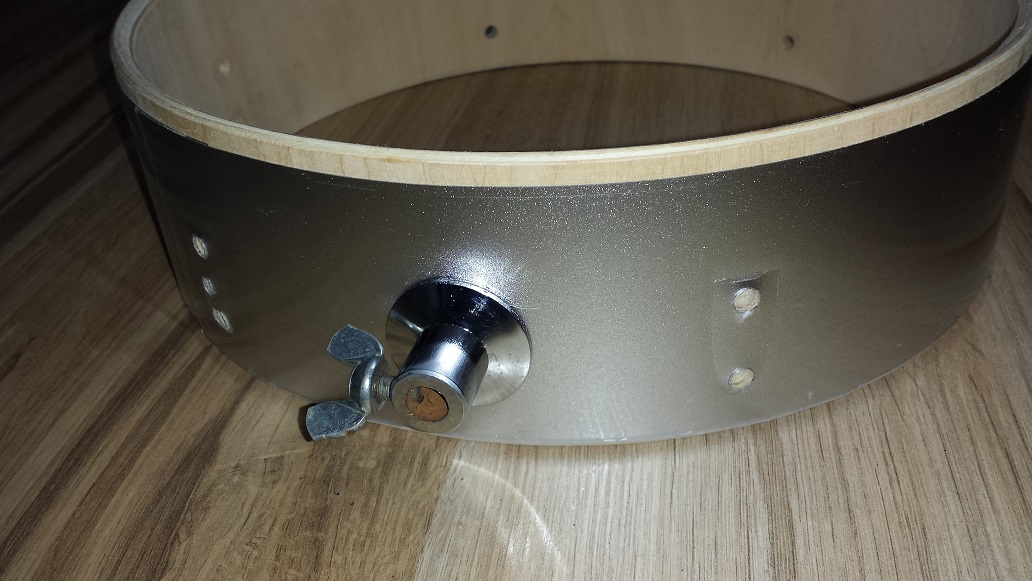
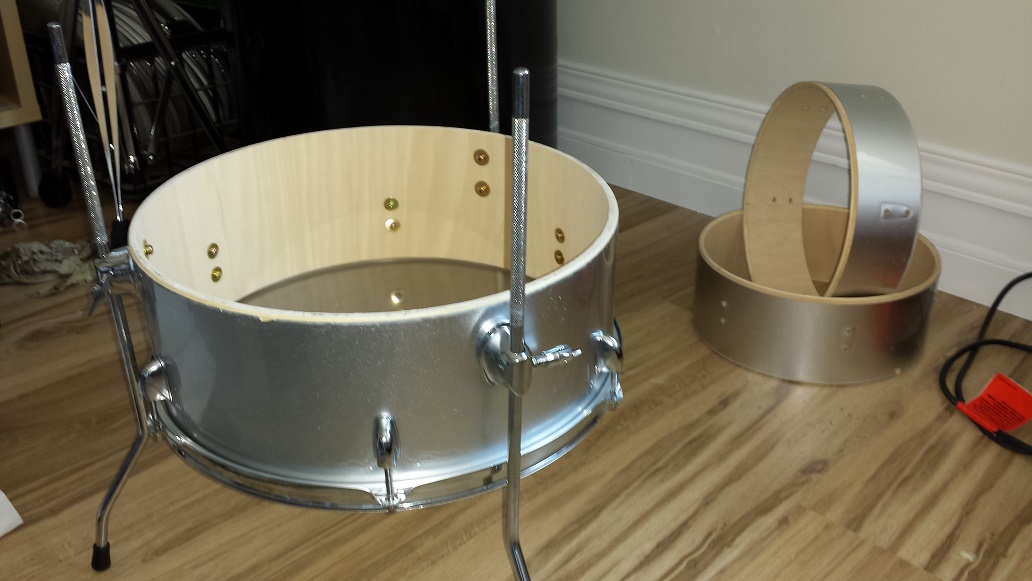
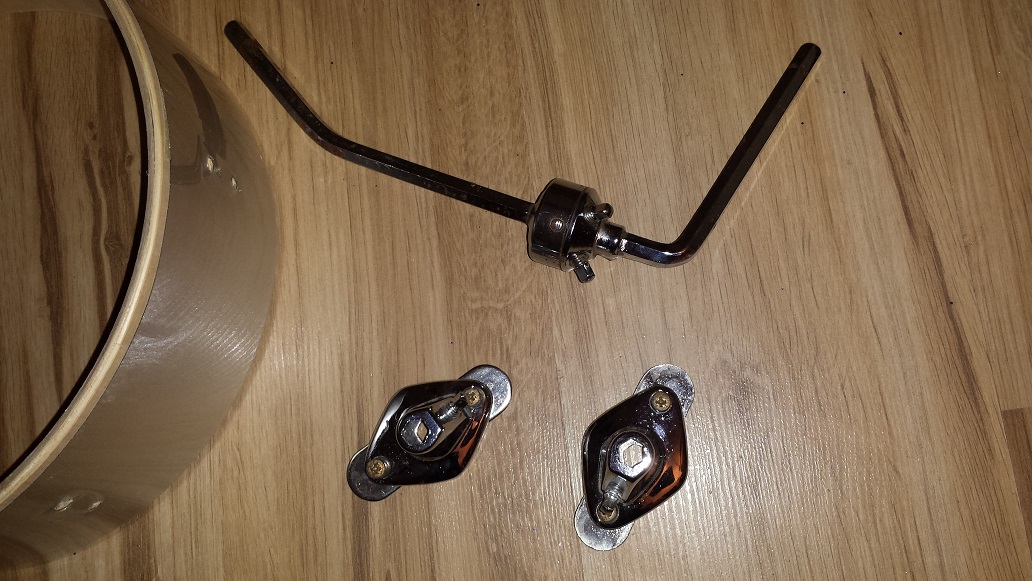
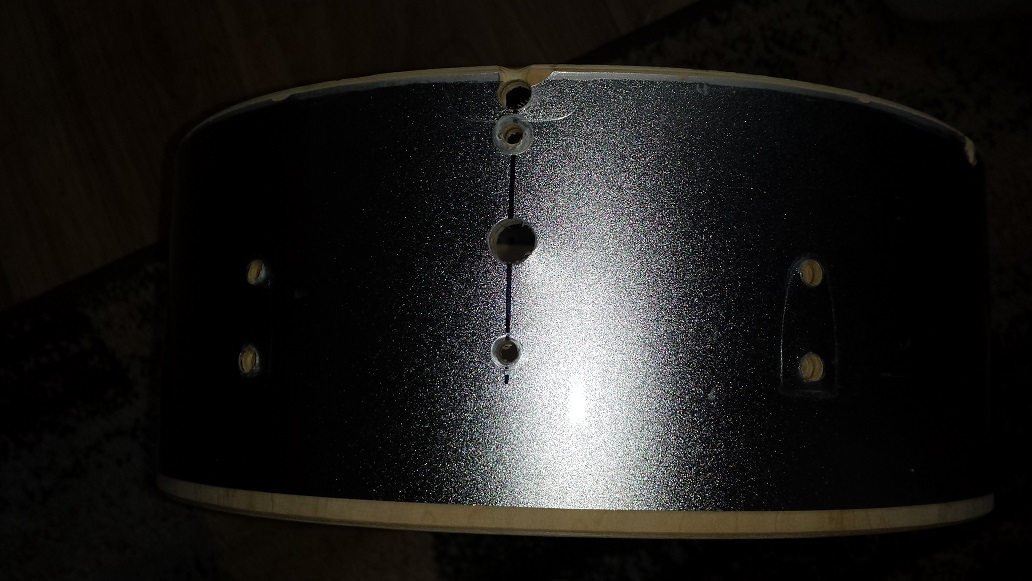
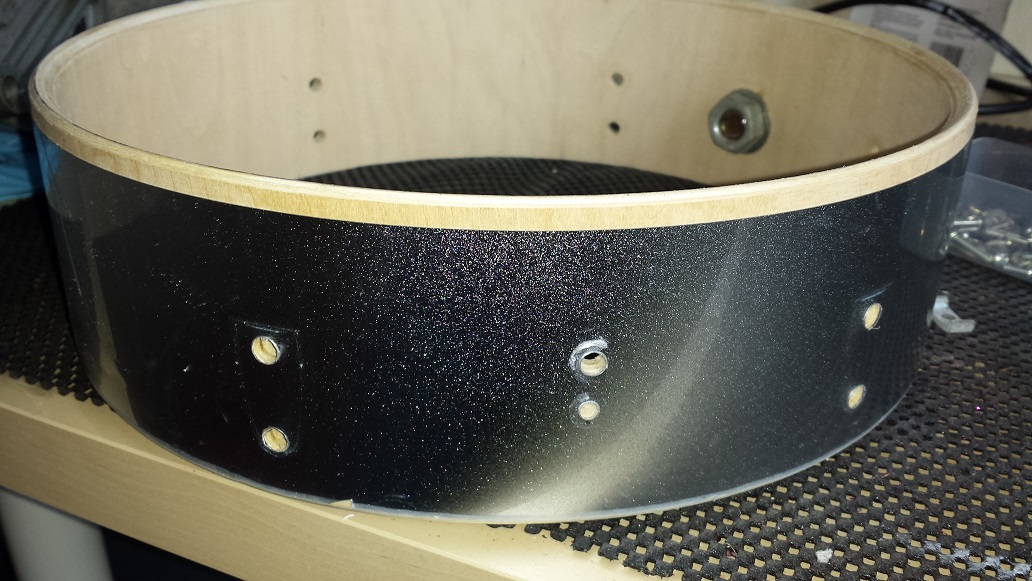
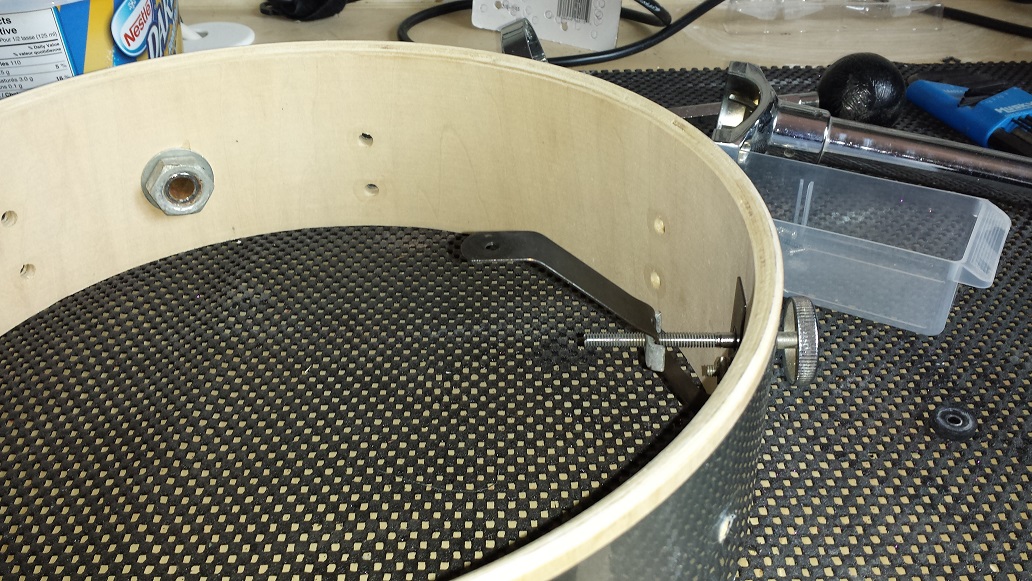
Since the snare drum in our example is very shallow, we have limited options in regards to a mounting bracket. After pondering the options I settled on mounting a spur sleeve to the snare and a leg bracket to the floor tom. The two connect with an L-rod. The spade bit and drill for drilling the spur sleeve hole don’t fit inside the shell. Thus the entire hole had to be drilled from the outside. To avoid breaking through the last ply, I drilled the last portion at highest speed and with very little force. This heated things up to the point that there was smoke, but the hole ended up clean all around.
Mark the holes for the tom leg bracket while holding the whole assembly in position. The snare’s top edge should be level with the tom’s top edge with the connecting L-rod centred in the bracket. With the leg bracket installed we can try out the position from the driver’s seat. There is some adjustment available since the L-rod can swivel in the bracket. Vertical adjustment shouldn’t be necessary since the snare is usually at the same height as the floor tom. However in our case we have about two inches to play with, depending on the L-rod used.

With the snare drum mounted it’s time to play some air drums to identify the position and angle of the tom tom. Then dig through the various boxes of hardware around here to find some suitable bits and pieces to attach the tom tom to the floor tom.
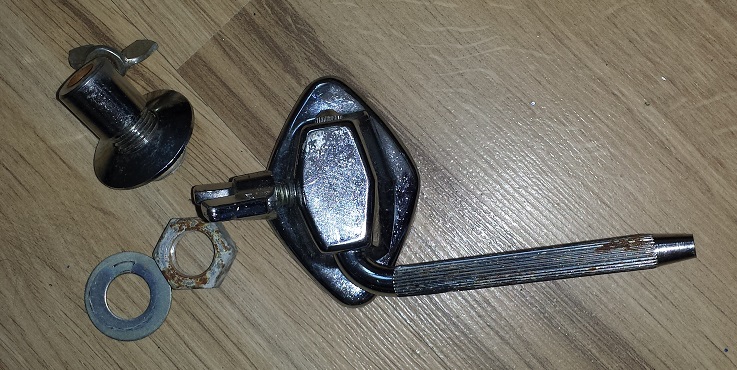
With an angle grinder I ended up cutting off the bent portion of the hex rod pictured, leaving about two inches of straight with the bent portion. As it turns out, the bend was the perfect angle for the tom tom. Before continuing I smoothed over the fresh cut in the bench grinder. We will be using just the bent piece of rod. The ball jointed rod goes back in the treasure box to be part of some future project.
Next we mark the holes on the tom tom shell, drill and mount the bracket. With the bracket and hex rod attached to the tom tom, we can mark the ideal position for the bracket on the floor tom. Mark the holes, drill and mount the floor tom bracket as well.
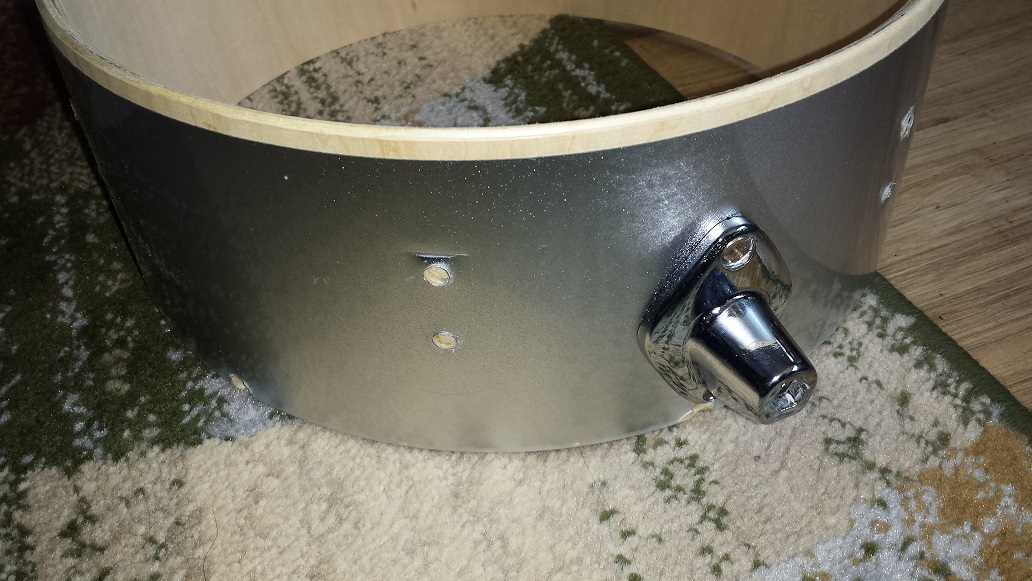
Note that I mounted the brackets with the fastener screw facing downward. Even though it looks odd, there is more room for the hands there.
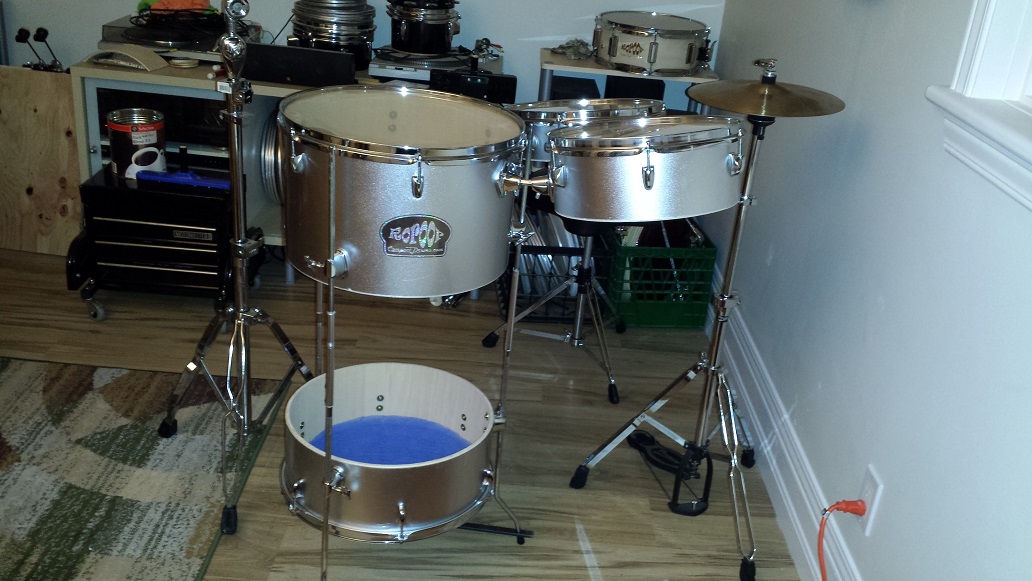
Time for another test fit of all the components. Looks like i got lucky and managed to get everything in the right spot.
Next we’re going to make a single headed snare out of that shallow tom shell.
Single-Headed Snare Drum
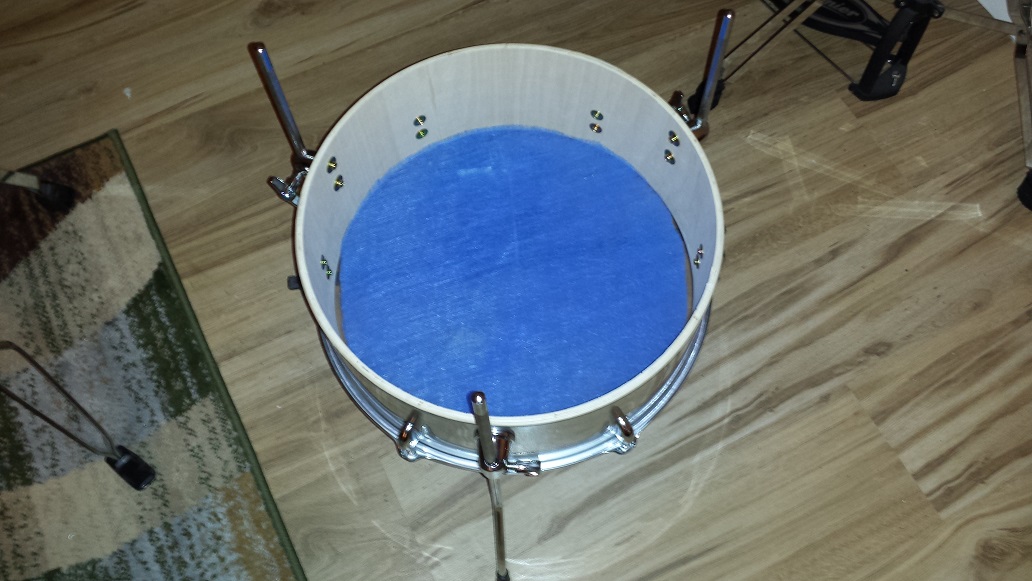
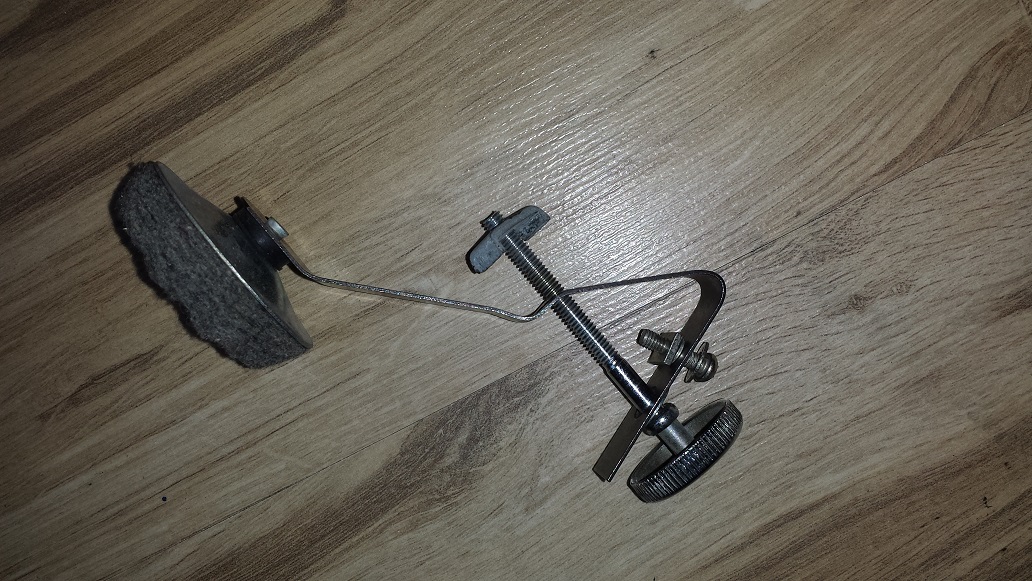
Those internal built in dampers often found in older drum kits can come in handy. The damping pad and backing washer are usually riveted to the “arm”. First we need to drill or grind this off depending on the type of rivet. Once ground down the pad and washer can be snapped off. Next mark for drilling the shell so the damper arm ends up parallel to the head about 1/4″ – 1/2″ below the head in it’s “relaxed” position. Drill the holes and install the arm and knob.
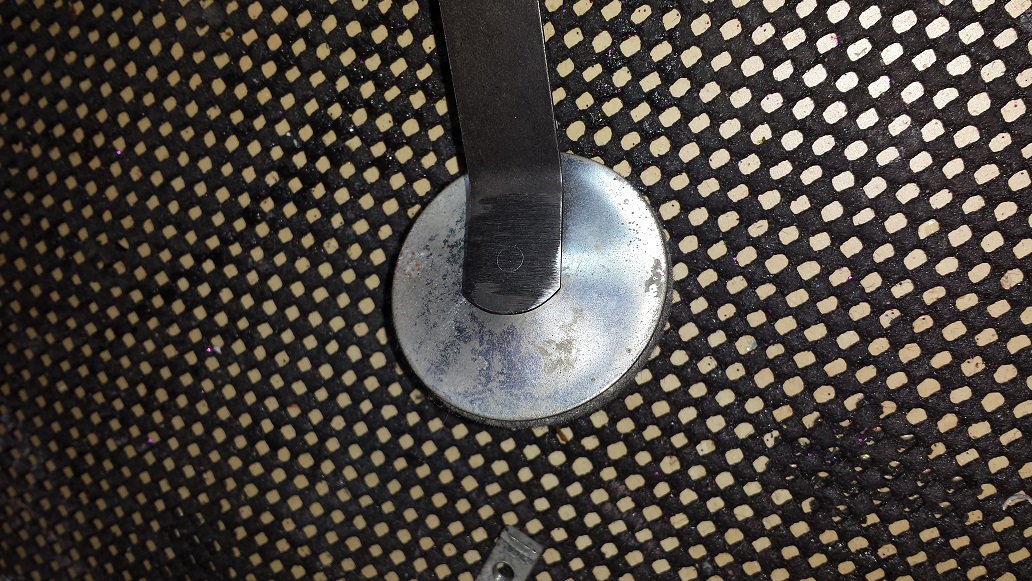
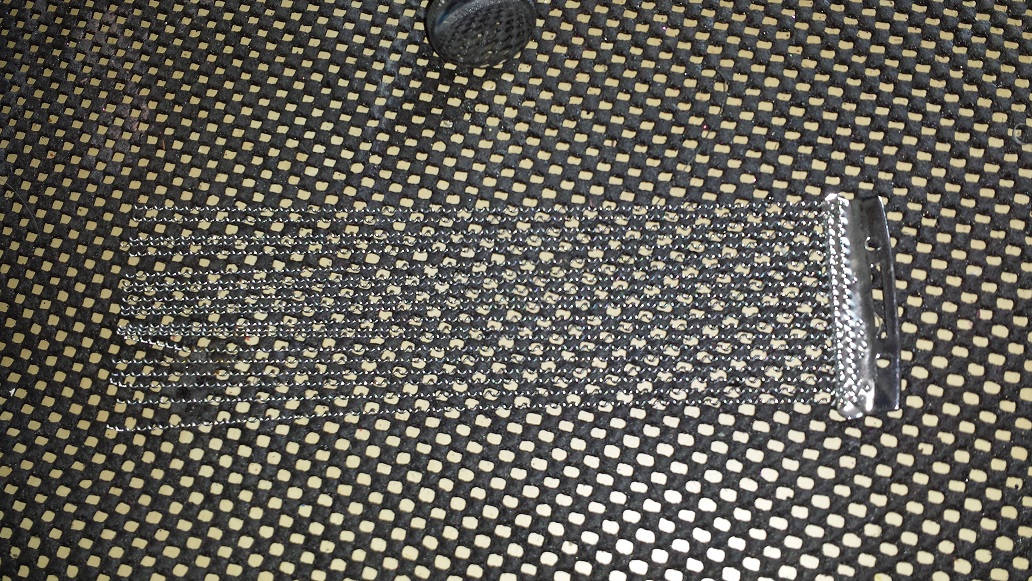

It is a good idea to install the lugs before continuing on to the snare wires. Cut a set of snare strands roughly at the centre. Screw one of the portions through the hole on the damper arm. It may be necessary to bend the arm a bit so the snares can make ample contact with the head, without the screw touching the head.
This design of snare may have been around longer than the regular dual-headed snare more commonly used. Yamaha’s Club Jordan Cocktail kit used exactly this design as do many DIY cocktail kits on the web. I first came across this type of snare drum on a cool website called: The Cocktail Drum Lounge
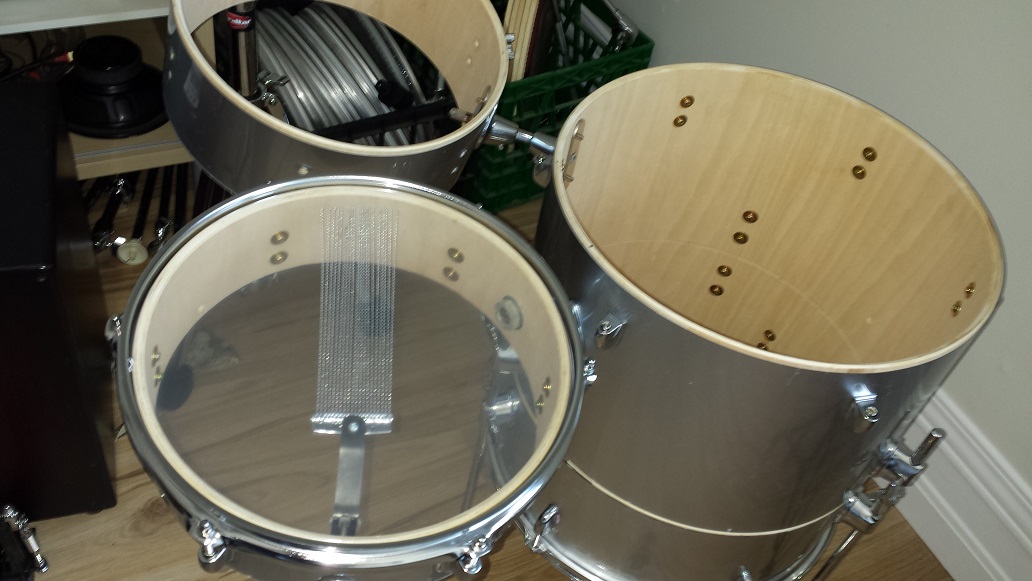
Next we install the lugs on the tom tom and continue with the heads on the toms. Now all that remains is a mount to attach the pedal to and extensions for the floor tom legs. The extensions are required in order to raise the entire tom-tom-snare assembly for stand-up play.
I’ll likely replace the head on the snare drum with a coated one. The clear head on there now is mostly so the snare fan assembly would be visible for the pictures.
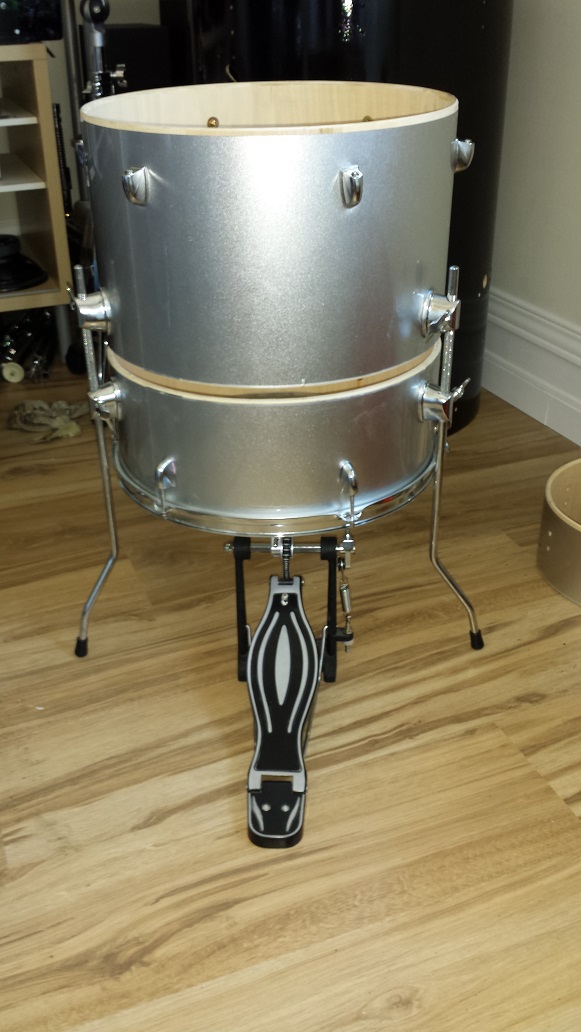
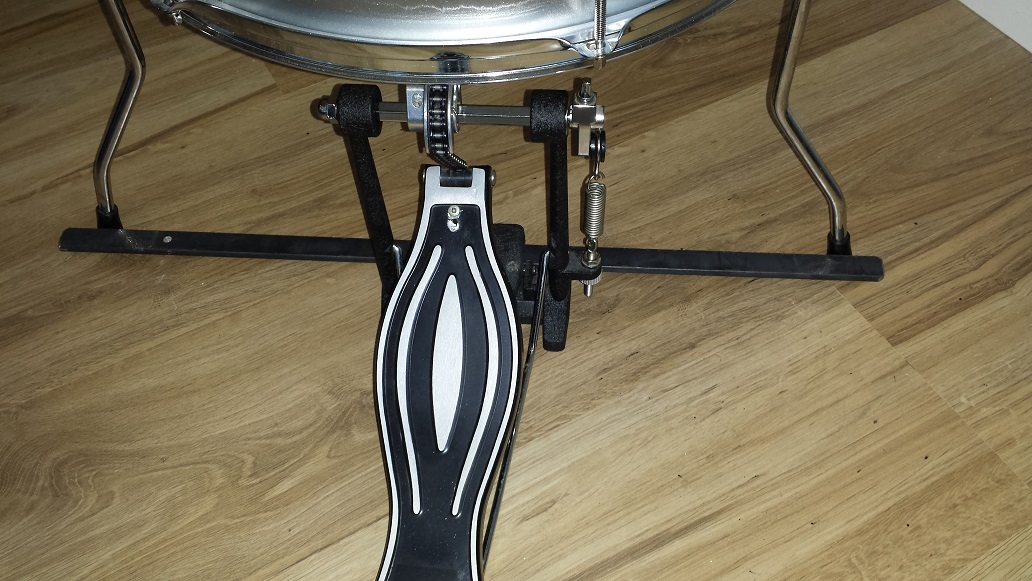
Bass Drum Pedal Attachment
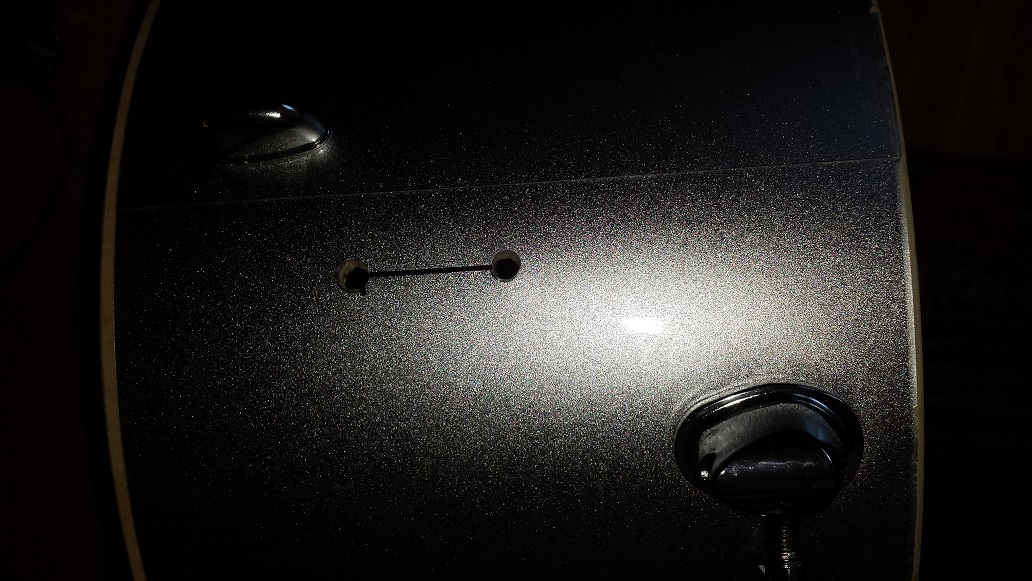
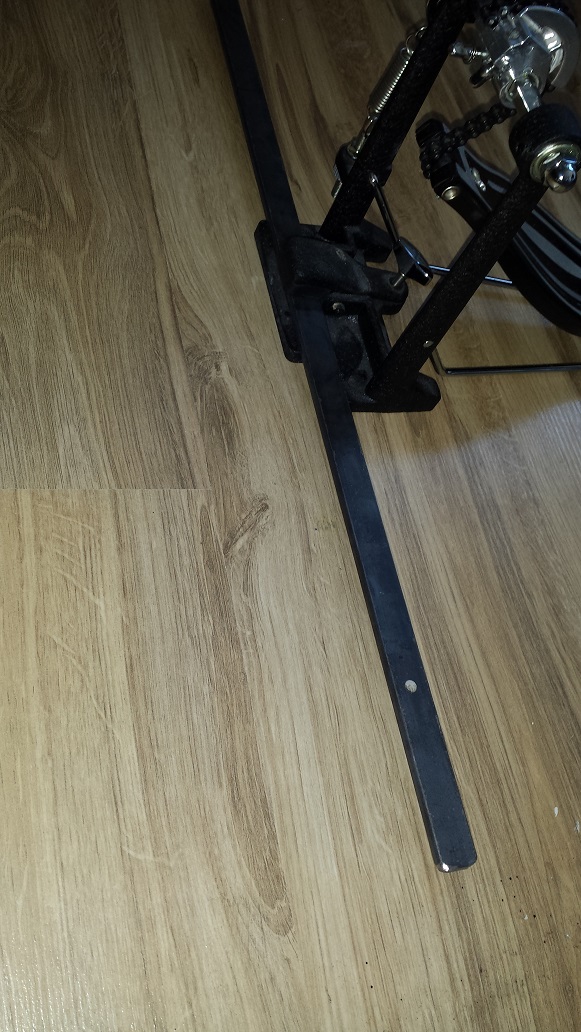
Let’s see if we can’t come up with a nifty way to attach the pedal without complicating it too much. I found a metal bar and cut it down to length so it was just a couple of inches longer than the distance between the two tom legs. With the pedal clamped to the bar and the bar pushed up against the legs it was kinda’ wobbly. Wearing out three cheap drill bits in the process, I drilled holes in the mild steel bar a bit larger than the leg diameter. I still need to put a little bit more bend in the bar so the pedal touches the floor again, but it functions flawlessly.

Decor
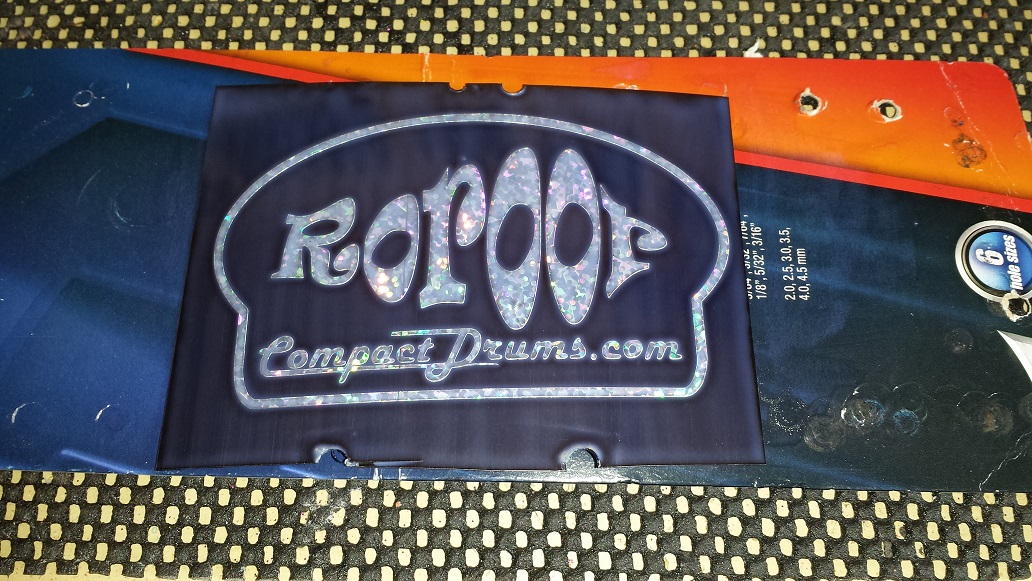
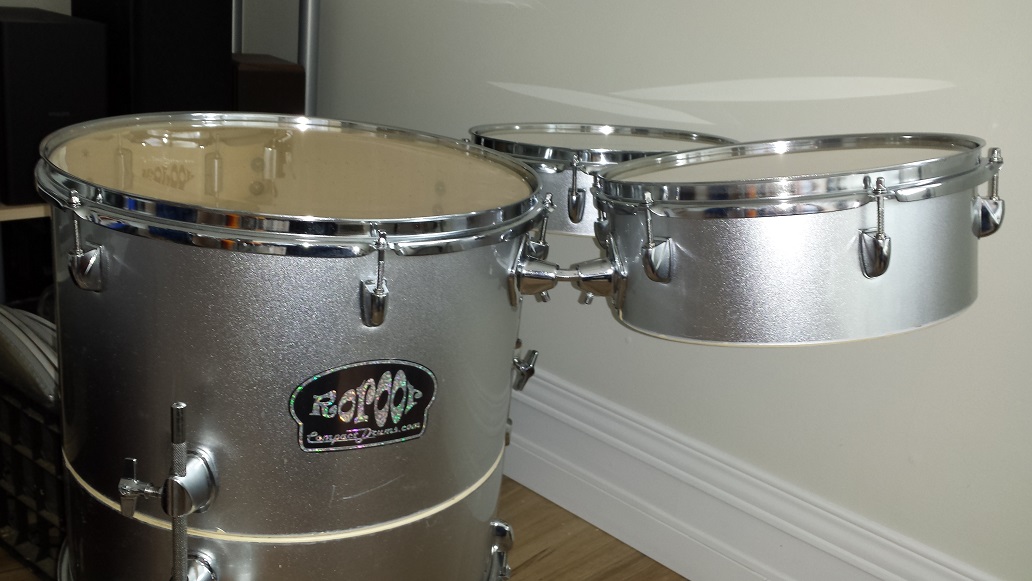
Before I can make the leg extensions I have to get some materials. In the meantime we got started on a badge. It’s made from cut vinyl graphics adhered to an old piece of wrap. We put a few coats of polyurethane over the graphics before cutting out the outline. I’m not sure yet whether it will be applied with adhesive, small screws or both.


Height Extension


I found some aluminum tubing that fits snugly over the legs. With an angle grinder I cut three pieces and smoothed the edge in the bench grinder. One of the treasure boxes had some old spurs that happened to also fit snugly in the aluminum tube. After removing the rubber feet I stuffed a glob of construction adhesive in each piece of tube and inserted the pointy end of the spurs a few inches. Leave to dry overnight. I just realized that one of the extensions can double as a cowbell holder when in sit-down mode. Maybe I can also come up with a way to add a cymbal holder to one of them.
I also added some air filter foam to get the right sound from the bass drum. This stuff works really well to transform the tom sound to a bass drum sound. I will probably cut it donut shaped though so it doesn’t attenuate the drum quite as much.
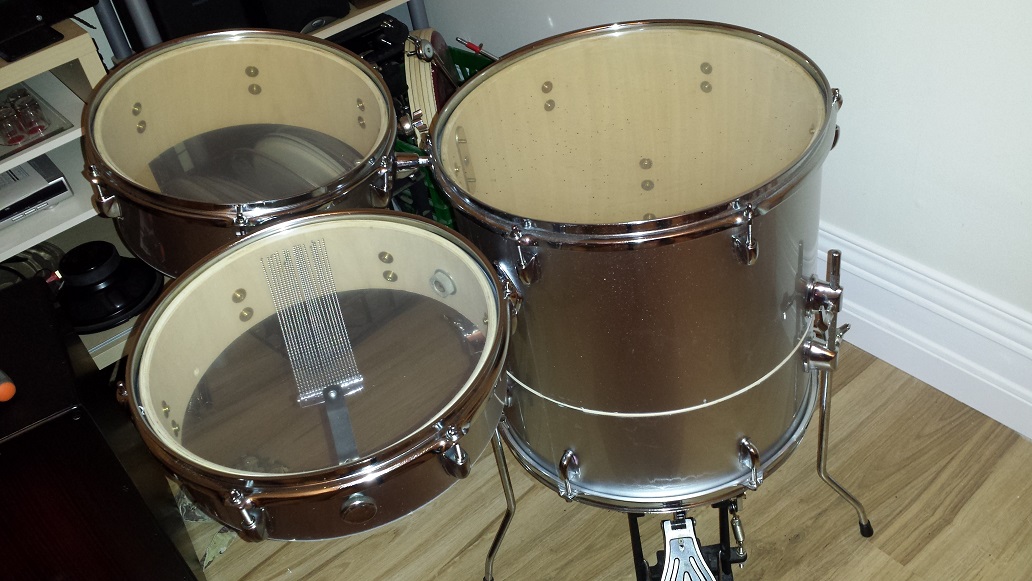
As it turns out the tubes are just a smidge on the snug side. They are quite close to impossible to get off once put on. A few profanities and a bit of violence eventually got them off again, but I will have to come up with a better way to extend the legs. Other than that it all functions flawlessly and the tom, snare and pedal all fit nicely inside the bass/floor tom for transportation. Obviously the items should be wrapped in a towel or something for actual transportation.