Introduction
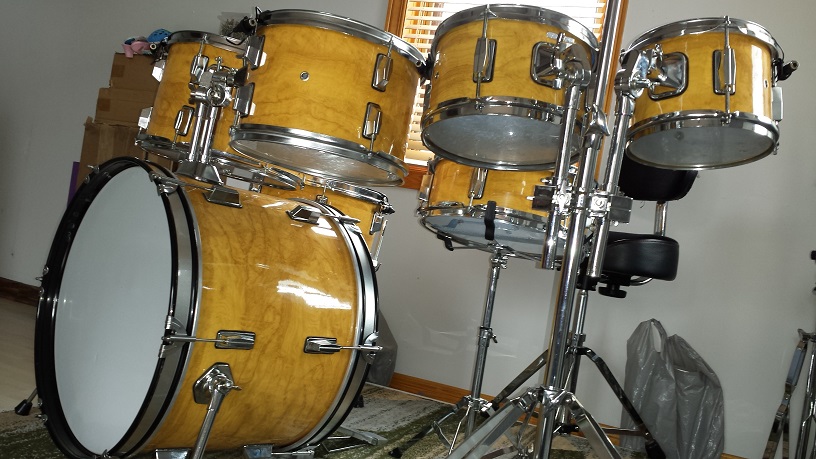
While not necessarily compact or portable, a DIY Hybrid Drum Kit can certainly be practical and space saving too. Contrary to most of the projects on this site, this kit will be a full-size, 7-piece configuration. However it is still a space-saver in that it virtually incorporates three kits in one; A regular Acoustic Drum Set, an Electronic Drum Kit, and a Silent Practice kit.

Our DIY Hybrid Drum Kit will have a 20″ X 14″ Bass drum, coupled with a 13″ Snare, a 14″ Floor Tom and 8″, 10″, 12″ and 13″ Rack Toms. Mounting for the Rack toms will be Pearl or Pearl-style L-arms so that the toms can be easily flipped 180 degrees. The snare and bass will of course require a head-reversal for switching modes.
Most of the shells for this project come from a late 80’s, early 90’s Pearl Export. Contrary to other DIY articles on CompactDrums.com, this one doesn’t require a whole lot of shell re-configuration.
The heart of the electronic side of thing is an Alesis DM-10 module. Triggers are yet to be determined but we’re leaning towards external ‘bolt-on type triggers for simplicity. Of course they aren’t hard to fabricate from scratch and would be neat to install using modified built in dampers. However with the time required to fabricate and tweak 7 triggers it’s hard to justify since the turn-key, bolt on variety can be had for about the same as the cost of parts.
DIY Hybrid Drum Kit
Prepping the Shells
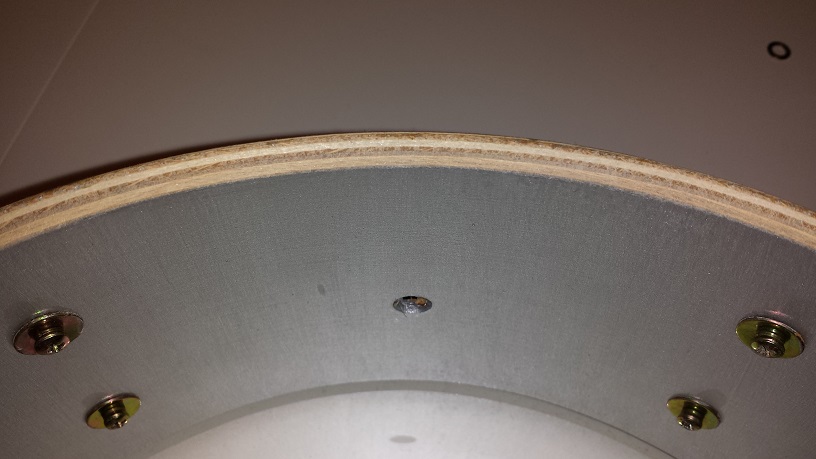
As mentioned, the shell prep demands for this kit are limited to sealing and sanding the bearing edges. Unless you plan on sanding the edges, it’s recommended that you mask them prior to sealing. Our DIY Hybrid Drum Kit is getting the interiors coated with our “standard” “Silver Sealer”. Very similar to the interiors found on high end Gretsch kits, it’s simply Gloss Aluminum Rust Enamel, a product we’ve consistently experienced good results with.
The shells get three coats of sealer. After the first coat is completely dry it gets a quick sanding with fine paper as it tends to raise the grain of the wood. Follow up with an additional two coats with ample drying time in between.
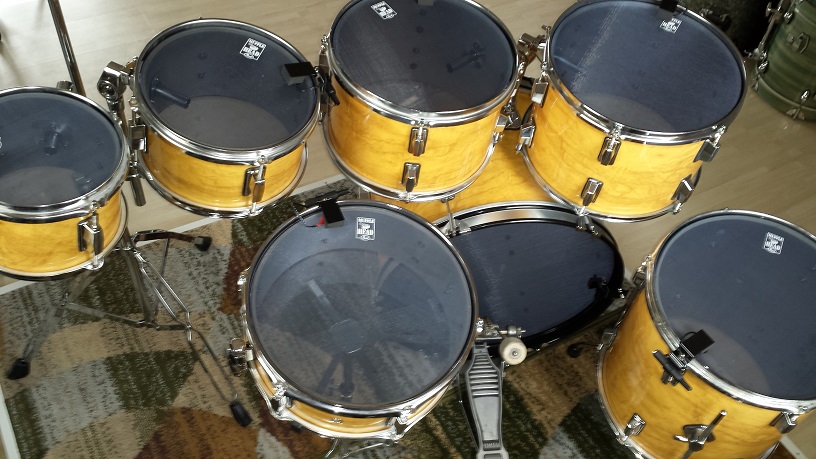
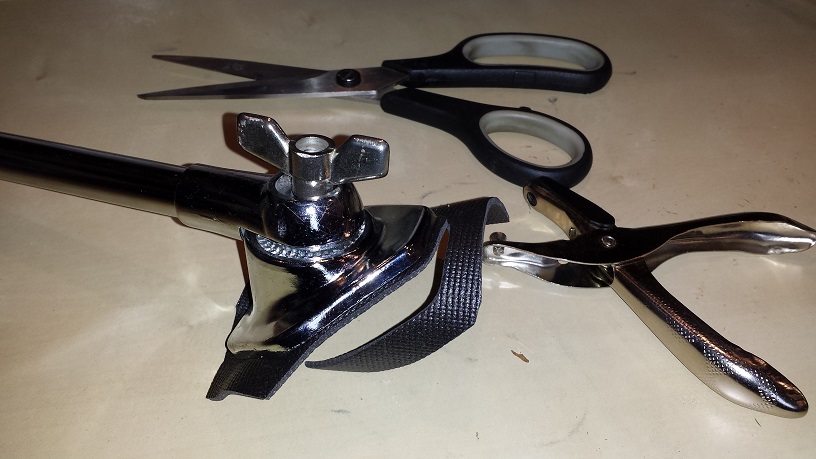
Contrary to most projects on CompactDrums.com, there isn’t a lot of modifications or drilling involved in this project. The only exception being that we’re re-locating the floor tom leg brackets to the centre of the shell. The reason being that we want the drums to be easily reversible between the mylar and mesh heads.
All bearing edges get a thorough sanding starting with somewhere around 100-grit paper to remove all the silver paint from the edges and slightly round over the profile of the outside bevel. We the move on to around 200-grit for a silky-smooth surface and final shaping of the profile.

Wrapping and Assembly
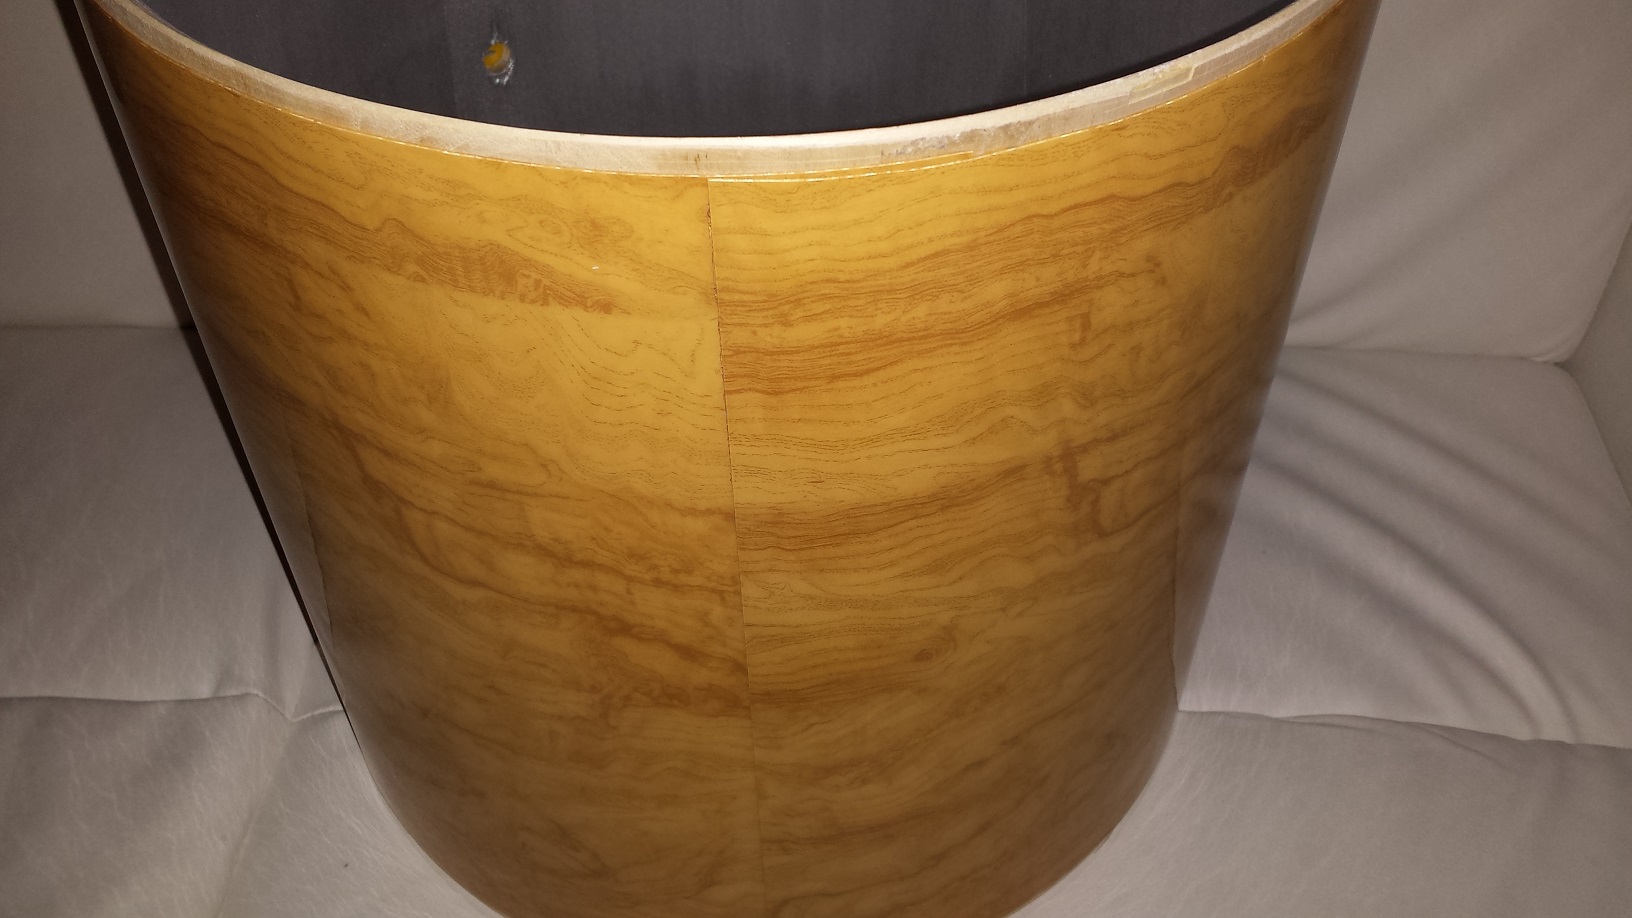
For this project we have selected Walopus Figured Maple Drum Wrap for our finish. The toms and bass drum are all wrapped according to the “Seam-Bonded” method on Walopus’ Drum Wrap Instructions Page. The snare drum gets a wee bit of extra attention in that we chose to wrap it as per the “Fully Glued” method on the same page.
The Older Exports don’t come with ISO gaskets, and maybe they wouldn’t be necessary, but I think they lend a nice contrast against the figured maple. We make ISO gaskets as per the instructions on this page.
Final Assembly and Electronics Integration
Based on input from our executive counsel, we decided on triggers from Drum Dial. Since we are using mesh heads we also ordered the optional brackets that hold the triggers in place and provide a practical holder for the jack. The triggers ended up working really well with a minimum of tweaking of the DM10 module required before we could start playing. Tweaks were limited to bumping up the sensitivity of the snare and bass triggers and lowering the same for the floor tom. All other settings were left at factory default and functioned flawlessly.
The mesh heads chosen are Pearl Muffle Heads which I’m familiar with from the Rhythm Traveler.