Introduction
Smaller size drum kits come in a variety of configurations. The common “Jungle” kit is almost standardized at a 16″ bass with 10″ & 13″ toms and a 14″ snare. When it comes to kits based on a 14″ bass drum, Sonor’s Martini is probably the most well known and features 8″ and 13″ toms with a 12″ snare drum.

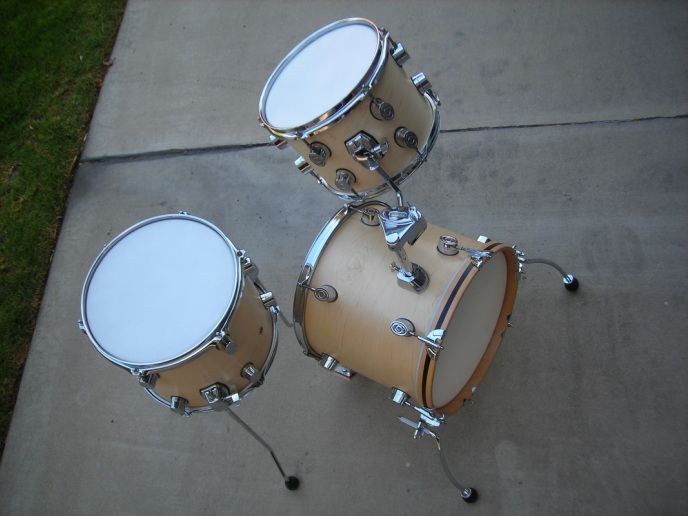
Based on pure logic the little 8″ tom tom seems challenging to tune low enough while still maintaining a cutting volume level while the 13″ floor tom needs to be tuned high to fit sonically between the small bass drum and tiny tom tom. Drum Monger, a small, custom drum building operation in California, has for quite some time produced their own configuration of the 14″ bass drum kit. To me personally Drum Monger’s configuration makes a lot of sense. Dubbed the “Cafe Kit” Drum Monger’s version has a 10″ tom tom and a 12″ floor tom. In this article we’ll make our own DIY Cafe Drum Kit. Should you be in the market for a custom built drum kit, Leo (The Drum Monger) can be reached at drum.mongr@gmail.com.
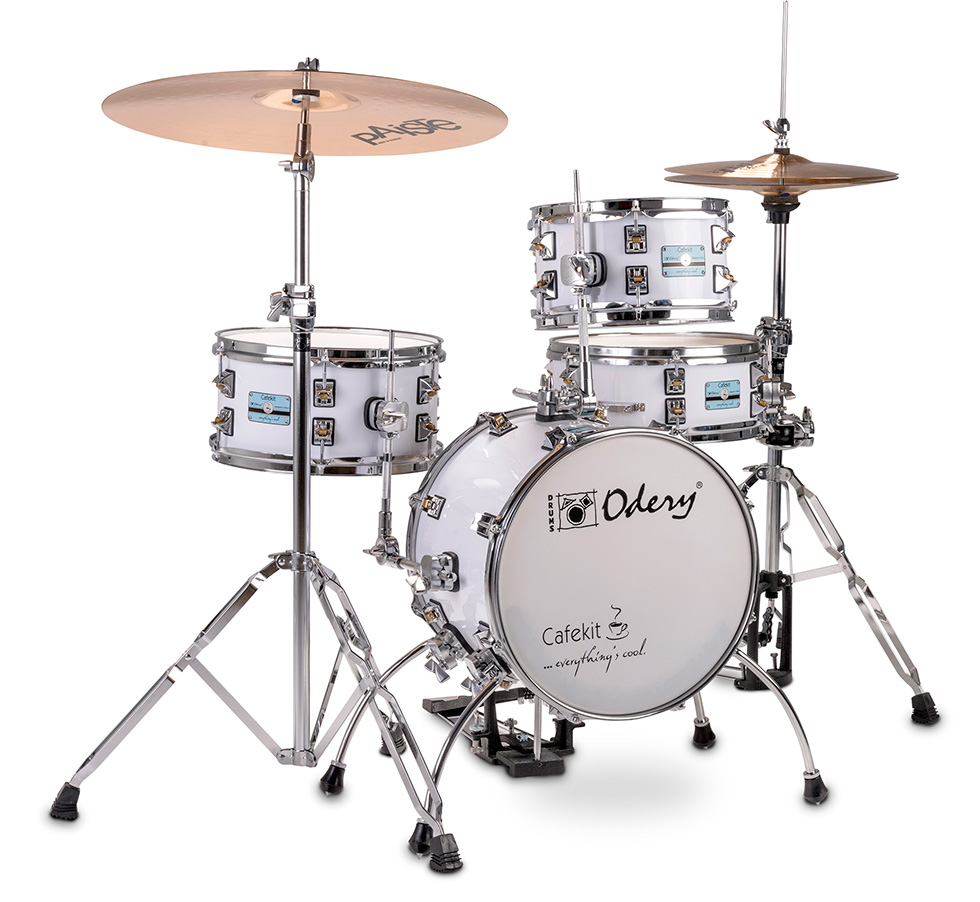
In testament of the usefulness of these sizes, Odery also makes a Cafe Kit of the same configuration. Although their website tells a story of how they coined the moniker “Cafe Kit”, I believe Drum Monger’s use of the term for the same configuration pre-dates Odery’s. Regardless of how it came about, the name is more than fitting. Let’s get started on our own
DIY Cafe Drum Kit
The DIY Cafe Drum Kit in a Nut Shell
An entry-level fusion kit minus the bass drum will serve as the starting point. The shells are Basswood/Birch/Mahogany which I believe to be a nice wood blend for smaller sizes. The 14″ X 14″ floor tom will need to be cut down a bit for increased “punchiness”. Converting it to a bass drum also involves the addition of spurs, a tom mount platform and a bracket for the riser. It is yet to be decided if the 12″ tom will get brackets for floor tom legs or if we’ll integrate it as a hanging floor tom.
In my closet of various drum stuff, I found a 12″ free-floating wood snare drum that will make a perfect addition to the kit. All the drums are to be sealed inside and get the bearing edges perfected. As much as I like flashy wraps, on a tiny kit like this a more subtle and tasteful finish will be necessary. We want our little DIY Cafe Drum Kit to be taken seriously and not confused with a child’s toy. One of the wood grain wraps from walopus.com should prove ideal.
We’re also toying with the idea of making our own wood hoops for the bass drum, but we’ll see if this actually comes into fruition or not.
Before any actual work can begin the shells need to be stripped of parts and wrap. Check out our Drum Wrap Instructions page for more information on this process.
DIY Cafe Drum Kit
Prepping the Shells
The Toms
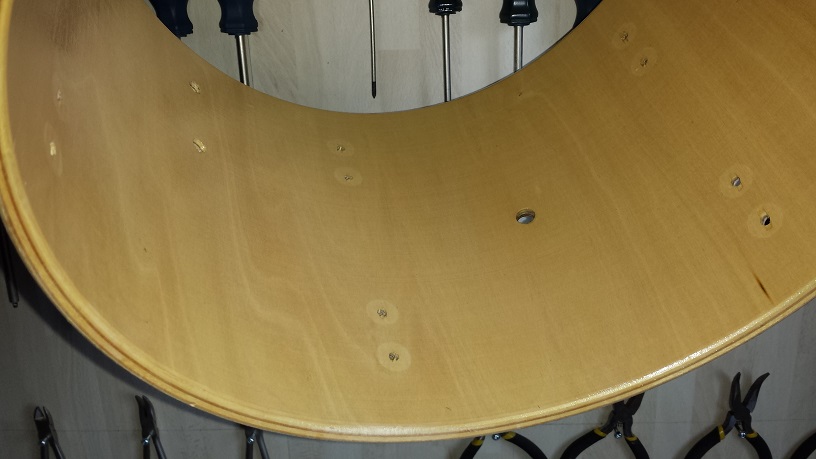
I like to start with the toms, just because they are the least amount of work and thus provide a higher level of instant gratification. The Tom Tom is first up as it is still not decided whether the floor tom will be hanging or standing on legs. We give the interior of the tom tom three coats of Polyurethane. I give it a quick sanding after the first coat is completely dry, as the grain tends to get raised from the wet sealer.
Once the third coat of sealer has had sufficient time to dry, it’s time to sand the bearing edges. I use 100 grit to remove the polyurethane from the edges and perfect the profile. These edges were pretty good to begin with so not much was required except smoothing over the sharper corners of the outside bevel. This of course is a matter of preference depending on how much head-to-shell contact is desired. Since these drums are smaller size and the shells containing mahogany and basswood, I like a little extra contact to ensure an adequate amount of vibration is conducted into the shell. This way we take advantage of the boost in low-end that these wood species are capable of.
Once all the poly is gone and we are content with the shape, I use 240 grit to make the entire surface silky smooth and butter-soft.
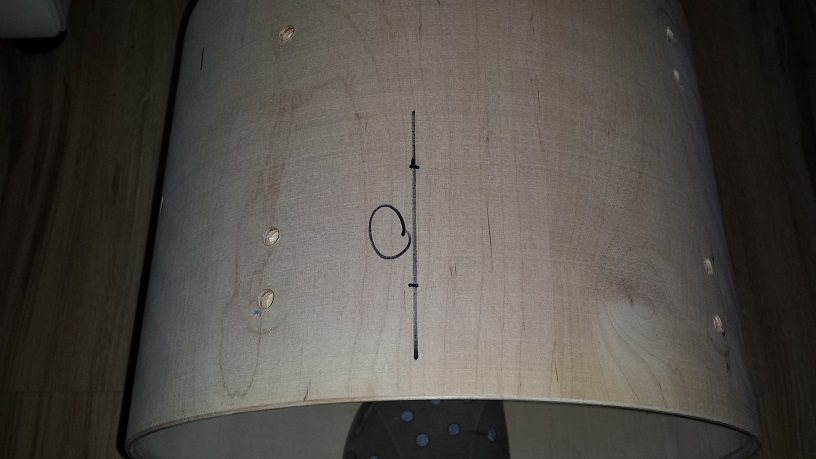
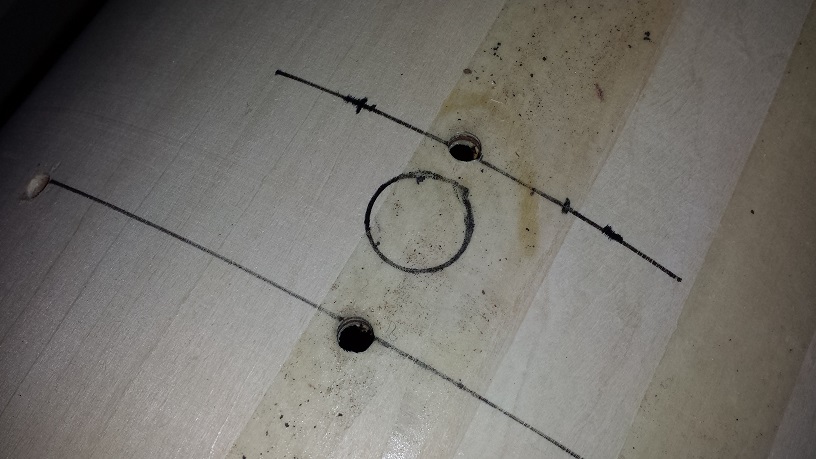
Moving on to the Floor Tom. After much deliberation it is finally decided that the floor tom will be on traditional legs. For no other reason than convenience and ease of placement. First decide on the positions of the brackets and make a mark on the shell. Then make a line perpendicular to the edge. Determine the distance from the edge to the lower hole for the bracket and make a mark. Make the second mark according to the distance between the screw posts on the bracket.
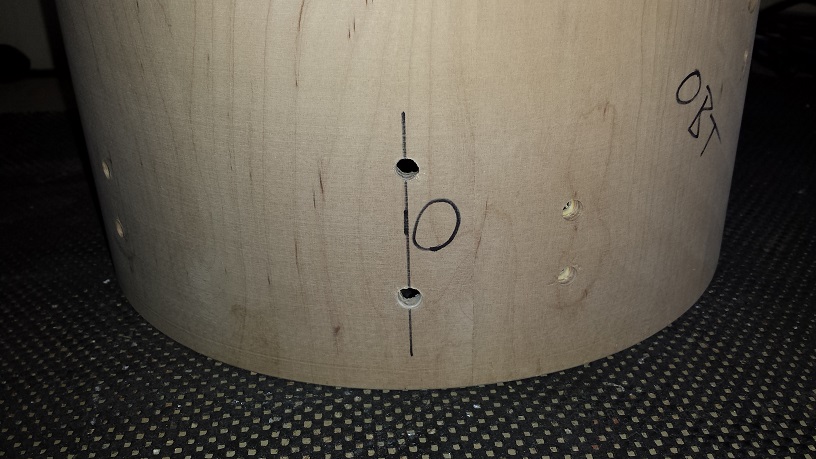
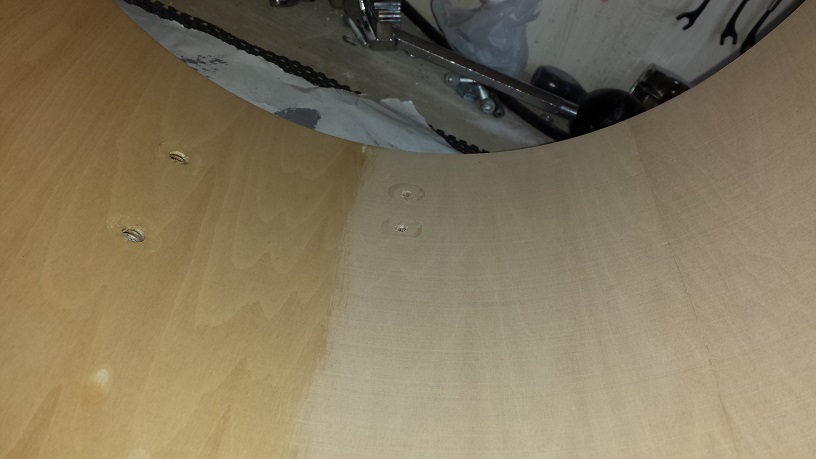
With a brad point bit in a corded drill, drill from the outside of the shell until the point starts to poke through to the inside. Then drill the remainder of the hole from the inside of the shell. In this manner we ensure not to break through the final ply causing splintering.
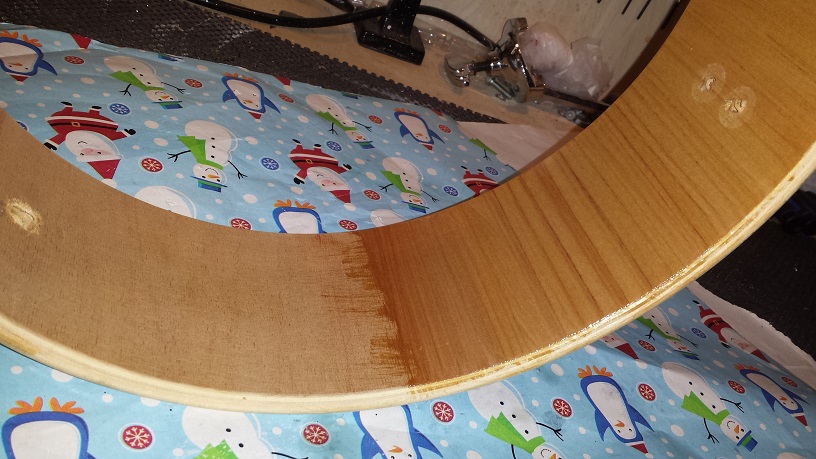
Once the shell is drilled we can proceed to the first coat of sealer. Two more coats are applied with ample drying time in between. Once fully dry it is subjected to the same sanding process as the tom tom.


The Snare
This little 12″ free-floating snare drum sounded great just the way it was. Sealing it and dressing the bearing edges as well as increasing the snare bed a smidge should improve it further. Once stripped of parts and wrap it gets three coats of Polyurethane in the exact same manner as the toms above.
Sanding the bearing edges is performed just like the toms above, except we spend a bit of time with the 100-grit deepening the snare beds. The way the shell came the snare beds were too subtle even for me. Probably less than 1 mm. When I was done they were closer to 2 mm and with smoother transitions.

The Bass Drum
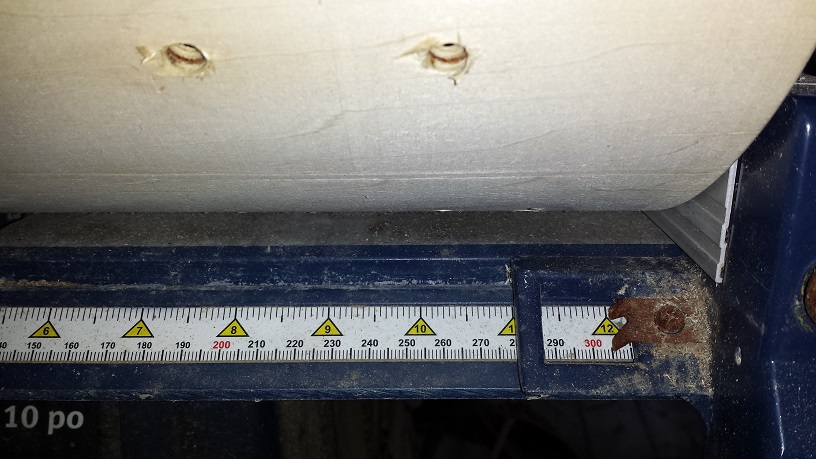
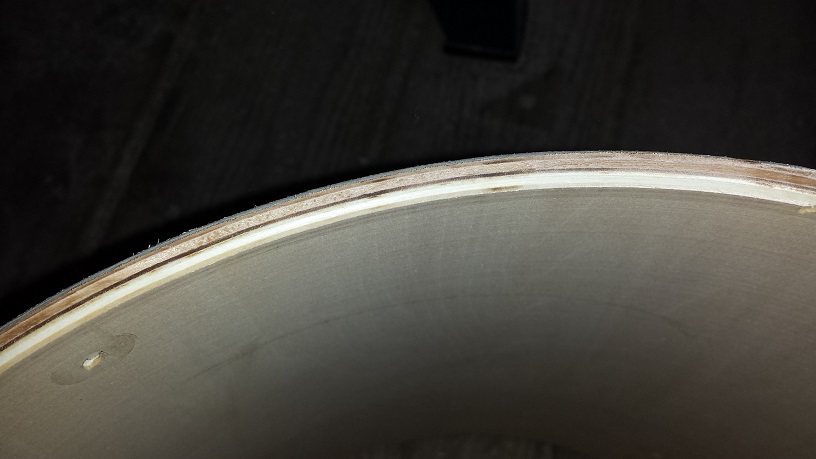
It’s tempting to just leave the 14″ shell at a 14″ depth to avoid the pesky work of cutting new bearing edges. I did try this once in the past but it makes it very hard to get a tight “punchy” bass drum sound. For this one we’ve opted to cut it down to 12″ which is the same as the bass drum that comes with Sonor’s Martini.
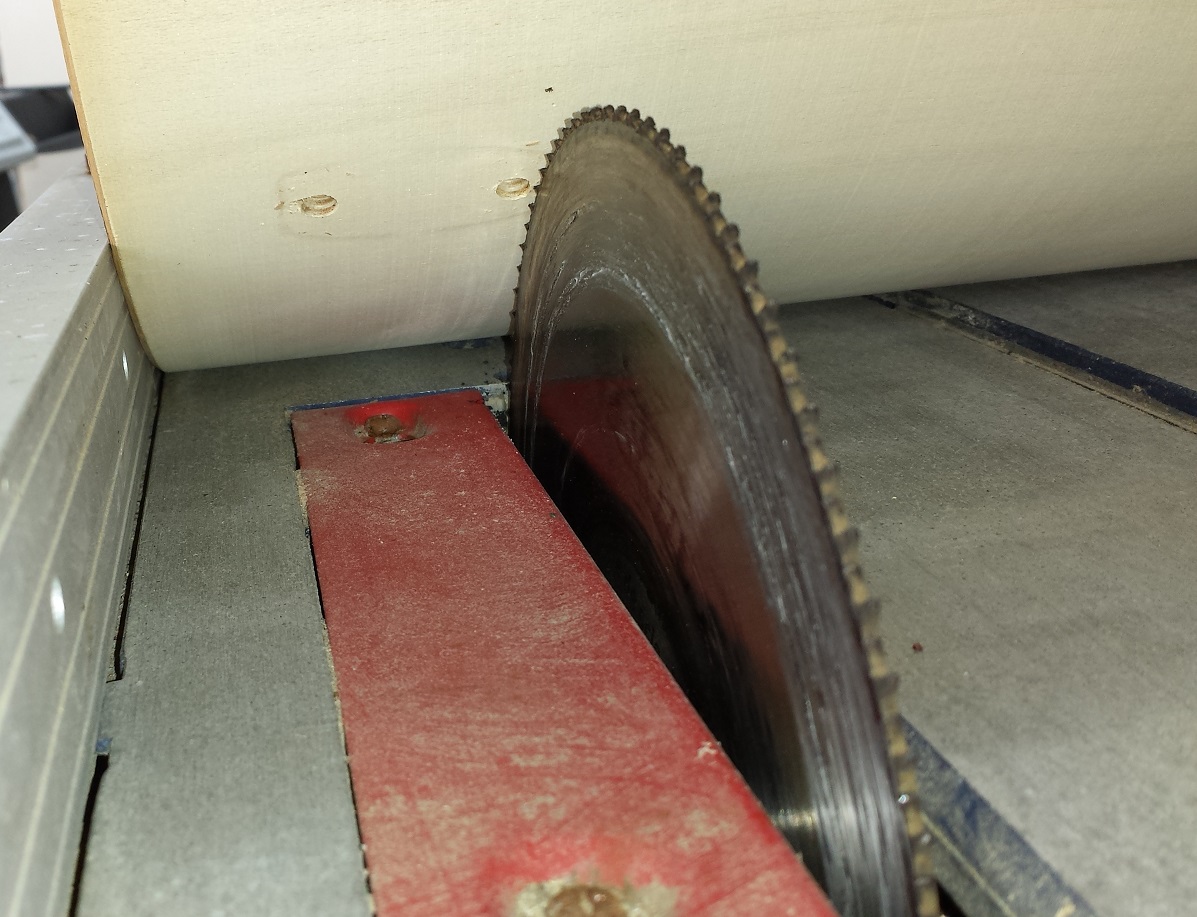
I set the fence on the table saw to just a smidge more than 12″, since cutting the bearing edge will reduce it further. Then simply roll the shell through the blade while holding it snug against the fence.
Then I set the Router bit height to remove about 1/3 of the shell’s thickness and cut both outside and inside. Next increase the height of the bit a smidge and cut the inside again. Keep increasing the bit height until the angles meet with a sharp peak. Next we check how true the sharp edge is on a 24″ square granite tile. Mark any high areas and go around again making sure to elevate the low areas while the high areas are resting firmly on the router table. Check again and repeat as necessary until we have a flat and true edge.
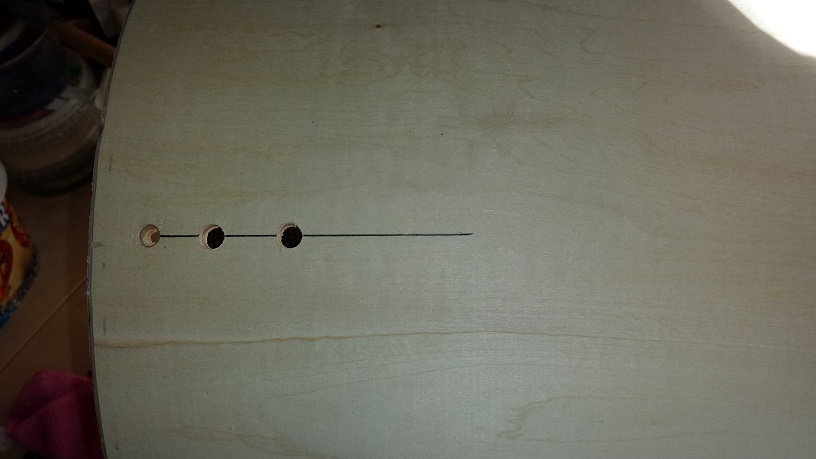
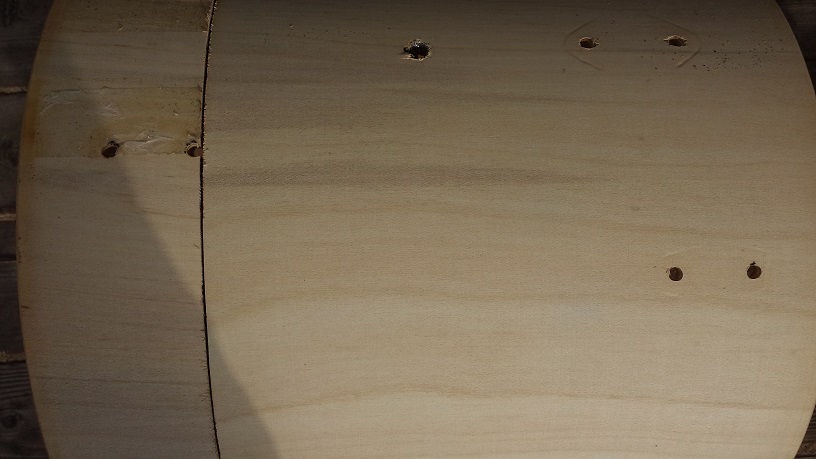
New lug holes will be required on the side that has been chopped. First draw straight lines through the existing lug holes. Then make marks along the lines at the corresponding distances from the edge. Drill the holes as described in the floor tom section above.
Spurs will also need some holes. First we need to determine the position. I start with standing the shell up and placing the spurs on the sides to find the right angle and ensure that the length of the spurs will be adequate. Once the position and angle is determined, draw a straight line parallel with the edge, centred with the spur bracket. then use the ISO gasket as a template to mark the holes. If your spurs don’t have ISO gaskets you can make your own following these instructions. Drill in the same manner as above. Test fit before moving on to the next set of holes.

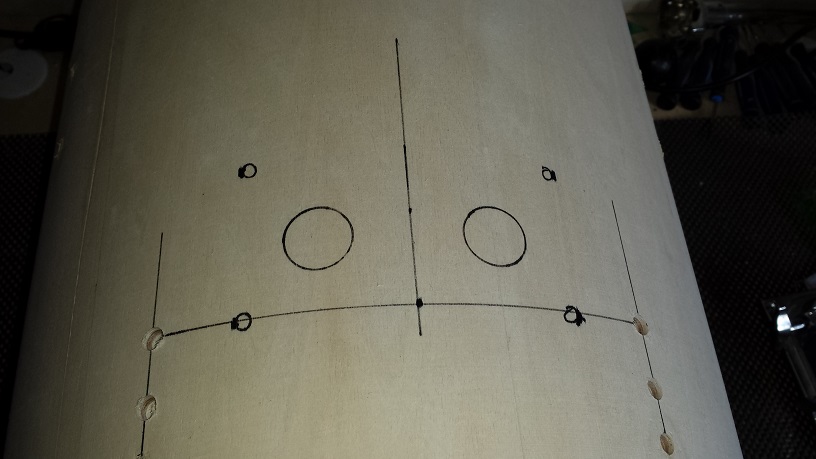
Moving on to the bracket for the riser and pedal attachment. We’ll be using Bass Drum Riser #8 from our DIY Bass Drum Risers page for our DIY Cafe Drum Kit. Once again we start with determining the position, then draw a grid of lines using what ever reference points are available. Then I simply use the bracket itself as a template to mark the holes. Drill in the same manner as above.
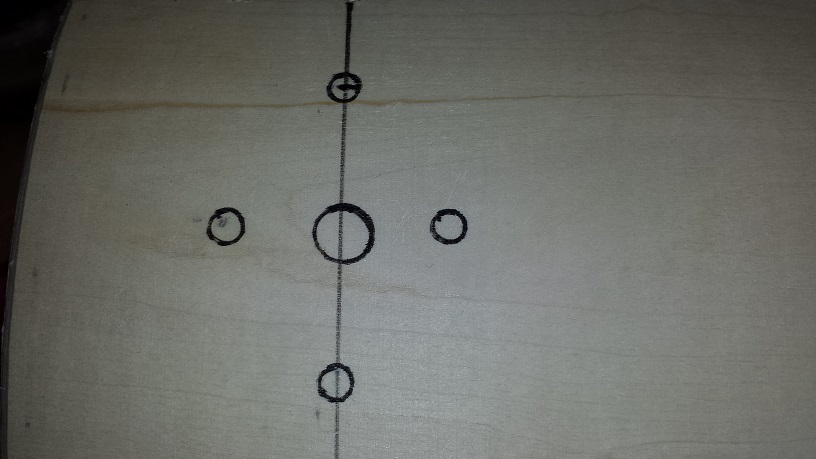
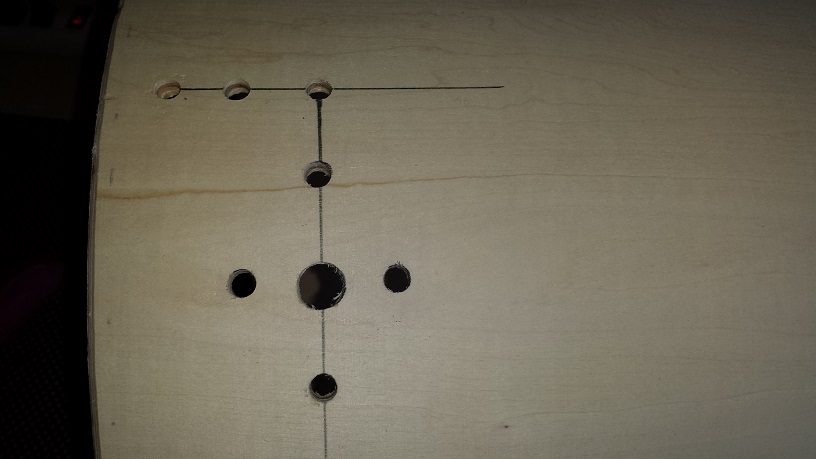
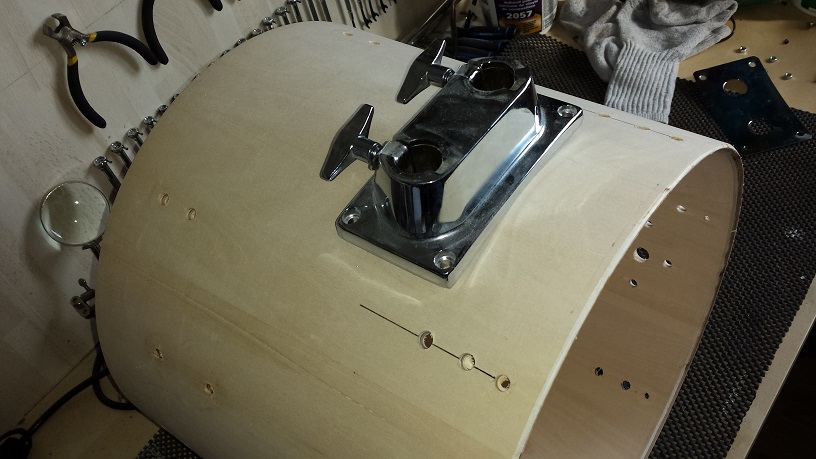
Now only the tom mount platform remains. While I’m not a fan of the aesthetics of a dual tom mount, especially on a small bass drum, I do like the extra pass through for a cymbal arm. Just like before, I start with identifying a suitable position. Next draw a few guidelines parallel with the edge, as well as a perpendicular centre line. Mark the holes using the actual platform as a template. Drill in the same manner as previously. The larger holes are made with a spade bit, but the method is the same.
Time for the initial coat of Polyurethane sealer. I let the first coat dry overnight, then sand it back with fairly fine paper. Around 200 grit is about right. Follow up with two additional coats allowing ample drying time both between and after.
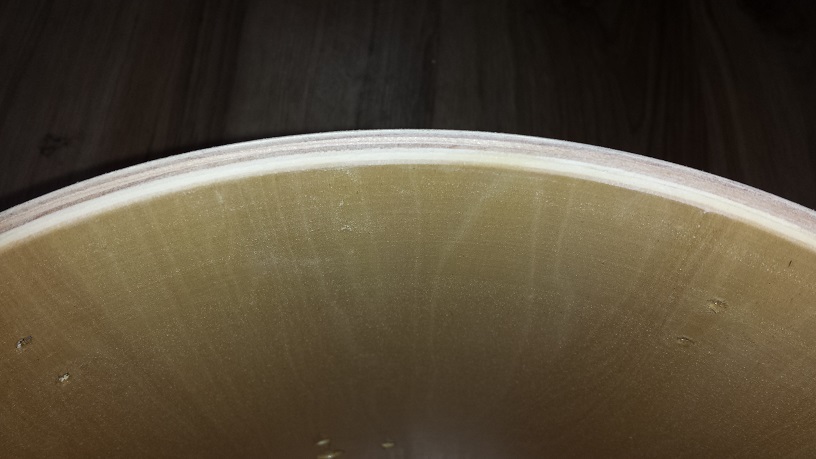
Once completely dry we proceed with sanding the bearing edges following the same process as with the toms above. The freshly cut edge takes a bit longer as has a “raw” 90 degree peak on top. A bit more wood needs to be removed to smooth over the contours and achieve that slightly rounded over outside bevel that provides a bit of added head-to-shell contact.


Making DIY Wood Bass Drum Hoops
DIY Wood Hoops
Earlier in this article I eluded to making our own wood hoops for this DIY Cafe Drum Kit. I have an idea of how to go about this in a fairly simple manner. However, I don’t yet know if it will work.
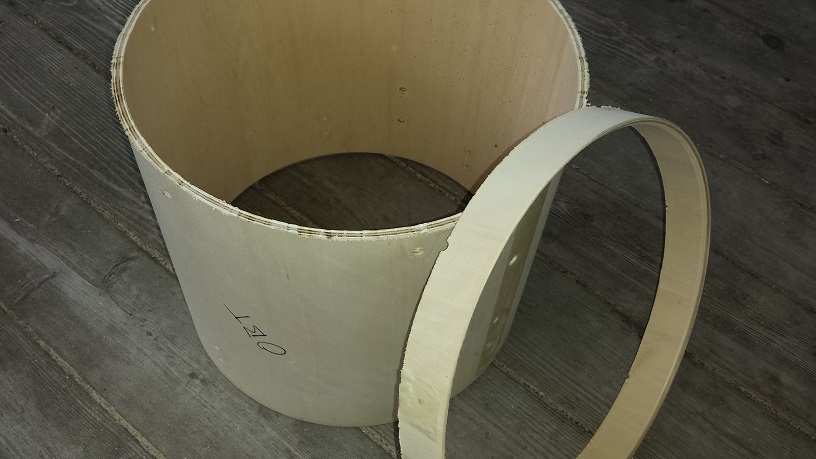
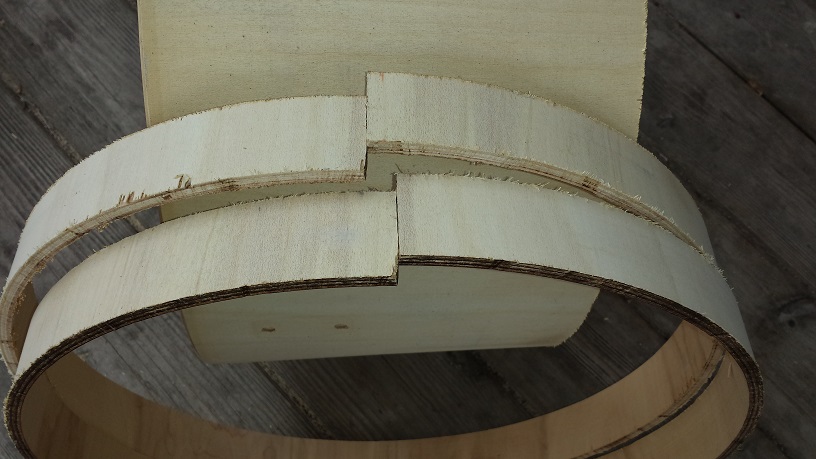
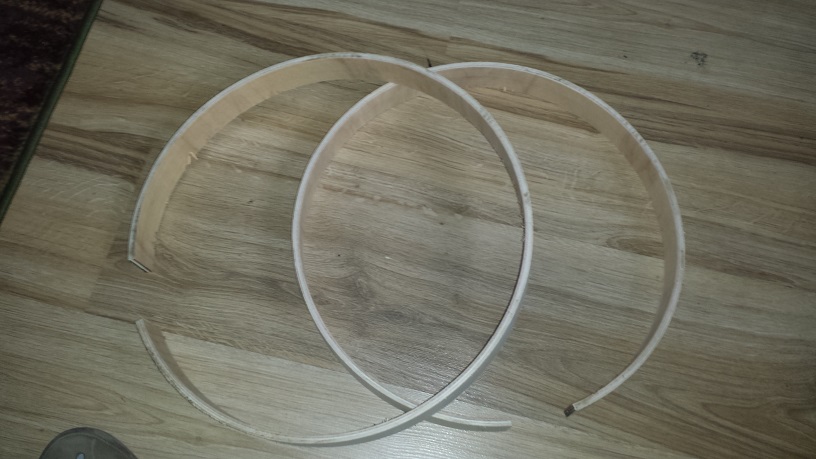
Start with a bare 16″ shell. The first step is to lop off one end up to and including the lug holes. I did this in the table saw, by setting the fence and rolling the shell through the blade. All the time keeping the edge of the shell snug against the fence. Next set the fence to 1-5/8″. A hoop is generally 1.5″ but we’ll need a bit of wood to sand off and possibly shape a little bit. Make two more slices in the same manner as we lopped off the first part. Make a perpendicular cut in the hoops to open the circle.

Using a head as a sizing gauge, place the open hoop over the head and squeeze it so it overlaps itself and fits loosely around the flesh of the head. Make a mark and lop off the excess piece. Place it over the head again and note the amount that still needs to be removed for a good fit. Lop off the excess again and test fit to ensure a good fit.
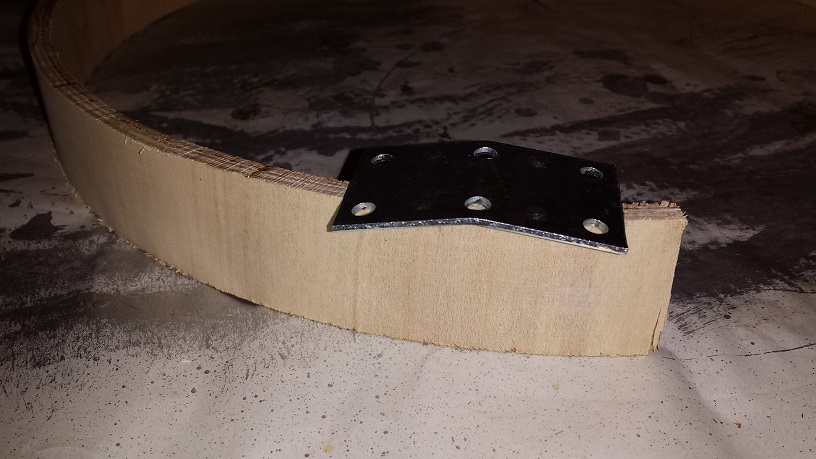
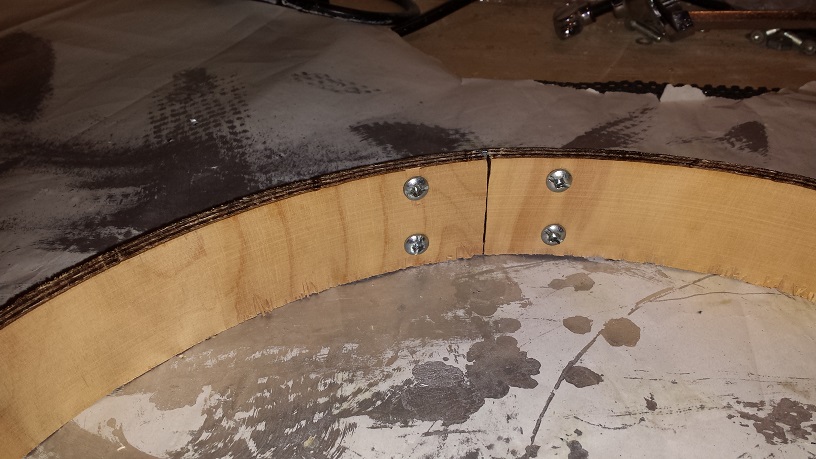
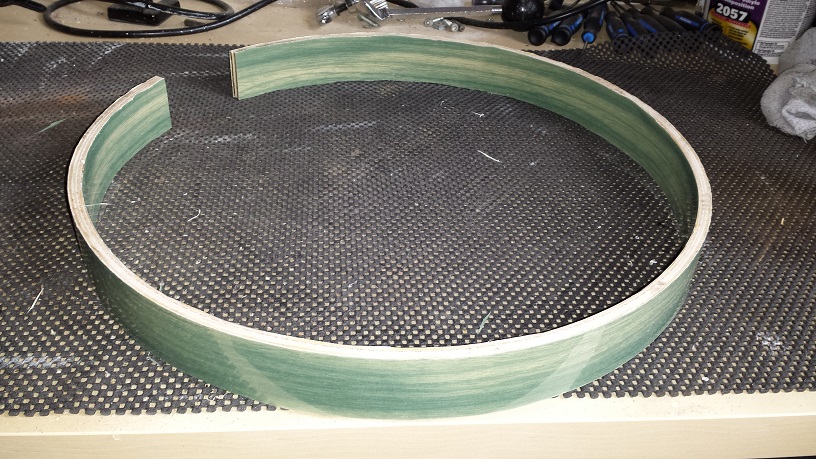
Get an appropriate size metal brace and bend so the shape corresponds to the arc of the hoop. Place on one end and mark for screw holes. Drill out the holes. Attach the brace with screws and nuts. Squeeze the hoop together and mark for the holes on the opposite side. Drill. Screw together with screws and nuts. This method is known as the “Refined Redneck Wood-Bonding Method”.
Now that we know the method works, the brace comes off again. All four edges get an initial sanding with 80 grit paper. Just to get them even and remove the blade burn. Another round of sanding with finer paper will follow later.
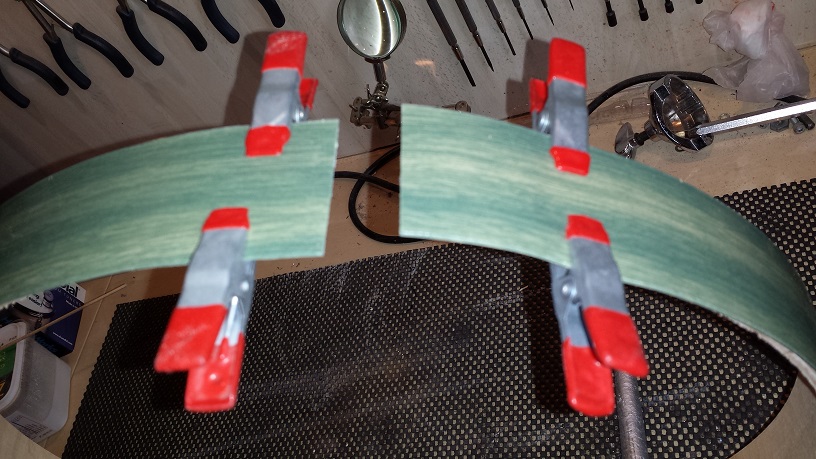
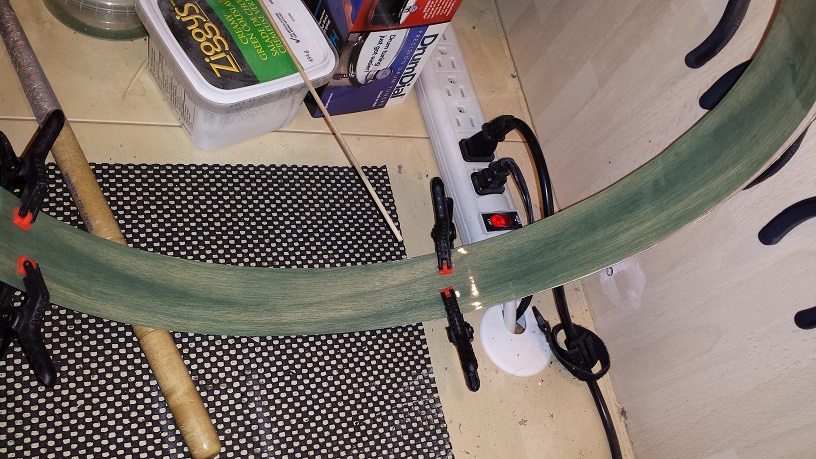
Next we cut a strip of the wrap, just a smidge wider than the hoop. Roll the wrap tight and straight around the hoop and hold in place with clamps. (Pictured) Undo the clamps on one side and apply suitable adhesive (contact cement) to half the circumference. Follow the adhesive manufacturer’s instructions. Re-affix the wrap to the hoop with the clamps and leave to cure. Once dry the other half can be glued down in the same manner.
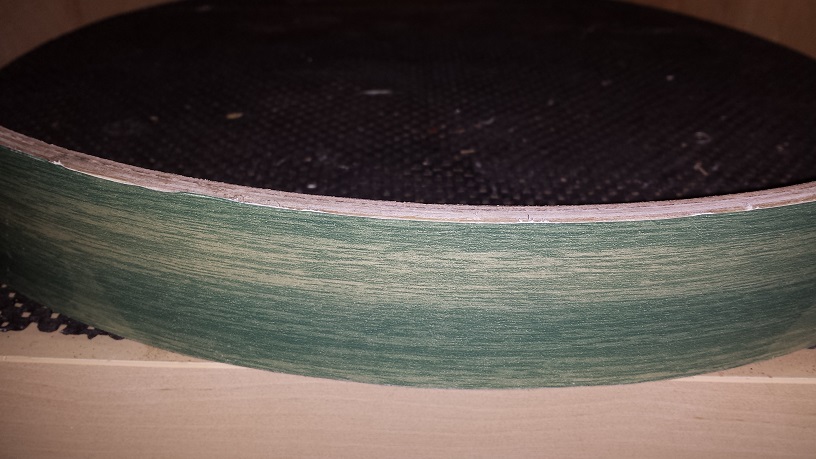
Once cured all around we trim the excess wrap down with a heavy utility knife. This doesn’t have to be perfect as we still plan on sanding the edges smooth. Next repeat the same process on the inside of the hoop. (If desired.)
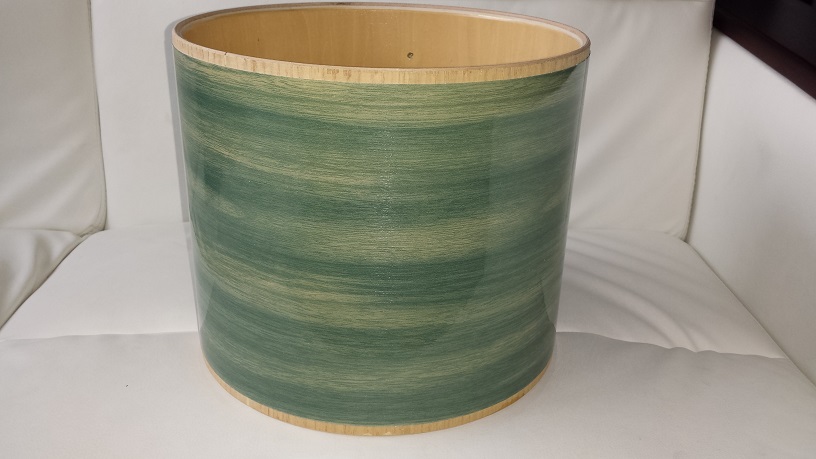
Just as with the outside, the inside wrap also gets trimmed down once the glue has completely dried. Then we load up the sander with 200 grit and sand the edges smooth. This step also levels the wrap with the wood hoop. The outside edge then gets treated to an initial coat of polyurethane sealer. I leave the inside edge untreated. (The edge that pushes against the head.)
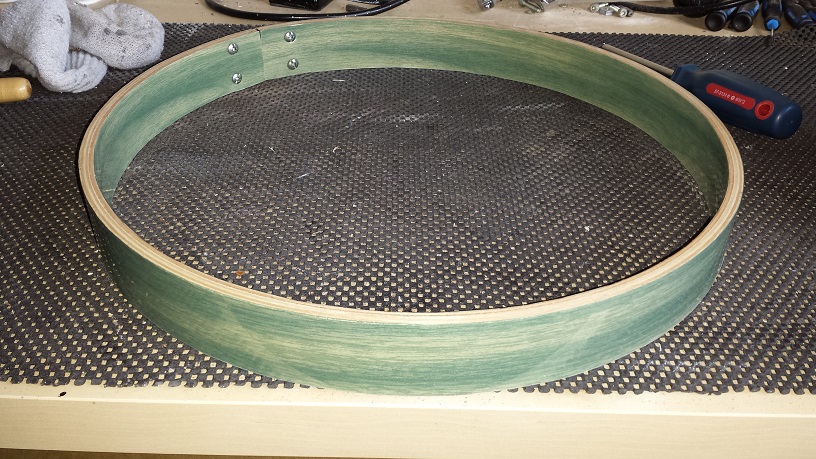
All that’s left is to re-assemble the braces and test-fit on the bass drum.


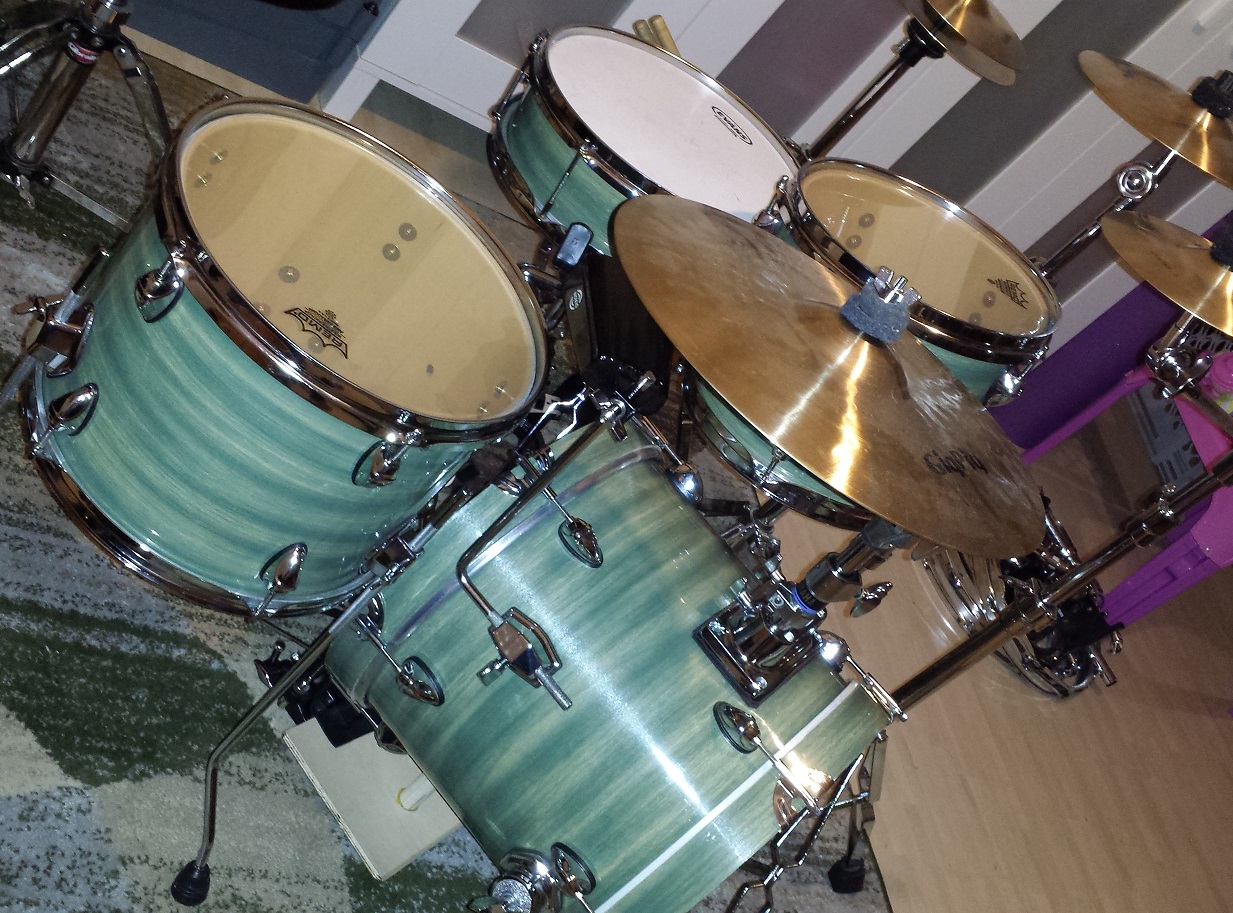
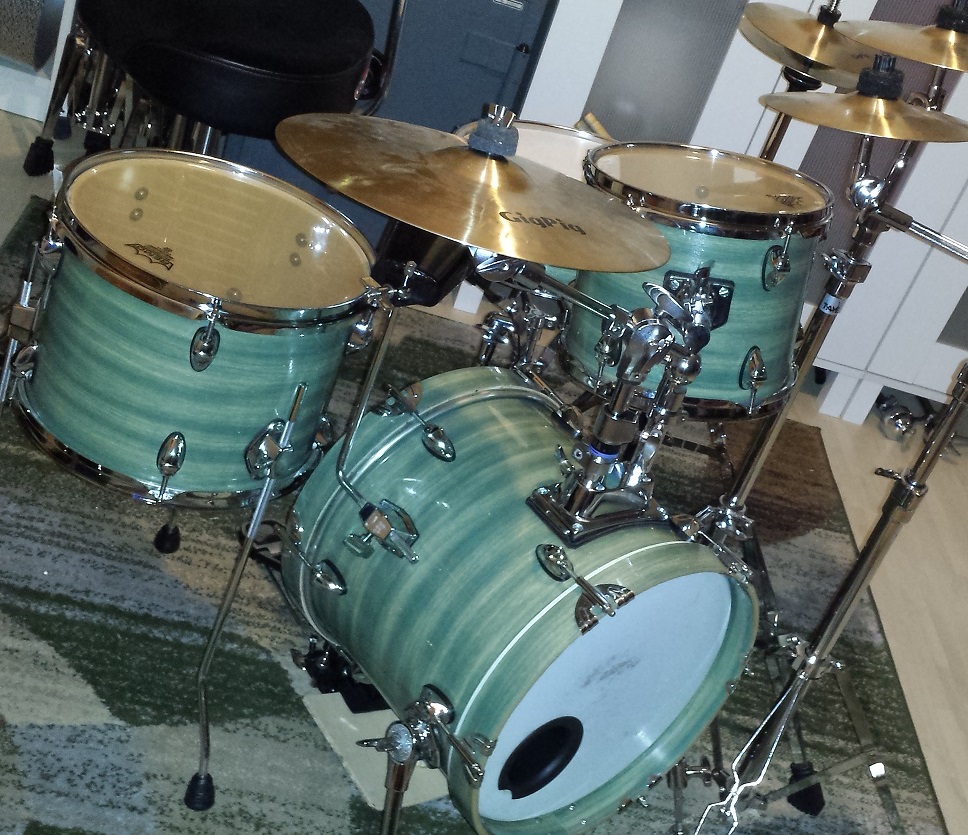
Wrap and assembly

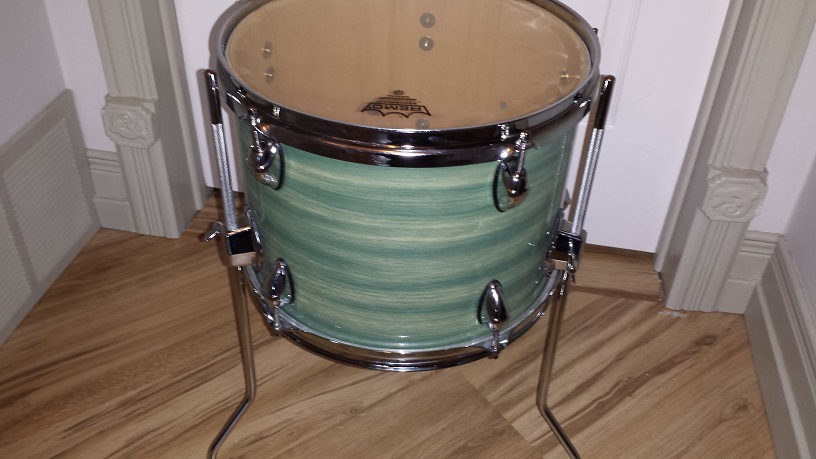
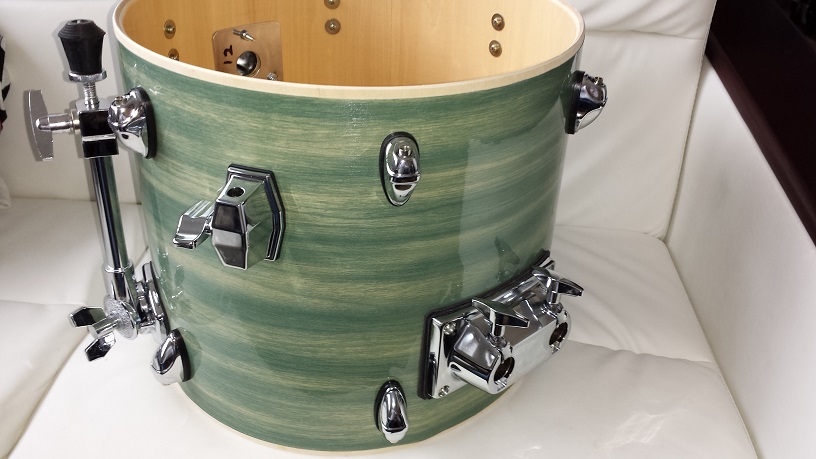
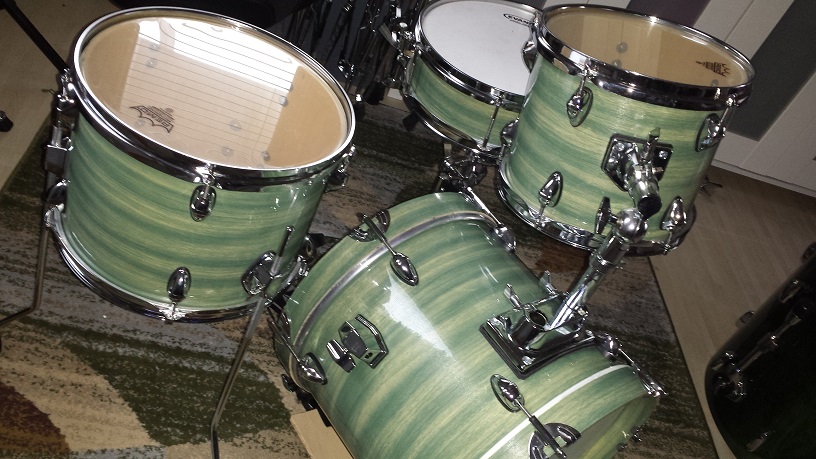
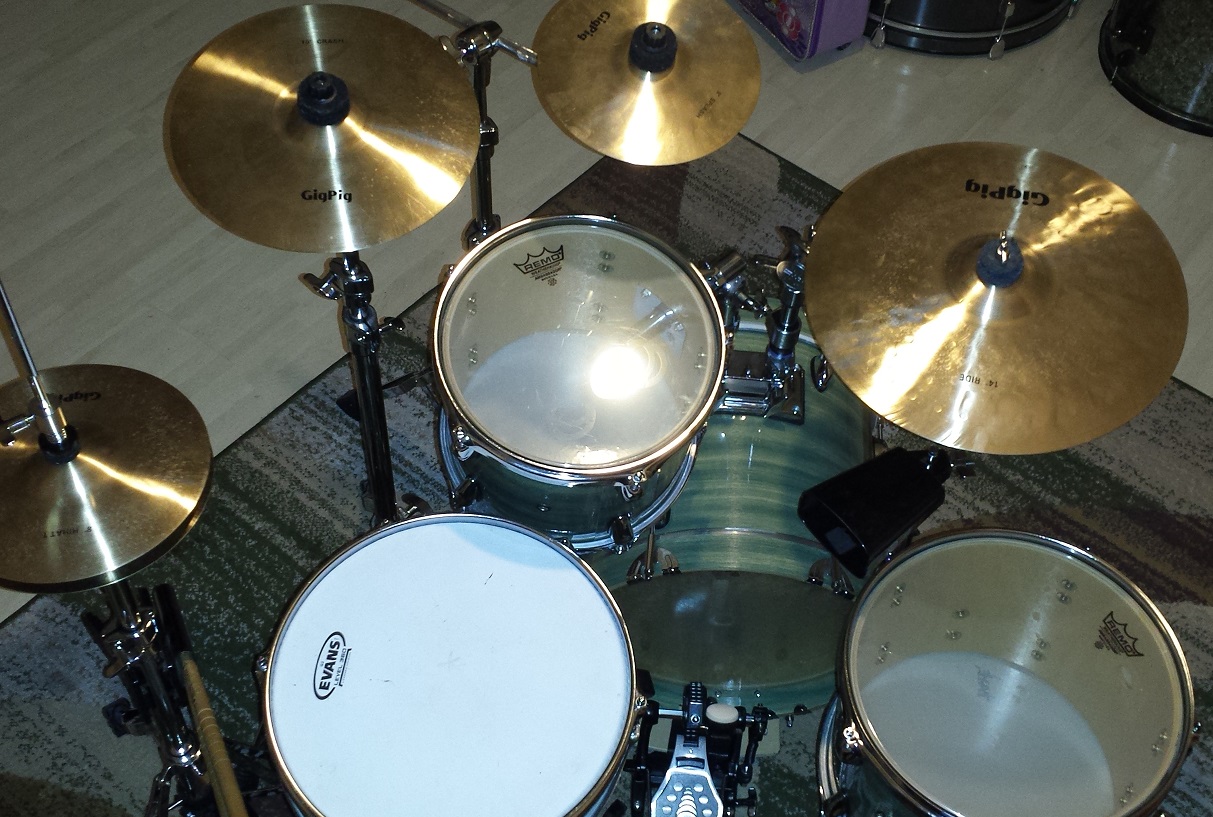
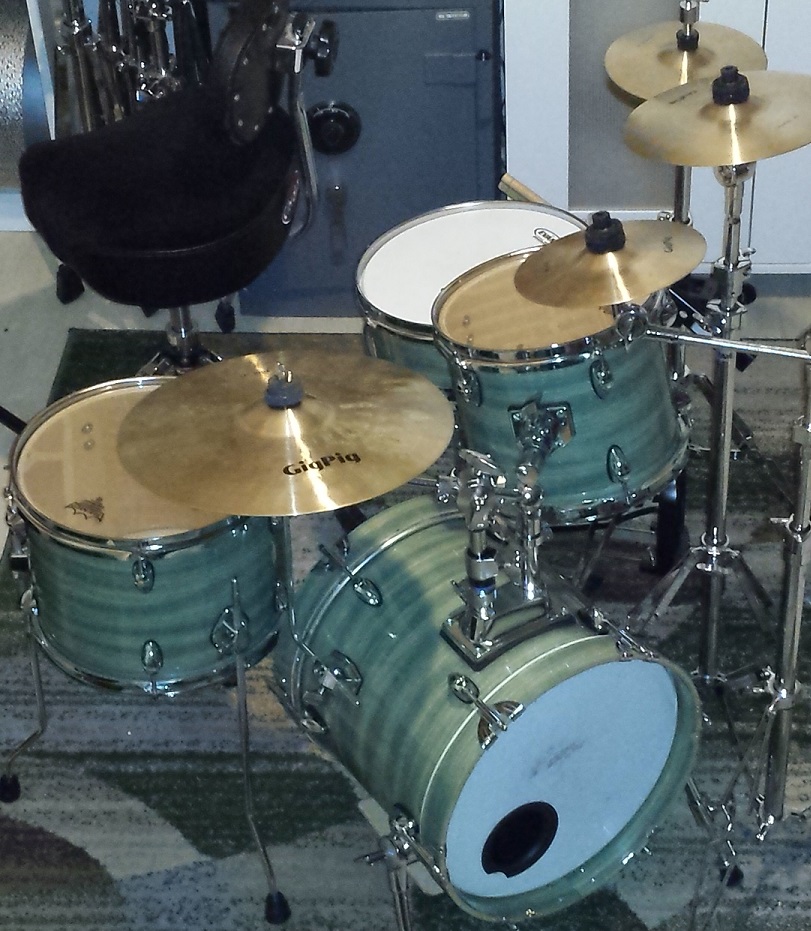
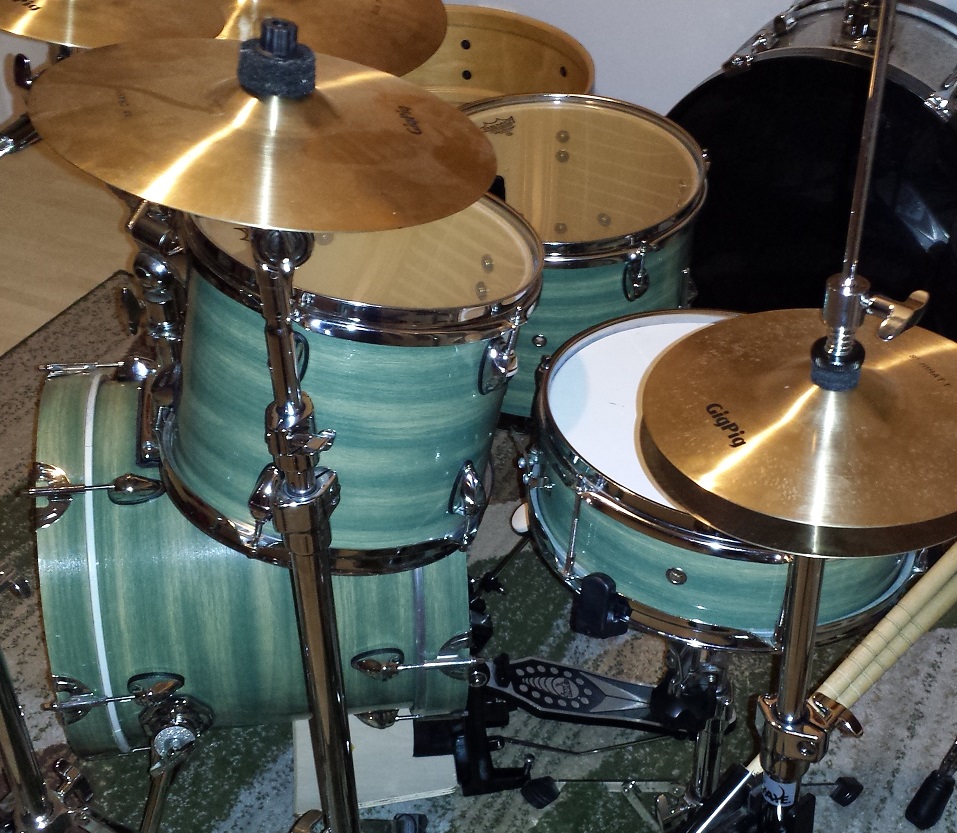
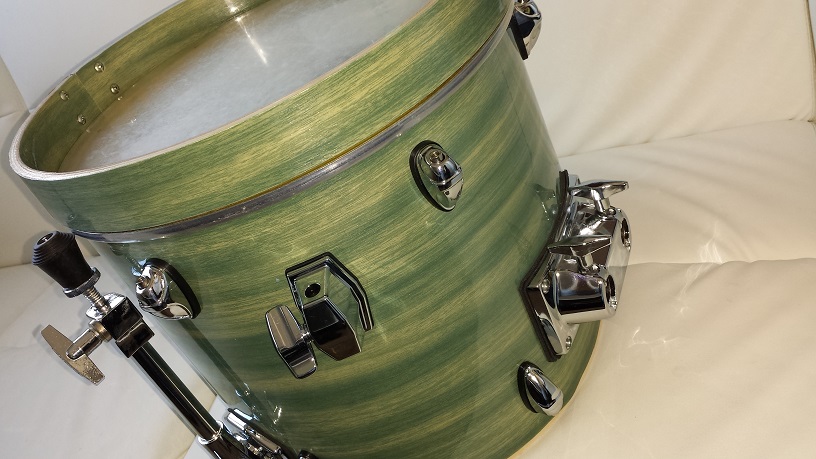
The shells all get wrapped as per “Method 4” of our Drum Wrap Instructions page. The Olive Stain Wood Grain Wrap from Walopus proves a really nice choice. I wish I could take better pictures to do the wrap justice. While assembling I give the chrome parts a quick polish. The lugs and hardware on this kit are quite neat and feature real nice studded isolation gaskets.
As always take care not to over tighten the lug screws. Somewhere between snug and tight is about right.
The bass drum receives an extra multi-purpose bracket to the right side. This could be for a cow bell, splash or some other percussive gizmo.
We also cut a little notch in the batter side hoop to avoid clearance issues with the pedal.