Introduction
Cutting a hole in the resonant side head is about more than just relieving the pressure and accommodating access for a microphone. Properly done, porting small bass drums can have a dramatic effect on the low end punch of the drum. In our DIY Mini Bop Drum Kit project we consulted with an experienced engineer in acoustic frequencies, who provided us with the correct port diameter for optimal low end enhancement. The 16 X 14 bass drum in the centre of that kit did indeed surprise us with it’s low end depth and volume. It is very hard to believe that such deep bass comes from such a small bass drum. The explanation we received included terms like “standing waves” and other technical lingo that flew way above our heads. However we did understand enough to put together a few tips as well as a table of ideal port diameters for various small bass drum sizes.
The optimal port diameter has two key advantages. 1 – Releasing the lowest frequencies the drum is capable of out in the open, with as few “bounces” against the drum shell as possible. 2 – “Blocking” a portion of the higher, less desired frequencies from exiting the drum shell, allowing them to resonate and dissipate inside the drum.
How come I can’t achieve the same results simply by tuning the drum lower? The answer is simple and complicated at the same time. More often than not, the floor tom is actually tuned to a lower dominant frequency than the bass drum. The difference is that the smaller diameter of the tom doesn’t have the same “punch” that cuts through at those lower frequencies as the larger diameter bass drum. (Chest thump) The challenge doesn’t really lie in producing the target frequency but rather in increasing the volume of the lower range while suppressing the highs, to emulate the overall sound of a full size bass drum. In essence we are going to “EQ” our small size bass drum to have the thump that cuts through the mix, of a larger bass drum.
We will also touch on the topics of suppressing resonance and controlling overtones, something we learned can, and probably should, be addressed individually, rather than throwing a pillow or blanket in the drum to address both.
Background
If you have no curiosity as to how an optimal port size yields optimal results, but would prefer to just get on with it and start making holes, you can skip this chapter altogether and proceed right to the diameter table to the right.
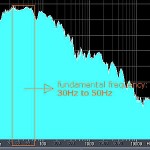
There is some analysis involved in concluding the optimal port diameter. We can’t enhance a frequency range that isn’t there to begin with, so before we can calculate a port size, we need to know what frequency range the drum is capable of, and what frequency range we are attempting to emulate. Luckily there are such devices or even software applications called “spectrum analyzers” that can reveal such information with little effort.
Each drum size, when struck, produces a range of frequencies. This range of frequencies is strongest in the middle, which looks like a “peak” in the spectrum. It tapers off in both directions with the highs to the right and the lows to the left. We wish to accomplish an upwards bump in the left end of the range and a more rapid dip in the right side, thus emulating a larger diameter drum. Similar to lowering the highs and increasing the lows by means of an equalizer.
Generally speaking a 22″ Bass drum has it’s strongest presence, or “peak” starting at around 30 Hz and tapering off just above 100 Hz. A 16″ in comparison although tuned to a lower pitch than the bass, has it’s strongest presence between 60 Hz and 110 Hz and with a steeper taper to the left of the peak. A 14″ tom displays it’s strongest presence in the 85-130 Hz Range. The most important information gained is that a 14″ and larger diameter drum is capable of producing the 80Hz and lower frequencies needed to get a satisfying thump, just not enough of it.
Porting Small Bass Drums
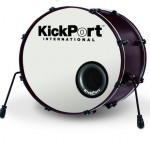
Armed with this knowledge we, or rather our dear engineer acquaintance has compiled the table of optimal port diameters for the most common sizes of small bass drums. Note that even though we target the same frequency to enhance (80 Hz), the port size differs with the diameter and total air volume. Also please note that these port sizes are only applicable to a flat hole. Should you wish to make a port with a depth dimension like the commercially available “KickPort” the diameter would need to be recalculated to a larger size.
Making the Hole
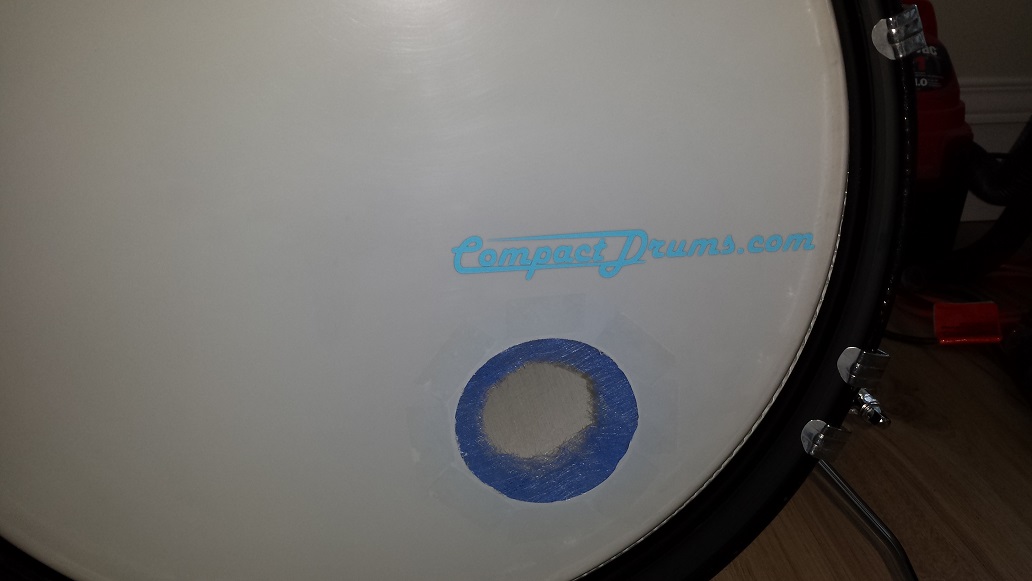
A simple way to make the actual hole is to find a metal can or similar object of the correct size and heat it with a torch or on the stove and then firmly press the can’s opening against the drum head. Not with the head on the drum, but rather face down on a piece of scrap plywood or other solid and sacrificial surface. We can not be held responsible for any fires, burns or other negative consequences of excessive heat. Wear oven mitts, protective eye-wear, life-jacket, parachute, contraceptives, earplugs and any other safety gear you can get your hands on.
Overtones, Resonance and Sustain
Rather than addressing overtones, resonance and sustain in one shot with a blanket or pillow, more desirable results can be obtained by addressing them individually.
The most effective way to suppress undesired overtones is to cut a donut shape in light fluffy filter material with an internal diameter about 1 inch smaller than the port diameter and the external diameter about two inches greater than the port diameter. Filter material can be obtained at most home improvement stores in the duct and filter aisle. Adhere with contact cement on the inside of the head, centred over the port. If further suppression of overtones is desired, place a small (4″ X 4″) piece of filter material in the center of the drum, not touching either head. Assess the resulting effect on the tone before moving on to resonance and sustain.
Sustain is best addressed on the outside of the resonant head. Experiment with small pieces of foam or fabric attached with electrical tape, or just use electrical tape by itself. Resonance can be suppressed the traditional way, with your favourite damping material inside the drum, but not in contact with the rez head.
Optimal Port Diameters
The location of the port is more or less irrelevant as long as it’s edge is at least two inches from the heads rim.
Drum Size
18 X 14
16 X 16
16 X 14
16 X 13
16 X 12
15 X 12
14 X 12
Port Diameter
4.8″
4.1″
3.6″
3.3″
3.1″
2.7″
2.5″
Handy online calculator for converting inch decimals to useful fractions
