Introduction
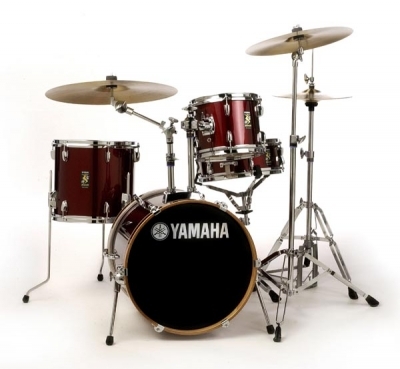
Ever come across the small version of the Yamaha Rydeen? Not nearly as commonly found as the standard size ones, but a real gem if you happen to see one. Like it’s more common big brother, it’s made of mahogany, which happens to be a great wood choice for smaller drum kits. Owners of the Rydeen jazz kits are generally very enthusiastic about this simple looking little set. Yamaha took a different design approach with this kit. The bass drum is a standard 18″, but the other drums are one size smaller than standard, with a 10″ tom tom, 13″ floor tom and a 13″ snare drum making it a tad more compact and portable than the norm. However, this kit is composed with thinner shells than usual allowing the smaller size drums to easily be tuned as if they were standard size. The equation all equals out with the mahogany shells. Mahogany having similar overall sound characteristics with maple, but generally louder. Thus the overall sonic sensation is like a standard bop configuration made out of maple.
The Rydeens were an economy drum kit for the budget minded. Of course with entry level drum kits some appointments that we see on higher end kits are missing. Interior Sealing, Isolation Gaskets, Suspension Mounts and Premium Wrap or Lacquer Finishes being some of the more obvious. In this DIY Bop Drum Kit Restomization article we’ll attempt to upgrade the excellent little budget drum kit into a worthy gigging or recording companion.
The shells will all receive a Danish Oil Interior Sealing, Dressed up Bearing Edges, Isolation Gaskets and a new eye catching “Platinum Onyx” wrap from Walopus.com.
DIY Bop Drum Kit Restomization
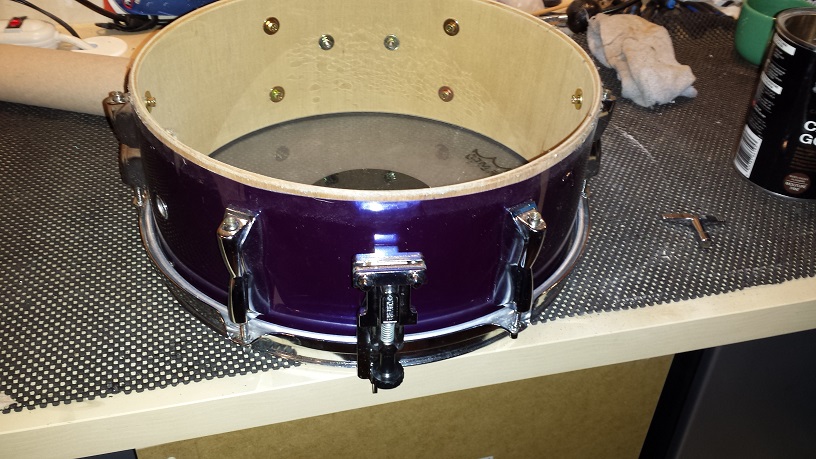
The Snare Drum
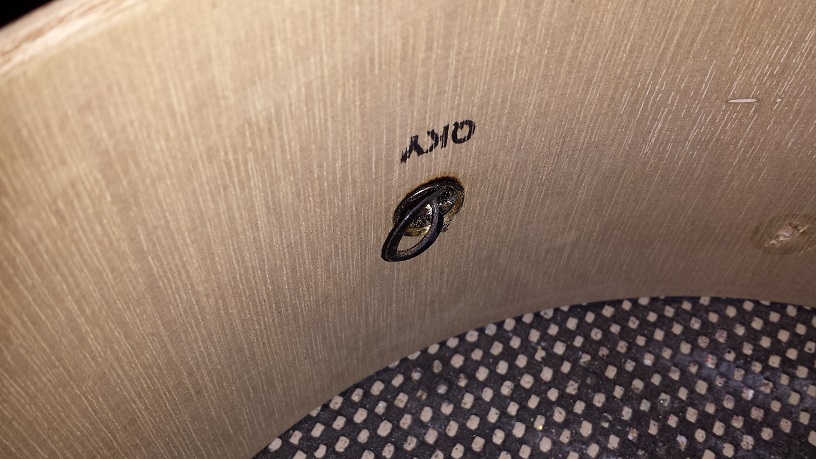
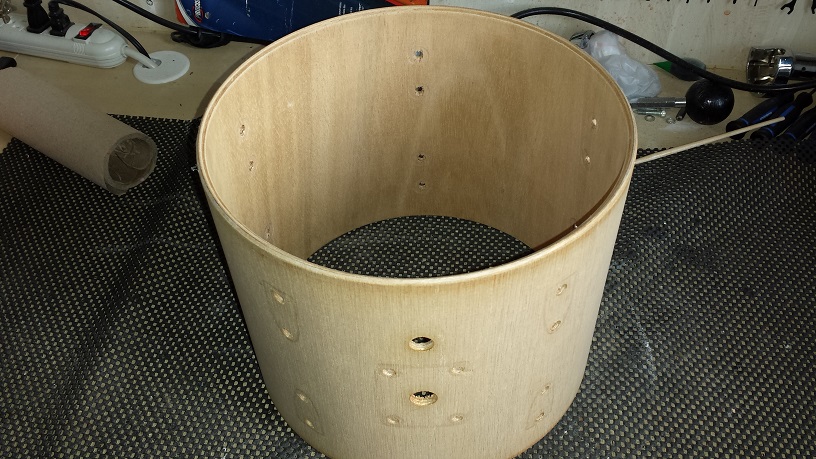
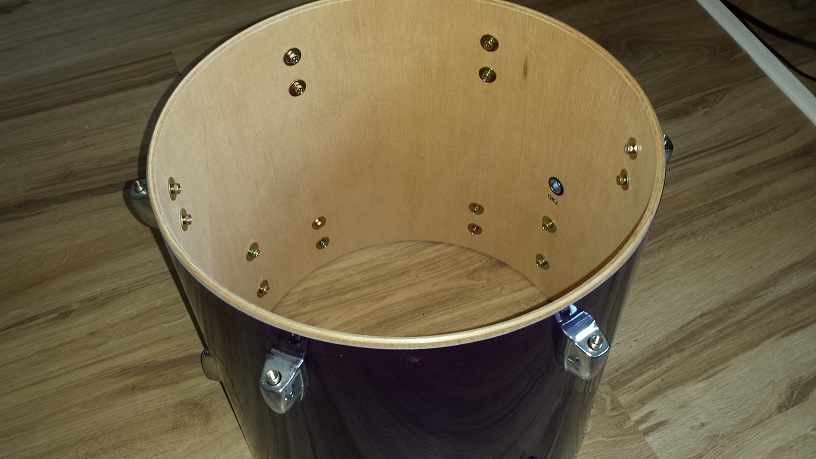
Disassembly: Once the heads, rims, lugs, strainer and butt plate are removed we can move on to the air vent grommet. On these drums the grommet is of the dreaded dual flanged type. Meaning it’s installed like a giant pop-rivet. The easiest way to remove them is to grind out the flange on the inside. I use a Dremel type tool for this, with a small grinding stone. Be careful pulling the vent out after grinding. It gets very hot.
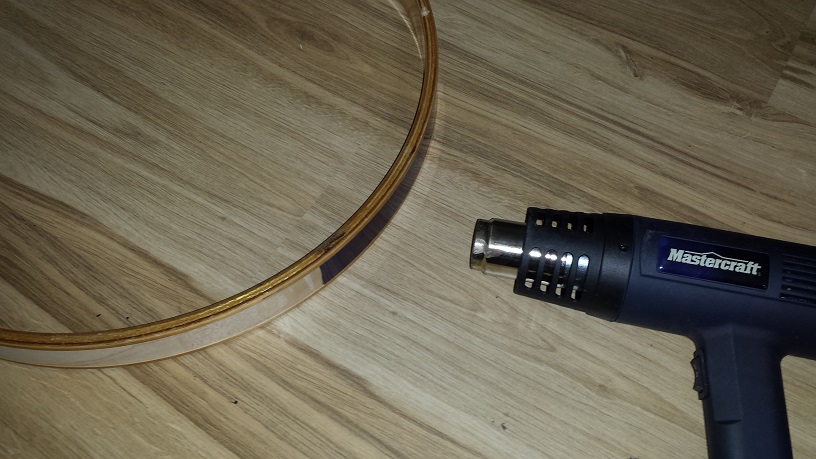
Once the air vent is removed we can proceed with removing the wrap. On this kit it’s adhered only along the seam. Heat it up with a heat gun or blow-dryer after which it can be removed without too much fuss. Take a look at out Drum Wrap Instructions for more detailed information on how to remove the wrap.
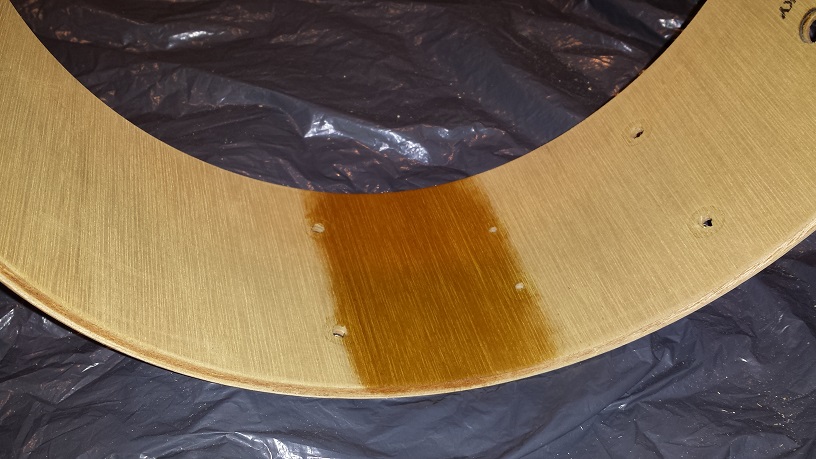
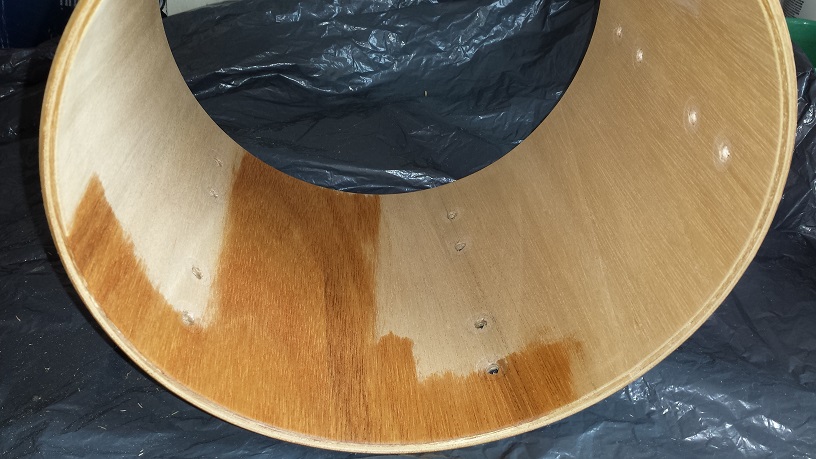
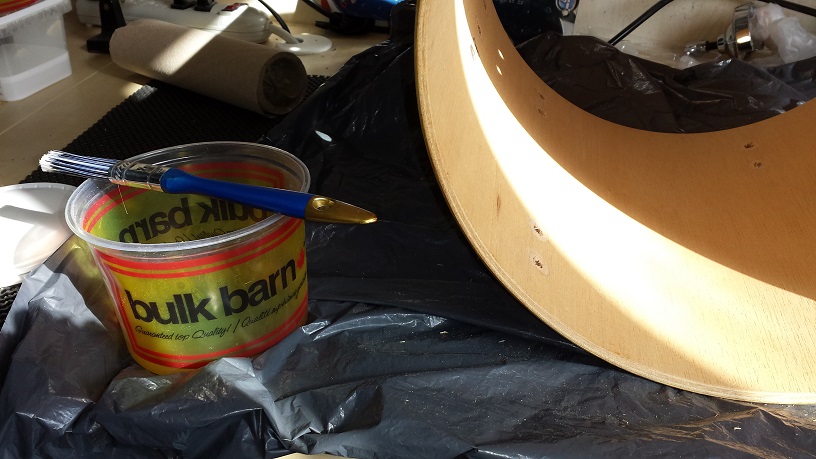
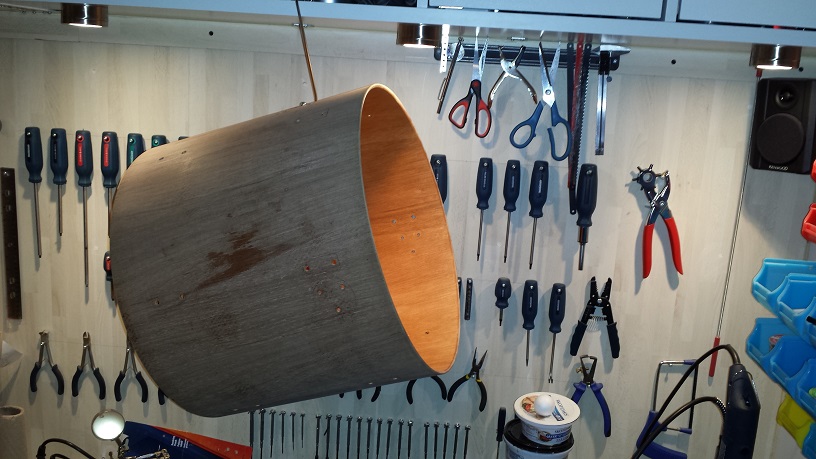
Sealer: With the wrap gone and the shell all naked, we can move on to sealing the interior. For this drum kit we’re using Danish Oil. On smaller size, mahogany drums I don’t really wish to add a hard gloss coat on the inside as this will diminish the soft, round warmth of the wood. Rather we just seal with the Danish oil to tighten up the inner ply a smidge, beautify the inside and of course provide long lasting protection.
Danish oil can be applied with a sponge, rag, brush, or just about what ever you’ve got handy. I use a brush for the simple reason that it has a handle. I don’t really paint on the oil though, but rather use the brush to rub it into the wood like you would with a rag.
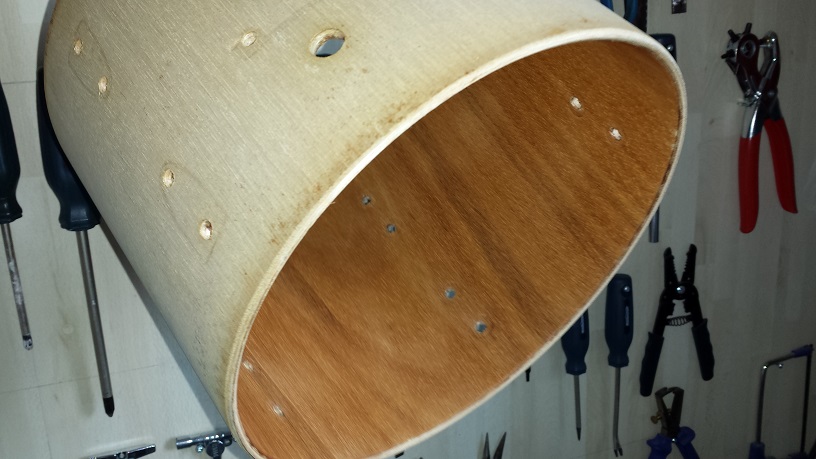
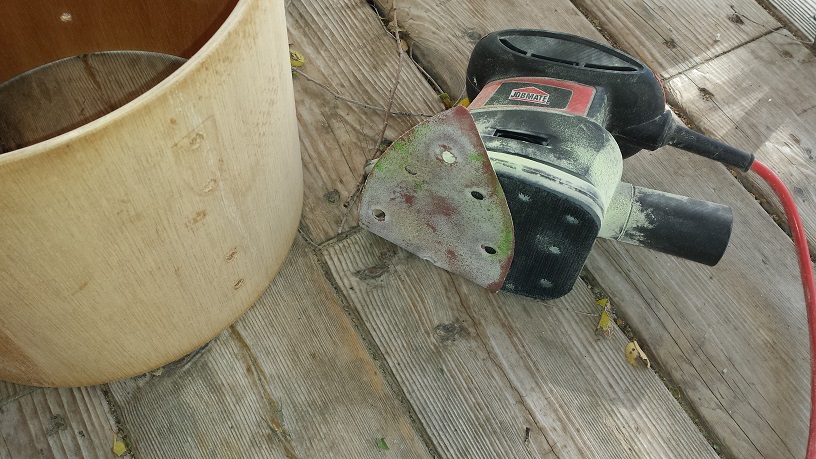
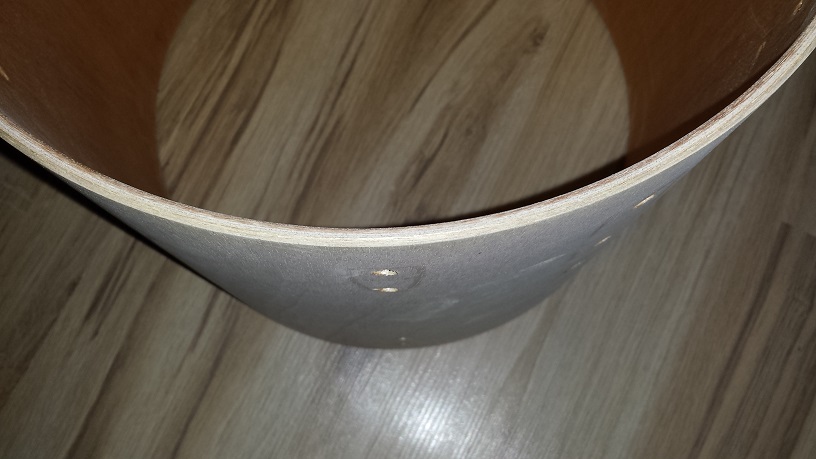
Bearing Edges: A pleasant discovery on the Rydeens is the bearing edge profile. It’s just about identical to my favourite style. 45 degree inside with a 45 degree bevel on the outside, gently smoothed over. Not smoothed over enough to be called a round-over, but enough to slightly increase the head-to-shell contact surface. Thus, I don’t need to perform any shaping of the bearing edge, just sand it so it’s silky-smooth. A quick sanding with 240-grit paper on a “Mouse” type sander and the edges are exactly the way I like them.
Wrap: Once the edges are sanded we can wrap up the shell. I follow the instructions under “Method 4” of our Drum Wrap Instructions.
Assembly: To the tunes of 70’s Swedish Punk Rock the snare drum gets re-assembled. I tighten the strainer and butt plate quite firmly, but the lugs only need to be somewhere between snug and tight.

The 10″ Tom
Disassembly: As with the snare drum above, we start with removing the heads, rims, lugs and mounting bracket. Using the dremel we grind off the inside flange of the air vent grommet, then push out the air vent. With the help of a bit of heat to loosen up the adhesive, the wrap comes off without much resistance. See this article for detailed instrux on wrap removal: Drum Wrap Instructions
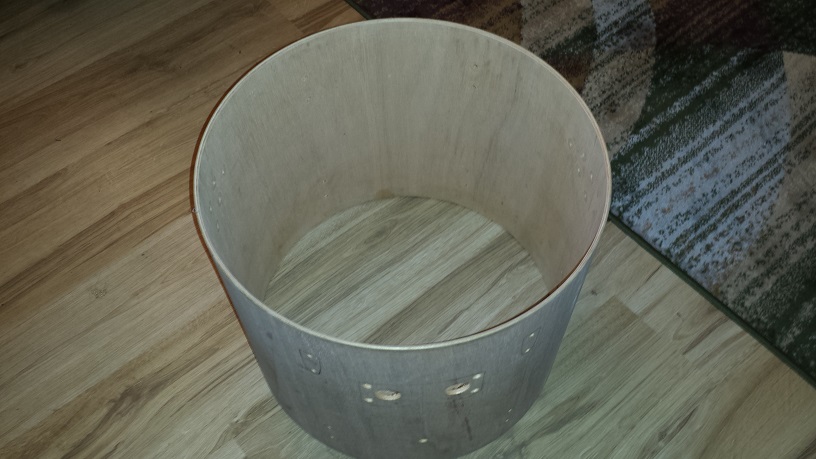
Sealing: Sealing is performed in the identical manner as with the snare drum above.
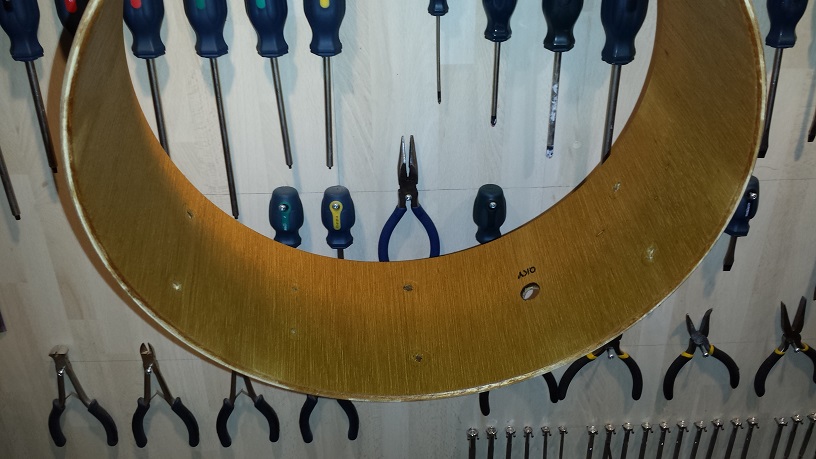
Bearing Edges: As mentioned the Rydeens don’t require much in the area of shaping the bearing edges as they are just about exactly the way I like them. They do however require a bit of sanding to get silky smooth. Since I use a mouse sander which isn’t ideal for sanding interior contours, (When sanding the inside only the edge of the sanding pad surface is in use.) I often reverse the orientation of the paper, as shown in the picture to the right. 240-grit or so is perfect for getting a nice slick surface for the head to glide over.
Wrap: Once the edges are sanded we can wrap up the shell. I follow the instructions under “Method 4” of our Drum Wrap Instructions.
Assembly: This time I’m listening to the Doors while putting together the tom tom of our DIY Bop Drum Kit Restomization. Making the DIY Isolation Gaskets is time consuming and boring but really spiffs up the end result. While tuning I take the time to try out some different options. The little 10″ tom sounds pretty awesome, even with stock heads. Tuned high it really sings, but it will also tune down low and still sound full.

The Floor Tom
The steps of the floor tom restomization are identical to those of the little 10″ tom. Note the handi-craft method of manufacturing the DIY Isolation Gaskets. Detailed instructions can be found on this page.
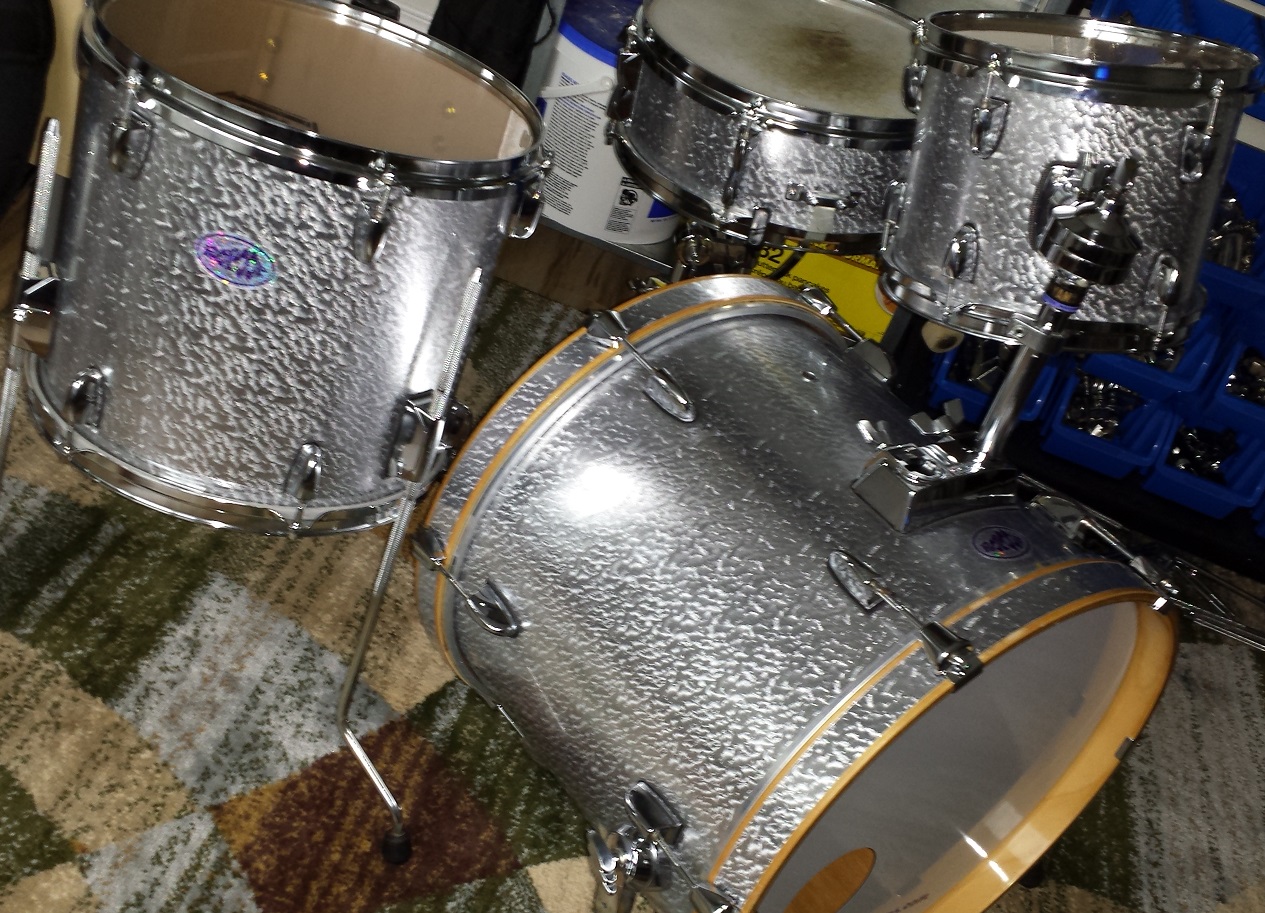
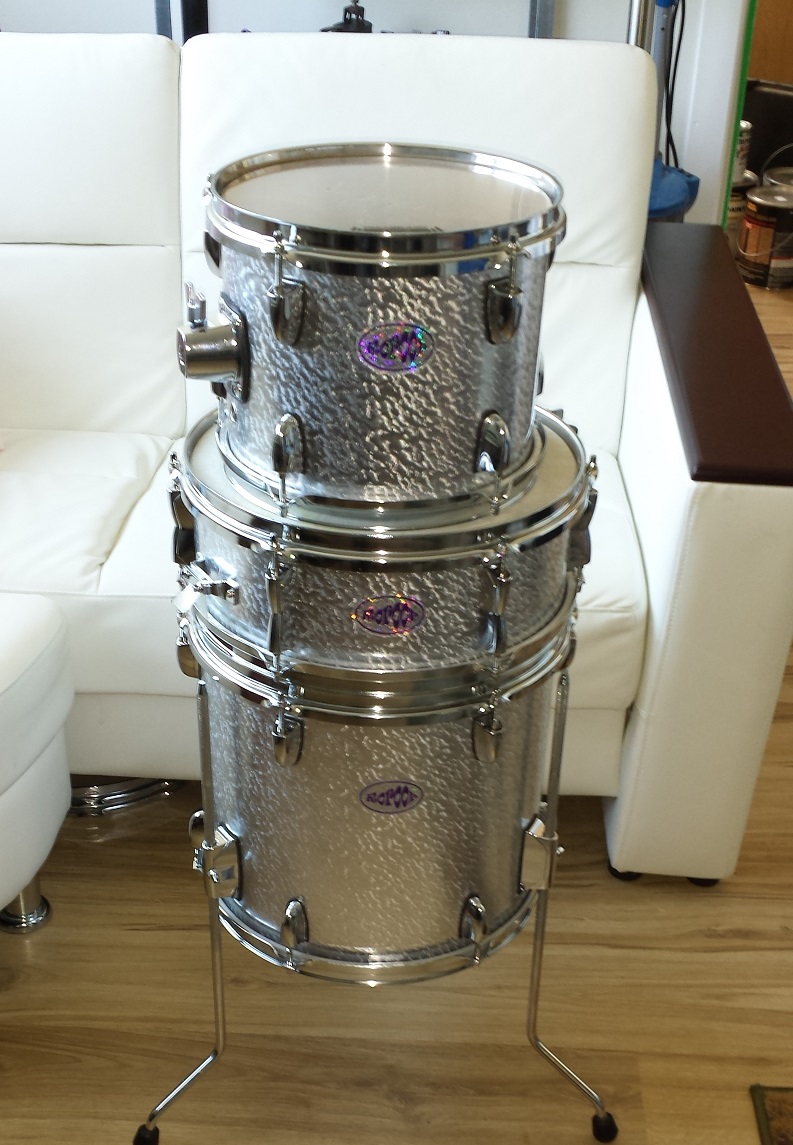
Also check out the handsome group picture of the floor tom, snare drum and tom tom. The DIY Bop Drum Kit Restomization project is now nearing completion.

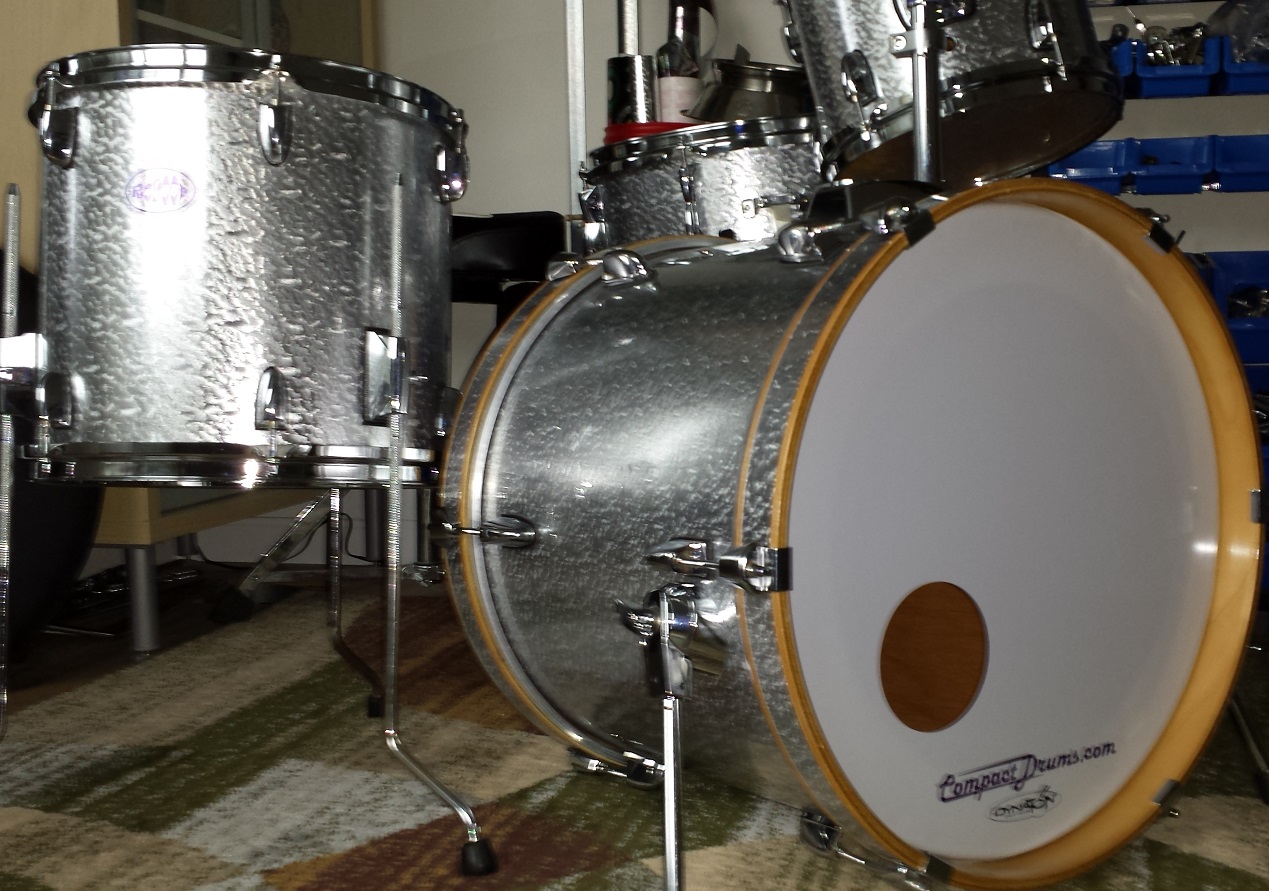
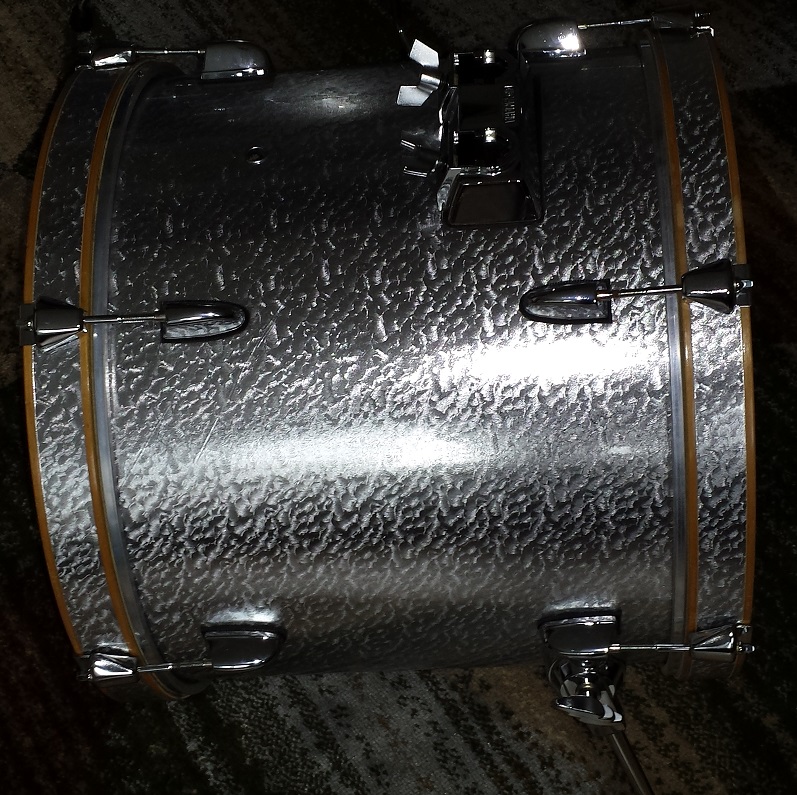
The Bass Drum
Just like before we start with disassembling the drum. Usually the hoop inlays are the easiest part of the wrap to remove but on this one they required a fair bit of heat fro the adhesive to let go.
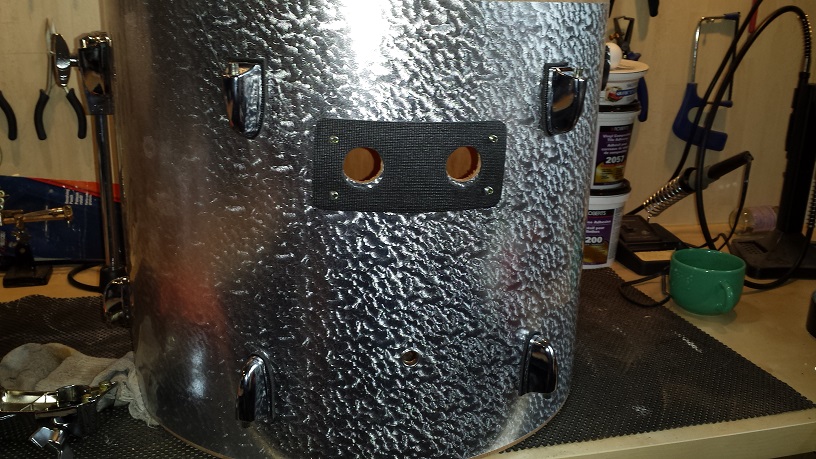
The bass drum is the toughest to wrap as you have a larger surface to deal with and sometimes two hands seem inadequate to hold the wrap in place while rotating the drum.
The new hoop inlays have to be cut very straight since any imperfection will be completely visible.
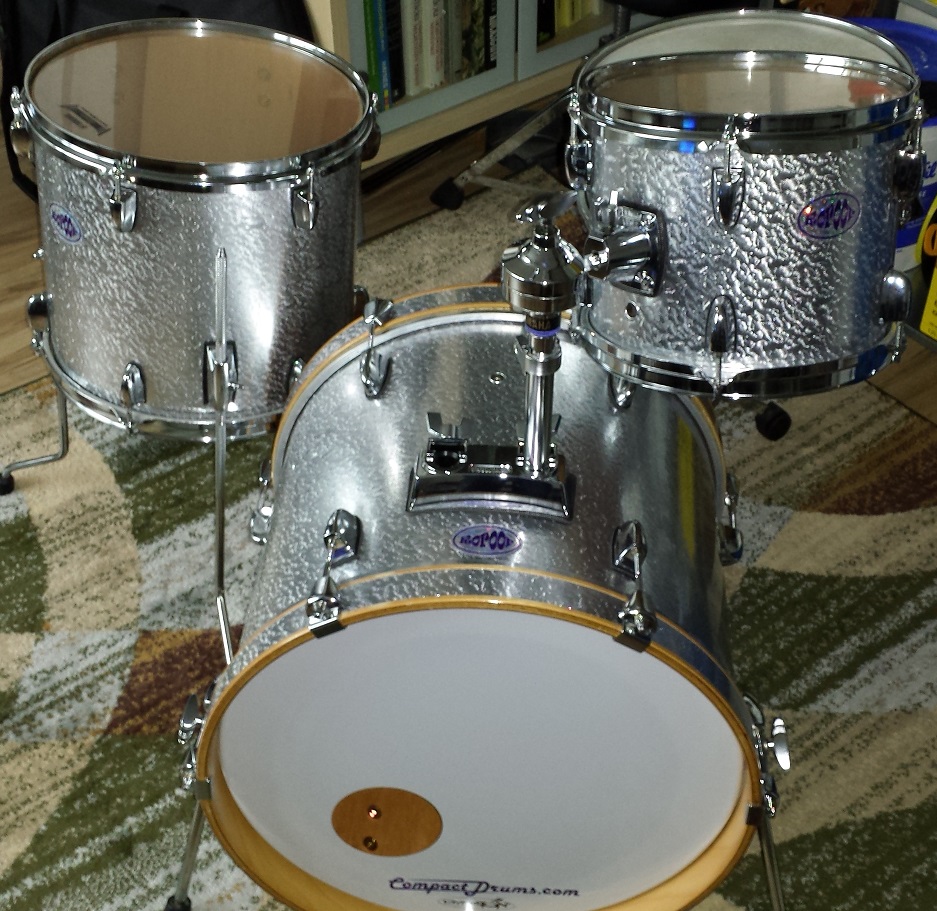
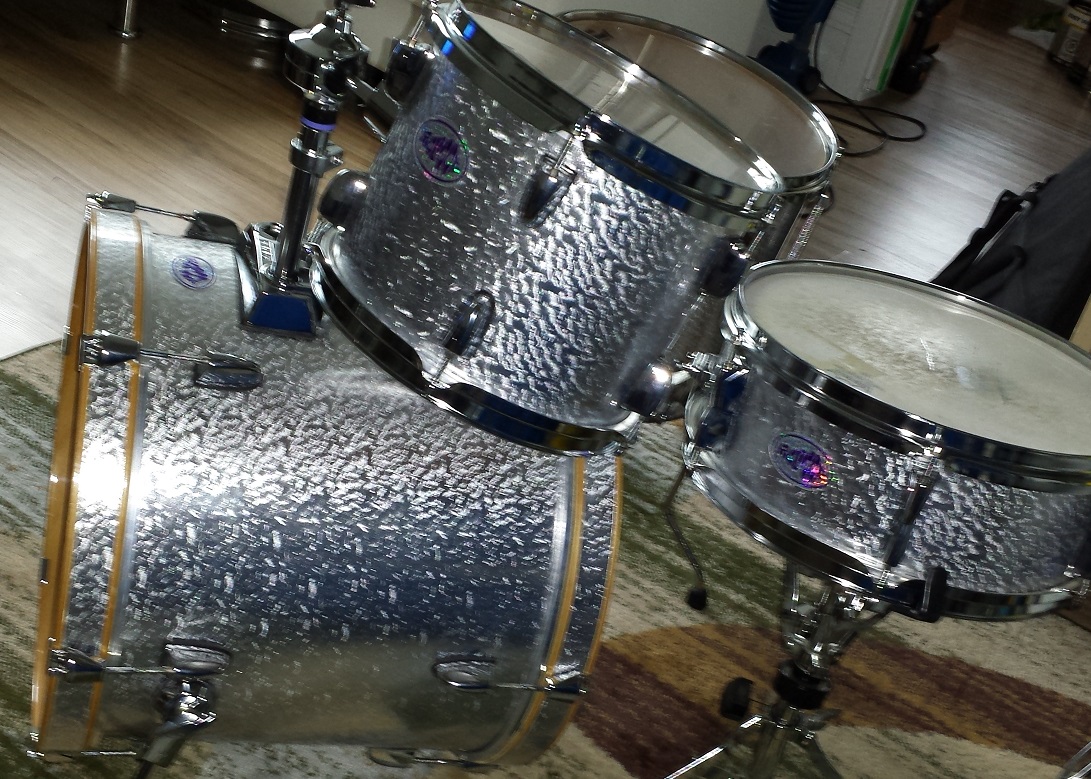
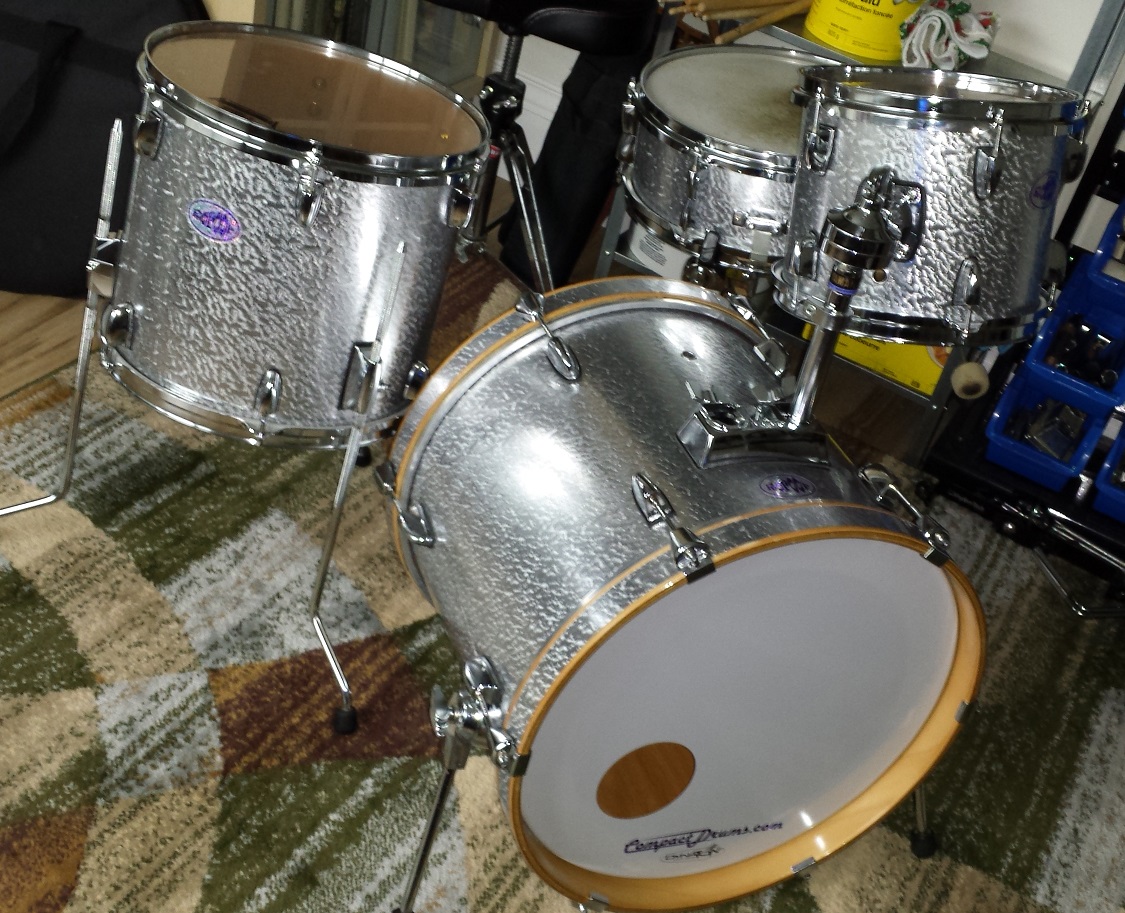
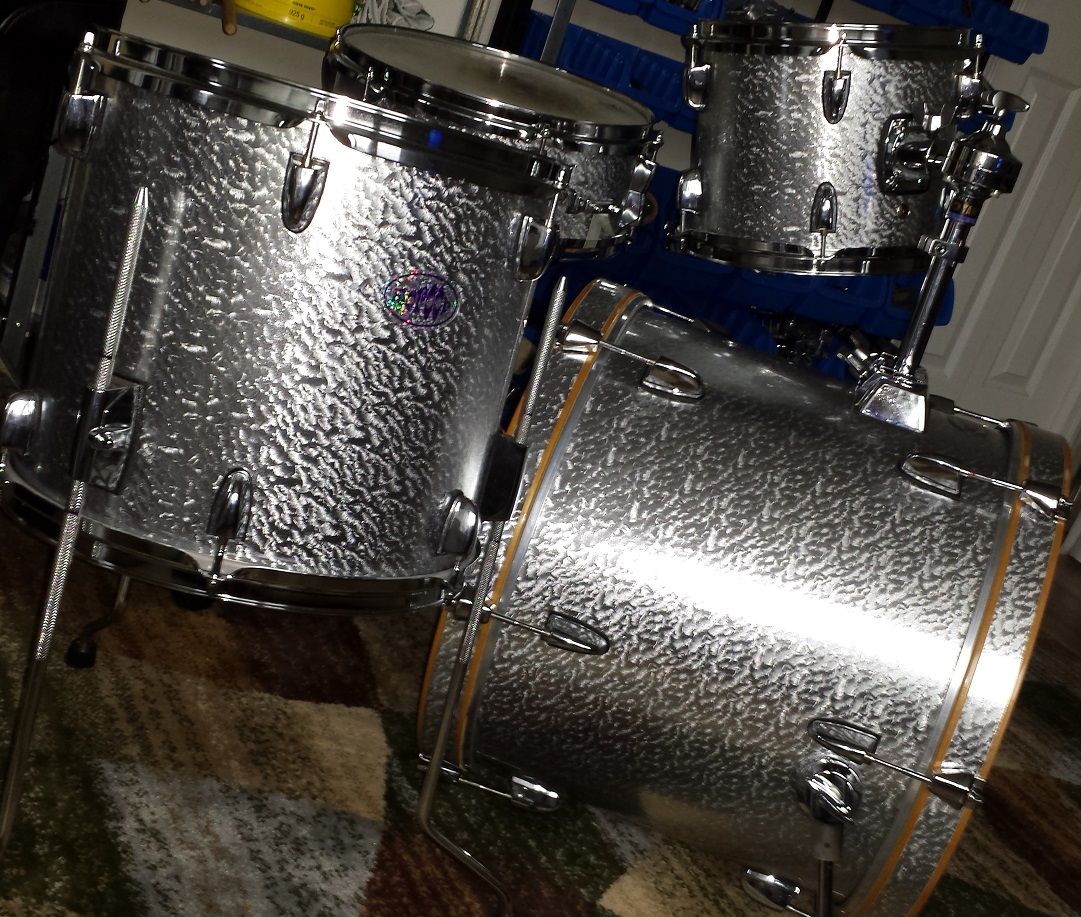
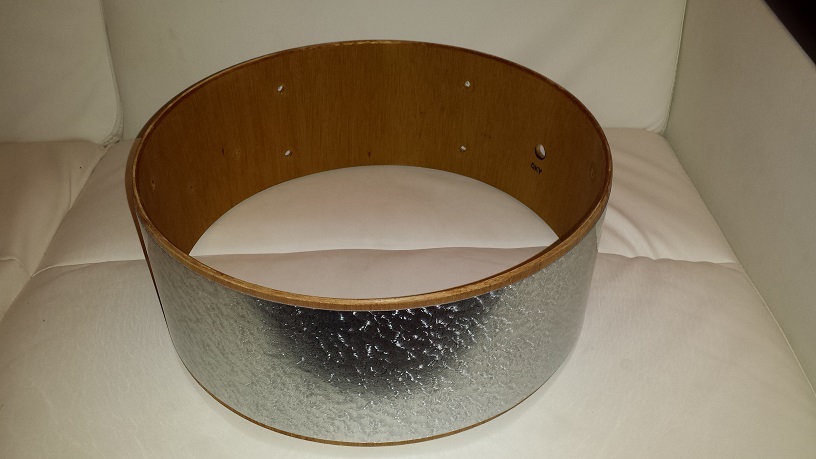
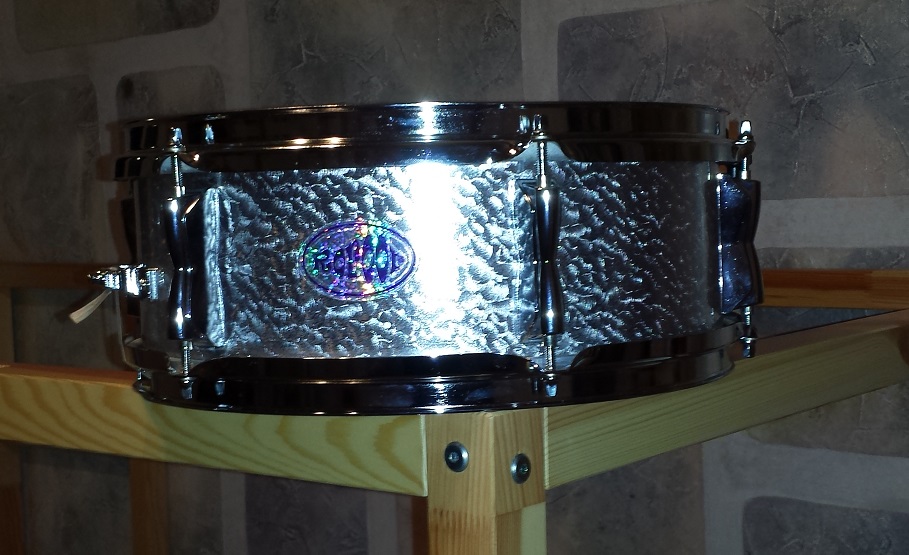
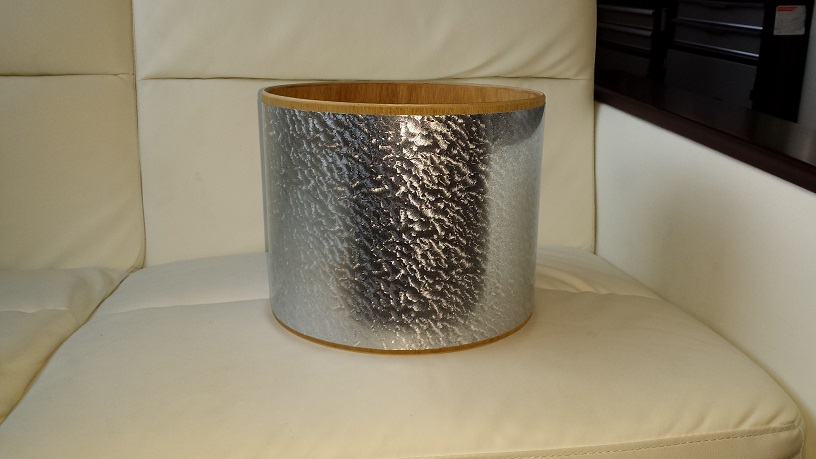
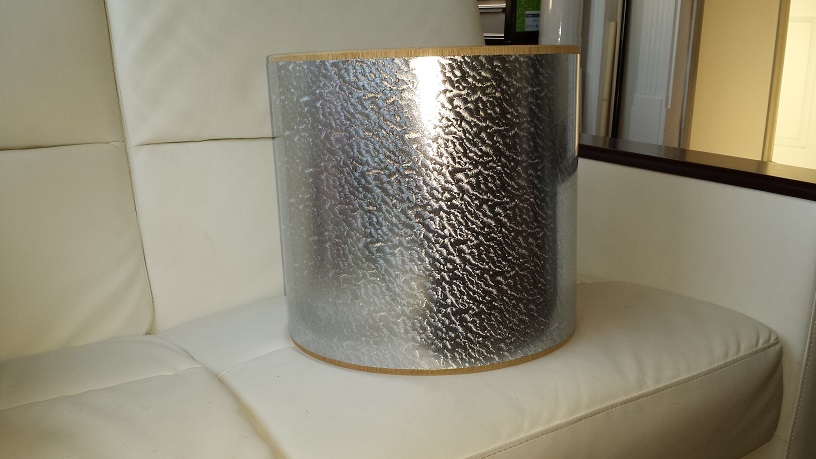
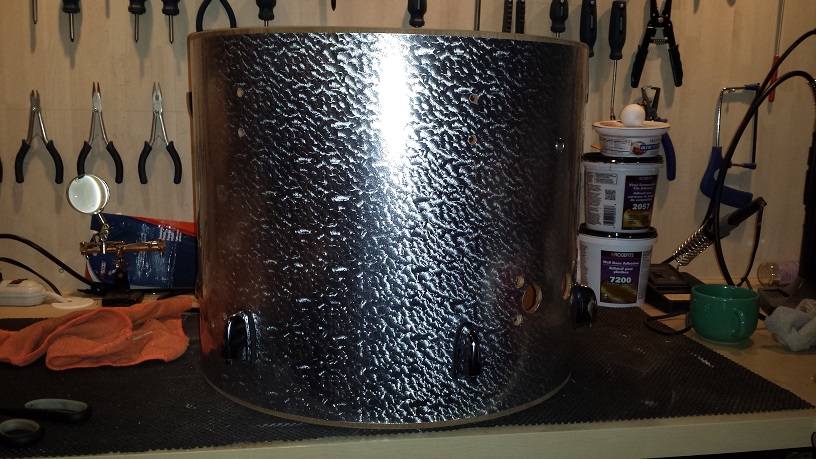
This wrap is really neat. It has two completely different visuals depending on the lighting. In artificial light it has a lot more contrast, almost silver and black, while in daylight it is all varying shimmers of silver.


The Finished DIY Bop Drum Kit Restomization