
Click any image on this page for a full size view
Introduction

Junior sized drum kits come in all varieties. Ranging from outright toys to real decent scaled down drum kits. Now and then I come across kid’s drums that really impress with their quality, fit and finish. One example is this RB Junior kit that I traded for a guitar a while back. The pedal, and stands aren’t too impressive, but the kit itself is. I always knew I’d do something with it. The former (adult) owner used it to gig with just the way it was. I believe that by adopting some, or most of the methods described in our “Improve your Drum Kit” article, along with some adjustments for adult ergonomics, this kit can be turned into a fantastic compact, portable gigging or practice kit.
Description
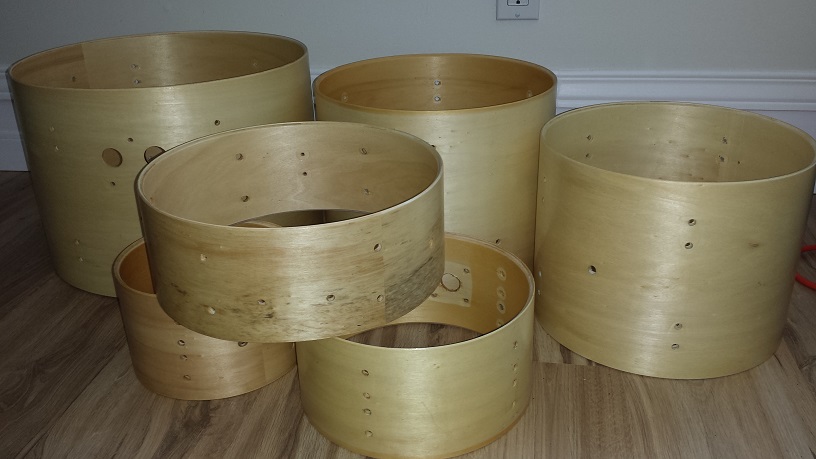
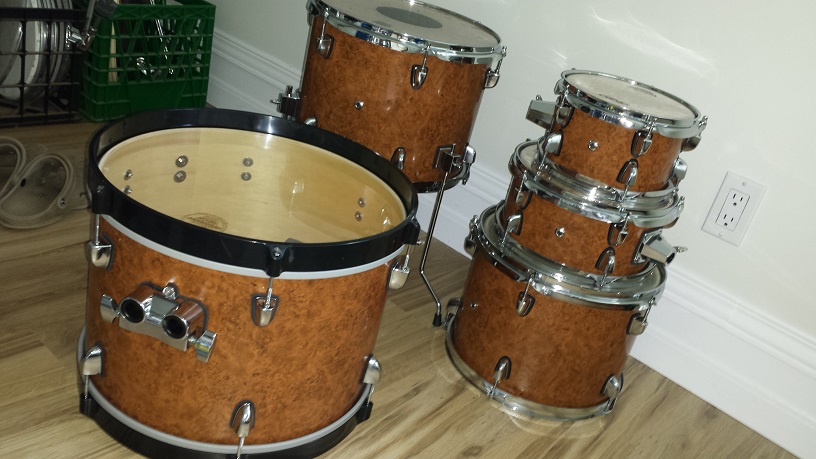
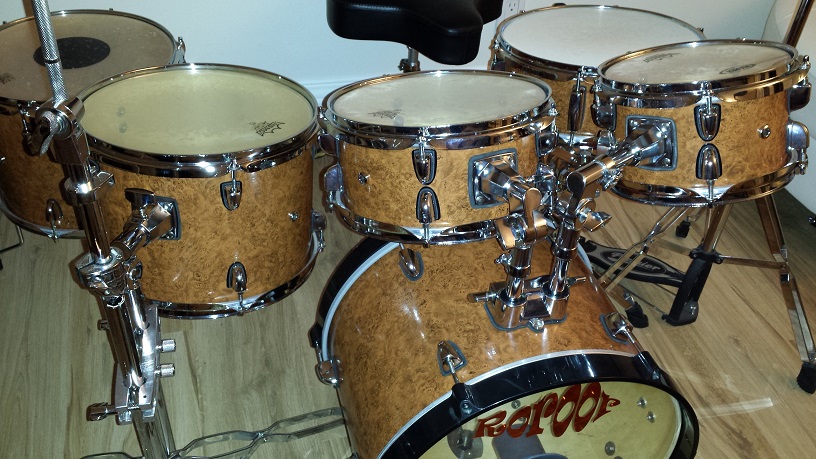
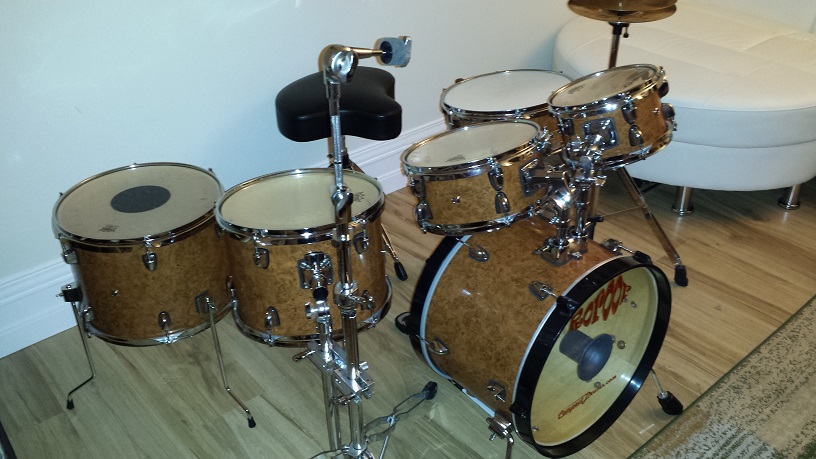
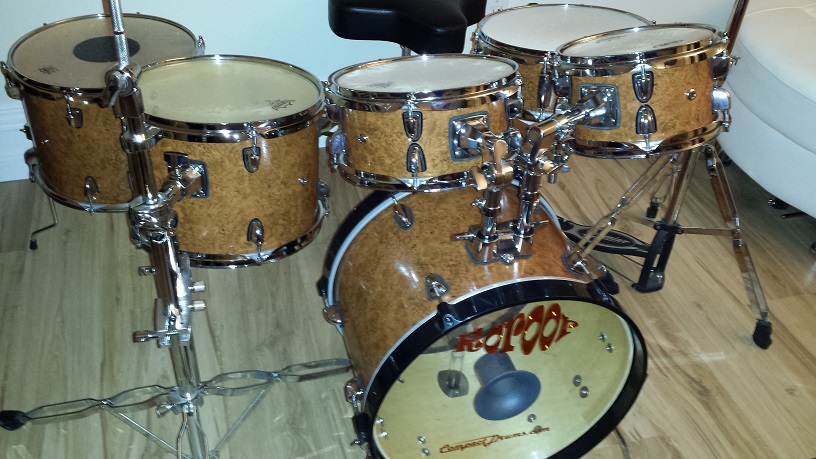
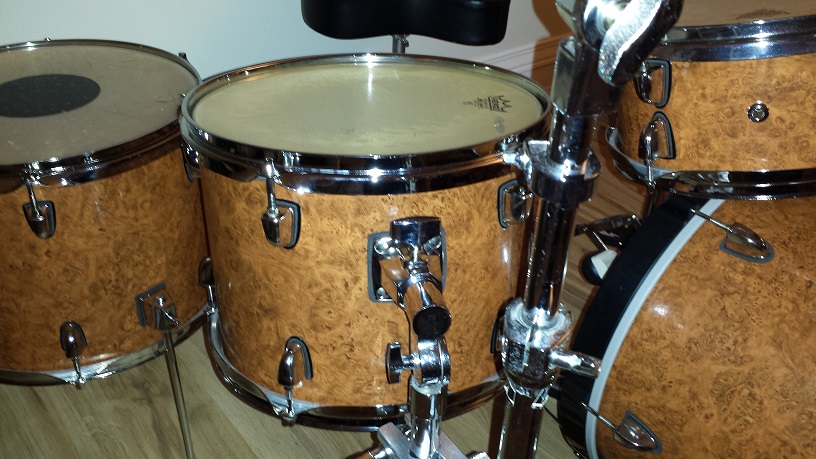
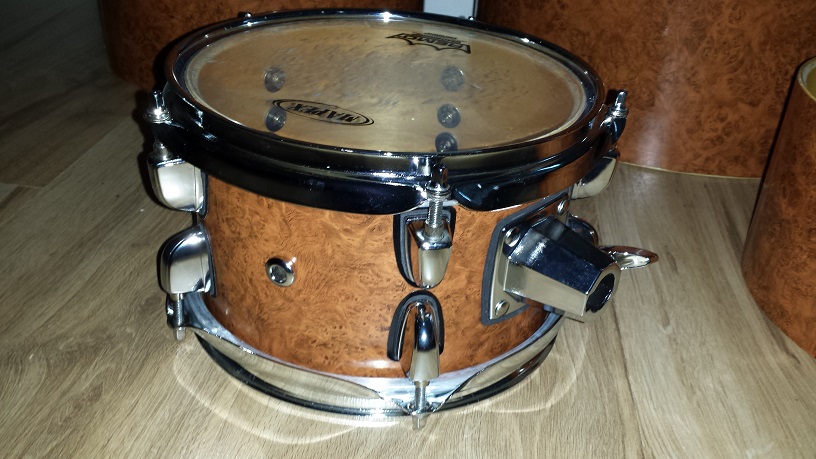
A decent junior size kit makes a great starting point for a DIY Mini Drum Kit project. This little RB kit consists of a 16″ bass, 8″ & 10″ rack toms, a 13″ floor tom and a 12″ snare. We’ll be adding a 12″ floor tom for a bit more versatility as a six-piece kit. Modifications planned include a complete refinish of the shells, longer bass drum spurs and a bass drum riser, upgraded heads and some hardware mods/upgrades.
The lugs are small, clean and decent looking. I have a set of lugs that look just about identical but a tad bigger. We’ll simply use them for the bass drum and migrate the lugs from the bass drum to our additional floor tom. The kit also has decent threaded air vents. Again we’ll re-use the bass drum vent in the added floor tom and skip the vent on the bass altogether since it will be ported. We’ll see if we keep the plastic bass drum hoops, or replace them with steel hoops. I’d love to get wood hoops for it, but there is no funding for such extravagances.
Preparing the Shells

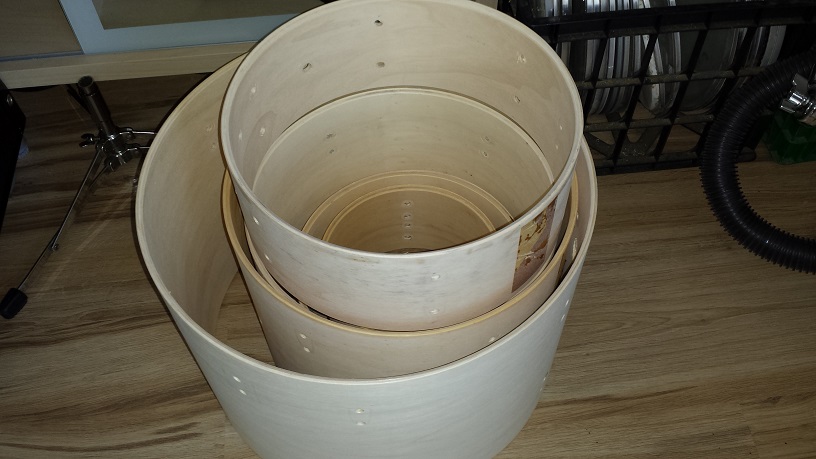
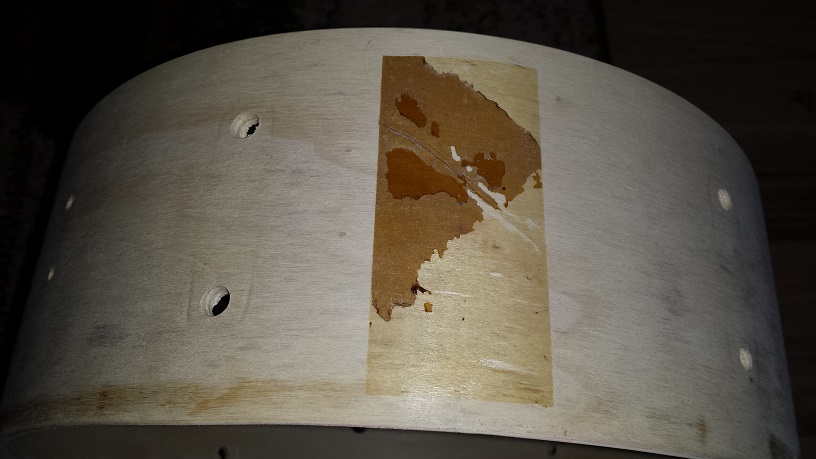
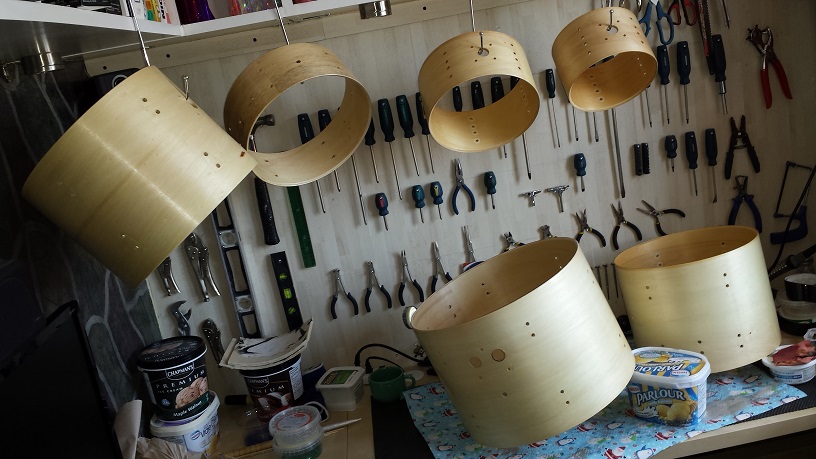
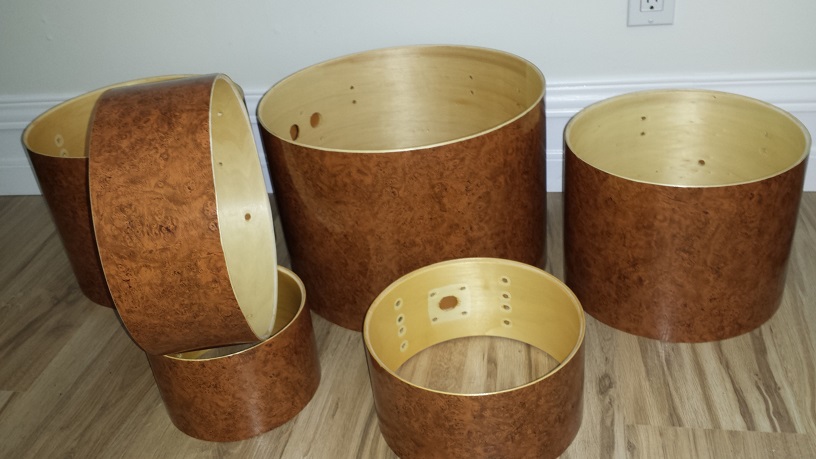
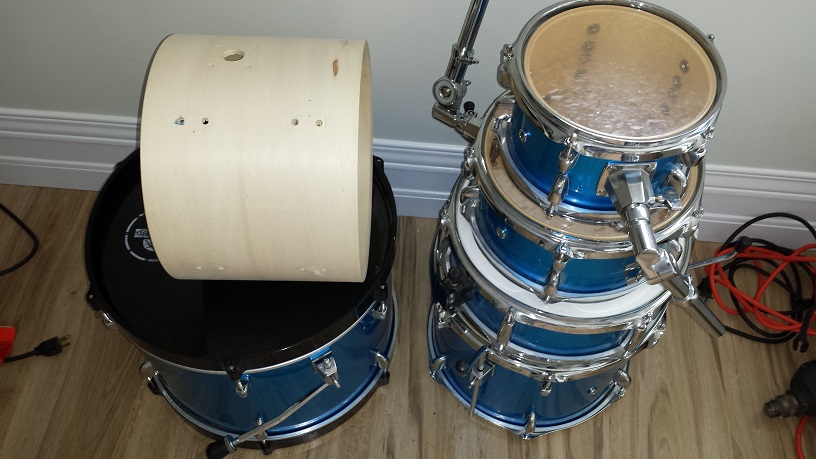
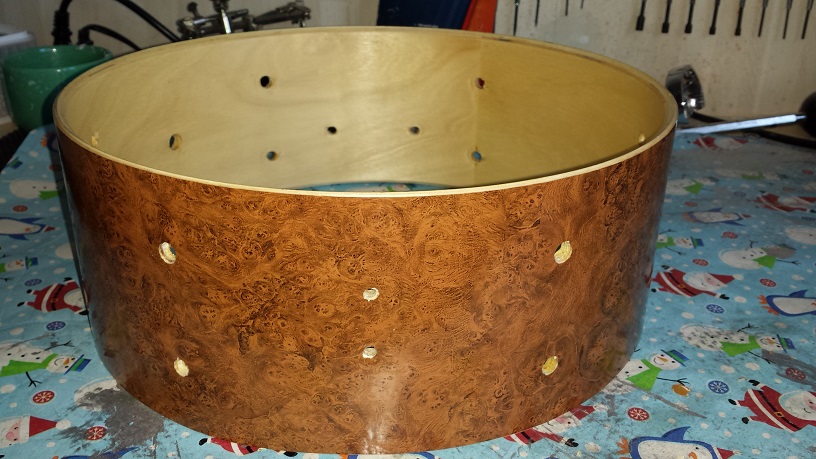
Once all the hardware and parts are removed, we proceed with unwrapping the shells. For tips on removing wrap, check our “Alternative Drum Wrap Materials” article. This wrap was only adhered at the leading/trailing edge. The adhesive residue strip did prove stubborn but came off with naphtha and elbow grease.
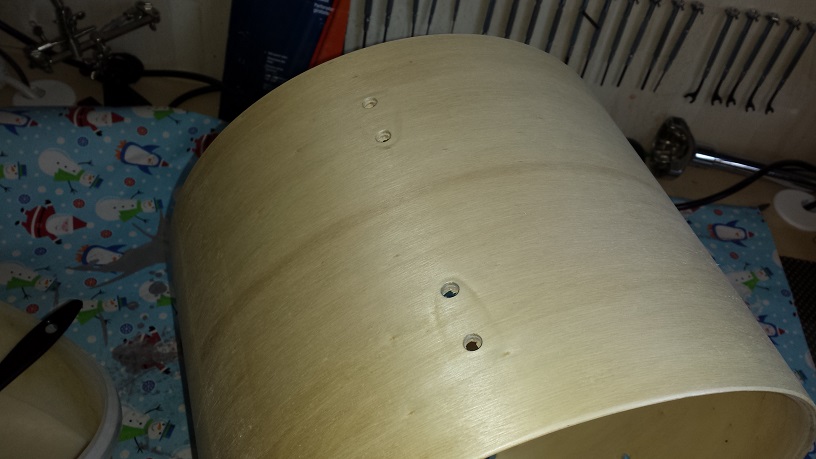
Now that the shells are naked we can take a closer look at them. I can’t determine the wood species, but apart from that they are quite well made with a smooth surface throughout, clean seams, and just about perfect bearing edges. They all have “QC passed” decals, which surprised me as I’ve only ever seen those on decent to high end kits.

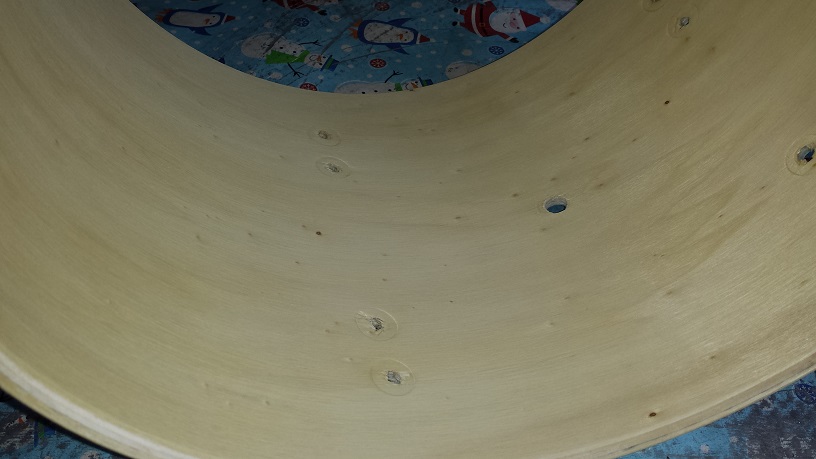
With the shells stripped we proceed with an initial coat of sealer. This time around I use a satin finish “Wipe-on Poly”. The only real reason for this choice of sealer is that I happen to have a can kicking around with no other use destined for it. I applied the first coat with a brush, but using the brush to sort of “rub” the poly into the wood. I could have used a sponge or rag just as well, but brushes have handles which I find convenient. A second coat is applied after about six hours drying time and then left to dry overnight.

Using 240-grit paper I gave all the shells a quick sanding, inside and out, by hand. This is to “knock down” the raised grain that tends to stand on edge when the first sealer is applied.
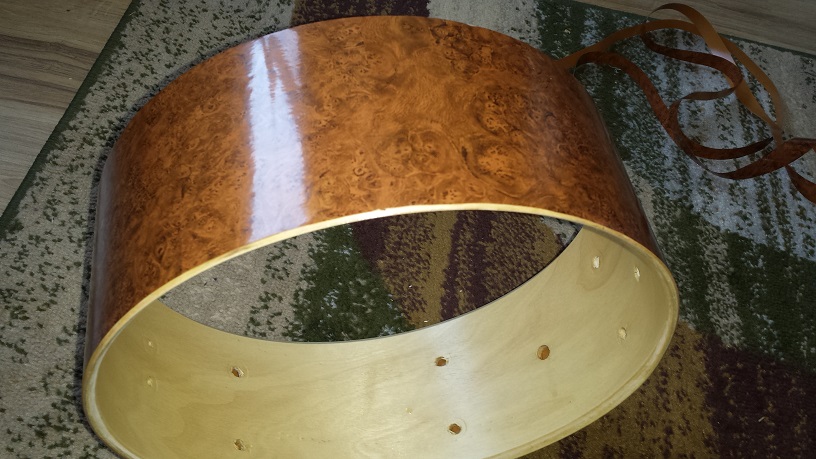
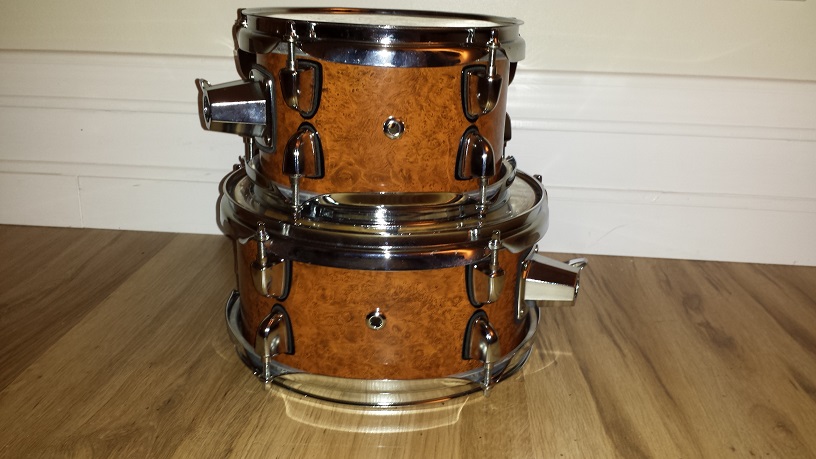
After wiping with a damp rag to remove all the saw dust, the shells get two coats of water based, glossy polyurethane inside and out. The purpose of this is for the inside to look nice and for the outside to give our “faux veneer” a smooth surface to adhere to. For an explanation of “Faux Veneer” See our “DIY Snare Drum Refinish” article. Once dry, a second coat is applied. These drums display some rather nifty wood grain and would almost be candidates for a natural finish. There’s just a bit too much contrast between some of the seams and some sections that are too plain.
Wrapping with “Faux Veneer”
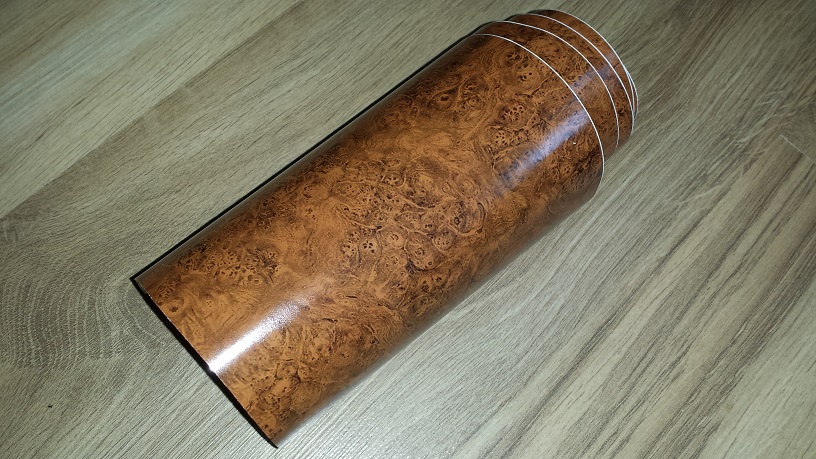
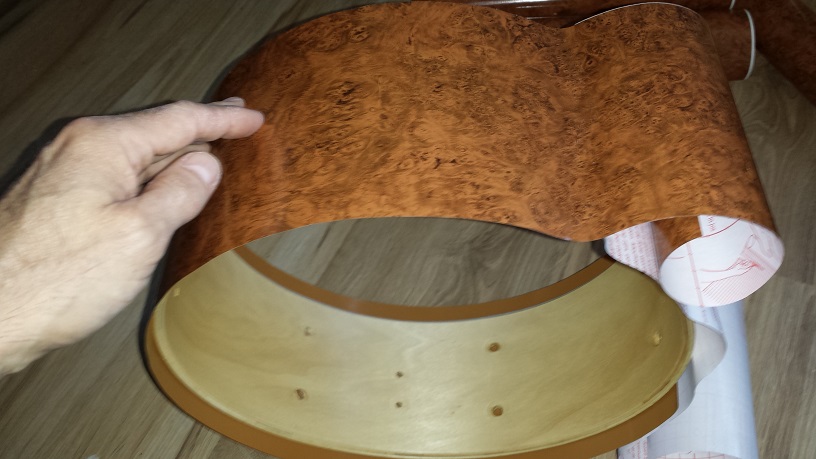
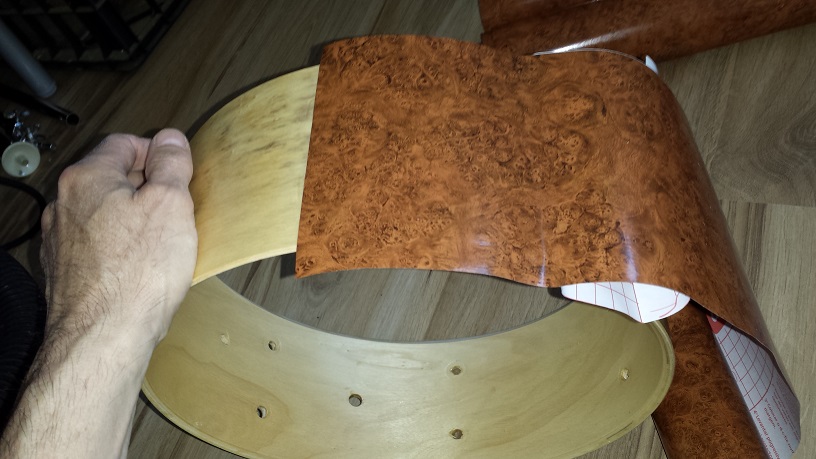
First cut a piece of the “faux veneer” about an inch wider and a couple of inches longer than the drum shell. Place the cut piece face down and fold back about two inches of the backing paper. Give the shell a quick wipe to ensure there are no dust particles on it. Set the drum shell on top of the backing paper and line it up straight. Make sure the shell is positioned so the starting point is where you want the seam. (Not facing the audience.) Adhere the exposed adhesive side to the shell.
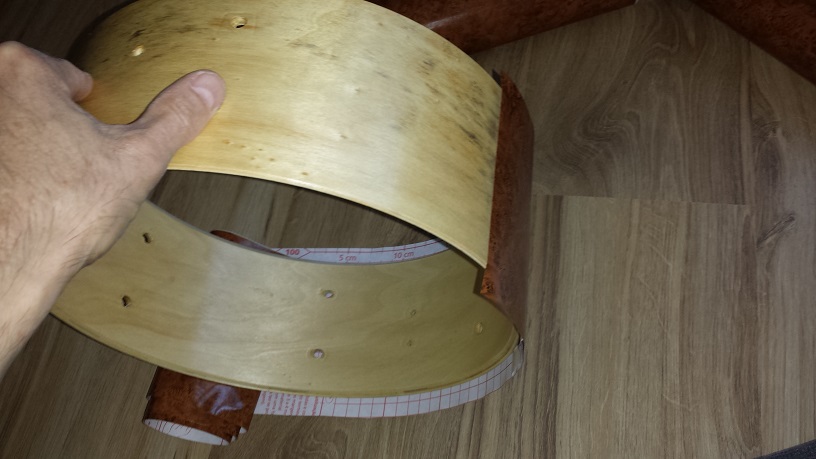
Flip the whole thing over so the “faux veneer” is now facing upwards with the starting point towards the ceiling. remove the backing paper about two inches at a time and rub the “faux veneer” onto the shell firmly. Continue around the shell until finished. Follow up with a thorough rubbing to ensure a tight bond all the way around the shell.
Slide an Exacto-knife at a 45-degree angle along the outside bearing edge, through the “faux veneer”. Trace the Exacto-knife around the entire edge of the shell to trim off the excess. Flip the drum over and repeat on the other side. I find holding the knife still and rotating the shell easier than moving the knife. Give the entire ‘wrap” another rub down, pressing firmly.
Repeat the entire process with the remaining shells.
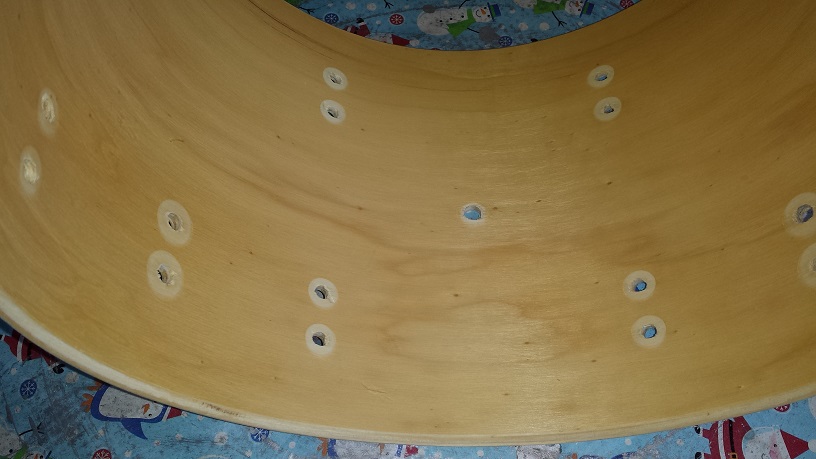
Don’t put the Exacto knife away yet. It’s still needed for cutting out the holes in the “faux veneer”. Simply slip the knife in the edge of the hole and trace around the hole’s perimeter.

Before we can continue to the next step, the bearing edges need to be sanded clear of any stray poly. Another alternative is to simply mask the edges before sealing, but I find sanding easier and most of the time the edges can benefit from a “touch up”. I use 240 grit on a little detail sander. Holding the sander at a 45 degree angle to the shell, just like the edge and following the edge around the shell. A light sanding is all that’s needed. We definitely don’t want to dig in enough to alter the shape, just remove the poly and smooth it out a bit.
Prepping ISO Gaskets
Before assembling the drums we’re going to make some isolation gaskets as well as “slip washers”. The isolation gaskets acoustically isolate the lug from the shell and make up for the removed wrap so the T-rods don’t end up at an angle. The “slip washers” are for visible impact as well as prevents the “faux veneer” from deforming under pressure or even wrinkling when t-rods are tensioned.
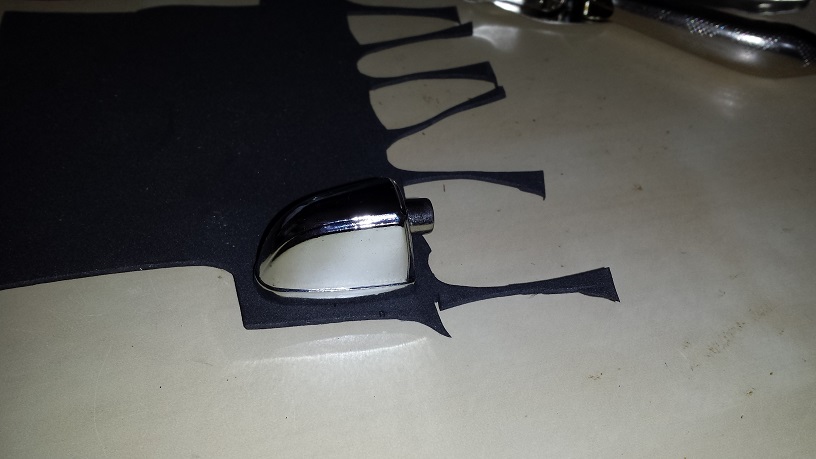
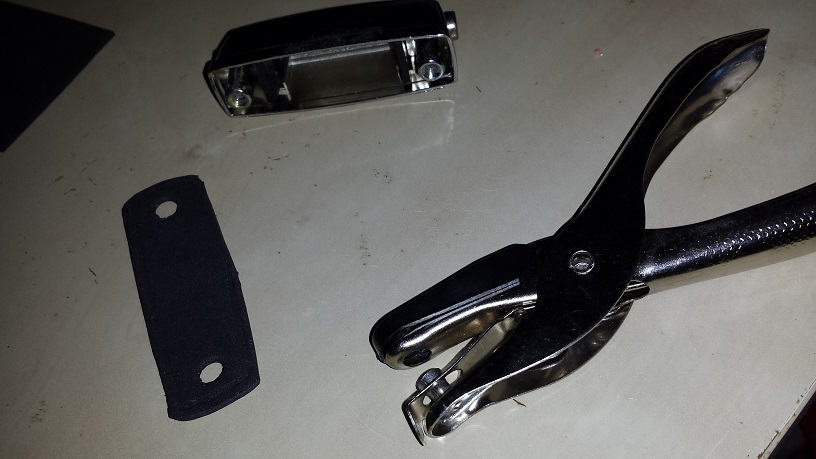
To make the ISO gaskets, simply press a lug down on a piece of craft foam. Use a hole punch to make the holes at the marks. Then slip the gasket on the lug and cut around the lug perimeter with scissors. I left about 2 mm around the edge on these.

Slip washers are made from discarded pieces of wrap. Mark the holes using the ISO gasket as a template. If your hole-punch is up to it, use that. Mine wasn’t so I simply drilled the holes. Then slip the piece of wrap on the lug and cut around with scissors. I made the slip washers a couple mm larger than the ISO gaskets.
For this project we also made ISO gaskets for all the mounting brackets, riser attachment and tom mount platform. However we didn’t bother making slip washers for these.
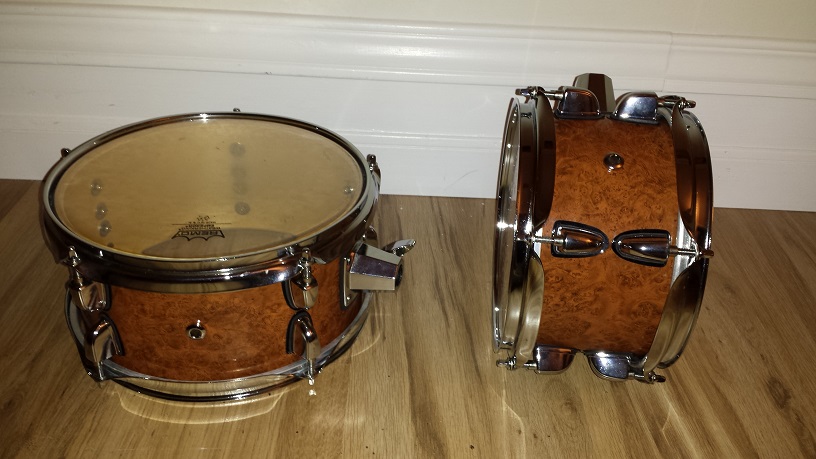
Assembling the Drums

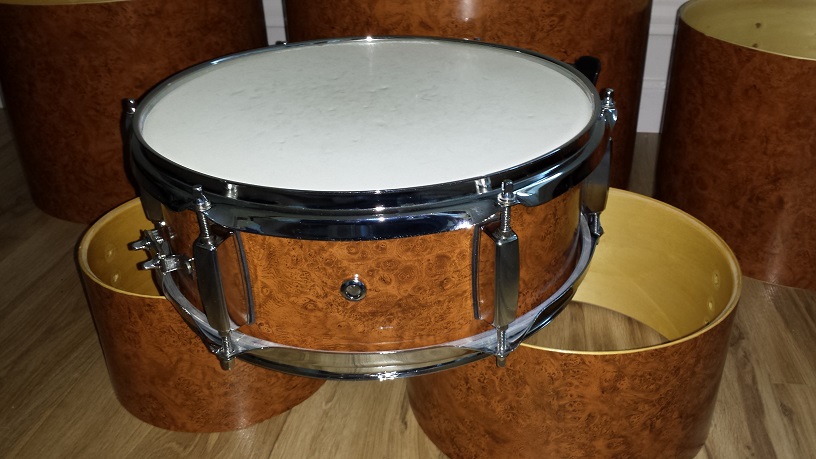
Starting with the Snare Drum. The lugs go on first. Slip on the ISO gasket, then the slip washer, insert the lug posts in the corresponding holes and thread the screws in from the inside. Tighten past snug, but not really tight. For all the lugs, when using ISO gaskets, it’s a good idea to snug them up another 1/8 of a turn or so after some 12-24 hours.
While assembling I take the time to give each chrome piece a quick polish with a micro-fibre cloth.
The rest of the assembly is straight forward, installing the vent, butt plate, strainer and finally heads, rims and snare wires.
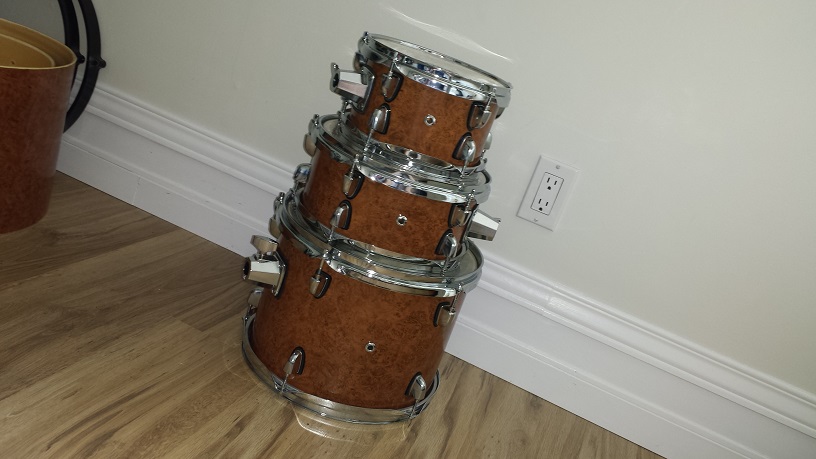
Moving on to the Rack Toms. I make the gaskets and slip washers as I go, to avoid monotony. The post holes in the ISO gaskets for the tom mounting brackets are cut out with scissors. The rest is by the same method as for the lug related parts.
The 12″ Floor Tom also get’s a tom mounting bracket for attaching to the ride stand, while the 13″ Floor Tom gets leg brackets. The leg brackets are very small. We’ll have to either source some skinny legs with enough length or come up with a way to extend the little spider legs that came with the kit.
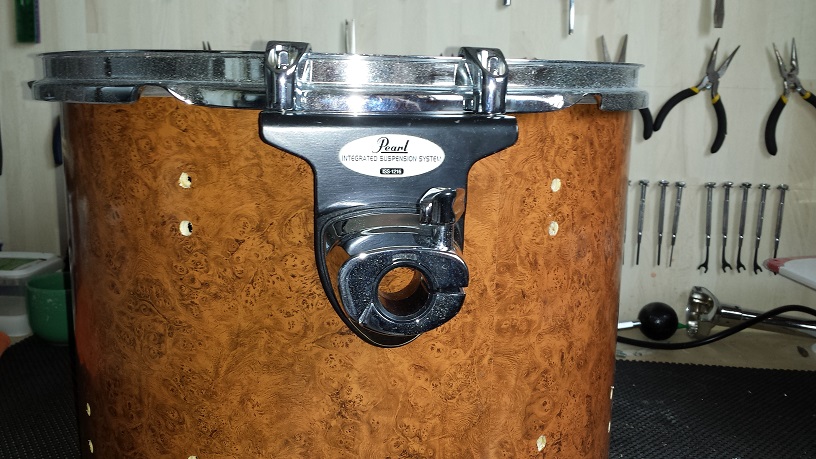
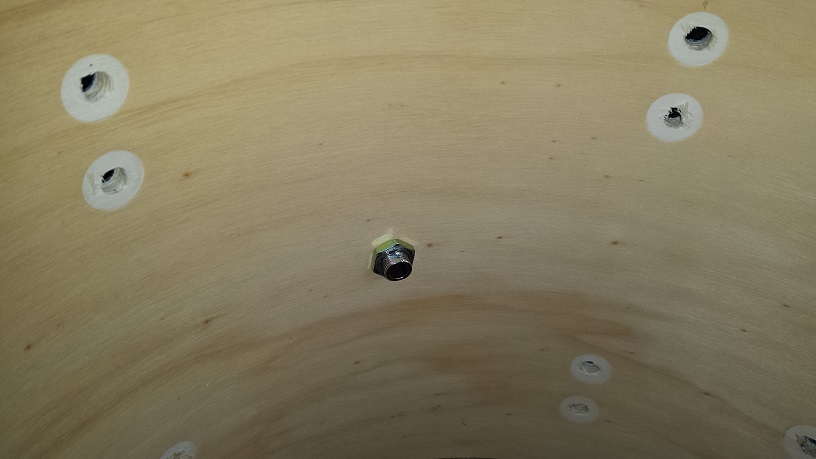
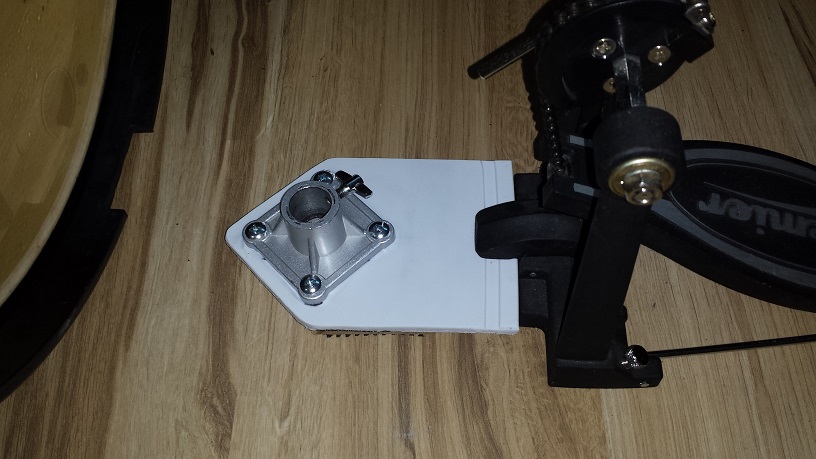
The Bass Drum will require a tom mounting bracket to attach the riser. To determine the position, we place a head and a rim on the batter side. Attach an I.S.S. mount to the rim where the pedal would go. Use the center hole on the bracket of the I.S.S. mount as a template to mark the post hole position. This way our riser mount ends up in a position that a Pearl JG16 can utilize. Not that it truly matters in our case since we’re making a riser anyway, but it’s nice to follow some kind of “standard” guide lines.
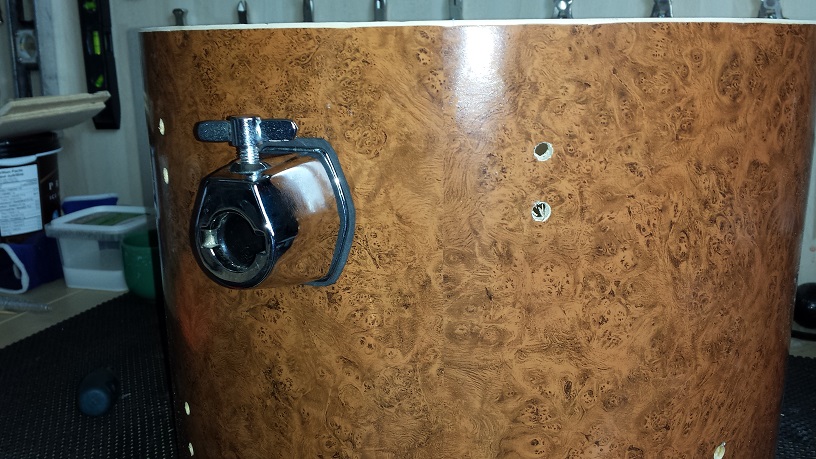
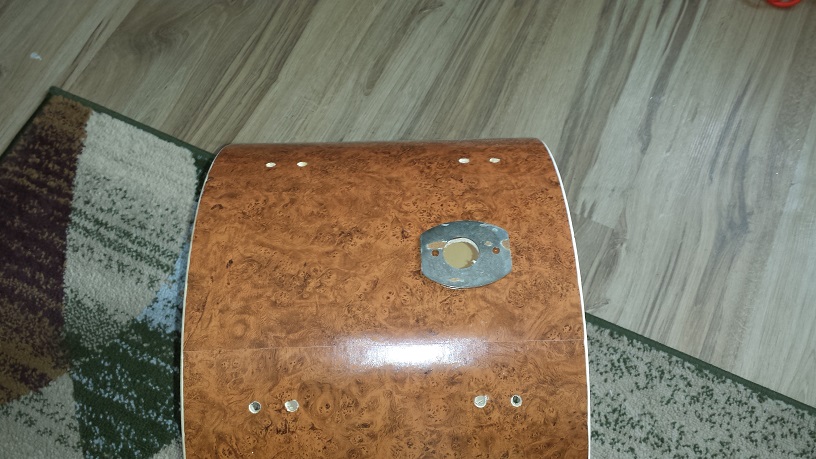
With the post hole position marked, using the backside washer for the mount as a template, mark the screw holes and post hole.
For the post hole I use a 1″ spade bit. Once the bit has dug into the 1″ perimeter from the outside, I drill the rest of the hole from the inside. This ensures that we don’t break through the last ply with resulting splintering. Same process is used for the screw holes. Using a brad-point bit, once the point pokes through, drill the remainder of the hole from the inside.
With the riser bracket installed, we can continue assembling the remainder of the bass drum.
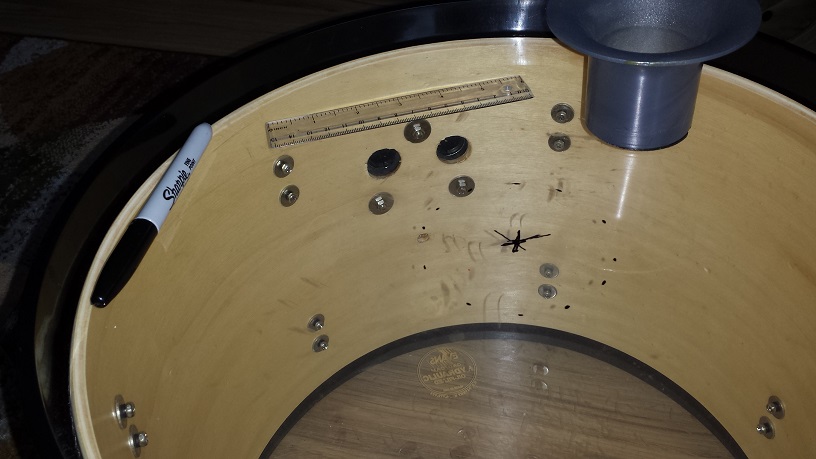

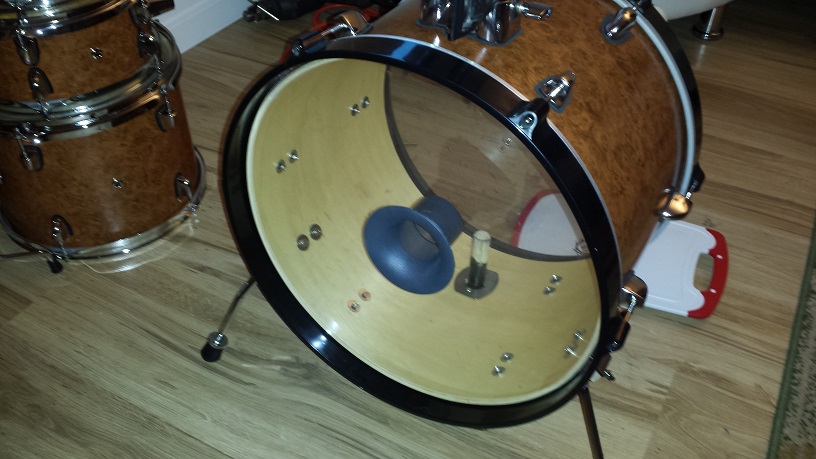
Once assembled I also want to add a port to the resonant side head. For visual impact we’ll use a port salvaged from a broken sub woofer. Since I intend to centre it, I start with marking a “star” shape in the center of the head, using a straight edge, lined up to opposing t-rods as a guide.
Since the diameter of my intended hole is 9 cm, I mark dots 4.5 cm from the center and then play “connect-the-dots”. Tighten the head up quite taught and cut along the dotted line with an Exacto knife.
Slop some contact cement around the inside of the flange on the port, set it in place and weigh it down with a suitable object.
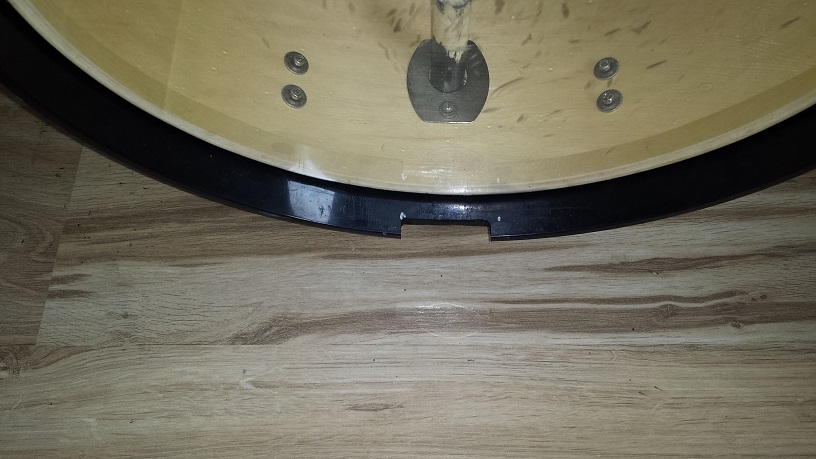
The final touch on the bass drum is to grind a little slot right where the pedal goes. If you’ve ever used a riser with proper hoops, you’ll know why. Read the review on the Breakbeats for some enlightenment on this issue. With a slot, we can adjust just about any pedal to strike the head with the beater shaft parallel to the head.
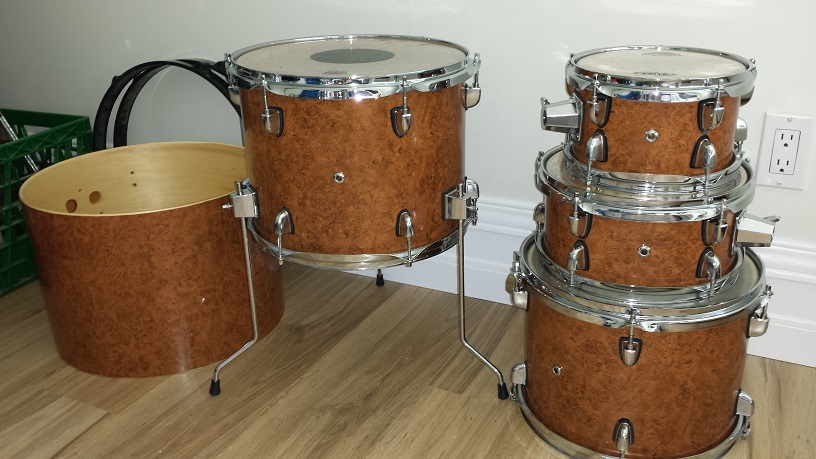
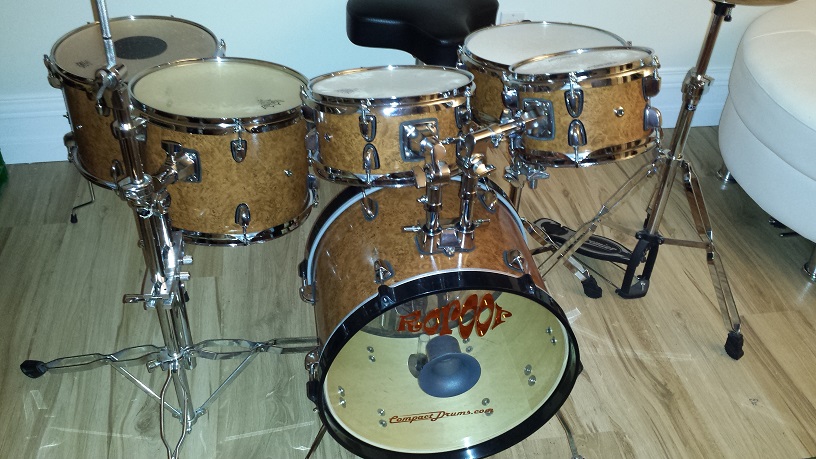
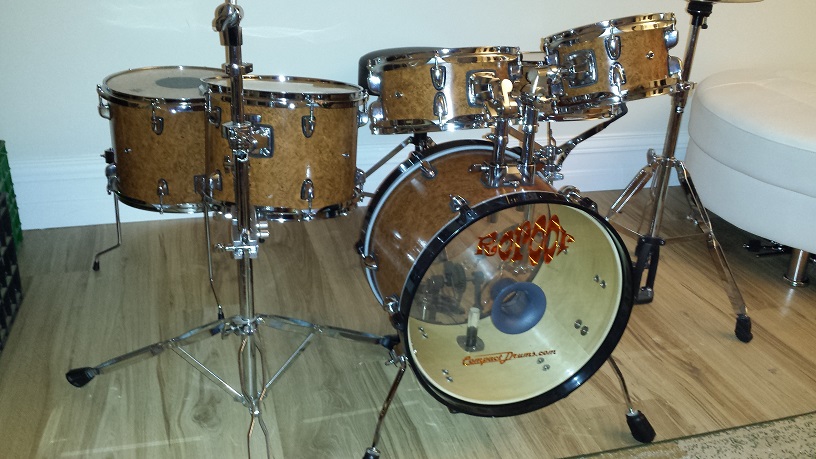
Assembling the Six-Piece DIY Mini Drum Kit
Before we can assemble the kit we need a bass drum riser. The one I put together for this kit is documented in detail on our DIY Bass Drum Risers page. I got eager and rushed the assembly, so I will have to go back and stuff all the post tubes with old socks or something. Also I still haven’t tuned or tried them out, just assembled them to the point that I could take the final shots for this article.
Six-Piece DIY Mini Drum Kit