Introduction
Perhaps the most popular of all the compact and portable drum kits; Pearl’s Rhythm Traveler is a well designed, all-around portable drum kit. Although not in any way overpriced, making your own DIY Rhythm Traveller should prove even more cost-effective and provides for some personal customization options. Pearl did a good job of balancing the necessary compromises for the vast majority but it’s always fun to define your own specs and tweak a few of them. Check out all the details of the original RT705 Rhythm Traveler in our extensive review.

In this DIY Rhythm Traveller project we’ll stay fairly true to the original. A couple of differences already decided on are; A slight increase in depth for the bass drum; Ball and socket, L-rod tom mounts and maybe 22″ diameter for the bass drum.
Although we are making a few tweaks there will still be more similarities than differences. We intend to keep the single-headed toms with the same shell depth and the same diameters for the toms and snare. the bass drum may or may not end up being the same as the original’s 20″. We’ll also follow the same style gull-wing spurs, and floating floor tom.
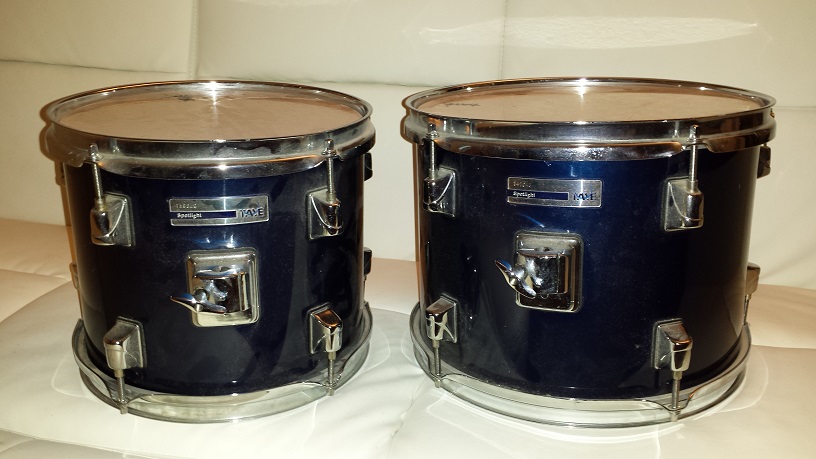
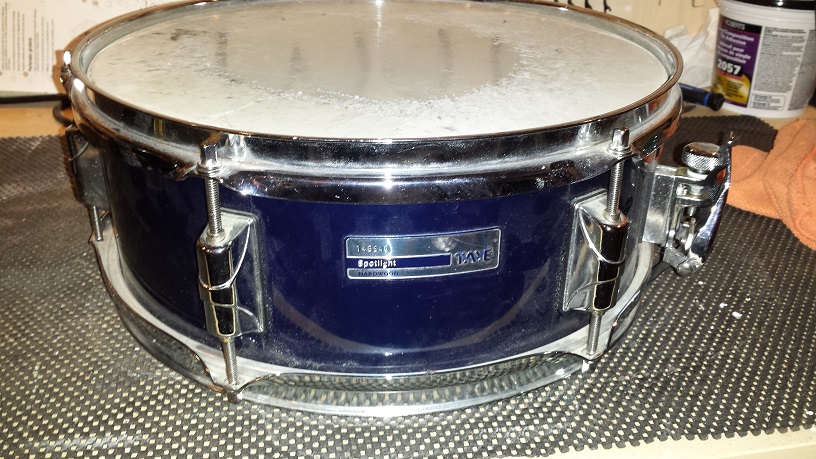
As luck may have it, I found an excellent candidate kit for the conversion. A Taye Spotlight in all the right sizes except that the bass is 22″. Sourcing a 20″ shell shouldn’t be too much of a challenge should we decide on that route though. Regular readers of this site know that I have a soft spot for Taye’s products and the Spotlight is no exception. Although they are Taye’s most “entry-level” drums, they are well made and share many of the excellent hardware appointments with their higher end lines.
DIY Rhythm Traveller
DIY Rhythm Traveller Clone
The Rack Toms
Since the bass drum size is still subject to discussion and the snare requires very little modification, we’ll kick this project off with the toms. The rack toms seem as good a starting point as any.
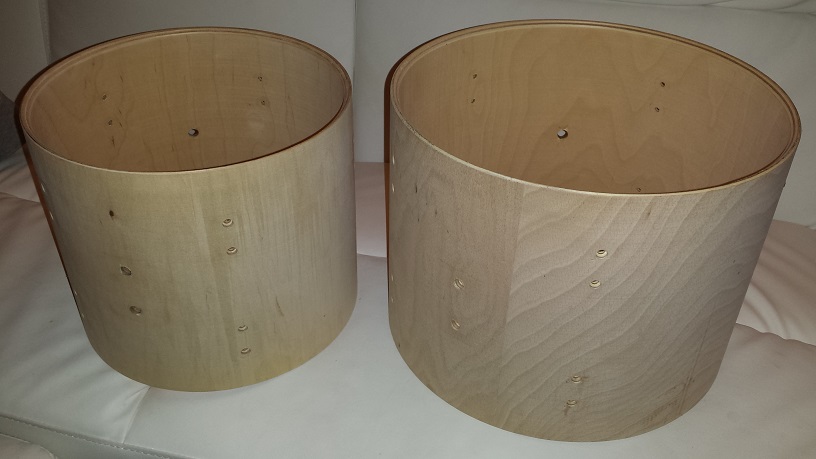
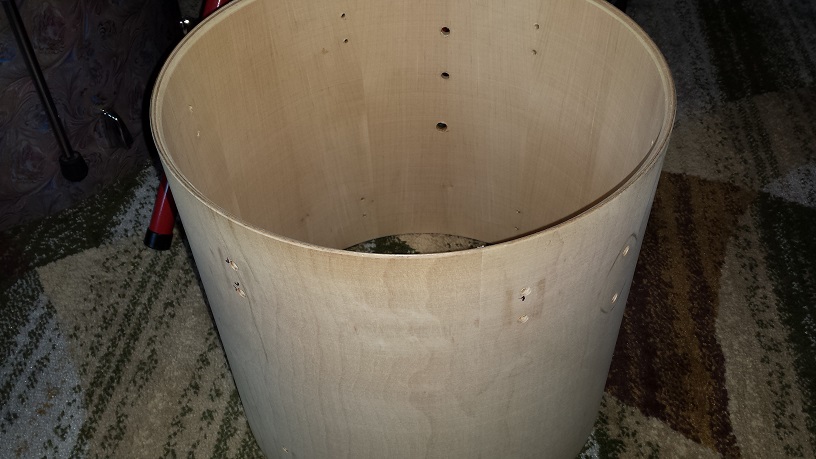
Start with disassembling all the parts and remove the wrap. Check this article for pointers on wrap removal.
Staying true to Taye quality the shells are indeed very well made and could even make excellent candidates for a natural finish or stain.
The shells get cut down in the table saw. I simply set the fence to the desired depth and roll the shell through the blade, holding it snugly against the fence. I made a last minute alteration to the original plan, just before making the cuts. Instead of cutting all three toms to 5″ depth I decided to stagger them. I cut the 10″ to 5″ depth and the 12″ to 5.5″. Subsequently the 14″ will be cut to 6.5″ depth. I came up with this idea for no other reason than that I think it will be more visually appealing. (I guess that begins a slide down a slippery slope away from simply cloning the Rhythm Travelers.) Next the freshly cut bottom edge gets sanded smooth.
The shells then get marked for new holes for the mounting brackets and drilled accordingly. Use a brad-point bit at high speed in a corded drill. Once the point pokes through the shell, drill the remainder of the hole from the inside. This way we don’t break through the final ply.
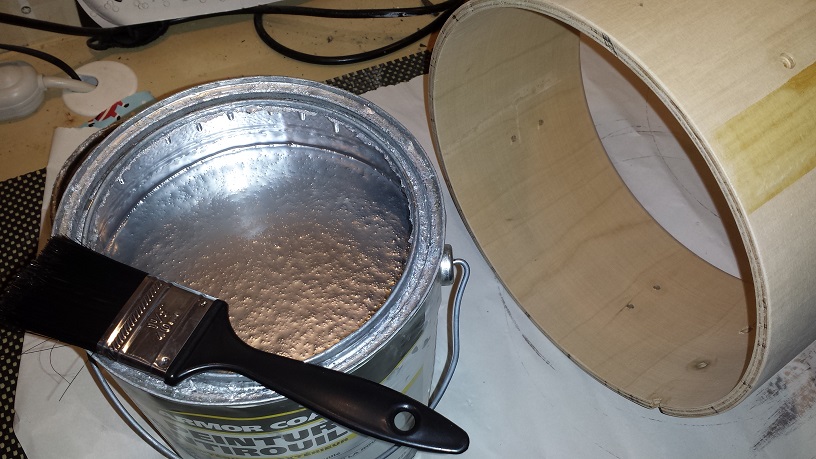
Next an initial coat of “silver sealer” gets applied to the interiors and the bottom edge. Even though I use a paintbrush it’s not a “painting” process but rather a process of rubbing the paint into the wood. The “Silver Sealer” I use is plain old aluminum gloss rust enamel.
Unless you plan on sanding the bearing edges, make sure to mask them before sealing. Even though the bearing edges on these shells are close to perfect and don’t need sanding, I find it’s still easier to sand after than to mask before.
Speaking of “Slippery Slopes”, I remembered having an 8″ shell with no particular purpose in life. Looks like this is going to be a 6-piece DIY Rhythm Traveller. The 8″ shell gets cut down to 4.5″ depth, marked and drilled for the Taye lugs and brackets, then sealed with an initial coat of silver sealer.
A nice bonus of a project with single headed toms is a surplus of lugs. I wonder if I have a 13″ shell kicking around somewhere?
After a night of drying the rack toms get a second coat of “Silver Sealer” followed by a third, after which I leave them alone for a few days.
Once the “silver Sealer” is completely cured it’s time to sand the bearing edges. I start with somewhere around 100 grit paper, stuck “sideways” on a detail sander. Sand the inside bearing edge in this manner until it’s completely free of paint. Then i attach the paper “normally” and proceed with sanding the outside bevel. once the entire bearing edge surface is down to bare wood, the outside bevel gets a slightly rounder profile. On most drums I like to increase the head-shell contact surface a wee bit. This is especially important on single-headed toms as this is really the only way any resonance conducts into the drum’s shell.
Once all the paint is removed and I’m satisfied with the outside bevel profile, I switch to 240-grit paper. First in the sideways orientation until the inside bearing edge is soft as butter, smooth as silk and slick as Teflon, then normally oriented until the outside bevel is equally perfect.
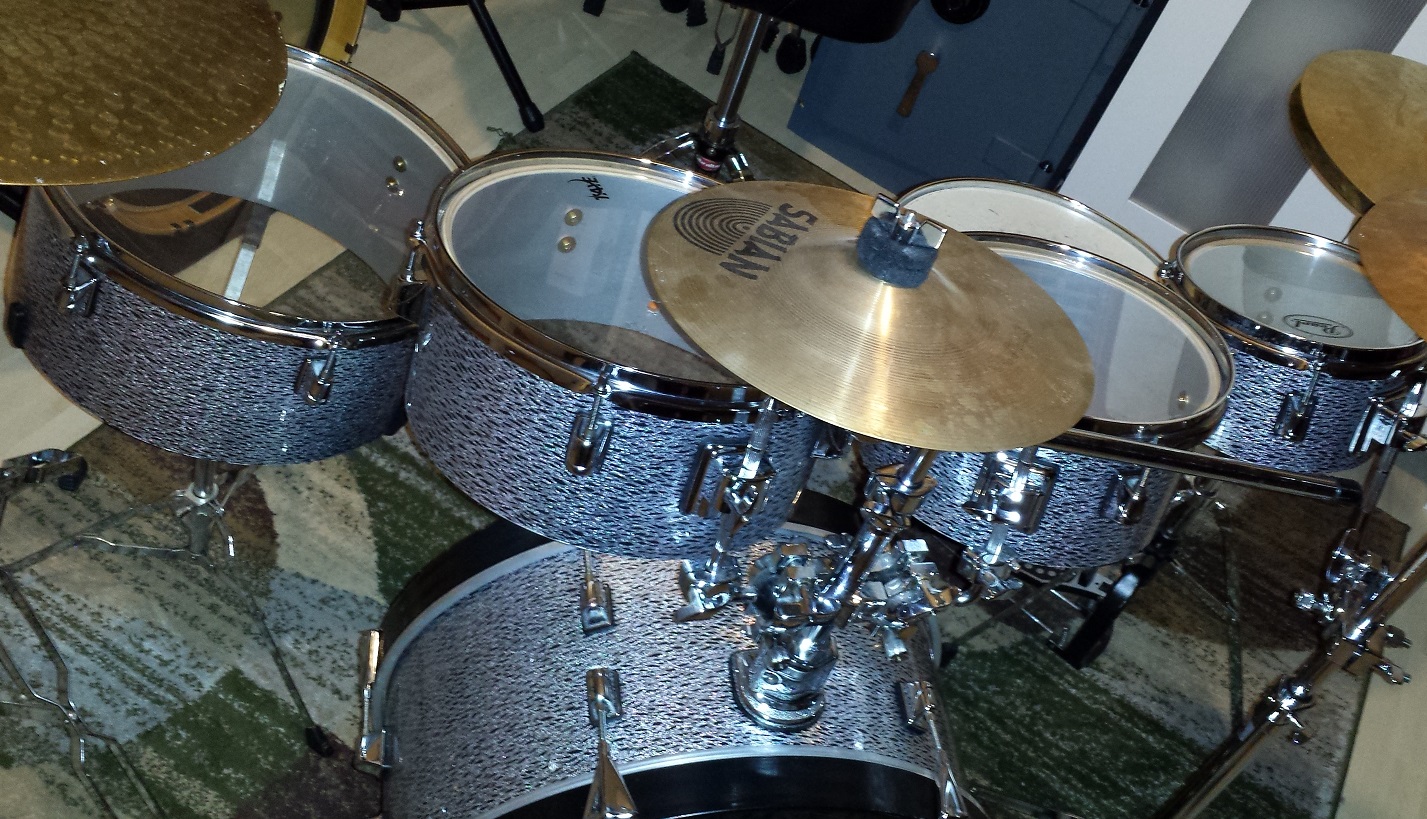
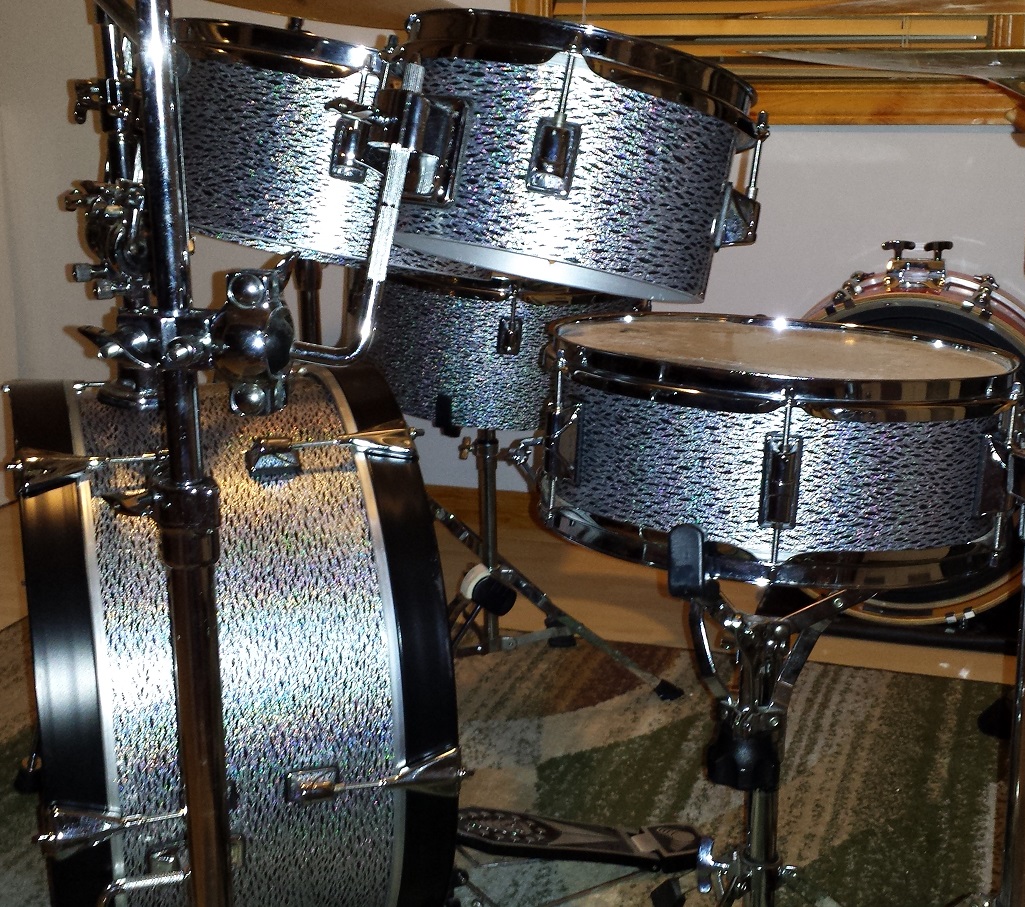
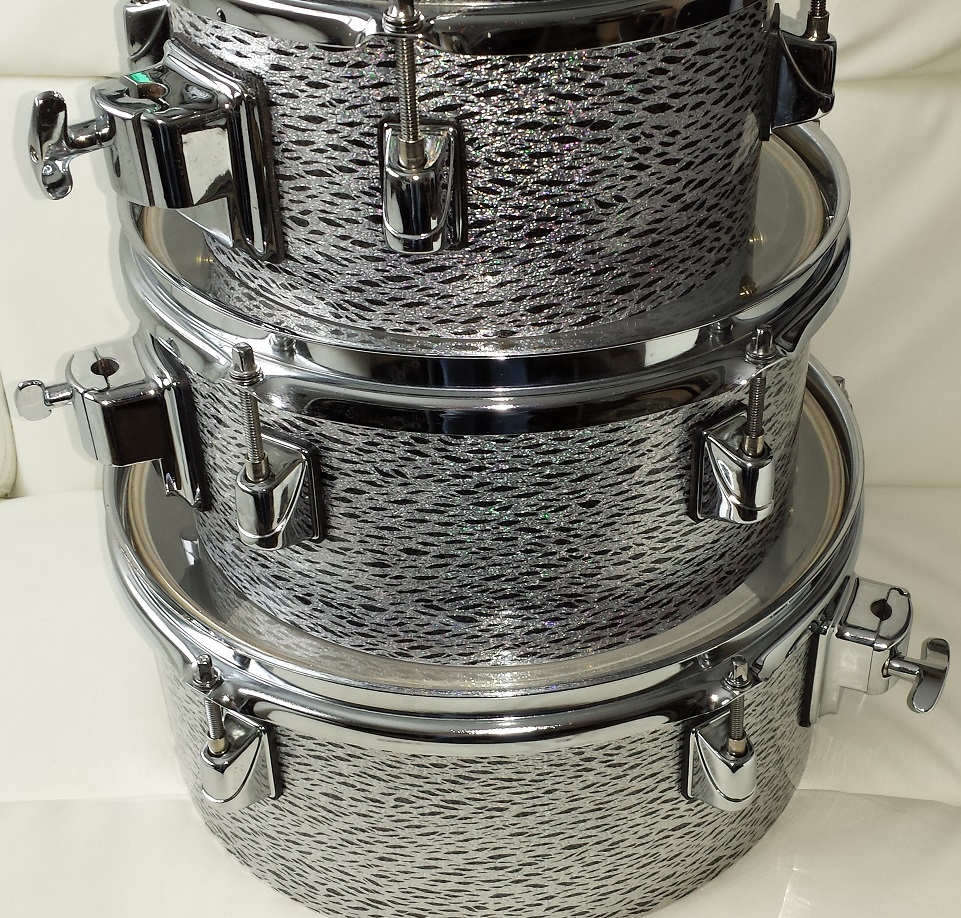
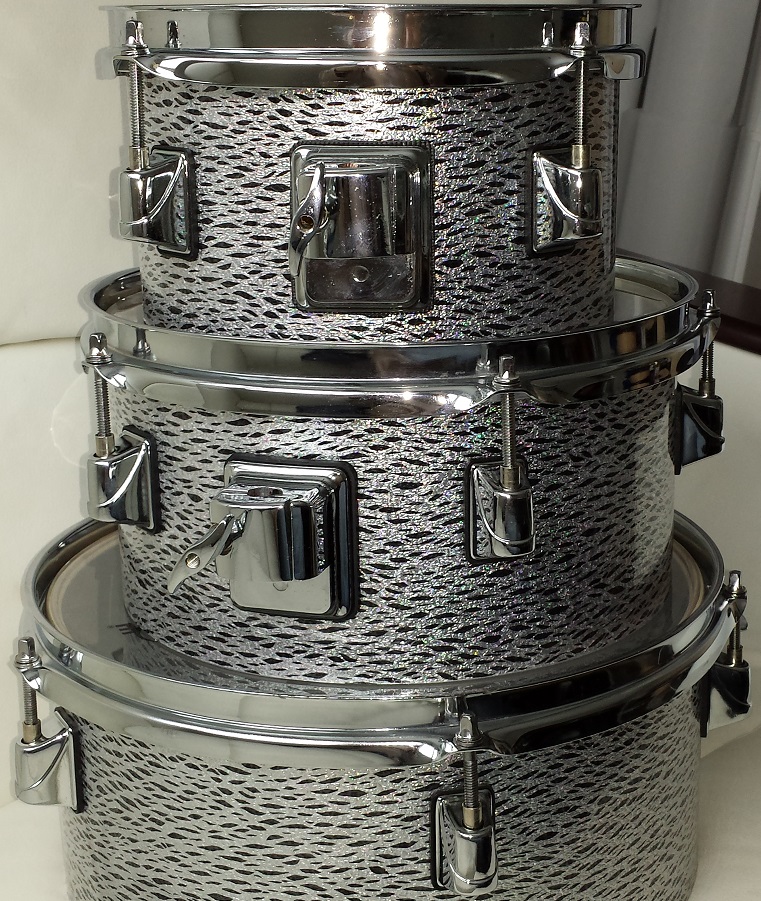
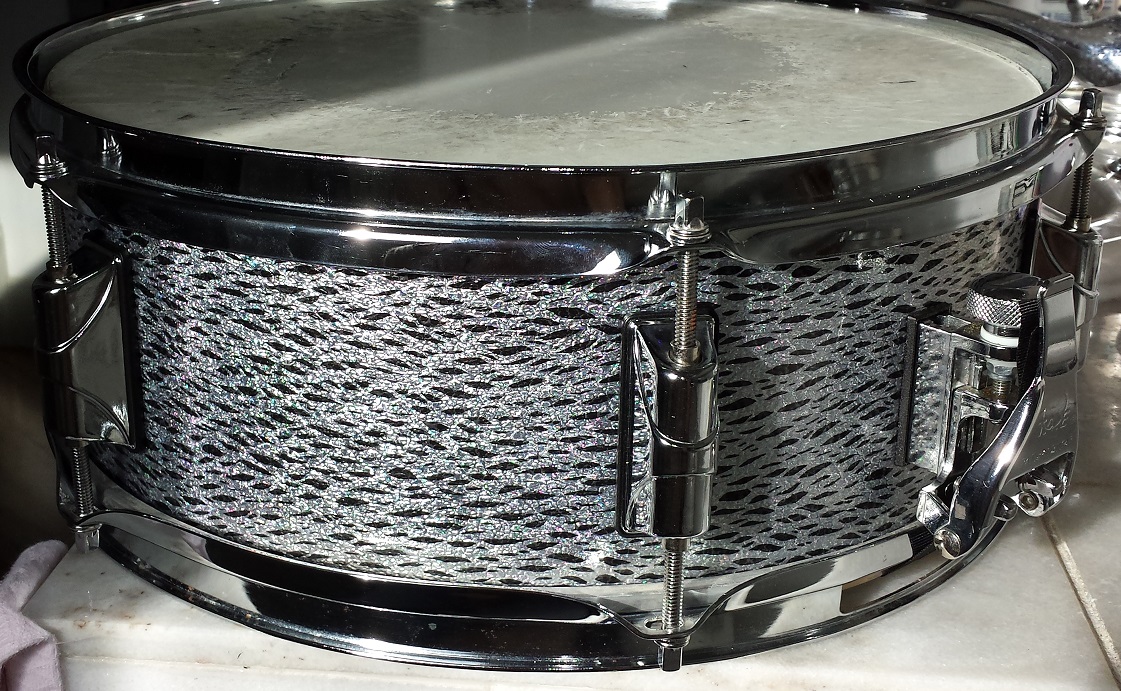
All that remains is wrap and assembly. For this project we’ve chosen a super cool wrap from Walopus.com called “Walopus Silver Pearl Black Onyx”. This wrap is incredibly deep looking and has an iridescent pearl effect to the silvery parts that must be seen in person. The photos don’t nearly capture the shimmer.
The toms get wrapped as per Method 4 of our Drum Wrap Instructions. Once assembled they will be patiently awaiting the completion of the rest of the kit.


The Snare Drum
Usually the snare drum is subject to a lot of improvements when we’re doing DIY projects with entry level drums. After disassembly of the Taye Spotlight snare it’s obvious that not very much needs to be done. The interior is already perfectly smooth and even. As are the bearing edges. All we need to do is seal with the same “Silver Sealer” as with the other drums. Usually two coats with ample drying time in between is adequate. I like to let it dry undisturbed for a few days after the second and third coats.
Once the “Silver Sealer” is completely dry, the snare drum undergoes the same sanding procedure as the toms above.
Speaking of the toms, wrapping and assembly is also performed in the same manner. A new head for the batter side should have been procured prior to this step but was overlooked. The worn one kinda’ casts a shabby shade on the whole drum.


The Floor Tom
As with the rack toms the 14″ floor tom gets disassembled and stripped naked. I’m fairly sure a 13″ tom will eventually be added to the kit, thus the floor tom will be cut down to 6.5″ depth, which leaves a half inch gap for the 13″. To provide as many configuration options as possible, the 14″ floor tom will sit in a snare basket. This way there’s plenty of space should we want to set it up double-down with the 13″ as a hanging floor tom.
The same chop job in the table saw as we did with the rack toms is applied to the 14″ floor tom as well. After sanding the cut edge smooth it is subjected to a first coat of “Silver Sealer”. Two more coats are subsequently applied after which we leave it a lone to dry for a few days.
Since we wouldn’t want the floor tom to feel neglected it receives the identical sanding procedure as the rack toms.
As with the rack toms above, the floor tom gets wrapped and assembled, then put aside to wait for the bass drum to come together.


The Bass Drum
It’s been 95% decided that the bass drum of our DIY Rhythm Traveller should remain true to the concept at 20″. For now the current 22″ bass gets disassembled and scavenged for it’s parts while we scour Craigslist and Kijiji for a 20″ shell.
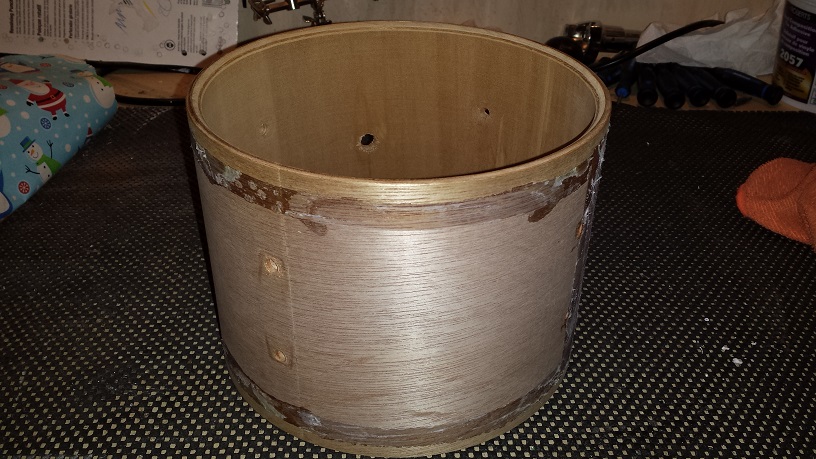
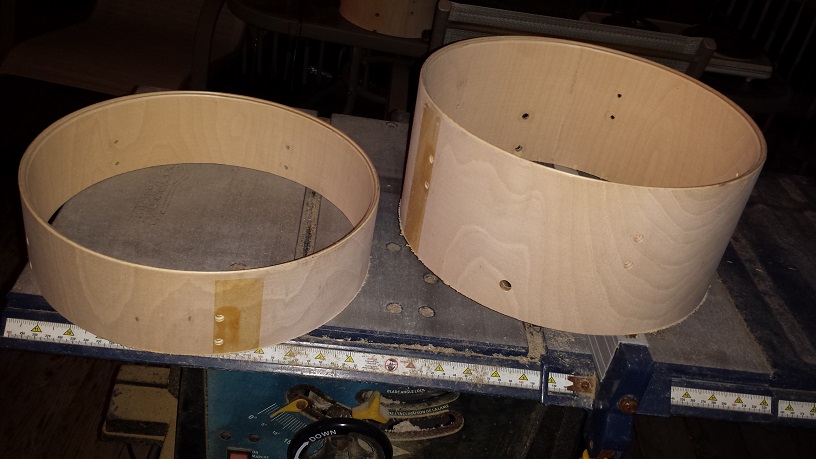
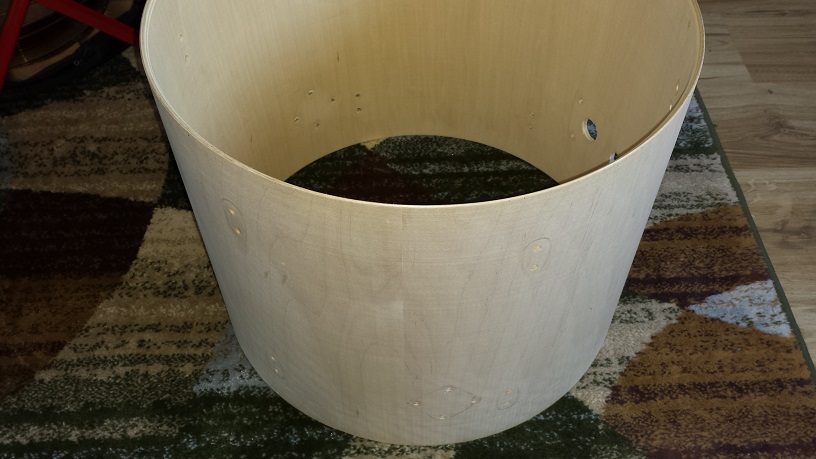
A kind soul dropped off a sweet 20″ bass drum with a Basswood/Birch/Mahogany shell. After a quick disassembly and wrap removal we can start debating the depth. The original RT has a 8″ deep bass drum. We’ve already decided that this version will be deeper but how much deeper is still to be determined. 10″ would keep the portability factor almost to the degree of the original. A depth of 12″ would result in fuller sound and more visually appealing proportions.
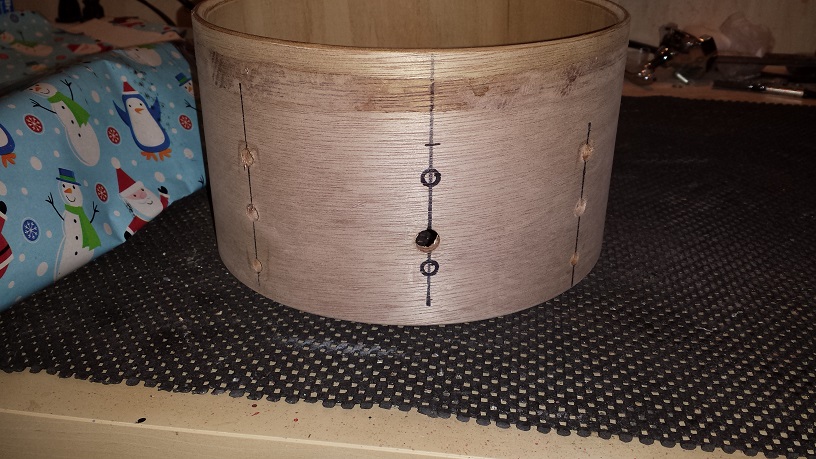
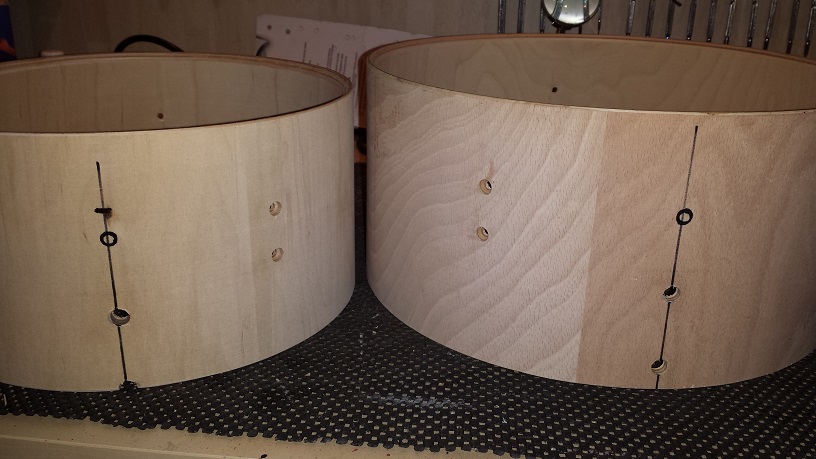
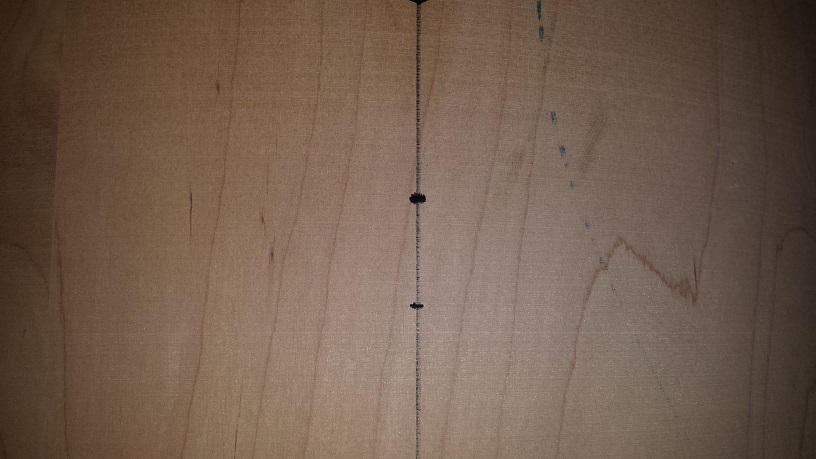
Before we proceed with cutting the shell down, we draw straight lines between the inner most lug holes. These will act as position guides for marking the new lug holes.
After much debate we settled on chopping the shell down to 9-3/4″. According to some folks that are far more knowledgeable in sound dynamics than myself, this is an ideal ratio between diameter and depth, given the shell thickness. Actually around 14″ would be even more ideal, but 9-3/4″ is the ideal ratio within the 10″ – 12″ range.
The actual chop is performed in the same manner as with the toms. Set the fence on the table saw to 9-3/4″ and roll the shell through the blade while holding it snug to the fence. Easy-peasy!
With the shell cut down it’s time to cut the bearing edges. The router table gets loaded up with a 45 degree bit and set at a moderate height for the initial pass. Then I gradually increase the height until it’s cutting just a smidge past the existing edge checking the trueness of the edge on a 24″ X 24″ slab of granite between passes to ensure a perfectly flat edge.
Next set the bit really low for the first pass of the outside bevel. This needs to be done in very small increments so as to not create a “step” where the final revolution ends. Again checking for trueness on the granite slab and making small final adjustments as needed.
The final sanding of the bearing edge will be performed after sealing the shell. This way there is no need to mask the edge before sealing since we’ll sand off any stray paint anyway.
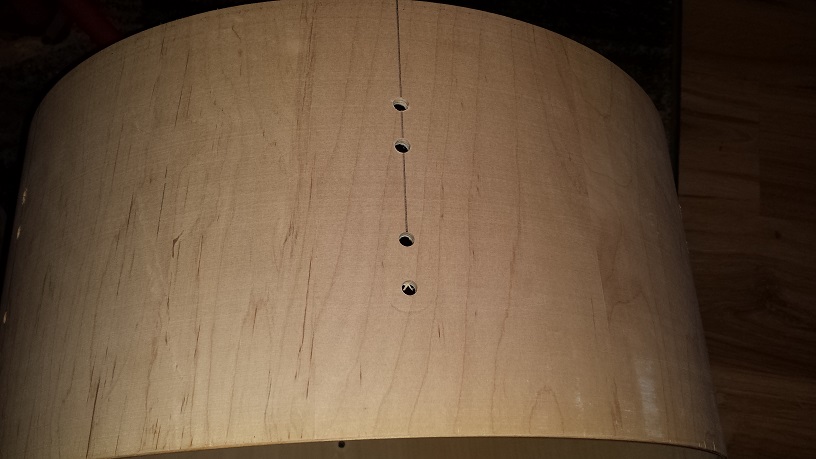
Next we can mark the positions of the holes for lug screws. Simply measure the distance from the edge to the existing lug holes and mirror the same measurements on the opposite side. Drill the holes using a corded drill with a brad point bit. Drill from the outside until the point barely pokes through to the inside, then drill the rest of the hole from the inside. This way there is no risk of breaking through the last ply.
Time for sealer. the bass drum also gets three coats just like the other drums above.
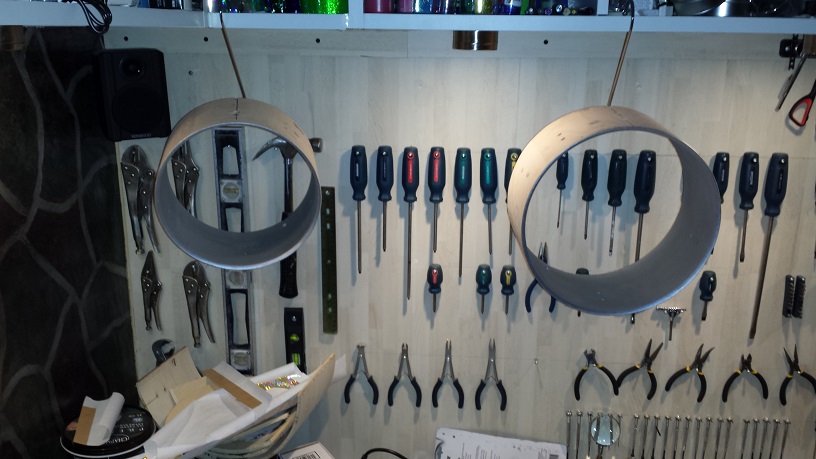
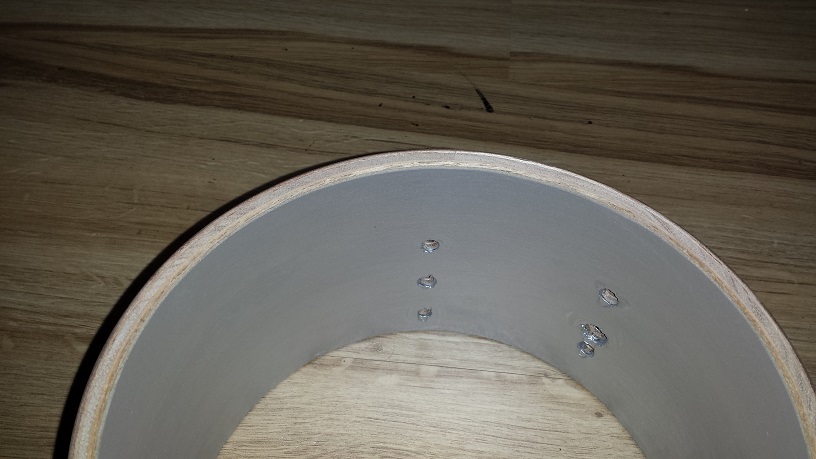
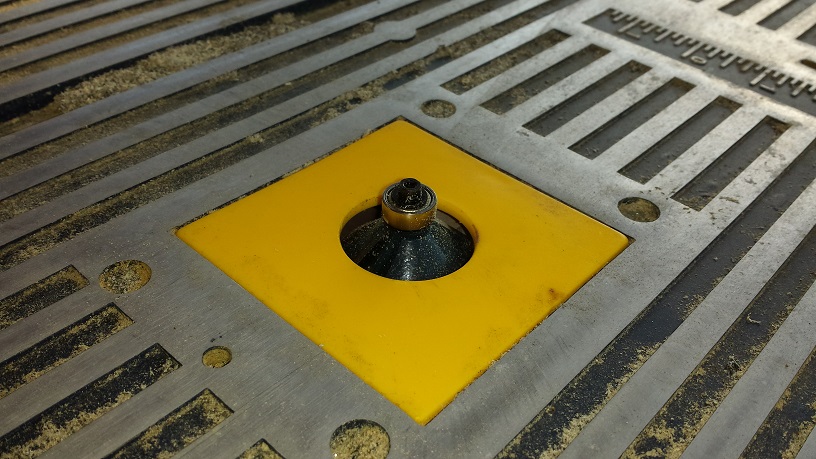
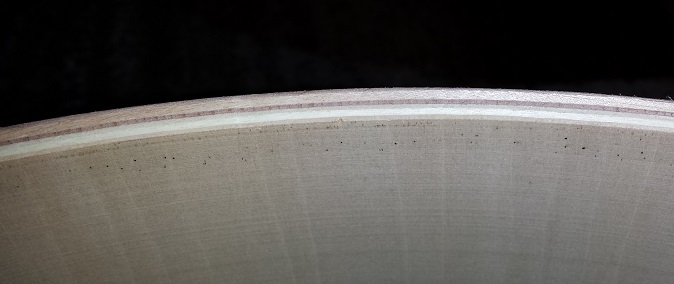
Once the sealer has had ample time to fully cure it’s sanding time. The process is the same as with the other drums but a bit more time is required on the new bearing edge since it’s entirely “sharp” as it’s never been shaped after cutting. The picture to the right is of the newly cut edge mid-sanding. All the sealer is sanded off and the shaping of the outside bevel is under way.
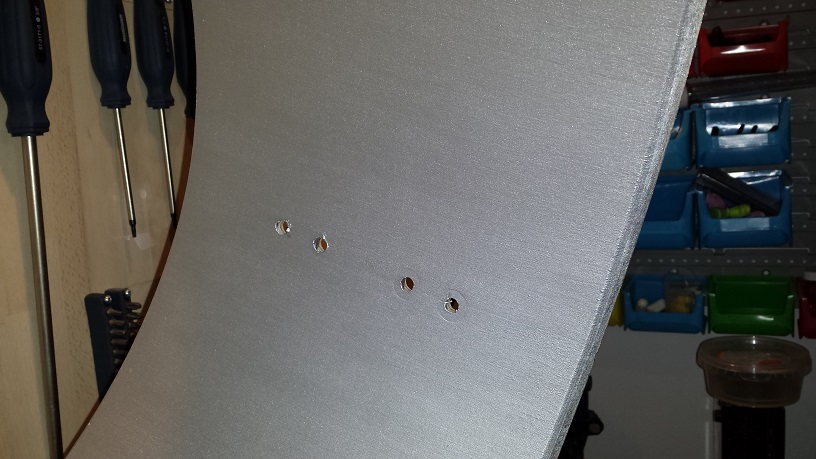
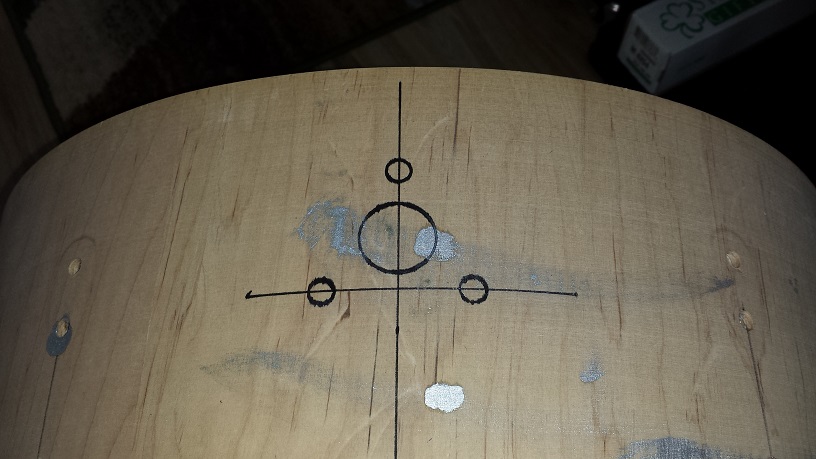
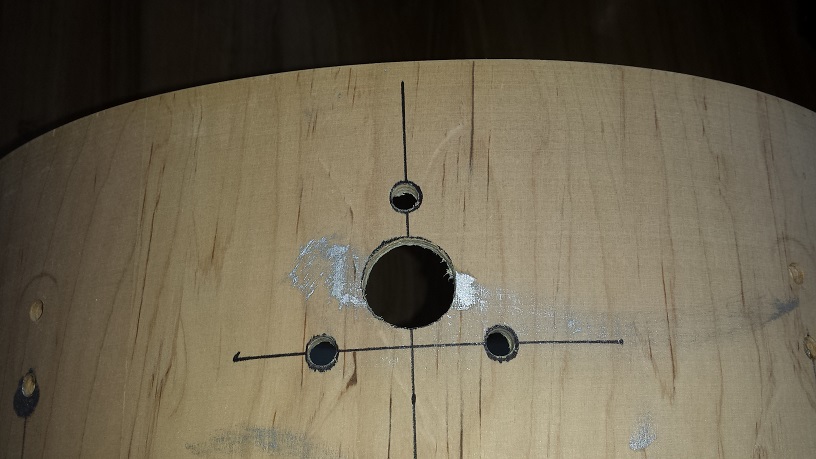
The tom mount platform will require some holes for the screws and post. Using the adjacent lug holes and the drum’s edge as reference points, a cross can be marked out in the appropriate position. Then simply line up the isolation gasket with the lines to mark the holes. Drill out the holes with a brad point bit. Start form the outside until the point pokes through, then drill the remainder of the hole from the inside. This way there is no breaking through of the last ply. The center hole for the post to pass through is drilled in the same manner but with a 1″ spade bit.
A similar method is used to map out the holes for the bass drum spur brackets. Using the shell’s edge and existing lug holes as reference points we can mark a straight line and simply use measurements for the screw positions along the line. The brackets come from a Tama floor tom. The Taye brackets are already designated as tom brackets for the extra toms.
Once all the holes are drilled we can continue to wrapping and assembly. The resonant head gets a port from a subwoofer installed with contact cement.


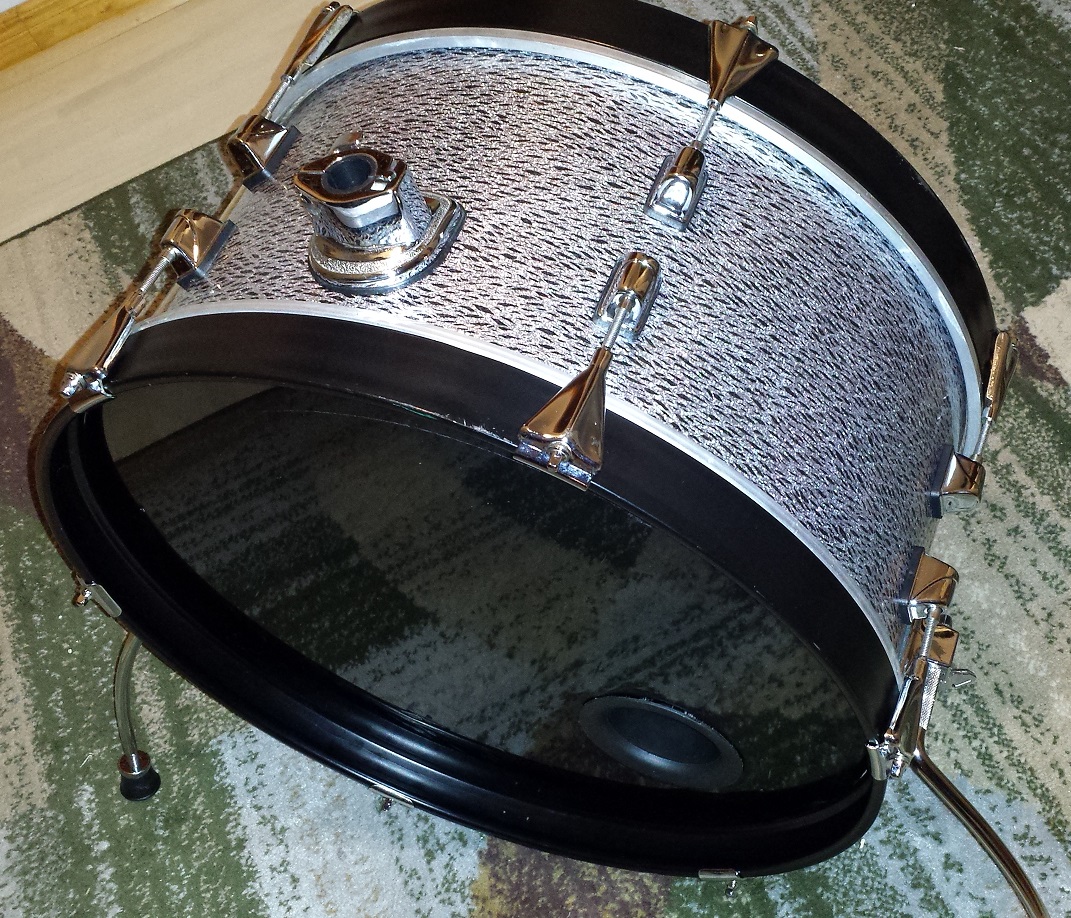
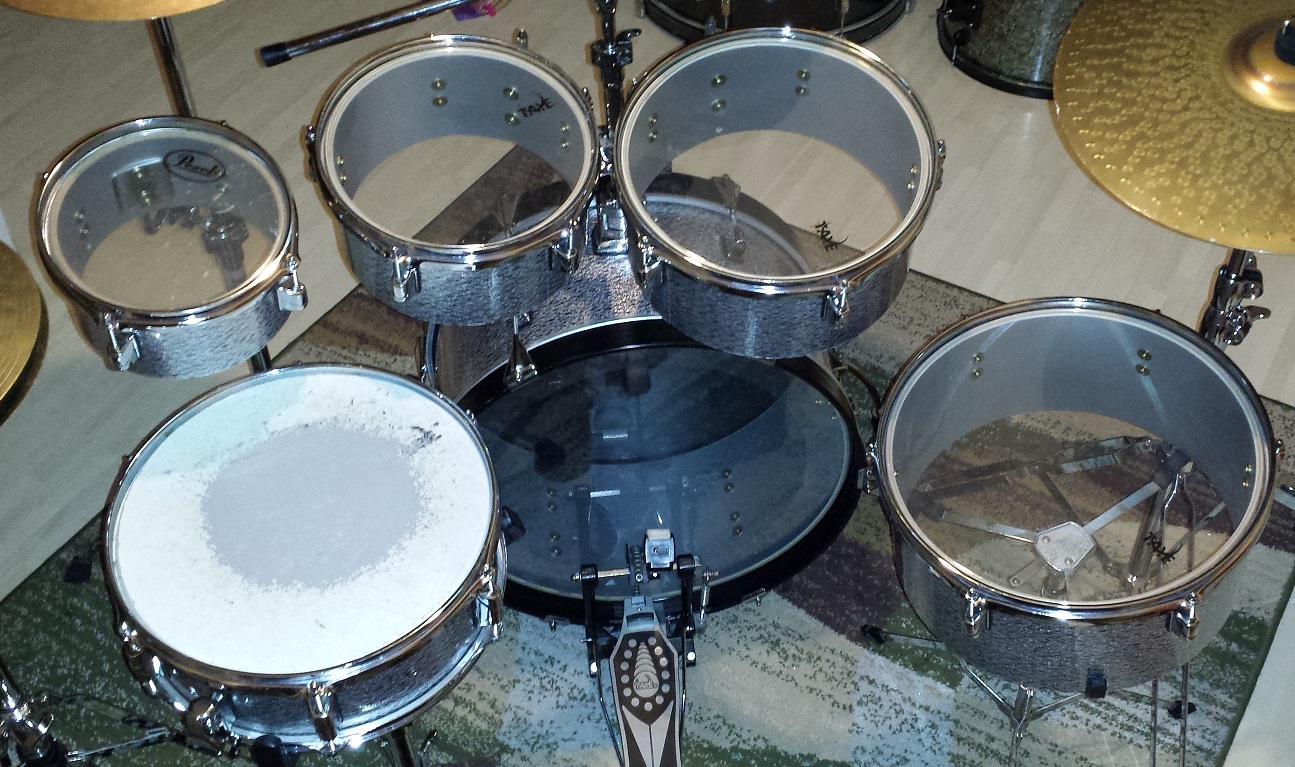
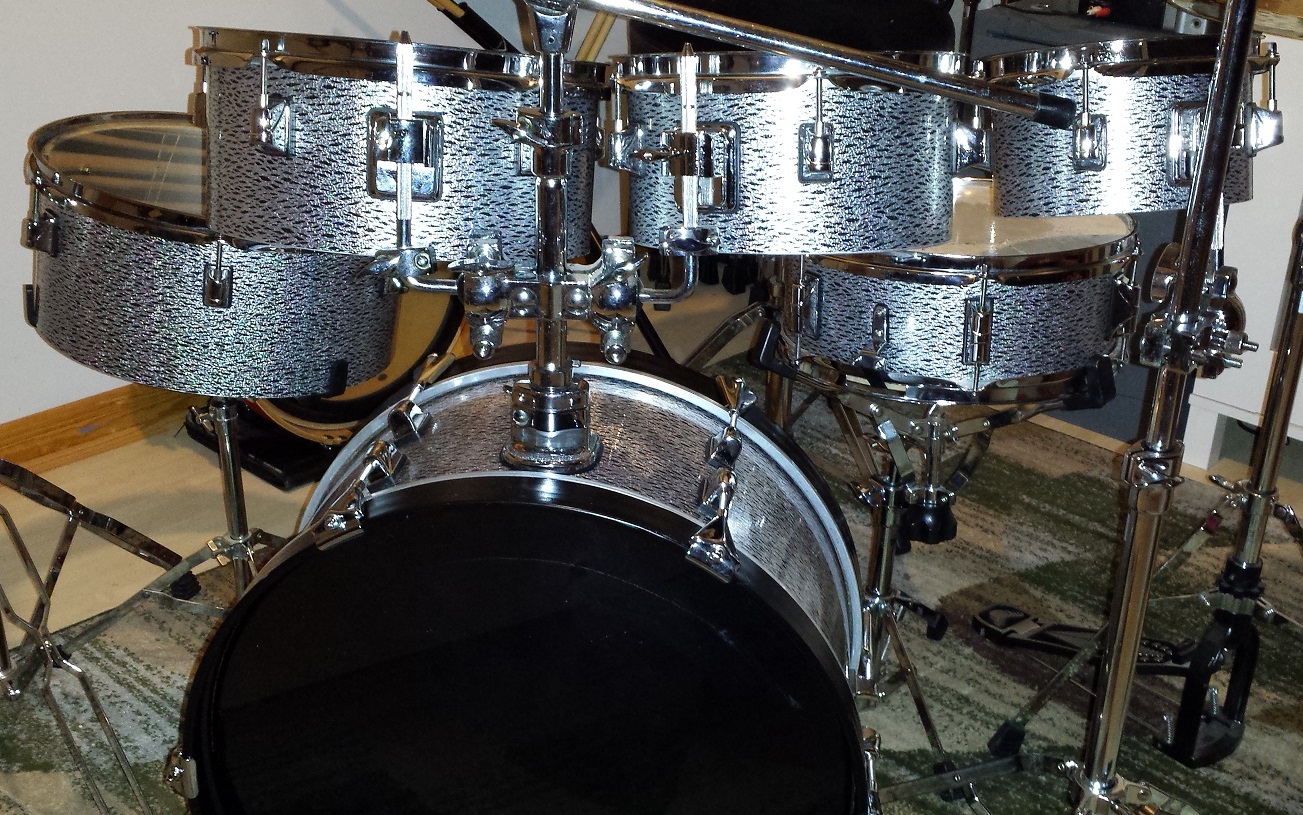
And there we have it. A groovy, Custom DIY Rhythm Traveller!