Introduction
The idea for this DIY project came when I became a new, proud owner of a regular sized drum kit with unusual graphite-coloured, powder coated hardware. A picture of a Jungle kit with green snakeskin wrap and said hardware immediately popped into my head and would not leave. The words: “Welcome to the Jungle” started to echo repeatedly in my mind, as if the drums and the wrap in unison demanded I meld them into a DIY Mini Bop Snakeskin Drum Kit of the Green Cobra variety.
Speaking of Welcome to the Jungle…. Ever heard of when Slash and David Lee Roth got together to record? It’s one of the most hilarious sound clips ever.
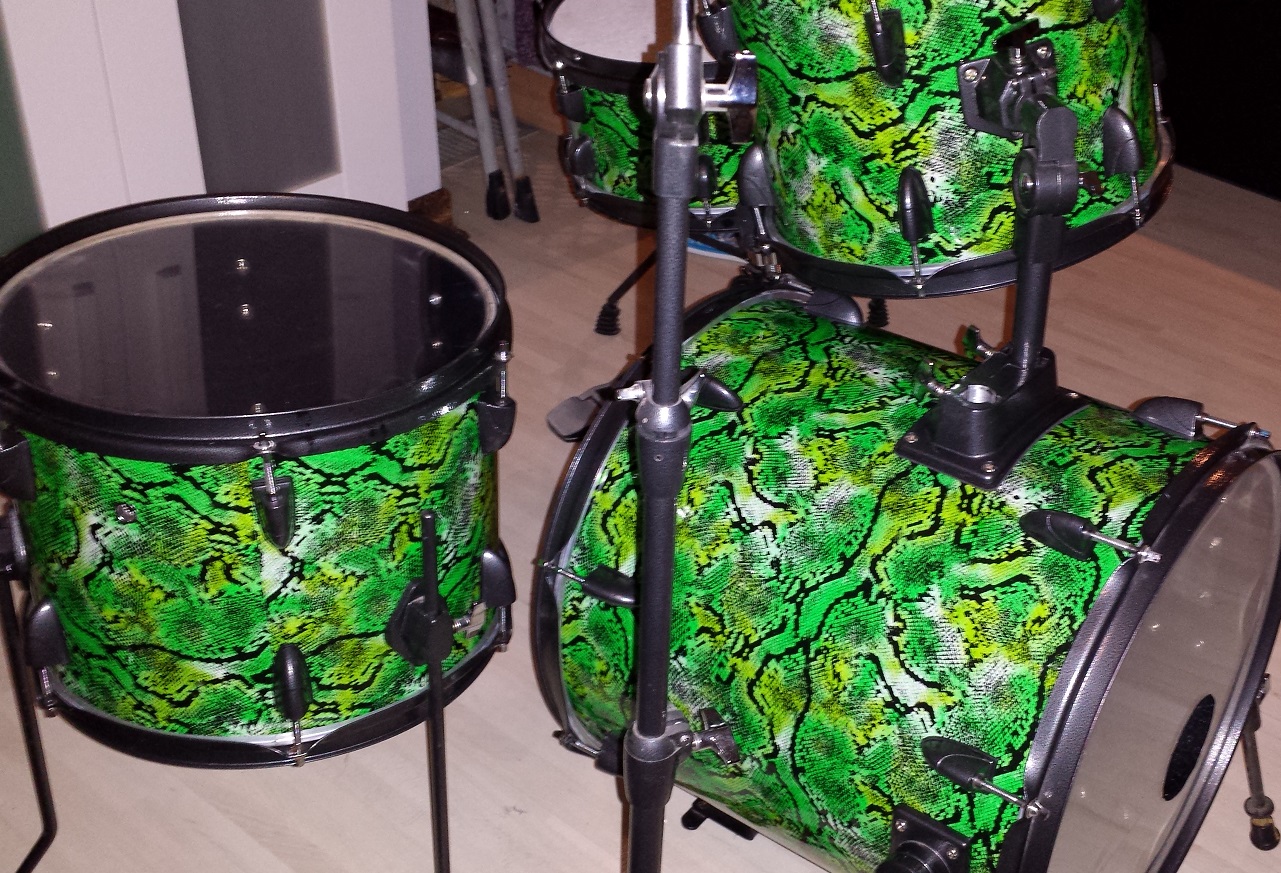
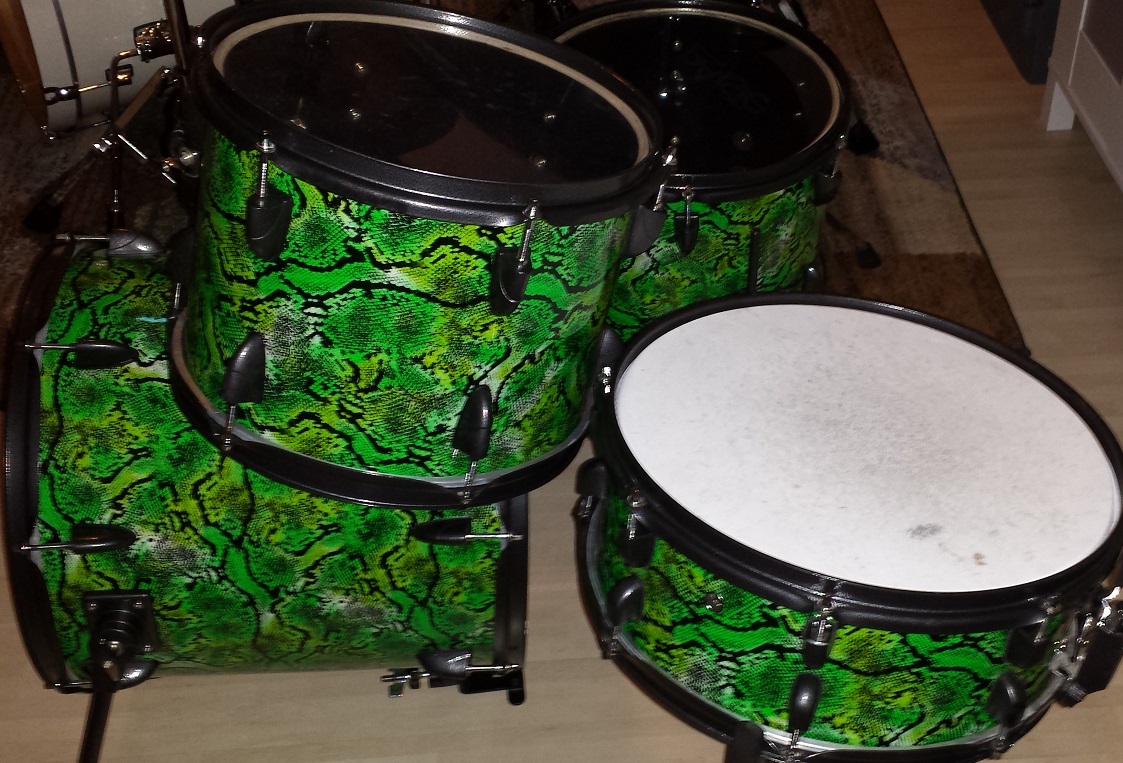
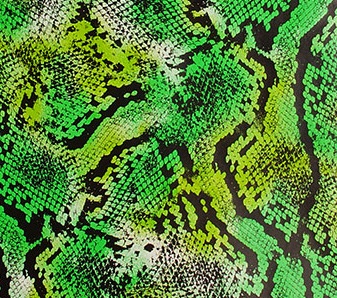
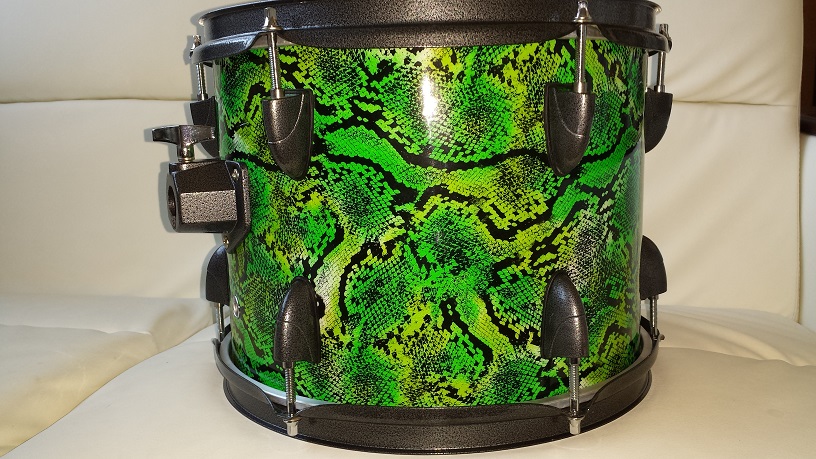
Anyway, back to my vision of the King Cobra Green Snakeskin Drum Kit. I hope you’re not too fed up with the endless Jungle kits lately ’cause this is yet another one. But this one should prove to have infinitely more character and visual oomph than any of the previous projects. Gloss black enamelled shell interiors coupled with above mentioned graphite powder coated metal parts and an obnoxious lime green snakeskin wrap from Walopus. Welcome to the Jungle!
I’m no wood grain expert, but I’m almost positive these shells are Basswood. A perfect sounding wood species for smaller sizes. I have really high hopes for the 16″ tom as a bass drum. Hang tight and let’s find out.
DIY Mini Bop SSSsssSSS-Snakeskin Drum Kit
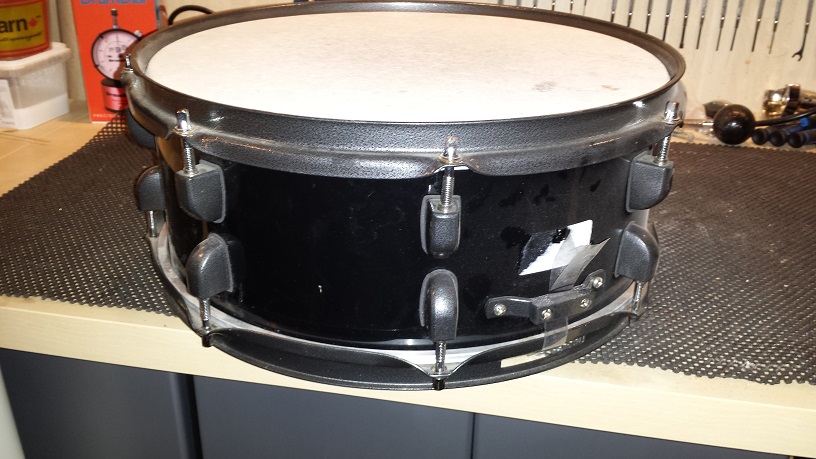
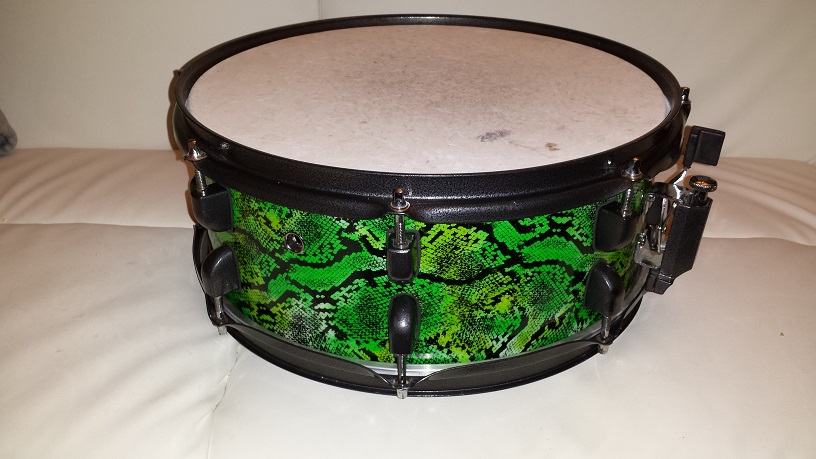
The “King Cobra” Snare Drum
Already well under way, the snare is the subject of a separate article entitled “DIY Snare Drum Optimization“. All the details are available on that page.
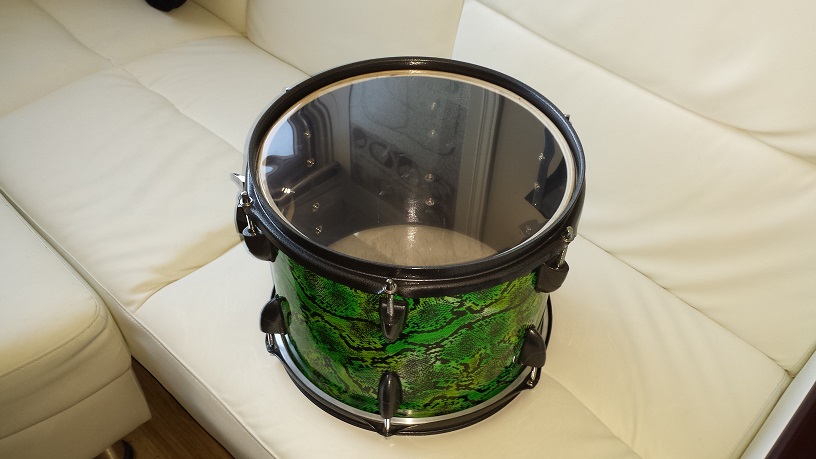
The Green Cobra Tom Tom
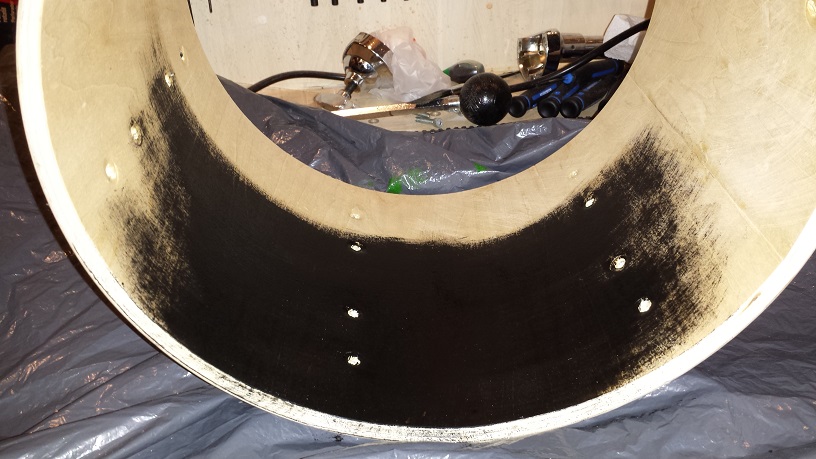
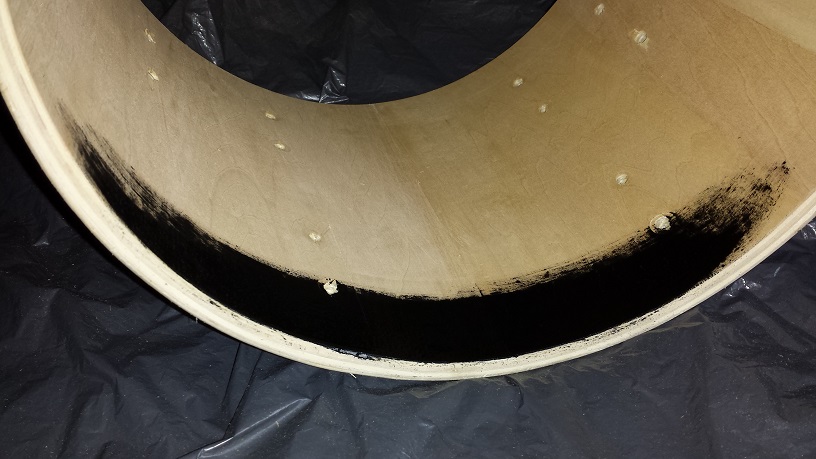
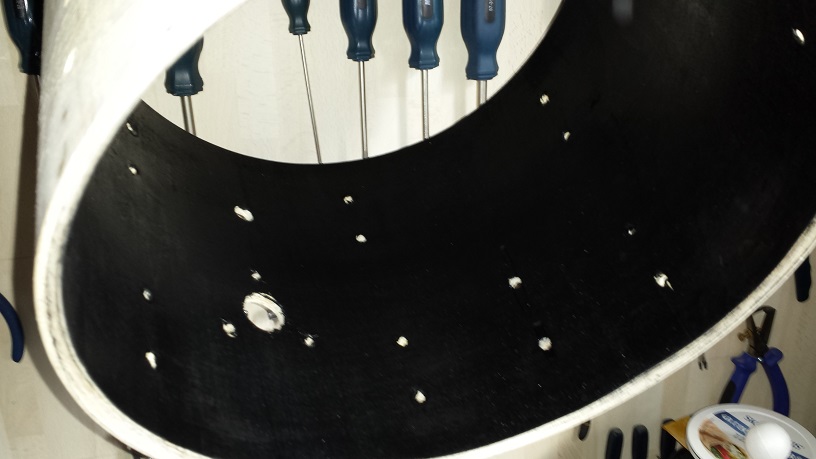
Following complete disassembly the inside of the shell gets a light sanding and two coats of black enamel with 12 hours dry time in between. Then another 24 hours of dry time before we move on to the bearing edges.
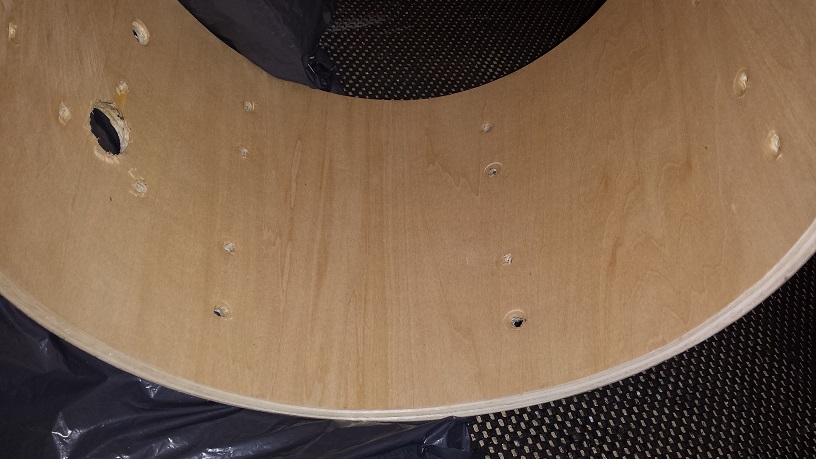
Sanding the bearing edges might be the most laborious and time-consuming task in the entire process. I start with around 100 grit loaded in one of those mouse-type sanders. For the inside bearing edge I rotate the paper 90 degrees to even out the wear pattern a bit. (See pic.). Sand with 100 grit until all the excess enamel is gone. Next I use 200 or so grit in the same manner and work on the inside edge until it’s silky smooth. With the paper in the “normal” position on the sander the outside bevel gets the same treatment. Once the entire surface is smooth I proceed with rounding over he outside bevel just a tad. Not enough to be considered a round-over but enough to increase head-to-shell contact a wee bit.

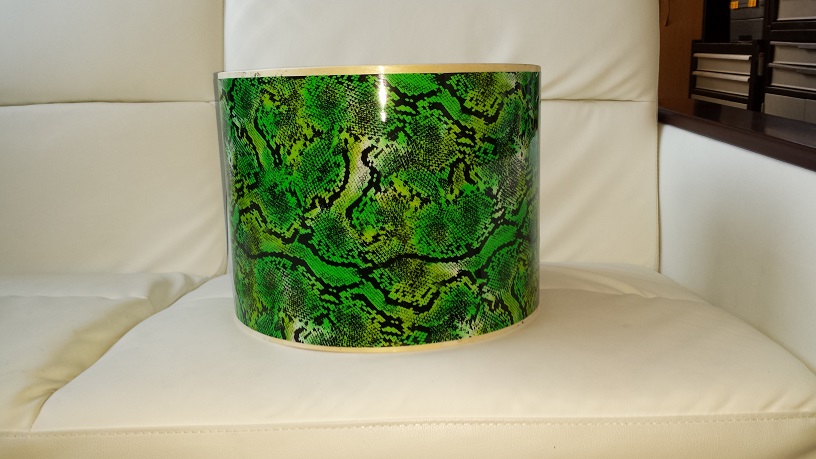
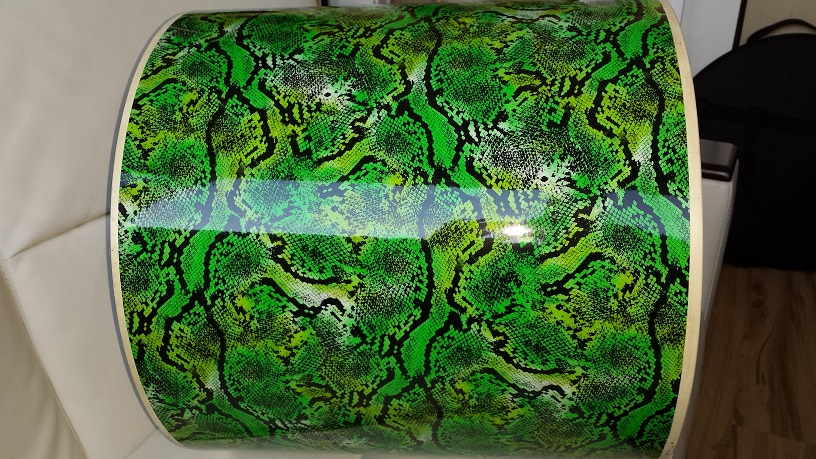
Walopus drum wrap comes over-sized from the factory to accommodate for multiple assembly methods. Since the tom will be wrapped according to “Method 4” on our “Drum Wrap Instructions” page, it needs to be trimmed to size prior to installing. I use a long straight edge to draw the lines with a marker and cut with scissors. The wrap is glossy plastic on the back too so a permanent marker is needed.
All that’s left now is to drill out the holes through the wrap and assemble the tom back together. This is done to “Appetite for Destruction” with Guns ‘n Roses.

The Sneaky Cobra Floor Tom
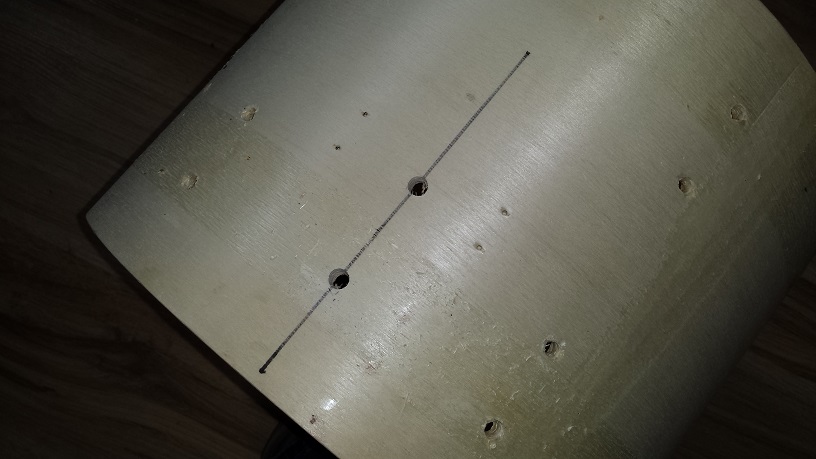
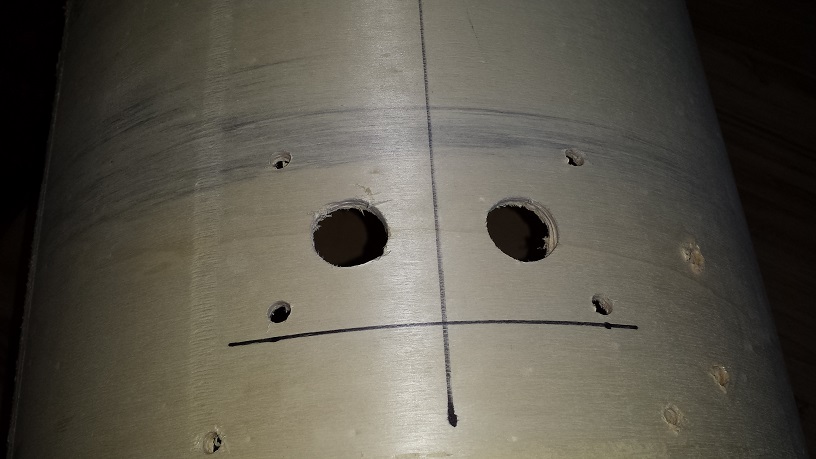
Following disassembly of what used to be the 13″ rack tom, we need to drill holes for the floor tom leg brackets. Start with marking the approximate positions on the shell. Then draw a straight line parallel with the lug hole lines at said position. Decide on a distance from the bottom edge to the lower screw hole and make a mark. Make the second mark according to the distance between the screw posts on the bracket. Generally speaking I place the lower hole 5 cm from the bottom edge on a 13″ tom.

Load a corded drill with a brad point bit. Drill from the outside of the shell until the point pokes through to the inside. Drill the remainder of the hole from the inside. Use high speed and gentle pressure. This method avoids breaking through the last ply with the resulting splintering.
Next we give the inside of the shell a quick sanding and treat it to an initial coat of black enamel. Leave to dry over night.
After a meticulous sanding of the bearing edges, the wrap is trimmed to size and installed in the same manner as with the tom tom. The floor tom assembly is accompanied by ZZ-Top’s “Tube Snake Boogie”.
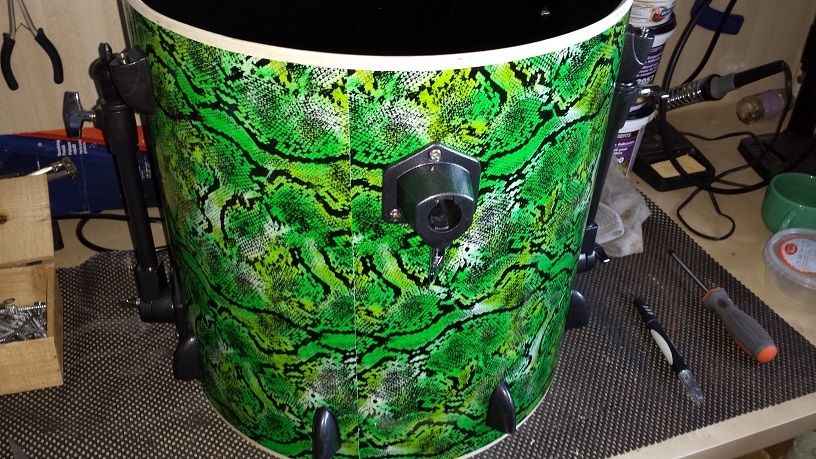
The Fat Cobra Bass Drum
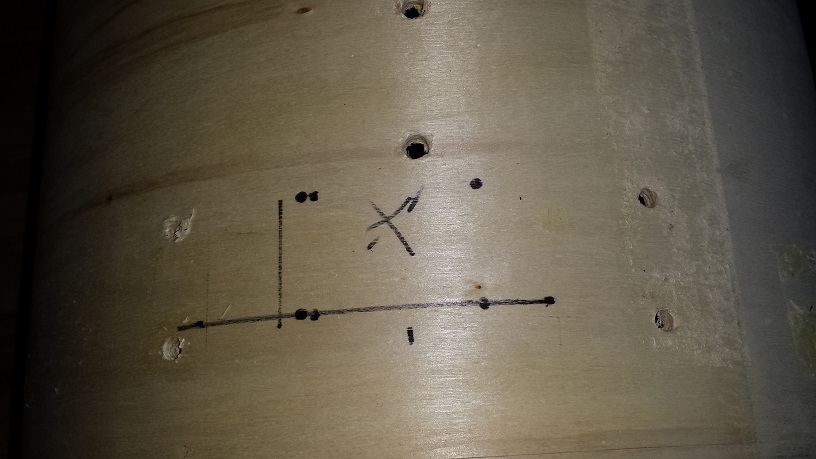
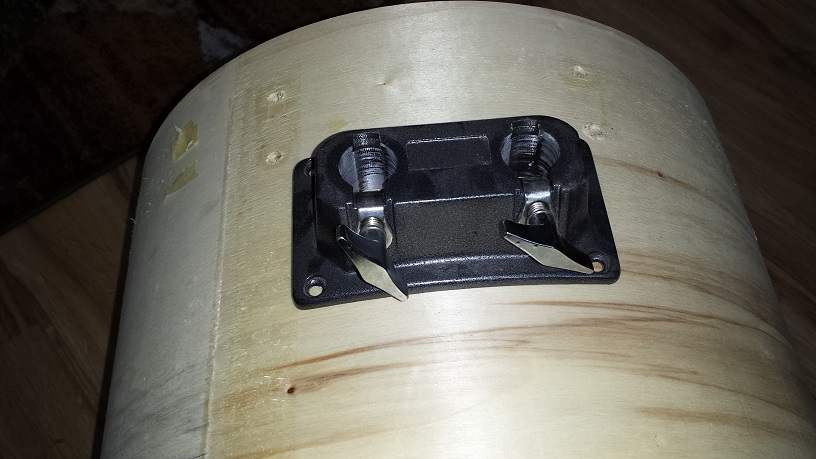
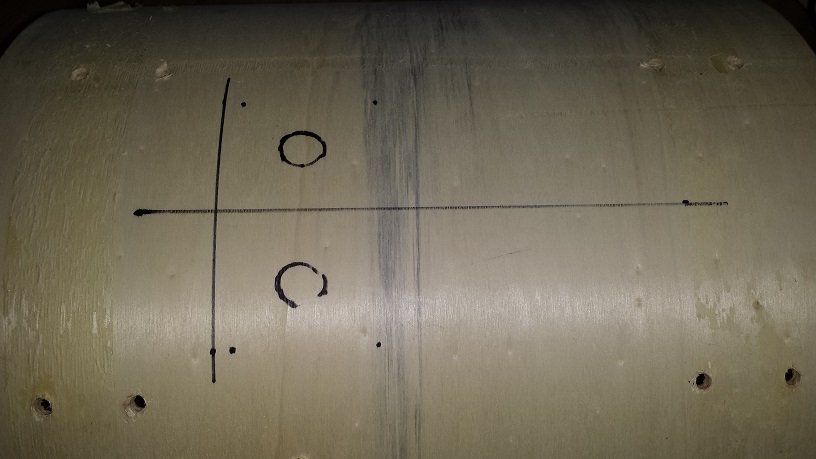
It’s time to convert the former floor tom into a groovy 16″ bass drum for our DIY Mini Bop Snakeskin Drum Kit. Start with stripping the shell bare. Next determine the approximate position for the tom mount platform. In order to get it straight and centred on top I draw a reference line parallel with the drums edge and mark the centre point between the lug screw holes. Then I can mark the holes with the mount as a template.
Drill the holes in the same manner as with the floor tom. The larger pass through holes also follow the same process but with a spade bit and slower speed.
Flip the shell over and mark the position for the riser bracket. Again I draw a parallel line to the shells edge and mark the centre point between the lug holes. Using the bracket as a template mark and drill the holes.
Stand the shell up and experiment with the position for the first spur. While we want it angled outward for stability we also need to give it adequate downward reach since a 16″ needs to be suspended higher than the 22″ the spurs came from. Once you find a satisfactory balance between height and angle, mark the position. Once again draw a line parallel with the shells edge. Use the spur mount as a template and mark the holes. Take measurements in two directions so that the position can be duplicated on the opposite side of the shell. Drill the holes as above.
Next we give the interior a light sanding and apply an initial coat of enamel. Allow to dry over night.
Once the enamel is fully cured we can move on to sanding the bearing edges. As with the other drums, this is a step I like to take my time with. The effort invested here is returned many times over with the sound and ease of tuning of the finished product. 100-grit paper quickly removes the excess black enamel, followed by 200-grit for silky smoothness and shaping of the outside bevel.
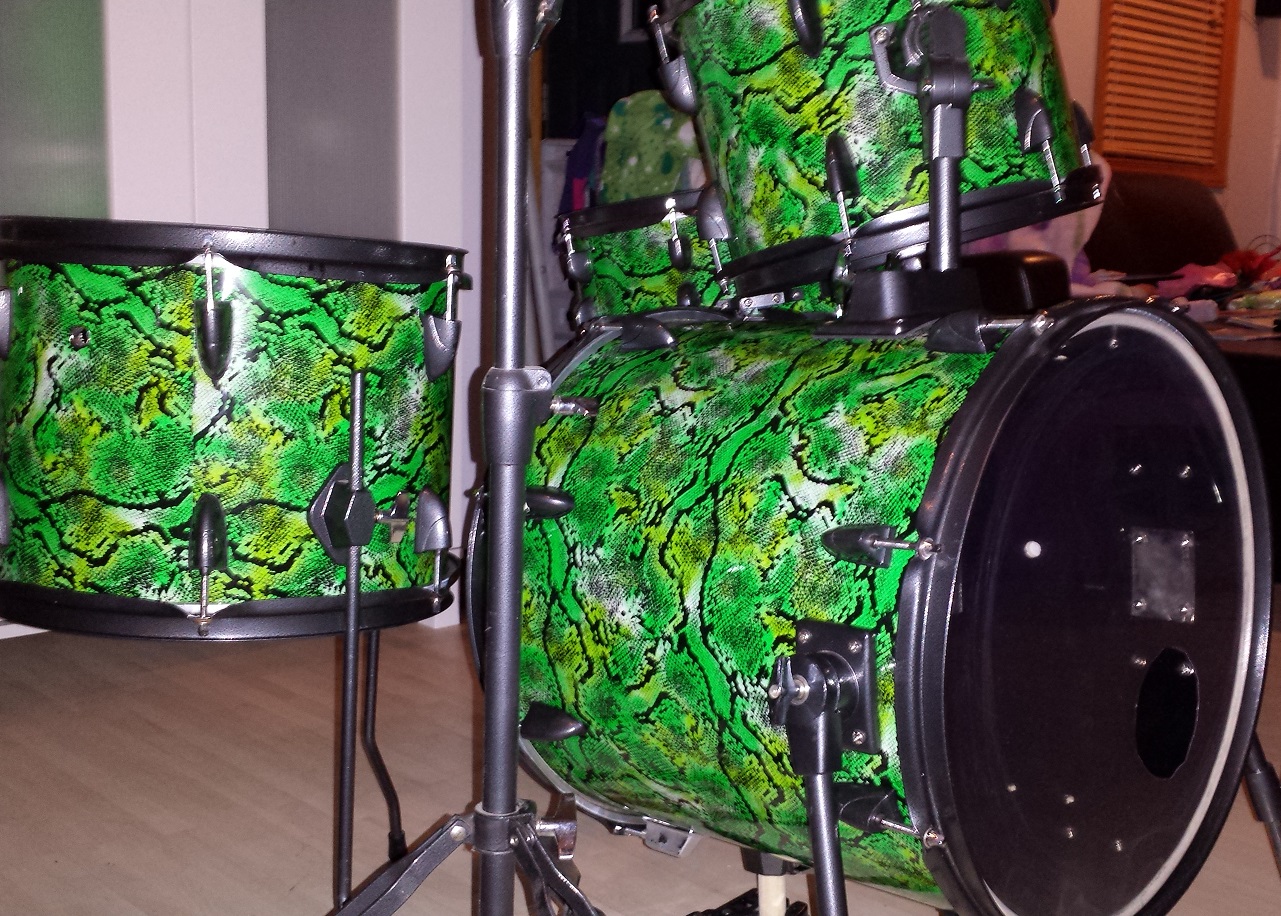
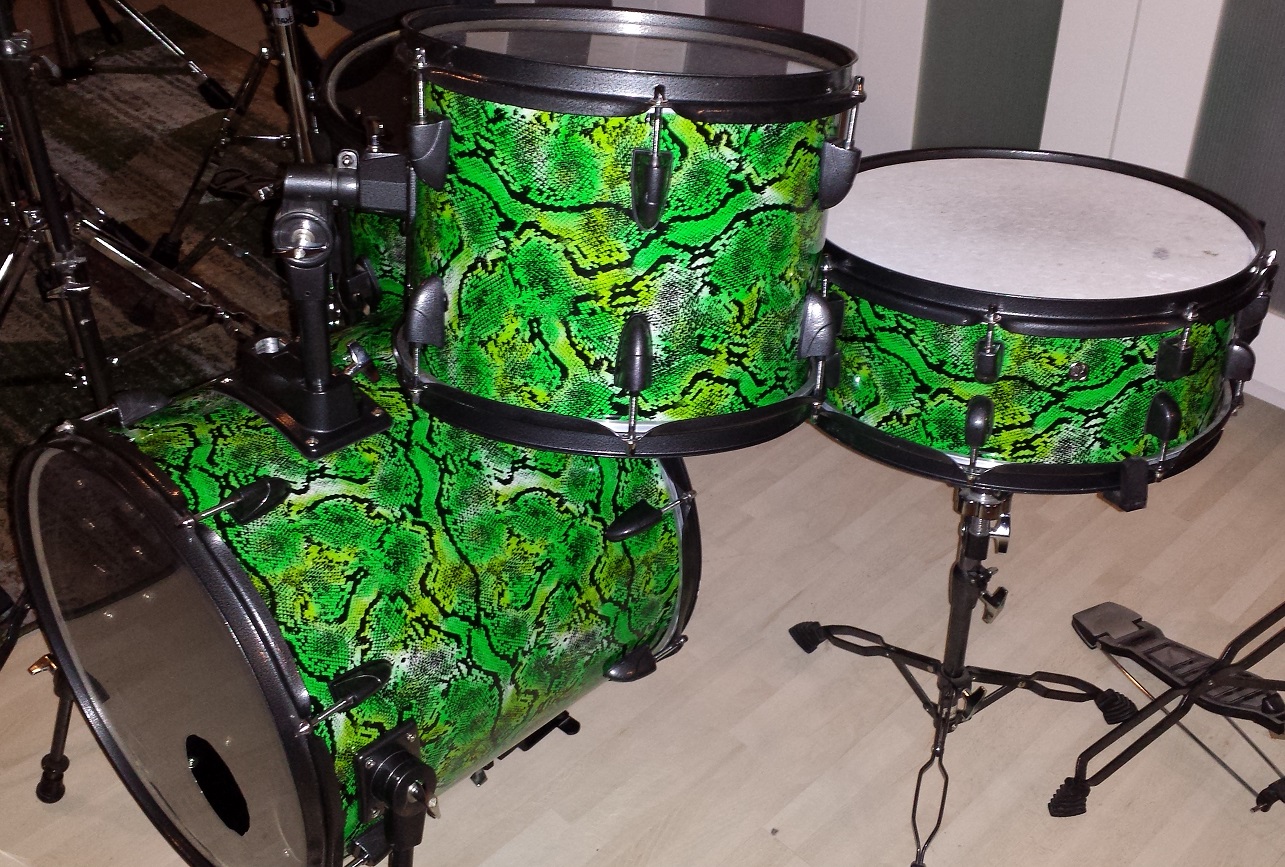
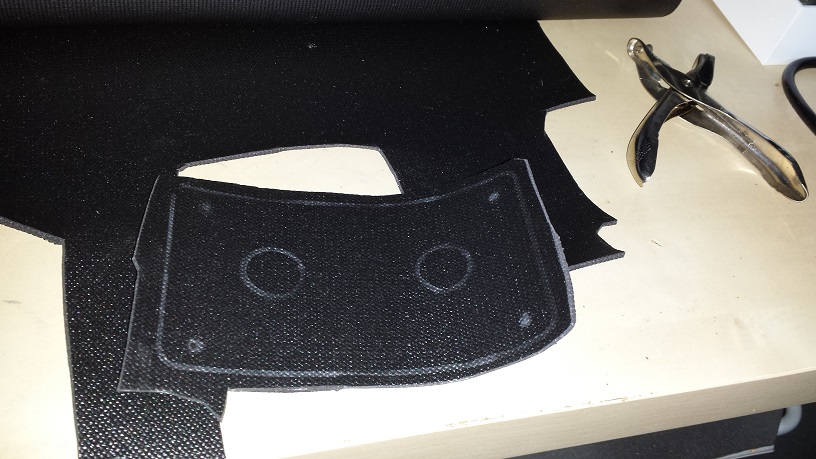
Next the wrap is trimmed to size and installed in the same manner as with the other drums. Assembly is straight-forward. I take the time to make an Isolation gasket for the tom mount platform. The bass drum riser used is the same as for our last project, #8 from our DIY Bass Drum Risers page. Once the bass drum is assembled, the kit can be set up and taken for an initial spin.

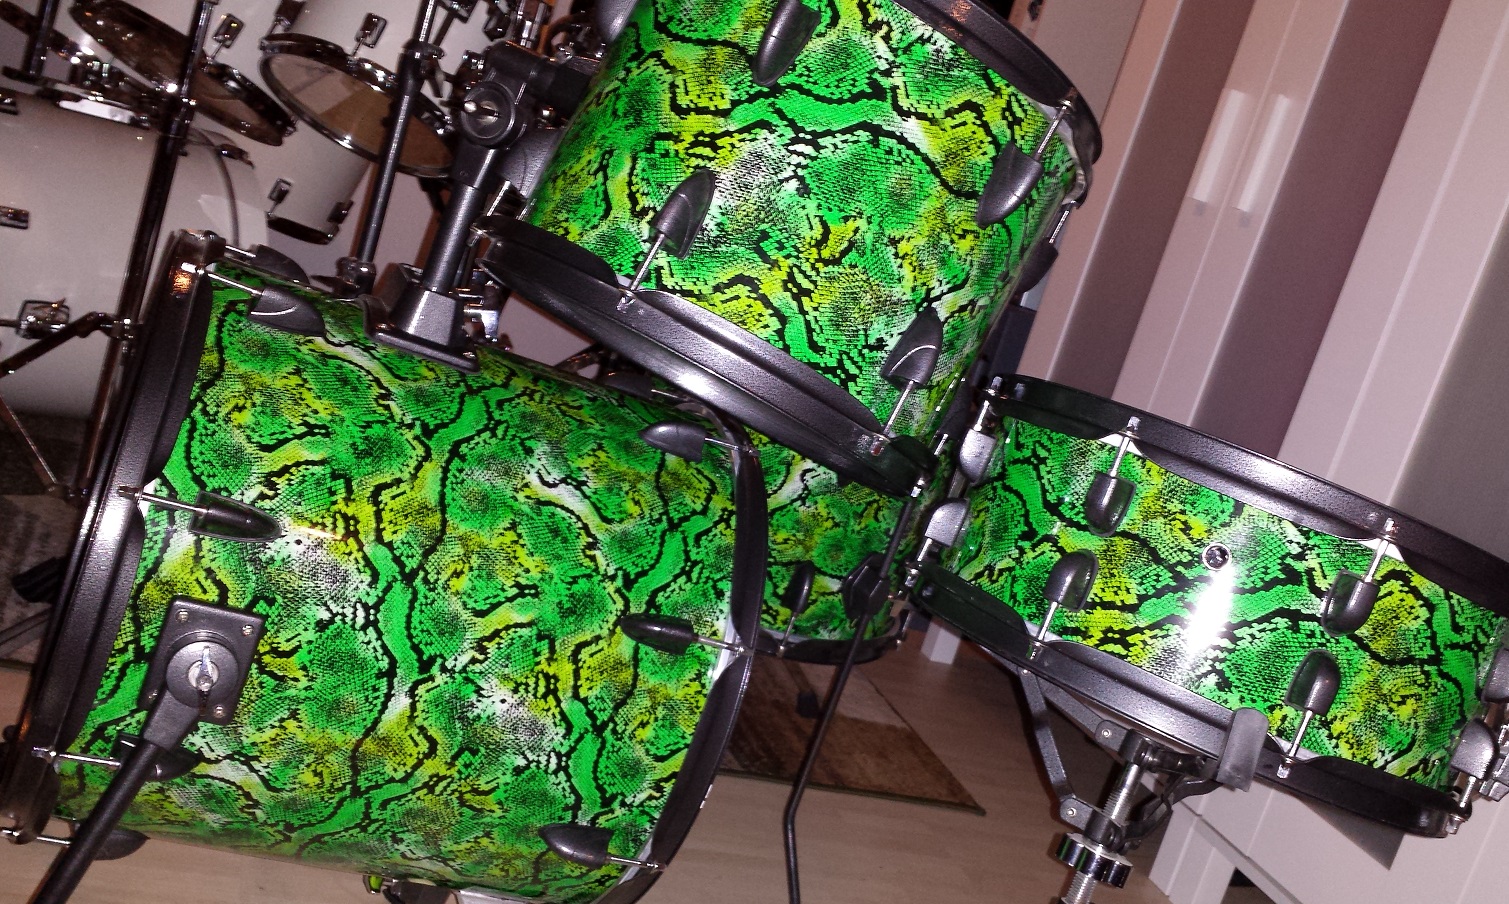
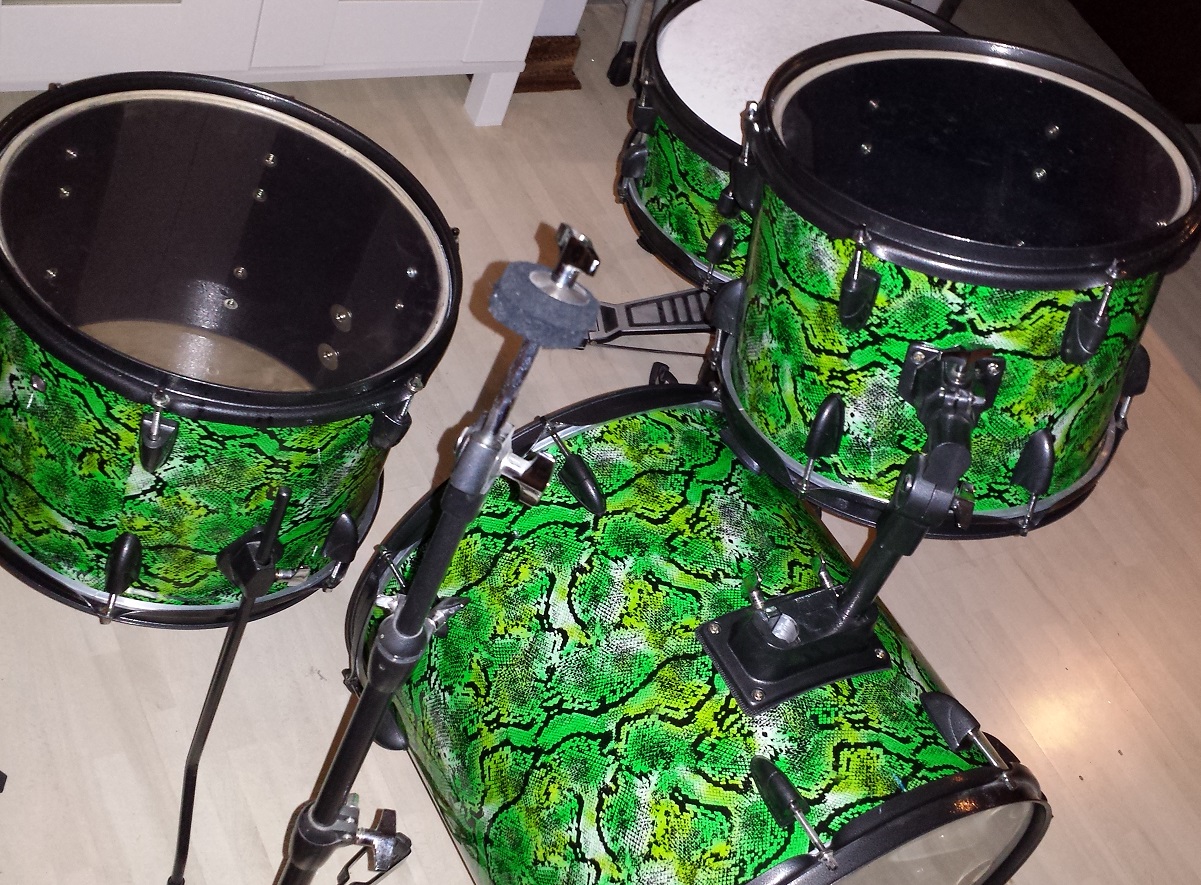
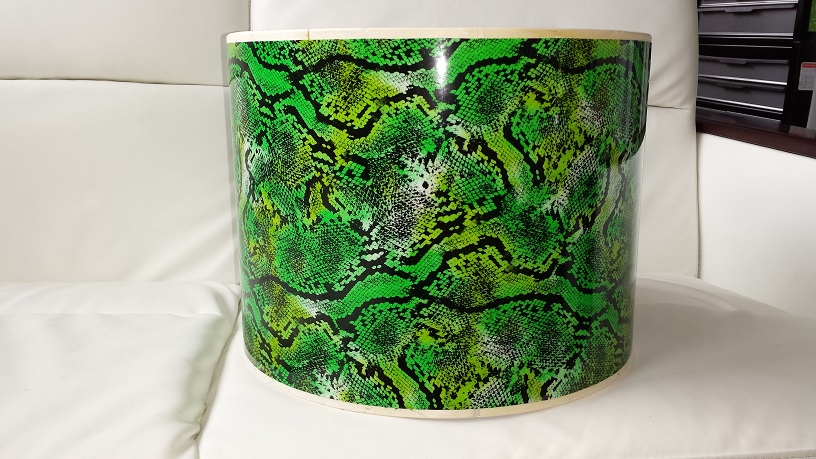
The Completed DIY Mini Bop Snakeskin Drum Kit