

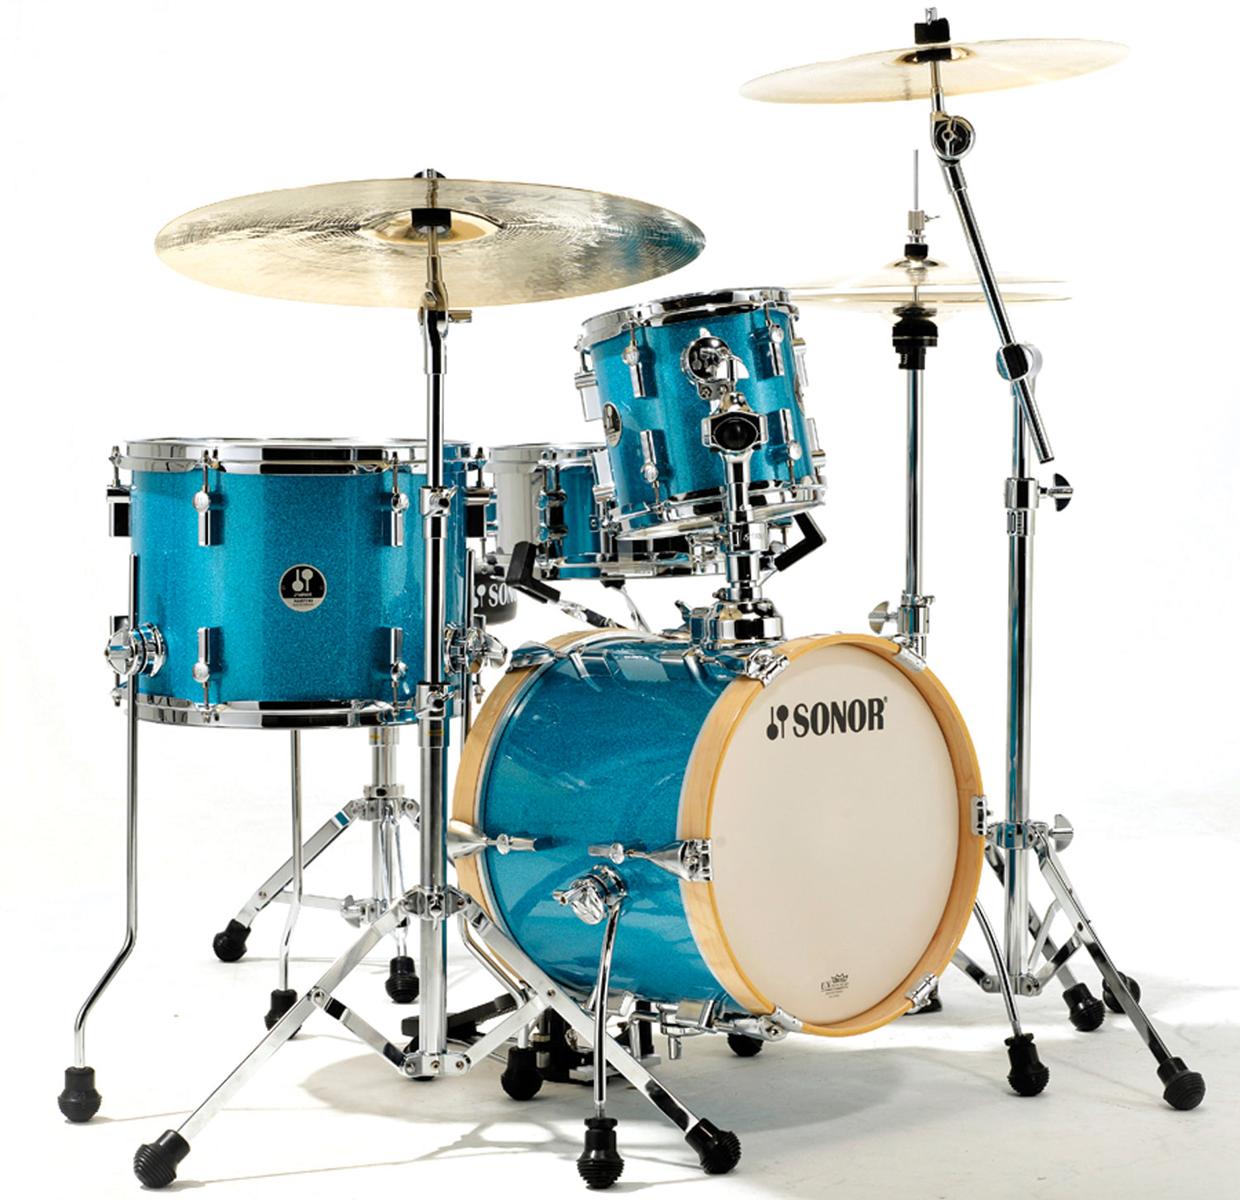
Inspired by Sonor’s Martini, -our Take on a DIY Micro Bop Kit
-Less is more, (more or less…)
Introduction
More than once I’ve been close to pulling the trigger on a Sonor Martini kit. Every time I’ve sat by the PC with credit card in hand, a voice inside me pointed out that it’s a perfect DIY project. More or less subconsciously, I’ve collected the necessary drums and other components. Just the other day I came to the realisation that I now have all the pieces to the puzzle. It’s finally time to make the Martini-sized DIY Micro Bop Kit I’ve been planning for what seems like a decade.
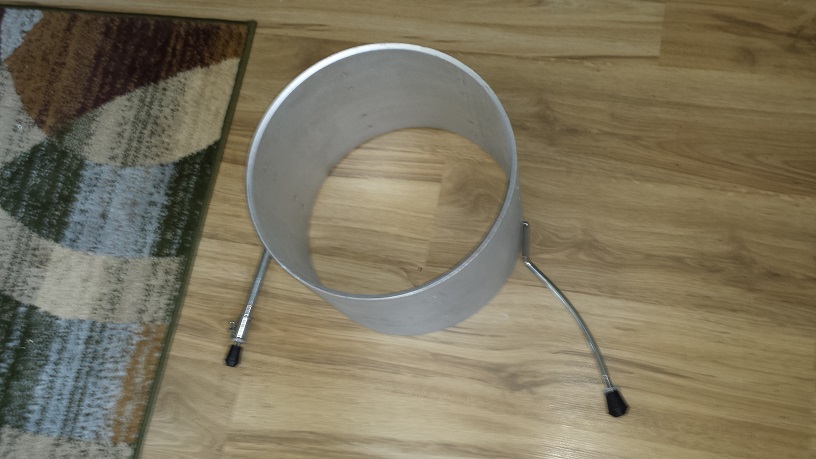
Although very much inspired by the Martini, our DIY Micro Bop Kit will in no way be a cloning attempt. Personally I’ve always preferred wood snare drums, so obviously that will be the choice in this case. We’ll also forgo wood hoops on the bass drum, mostly due to cost. Steel rims also simplify the use of a riser without having chain-to-hoop clearance issues. Whether to use traditional style spurs, Ratchet spurs or even a cradle is yet to be determined.
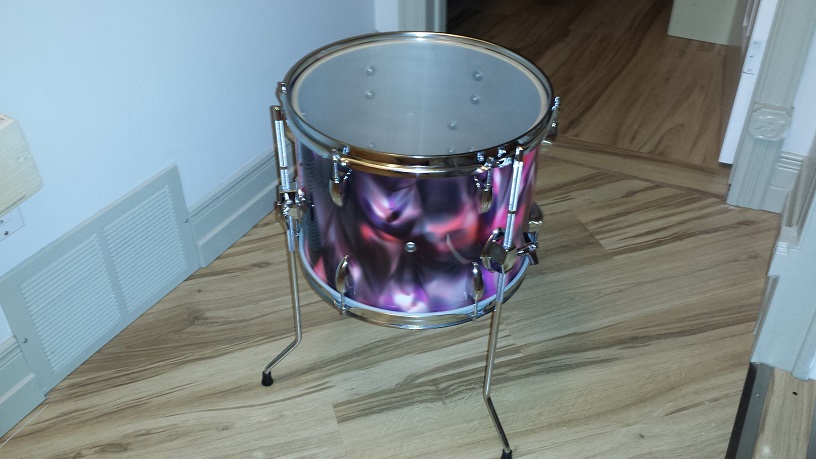
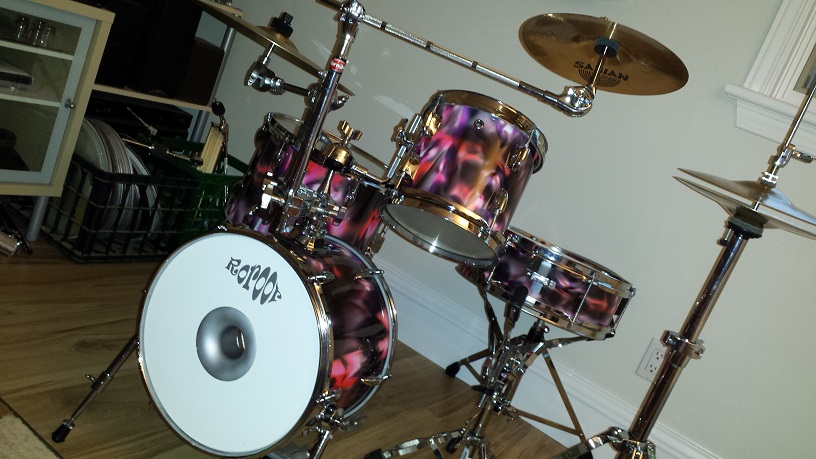
Already determined are a 12″ wood snare, a 14″ X 12″ Bass drum, 8″ X 8″ Tom tom, and a 13″ X 10″ Floor tom. Size-wise this project will be almost identical to the Martini, a slightly shallower snare drum being the only exception.


Prepping The Snare Drum
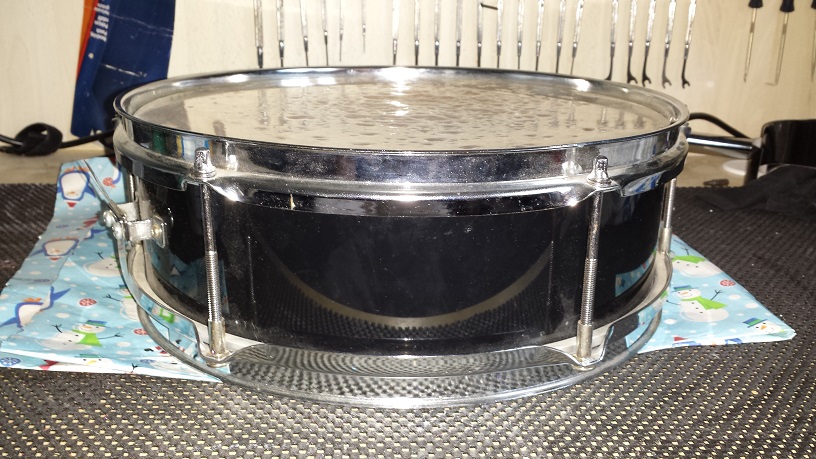
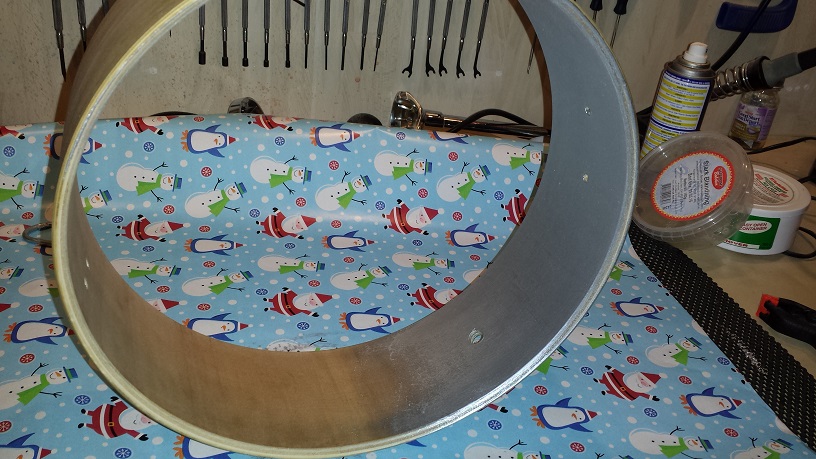
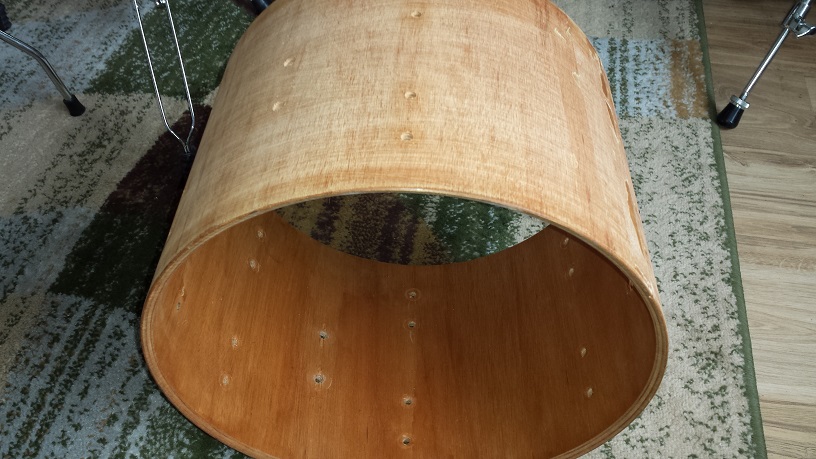
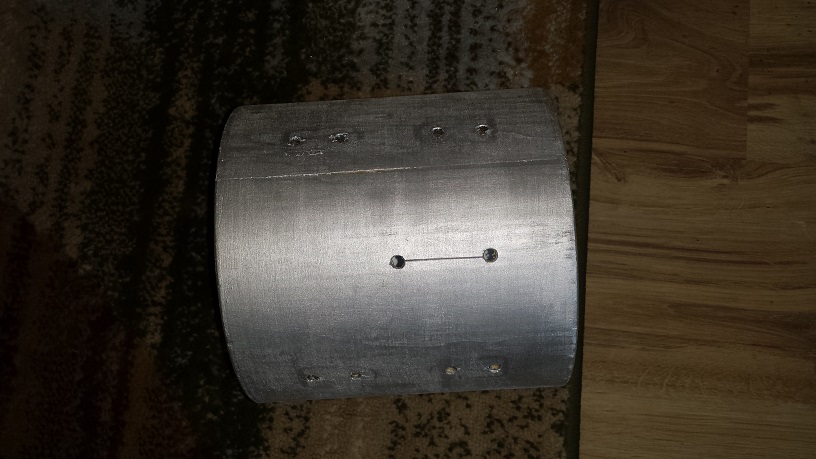
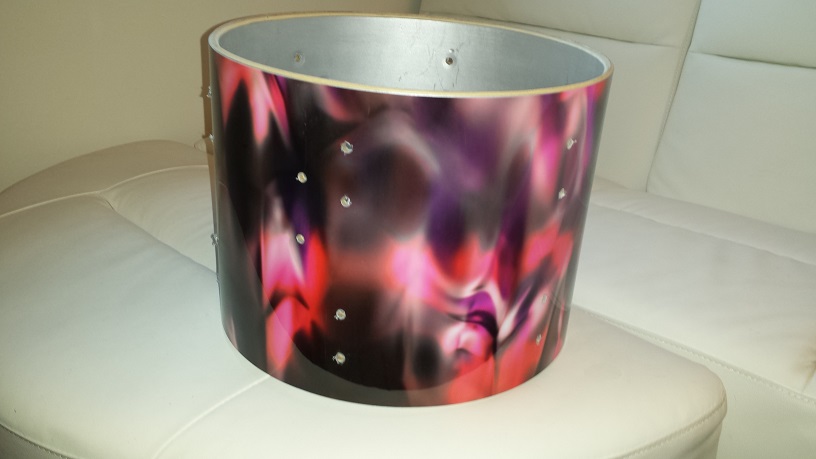
This unusual little 12″ snare has been kicking around the orphan-closet for a while. Of unknown brand, the only clue to any origin is the “Made in Taiwan” sticker. It has a funky little side-throw piccolo strainer, no lugs and a double-rivet style air vent grommet. After removing the rims, heads, strainer and butt-plate, we take the Dremel to the inside of the vent grommet and remove that as well. The wrap comes off without any resistance. The same can’t be said about the double sided tape that held it in place. After trying all the usual methods, I settled in for a couple of hours of alternating between soaking with naphtha and rubbing with my thumbs. When the goo eventually lost the battle, my thumbs were numb from rubbing and my head numb from naphtha-fumes. At least the oiliness of the solvent brought out some quite nifty looking wood grain.

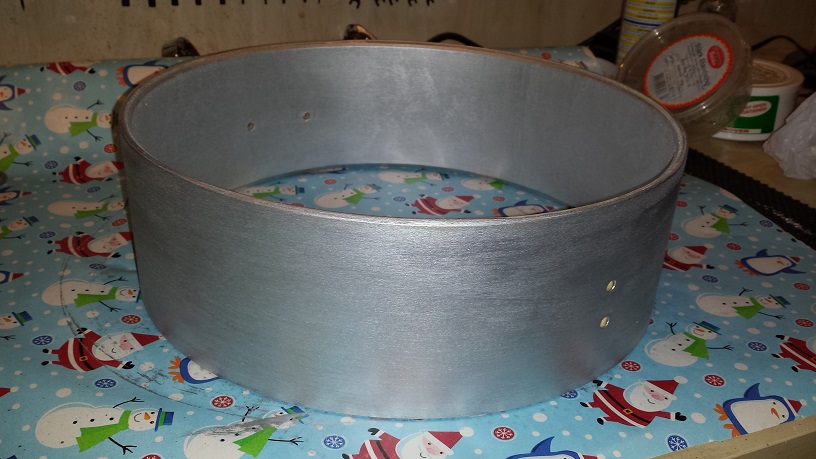
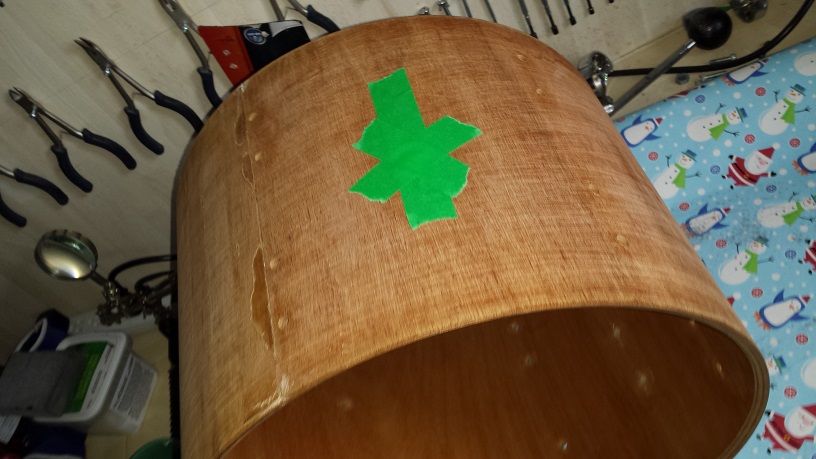
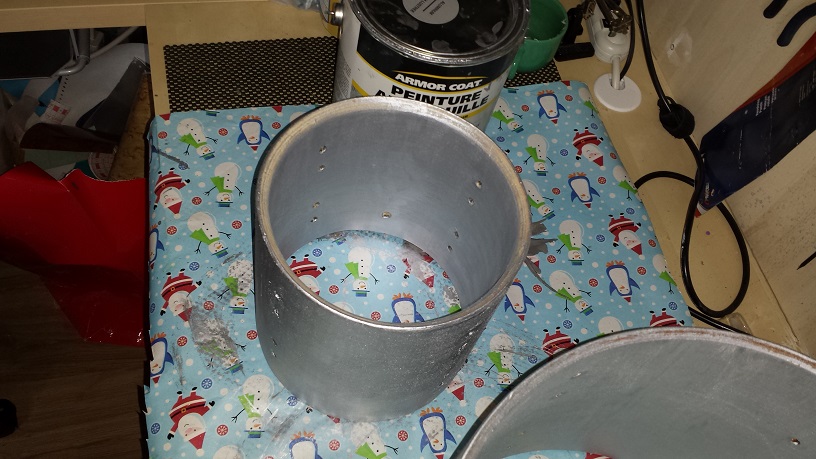
As much as this snare has some real slick grain, the intention for this kit is to wrap it. Keeping true to our own advice, (see this article), we give the entire shell a thorough sealing. Since I like the “Gretschy” silver insides look, we use gloss aluminum rust paint. I apply it with a paint brush, but rather than painting it on, I use the brush to rub the enamel into the wood. A sponge or rag would have worked too, but paintbrushes have handles. Two coats are necessary to get a nice uniform finish on the inside. Leave to dry for a couple of days. Since the snare drum had perfect bearing edges, I just give them a quick sanding to ensure there is no paint in contact with the head. The important areas are the summit of the edge and the outside 45 degree “slope”. Also pay attention at the snare bed since the tapered part can easily hide paint remnants.
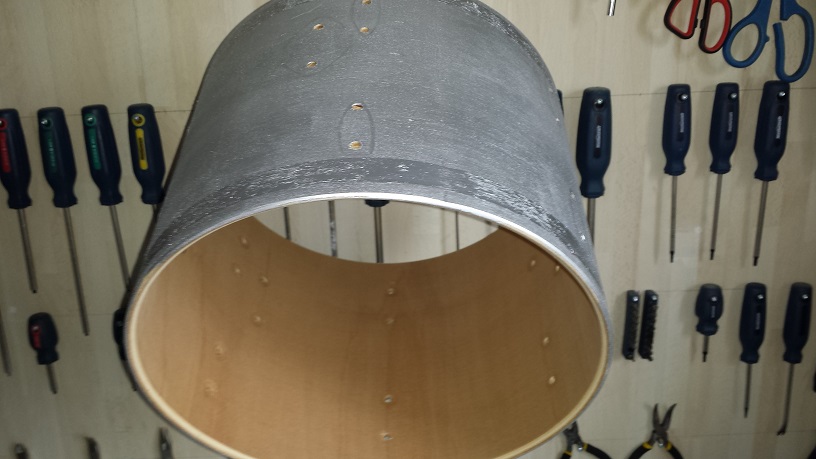
Prepping The Bass Drum
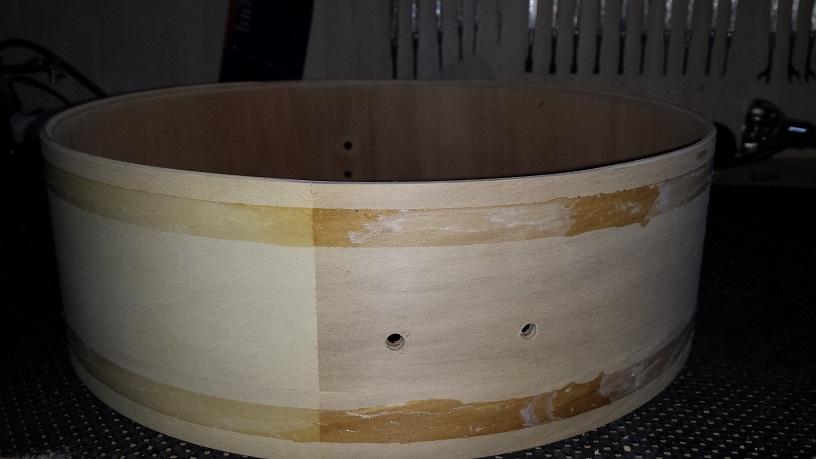
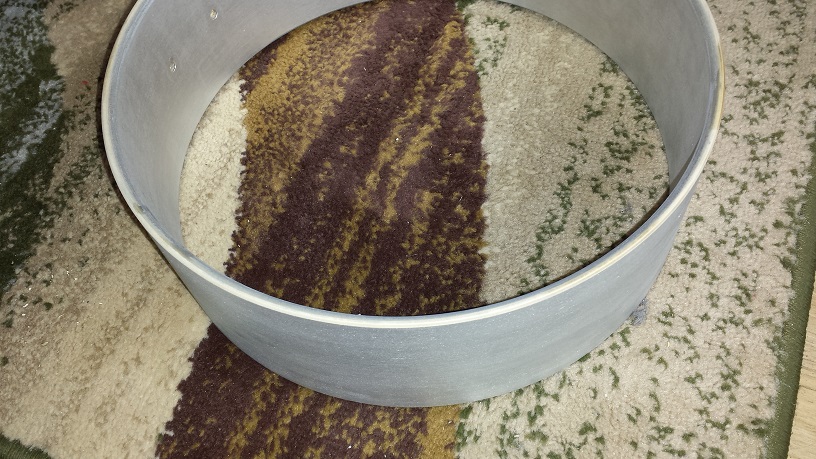
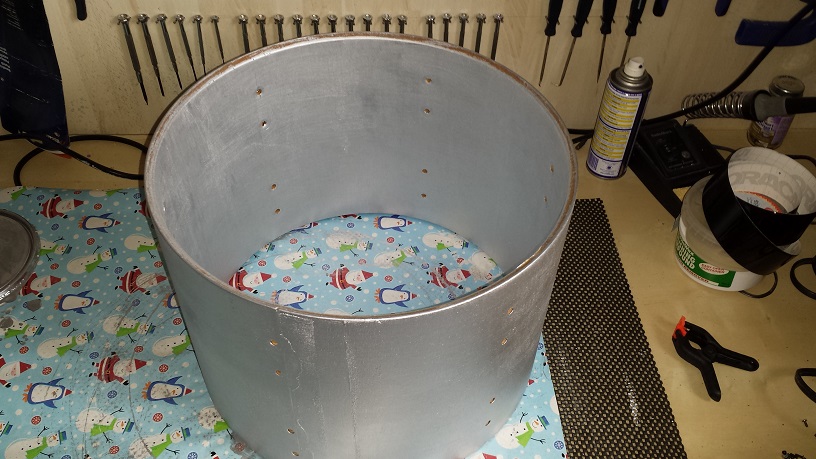
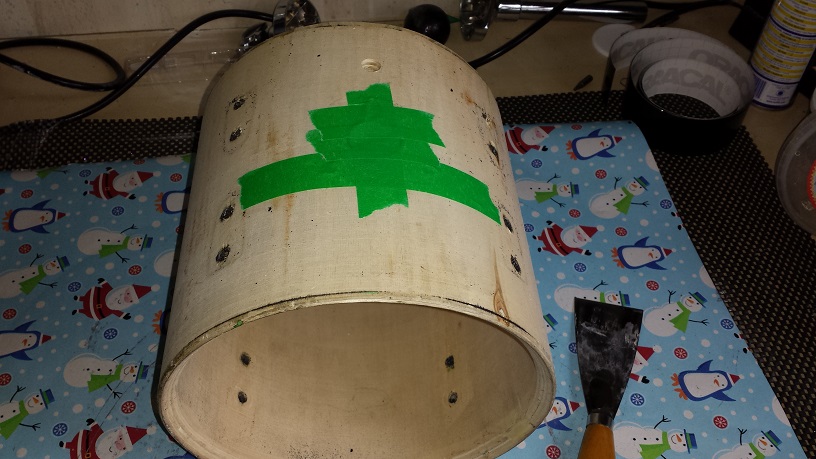
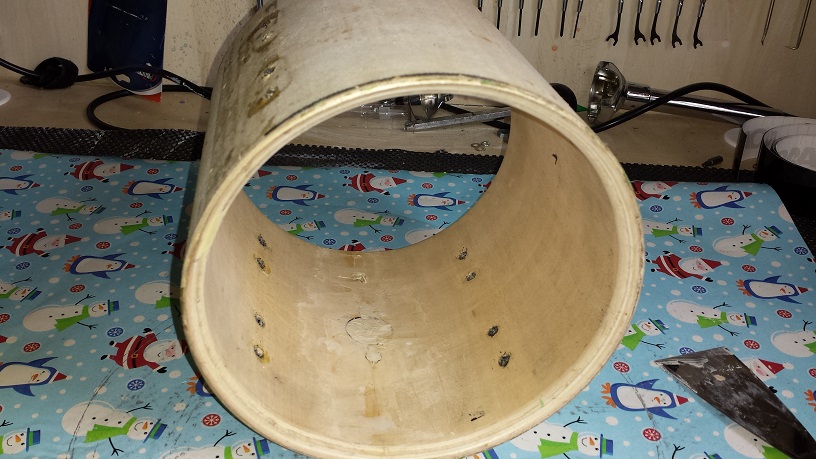
An older CB700 14″ floor tom is our Bass drum candidate. After removing the hardware, the wrap came of easily with a bit of heat. Since the floor tom leg brackets, internal damper, and retrofitted tom mount will no longer be needed, there are some holes to fill. We do this by taping the outside of the holes with masking tape and filling from the inside. This is also a good opportunity to fill any gaps at the inner ply seams. For filler I use a mix of drywall compound and white glue. This mix is very shape-able and gooey and dries very hard and strong. Wood-filler works of course as well.
The shell itself is 8 mm of pure mahogany. In my rarely humble opinion, mahogany is the ideal wood species for a smaller bass drum as it has a full, big and boomy tone. With round-over bearing edges it should provide a real balanced bass drum thump for our DIY Micro Bop Kit.


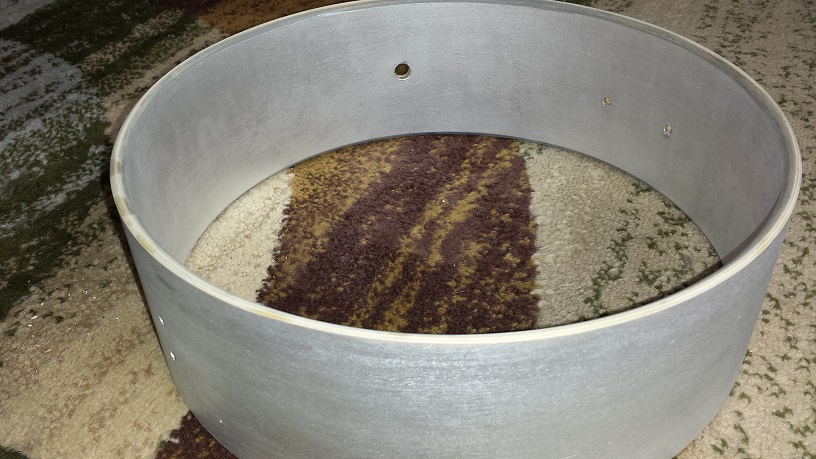
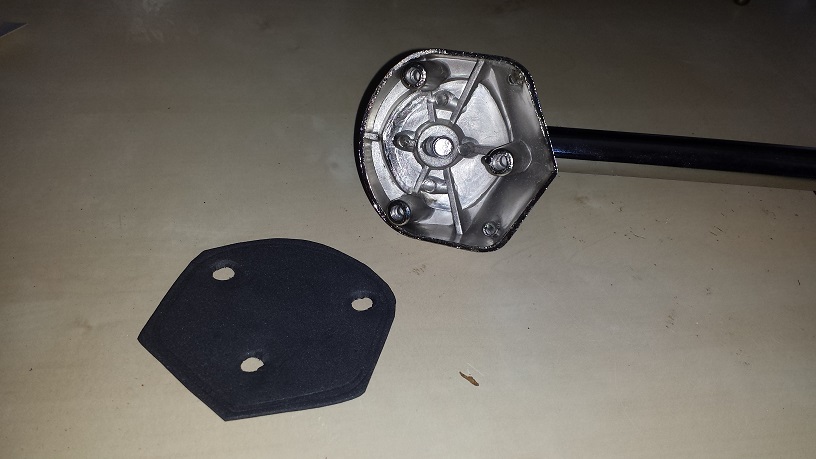
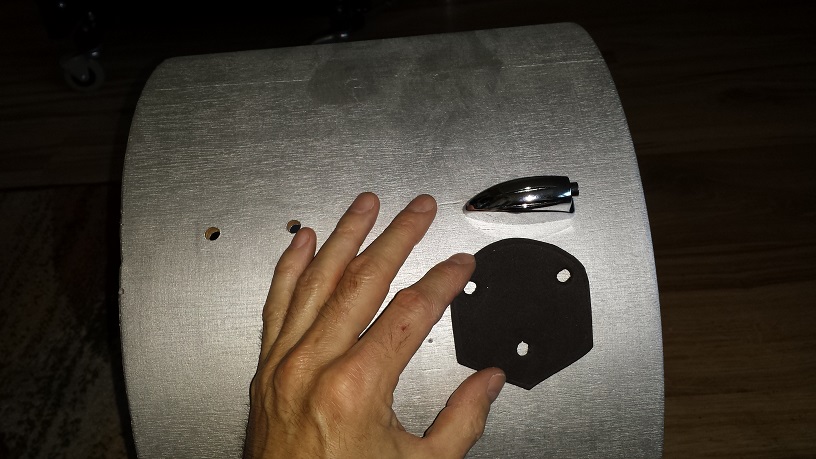
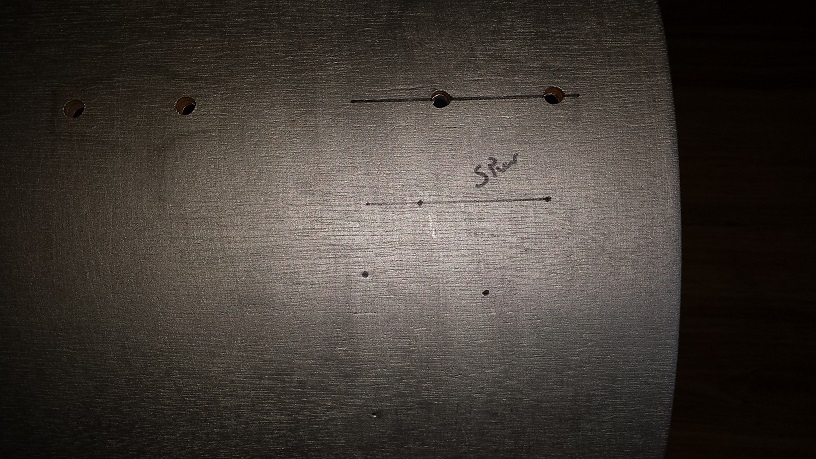
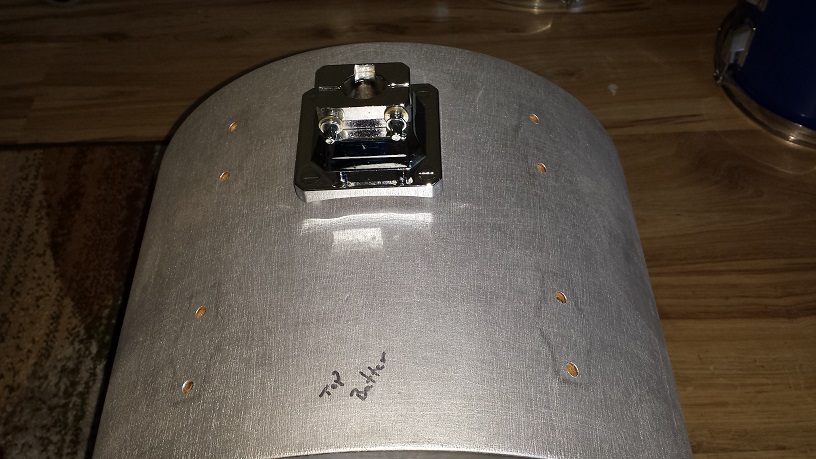
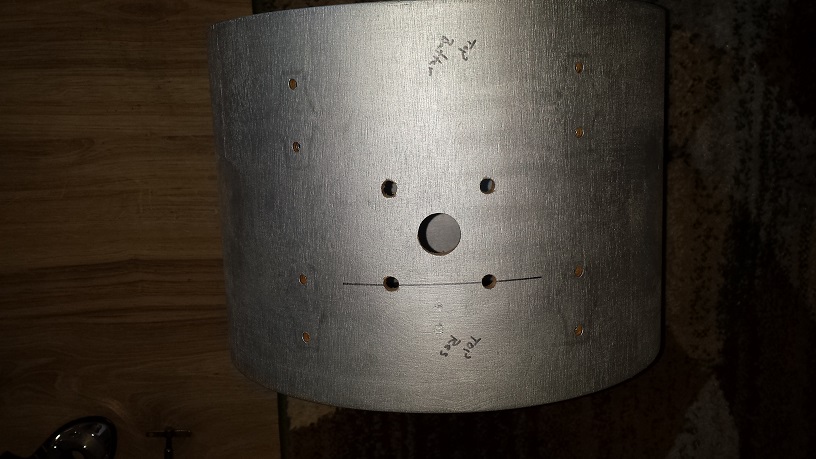
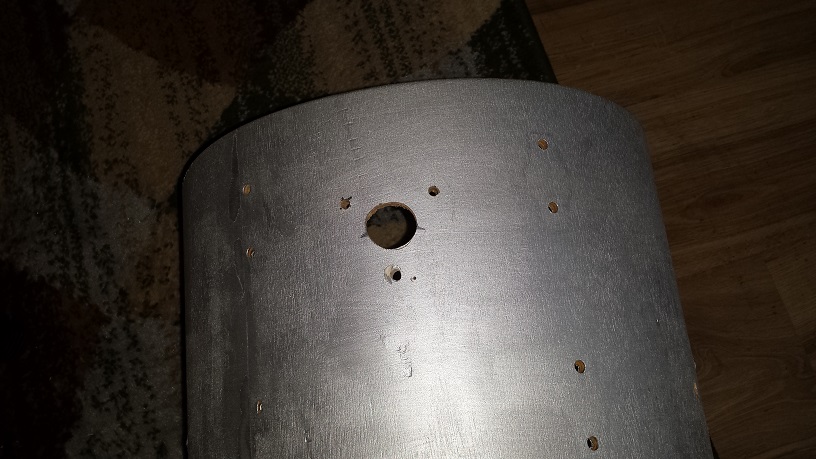
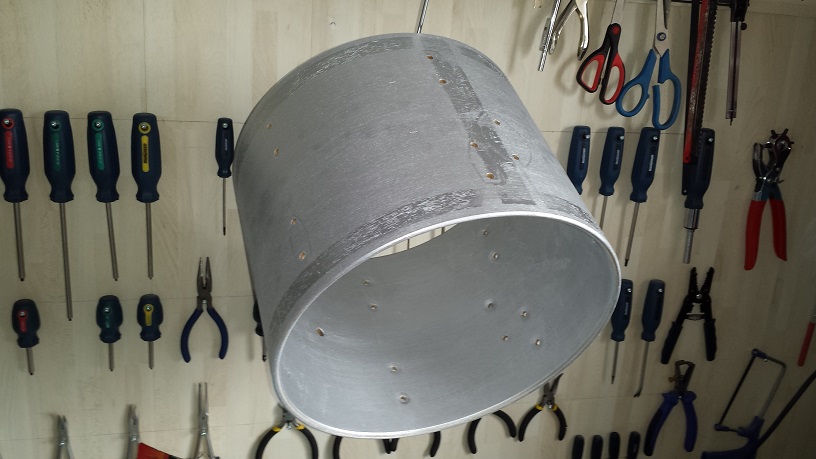
Once the patches have dried, we go back and patch over again to make up for the shrinkage. Let dry again, then sand it down and seal with the same silver paint. Time to drill holes for the hardware. First we have to decide on the spurs. Then mark and drill. Same for the tom mount, and riser. The easiest way I can think of to mark for the hardware is to first make the isolation gaskets and then use them as templates. As always when drilling shells use high speed and gentle pressure.


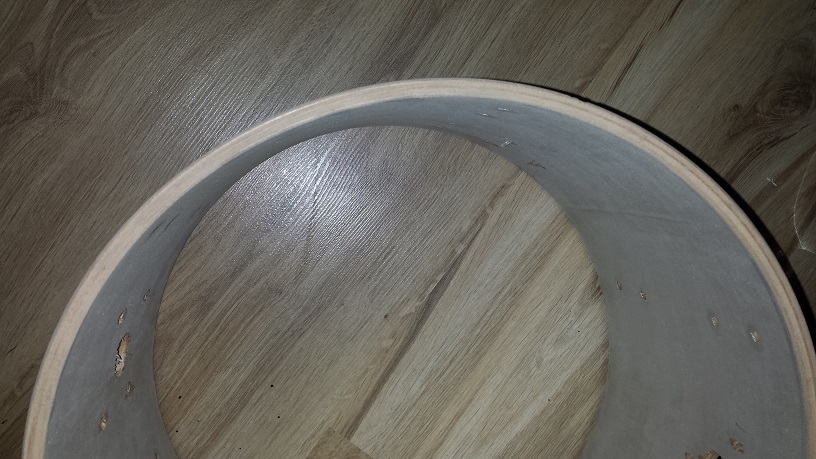
The existing bearing edges on the bass drum shell were full of nicks and dings. We start with cutting a 45 degree edge from the inside just a tad wider than the shell and keep going around until we’ve past the deepest dent. Then lower the bit so the cut equals the shell width and go around again to ensure that the edge is square and true. Follow up with a counter-cut from the outside of about 2 mm and lastly sand both “slopes” as well as the top summit to round it down just a teeny bit.
Prepping The Floor Tom
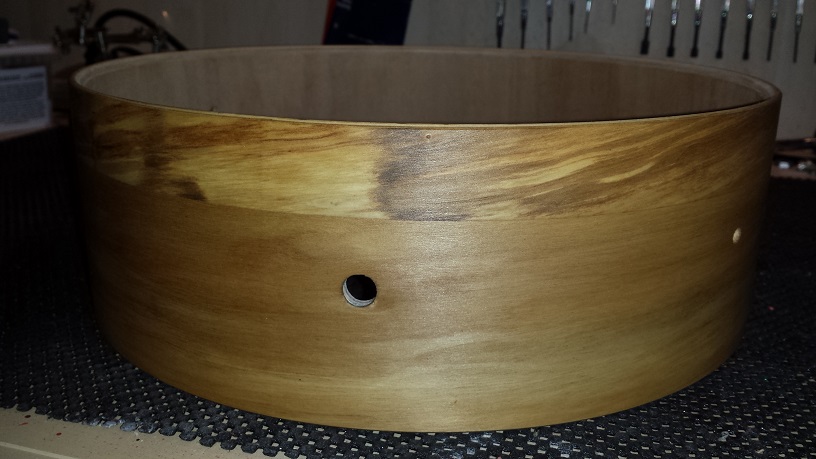
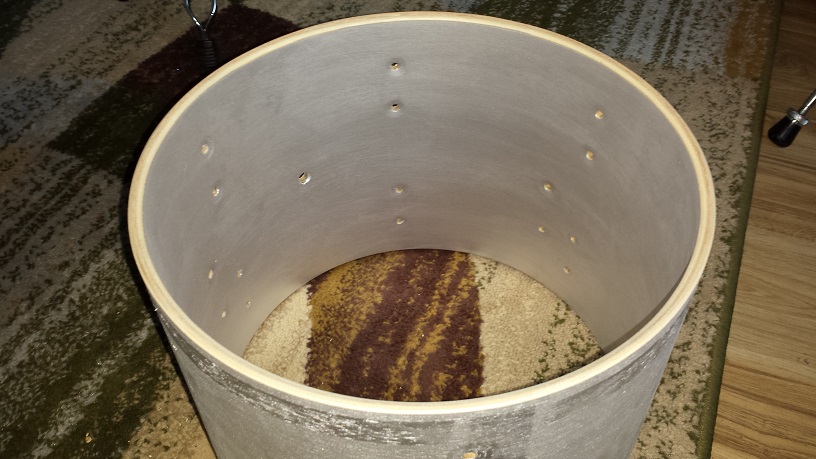
Inside the same closet the snare drum came from, we also find this already naked 13″ shell. Looks like it’s made of “select hardwoods”. The residual, somewhat sticky adhesive from whatever wrap was once on there, will just have to remain this time. This kit is destined to get wrapped, so I’ll simply seal right over the adhesive lines. I don’t feel like another naphtha-induced hangover. The only reason I’m using the same silver paint to seal the shells is to avoid messing up another paintbrush. Really any oil based paint works for this purpose. After a second sealer coat, we give the bearing edges a quick sanding with 100-grit.

Prepping The Tom Tom
This one’s another unknown. At 9.5 mm thick it’s quite hefty. After removing the hardware, including a retrofitted tom mount, we tape and fill the unnecessary holes. The same method and mixture used with the bass drum is applied here as well. It is necessary to patch a second time to make up for shrinkage. Once dry, we sand and apply the first coat of sealer.
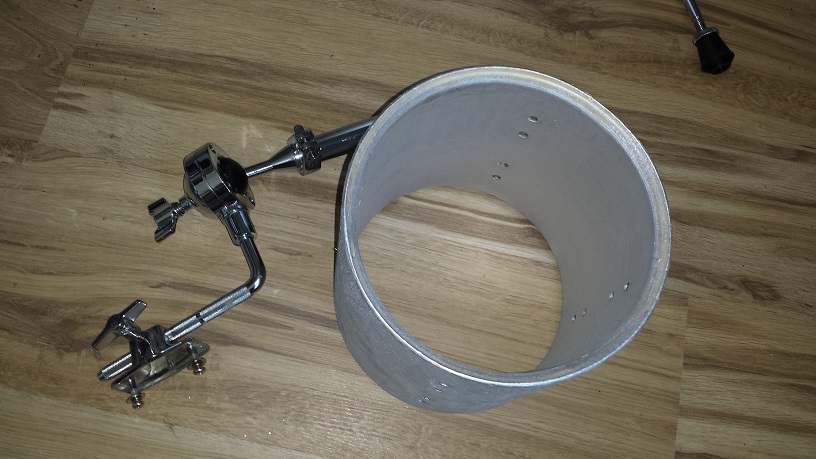
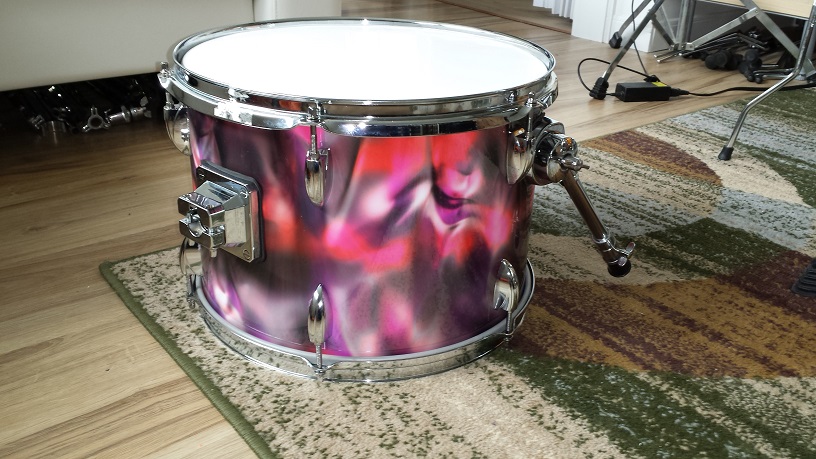
A Yamaha Ball-joint post is the selected tom holder. After finding a suitable mounting bracket we mark and drill the necessary holes. The last step of prep is to re-cut the bearing edges. Since its small and thick-shelled, a rather sharp edge is needed for volume, but not too sharp as we also need to be able to tune it low. I started with cutting a 45 degree from the inside to about 2 mm from the outside edge. Then cut another 45 degree from the outside precisely meeting the previous cut at the summit. After sanding both surfaces smooth I carefully rounded over the summit just a “smidge” with the sander.

Wrapping our DIY Micro Bop Kit
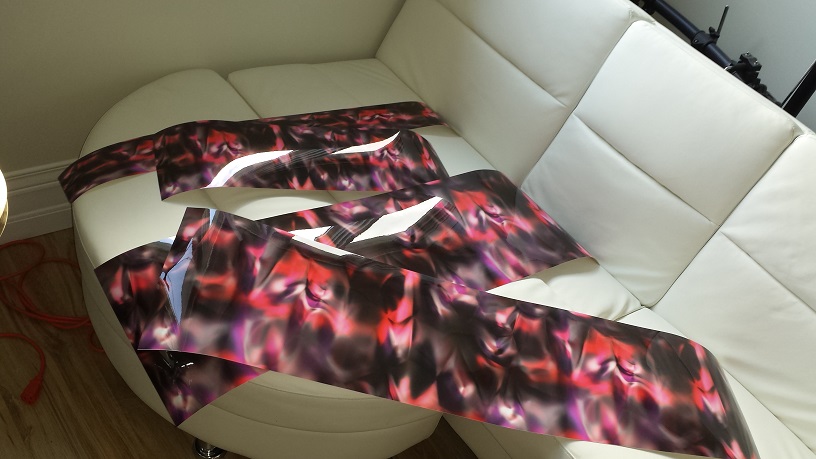
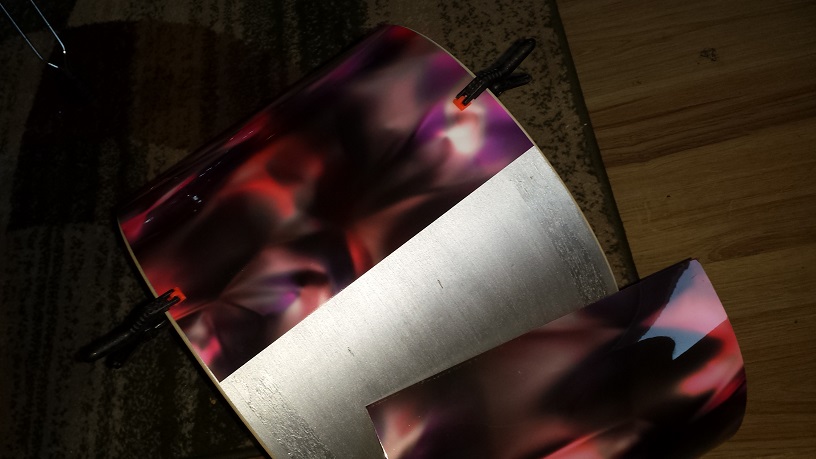
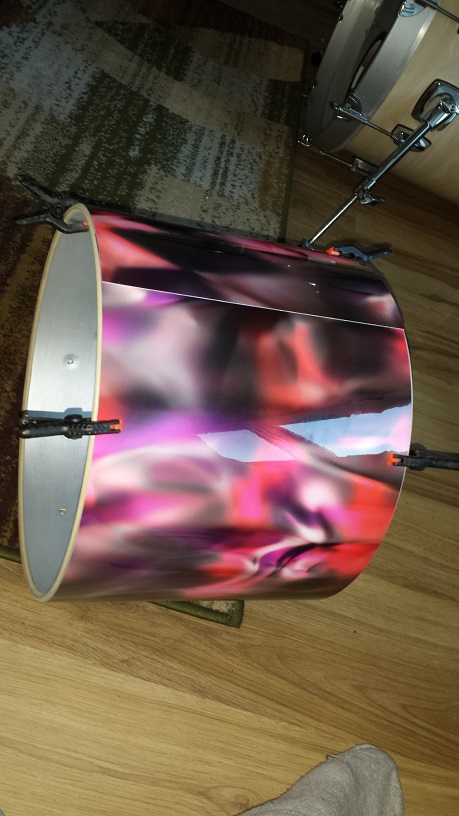
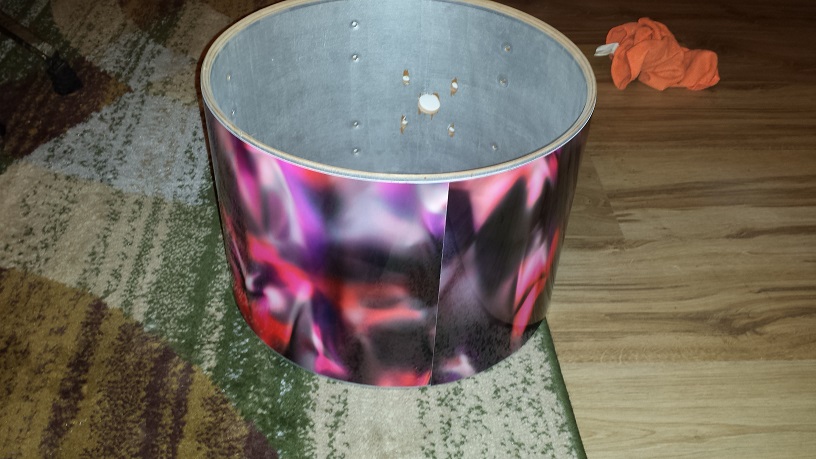
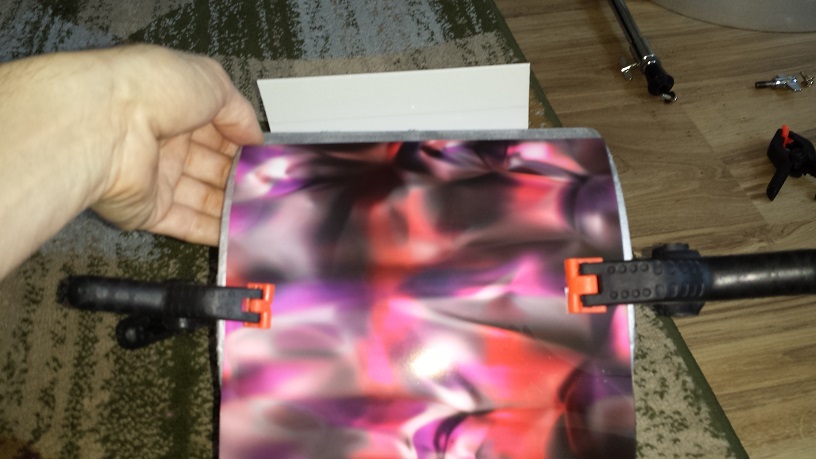
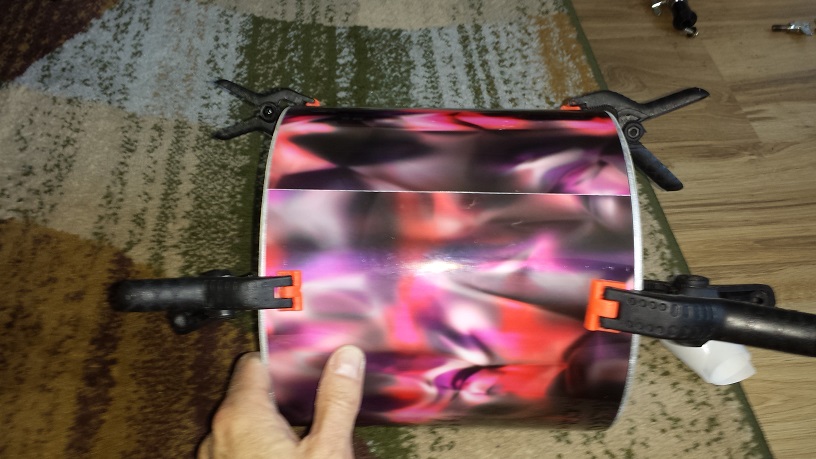
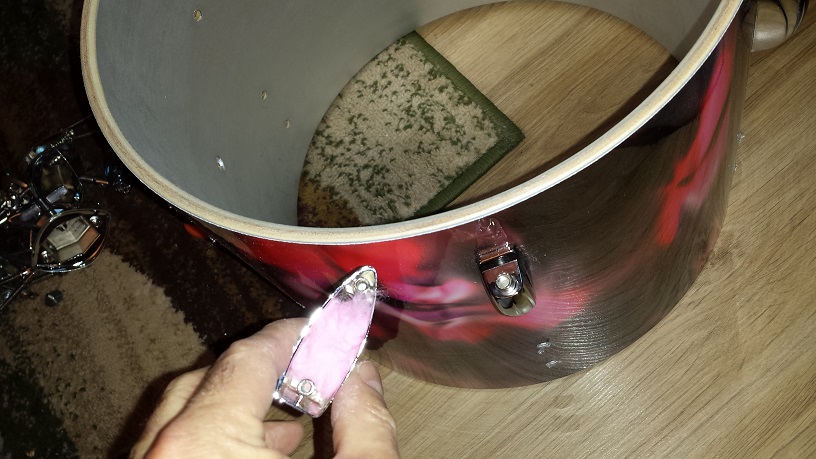
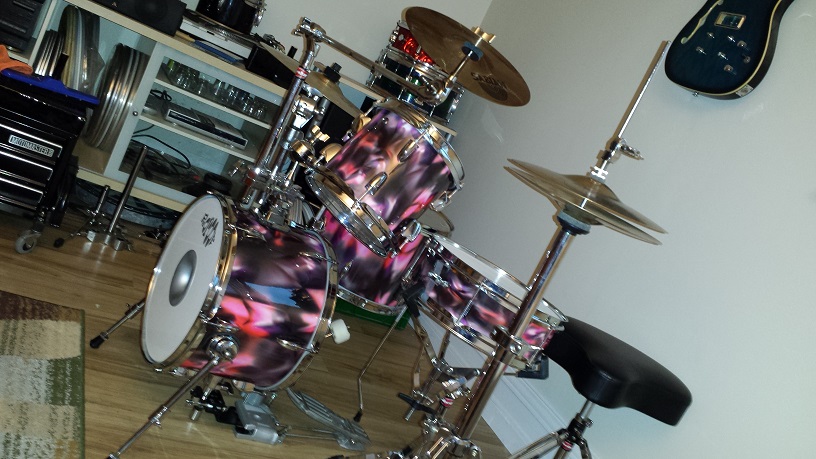
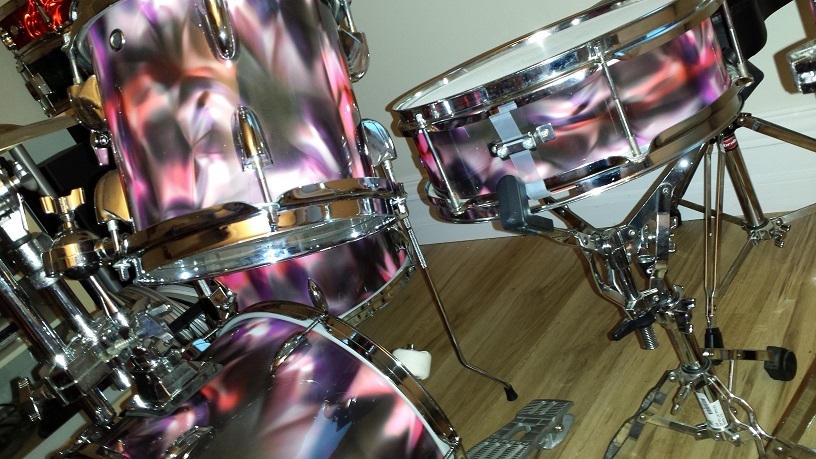
For this kit we took a more traditional route than our usual alternative finishing techniques and decided on regular, commercially available drum wrap. So as to not get too regular though, we selected a wrap from Bum Wrap Drum Co. These wraps are likely the most unusual and unique as far as wraps go. Thus we found it fitting to write this separate complete review as well. Our choice ended up being “Red Abalone”. Unpacking the wraps yielded a big smile as they look absolutely incredible with a deep glossy lustre and eye-popping, bright colours. The Bum Wrap scored a highly unusual 5 out of 5 possible stars in our review.
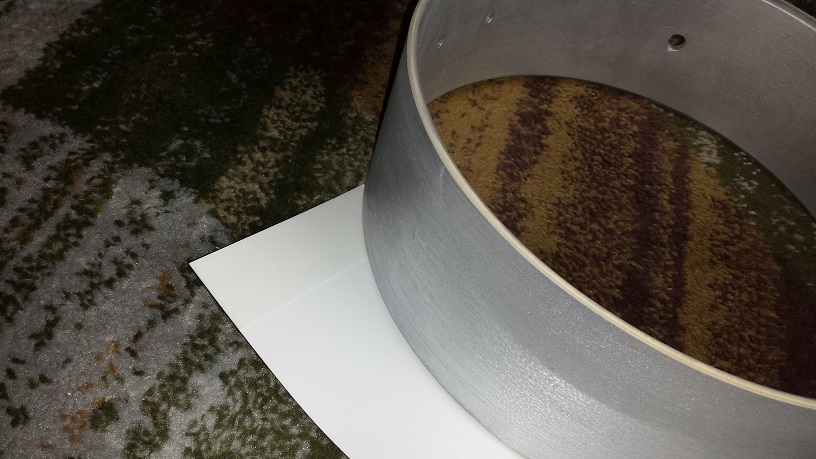
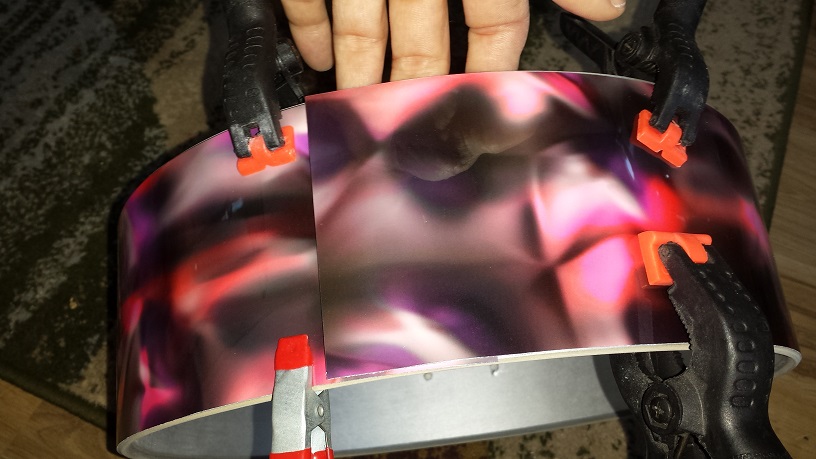
Bum Wrap recommends using their pre-applied adhesive strip as the only affix method. Personally I prefer to bond the wrap as an additional outer ply, but always willing to try something new, I settled on mixing the two methods. The snare drum has the wrap glued on with “Weldbond” while the other drums are simply wrapped on with just the adhesive strip keeping the wrap tight around the shell.

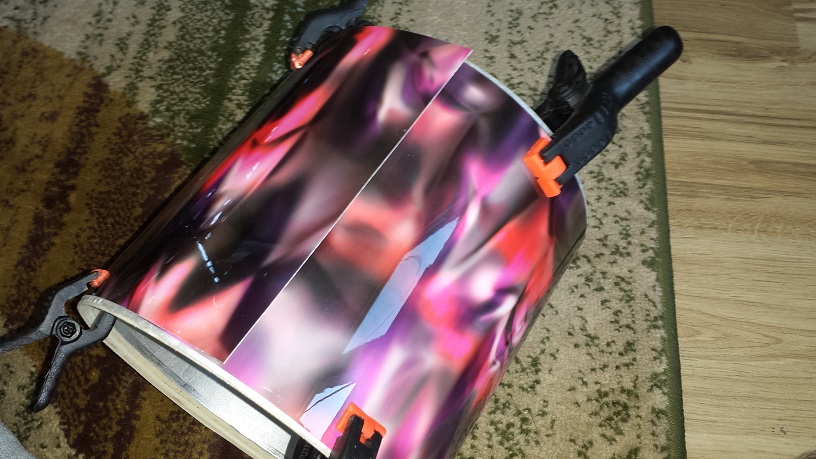
The wraps all come pre-cut to the shell dimensions as ordered. Following Bum Wrap’s installation instructions, wrapping the drums is a breeze. For the snare I followed the exact same procedure with the addition of first brushing on a coat of “weldbond” on the shell. “Weldbond” is a Canadian brand of fortified PVA. (White glue) Usually, Contact cement or spray adhesive is the recommended glue for wrap. I personally prefer adhesive that doesn’t require “quick-setting” as it’s more forgiving. Contact cement has a “Point-of-no-return” once the surfaces have made contact.

This being a low-budget operation, another very appealing factor of Bum Wrap’s product offering is the quite aggressive pricing. We compared numerous wrap brands both from cost, design and visual aspects and while we would have likely made the same choice based on the unusual patterns available, the affordability is what “sealed the deal”.
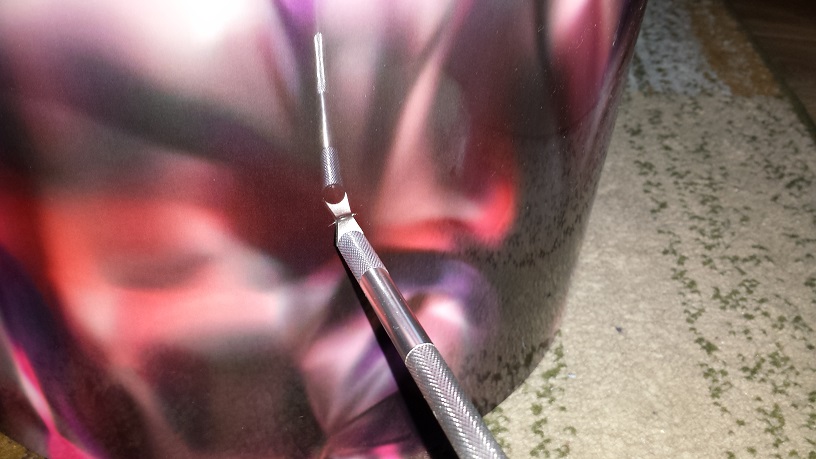


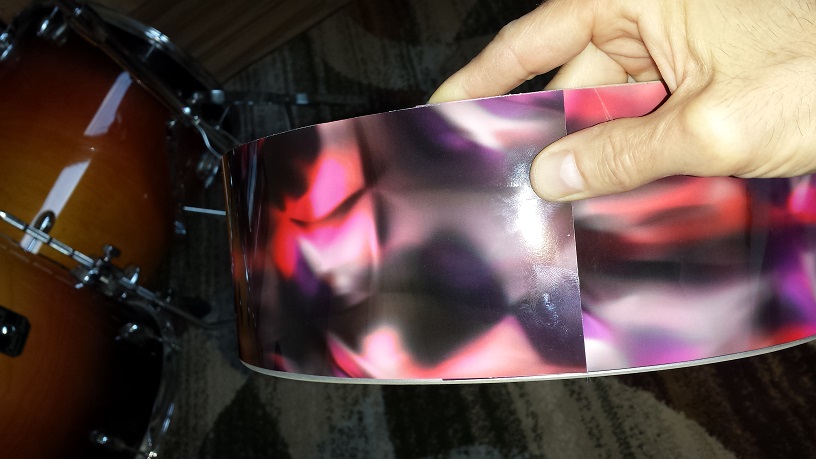
Once wrapped we tried a few methods of making the holes through the wrap. Bum Wrap recommends punching the screw holes with a Philips-head screwdriver and cutting out the larger holes with an Exacto-knife. We found the knife method to work very well for the big holes, but ended up drilling most of the screw holes. The punch method worked well, but drilling was in the end faster and made “cleaner” looking holes.
Assembling the Drums
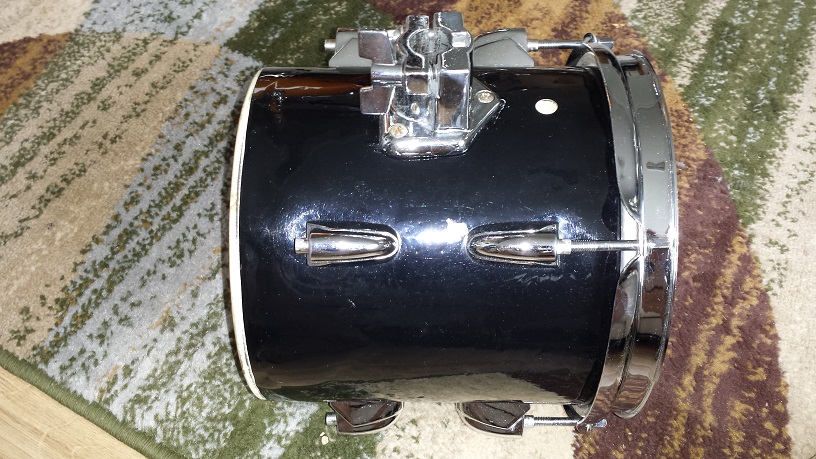
With all the holes drilled, the next step is installing all the lugs, brackets, spurs and other hardware. As usual we stuff our spring-spurs with our upgraded pink cotton balls. All chrome parts receive a quick buffing with a micro-fibre cloth prior to installation. Lug screws need to be tightened snug, but not “hard”. Bracket and spur screws can be tightened a smidge harder.
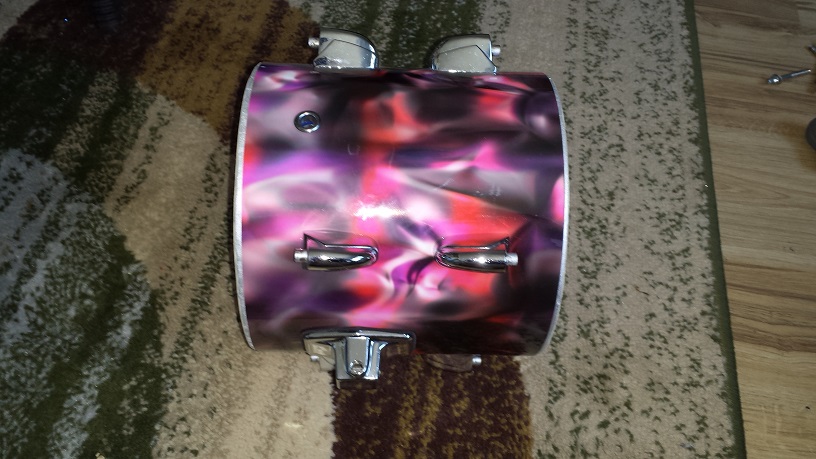

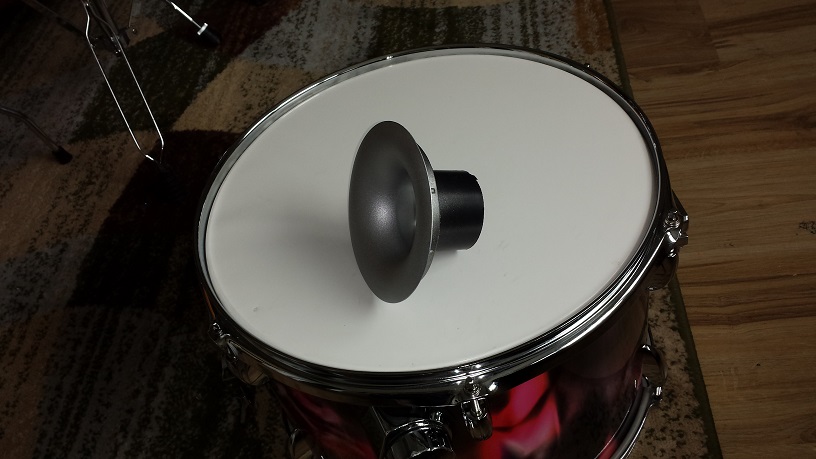
A tiny kit needs a big personality. Just for looks we installed a port from an old sub-woofer in the bass drum resonant head. The unusual wrap helps with the “in your face” attitude as well.
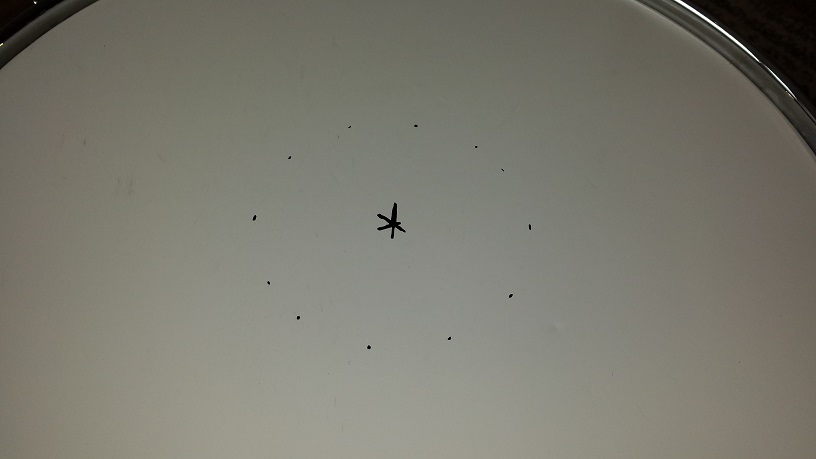
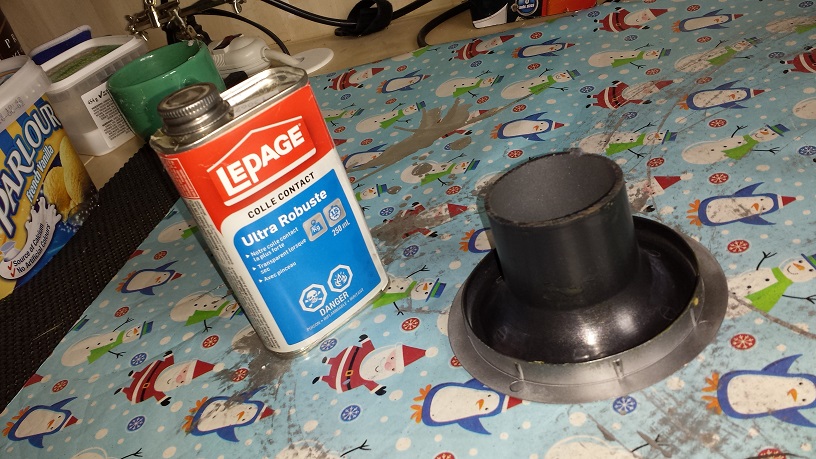
To install the port we marked the centre of the head and then a dotted circle the same diameter as the inner lip of the port flange. With the head quite tight, cut around the dotted line with an Exacto-knife. Perfection isn’t necessary since the edge will be covered by the flange. Apply contact cement on both surfaces, wait 20 minutes and press the port into the head. Done!
Assembling our DIY Micro Bop Kit
Starting with the bass drum, we pop in a Pearl JG16 riser in the bottom bracket and raise it quite high to center the beater. Using a level we adjust the spurs to an even height with a slight upward tilt. Add the tom holder and a triple bracket for mounting a couple of cymbals to the bass drum.
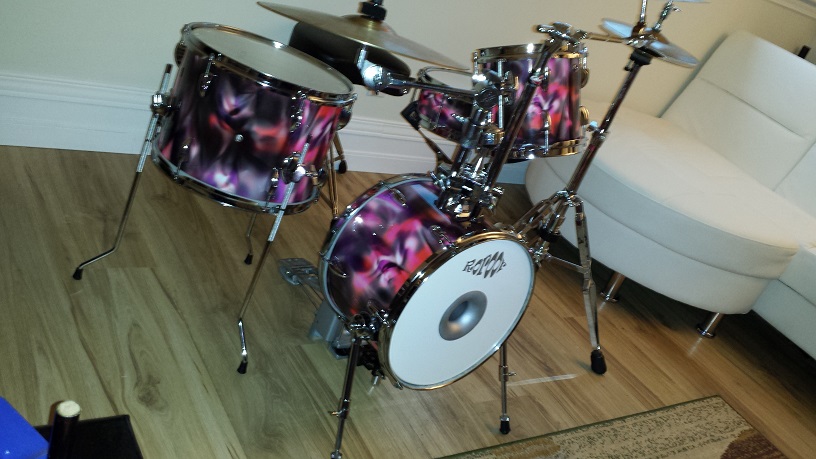
The bass drum surprises with quite a bit of low end growl. I’m almost thinking the port may play a slight role, even if only there for visual appeal. The snare sounds killer tuned high. The floor tom has all the range we could desire, while the tom tom is very tricky to tune low enough and still have volume. A thinner shell would likely have been more optimal for a little 8″, but with a bit of patience we got it sounding acceptable. I’m hoping some experimenting with head combinations will improve it a bit yet.