

Introduction
It seems we’ve been affected by a mild case of drum wrap fever here at CompactDrums.com. In this article we’re going to illustrate four methods of installing Drum Wrap from Walopus. 1 – Walopus Thick Drum Wrap fully adhered to the shell and trimmed to size prior to installation, 2 – Walopus Standard Wrap fully adhered to the shell and trimmed after installation. 3 – Walopus Thin wrap affixed with adhesive strip over existing wrap and 4 – Walopus Standard wrap affixed with adhesive strip.
Method 4 is by far the most common and also the most recommended by suppliers of drum wrap. It’s also the easiest. Methods 1 & 2 are often adopted on high end drums and are considered the “traditional” methods. Proponents of the traditional methods argue that simply blanketing the drum as in method 4 has a slight choking effect on the sound. Proponents of the simpler, more modern method 4, argue that any choking effect it may have is not distinguishable by the human ear.
In case you’re interested in CompactDrums.com’s “official” opinion; I agree that method 4 likely doesn’t have any negative impact that can be recognized by mine or most other people’s ears. I sometimes adopt methods 1 & 2 anyway simply for added “pride of workmanship”. Also for recording purposes, there may not be differences that can be heard acoustically, however, there may be differences that a recording technician can enhance post recording.
Personally I would avoid method 3 altogether. While it’s a convenience that some wrap suppliers provide wrap thin enough to go over existing wrap, I can only think of one reason to do so; to preserve the original wrap for the future. With heat and patience just about any old wrap can be removed without damaging the outer ply, and even if the adhesive used is so stubborn that some damage is unavoidable, it’s gonna’ get wrapped anyway.
Deciding on Wrap Thickness
I would say the “Standard” (approximately 20 mil) thickness is the wisest choice for most wrap jobs. It has the same amount of “glossy clear” top layer as the “Thick” variety” but is a little more manageable to work with. 20 mil is about the common thickness for most drum wrap, the exception being the traditional glass glitters that are about the same as Walopus’ “Thick” wrap. (About 35 mil.) In some cases the thick wrap isn’t even an option. before ordering take a look at the clearance between the flesh of the drumhead and the existing wrap. make sure to check where the clearance is the least. As mentioned above, there are very few cases where I think the “Thin” wrap is recommended.
This article could also have been published under an alternative title:
“How to get Free Drum Wrap”

How so? Well, after the last DIY project entitled “DIY Nano Bop Drum Kit, using Walopus Drum Wrap, I approached Walopus:
CompactDrums.com: I really dig your drum wrap, but the instructions on your website could be better.
Walopus: Yes, you have a point.
CompactDrums.com: I would like to make you a proposal
Walopus: OK?
CompactDrums.com: If you would consider donating wrap for a standard 5-piece drum kit, of mixed thickness, I will in return post detailed, illustrated instructions on the four possible installation methods and give you written permission to use my article as your own installation instructions.
Walopus: Umm…. hmmmm…. well….. OK.
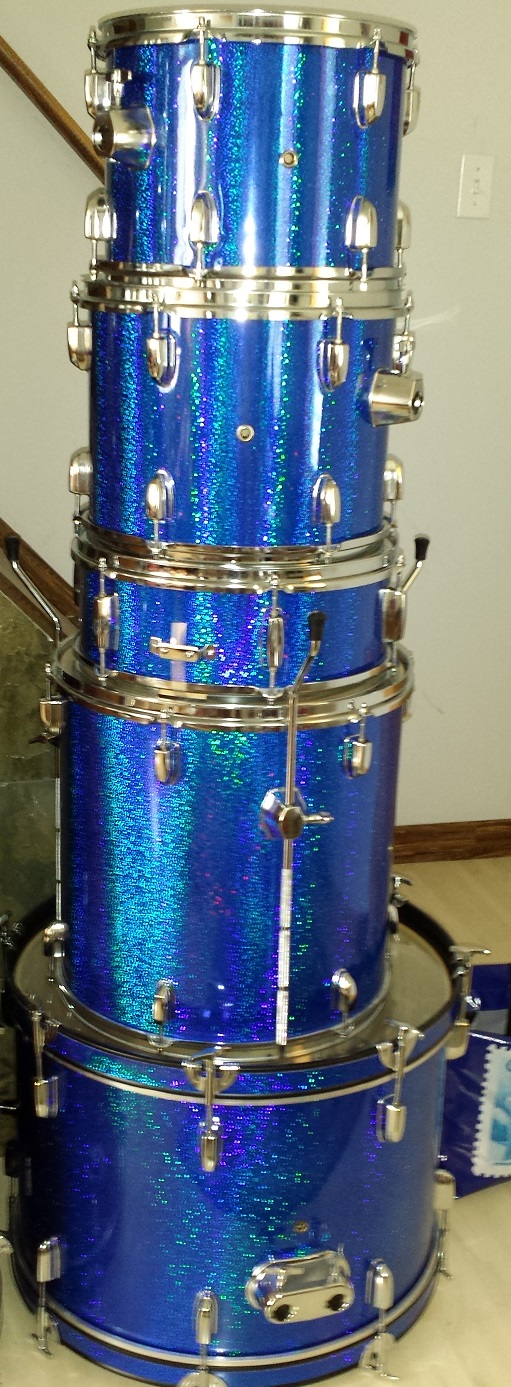
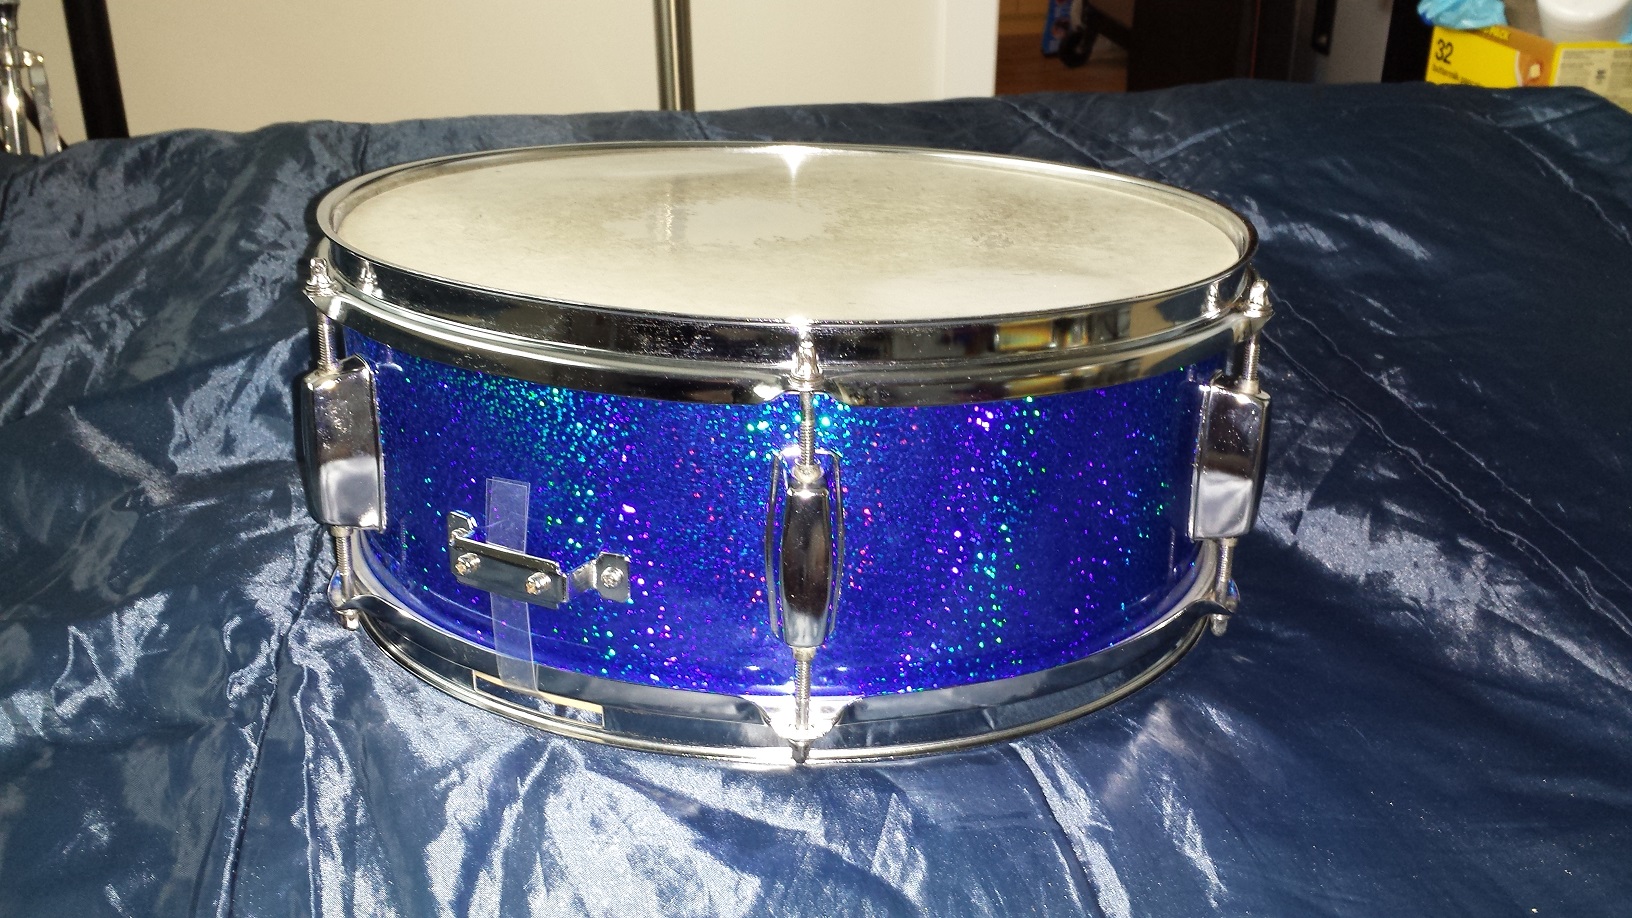
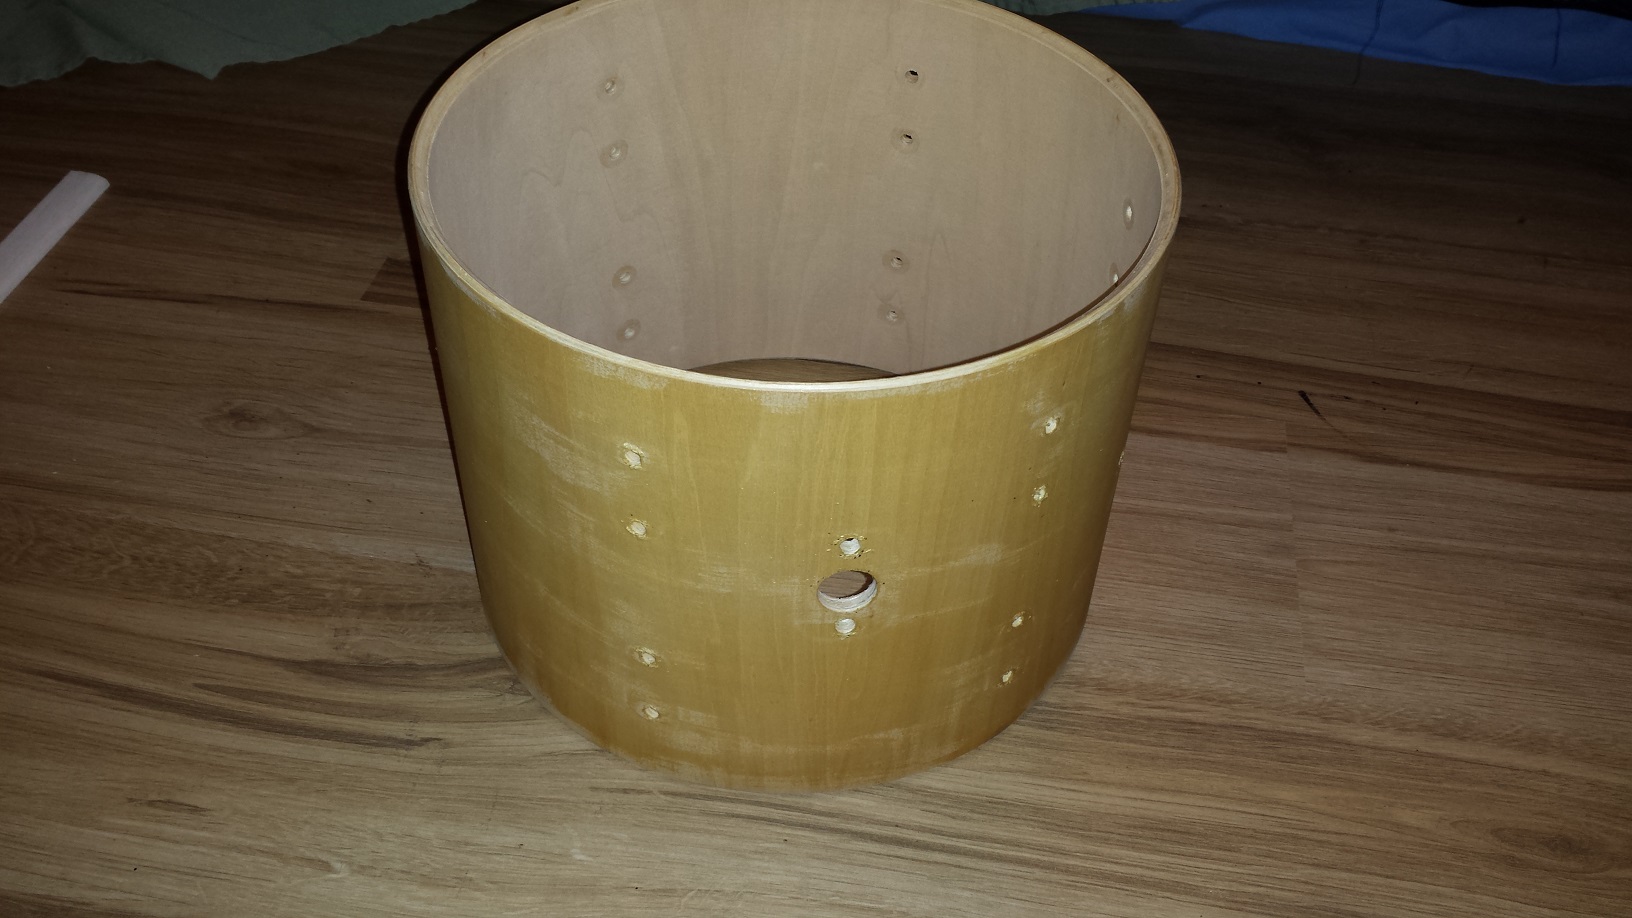
Let’s get on with the Drum Wrap Instructions! Here at CompactDrums.com HQ we have a generic, boring, standard 5-piece drum kit wrapped in equally boring black generic wrap. A perfect candidate for a facelift and being standard sized, also a perfect candidate for instructions for Walopus’ website.
– Click any picture for a full size view –
Drum Wrap Instructions Method 1
Walopus Thick Drum Wrap Completely Adhered to the Shell
Walopus’ Thick Drum Wrap is indeed quite thick. Some 35 mil or so. As such I wouldn’t want to attempt to trim it down after adhering it to the shell. Thus our first method will be the traditional one with the wrap trimmed to about 1/4″ shy of either edge and then installed with contact cement across the entire surface.
Purists consider this method to be superior to the alternatives. The reason being that adhering the wrap throughout the surface in essence results in the wrap becoming an additional ply, while simply wrapping the drum shell like a blanket would result in the minuscule air gap and wrap combined would muffle the drum. Others argue that there is no difference that a human ear can recognize.
Just in case it really is superior, we’ll use this method for the snare drum. After all, it is the drum that gets the most use by far.

Walopus Drum Wrap comes slightly oversized depth-wise. This is for two reasons.
A – To accommodate for any choice of installation method.
2 – To ensure perfect fit even with slight variances in shell depths.
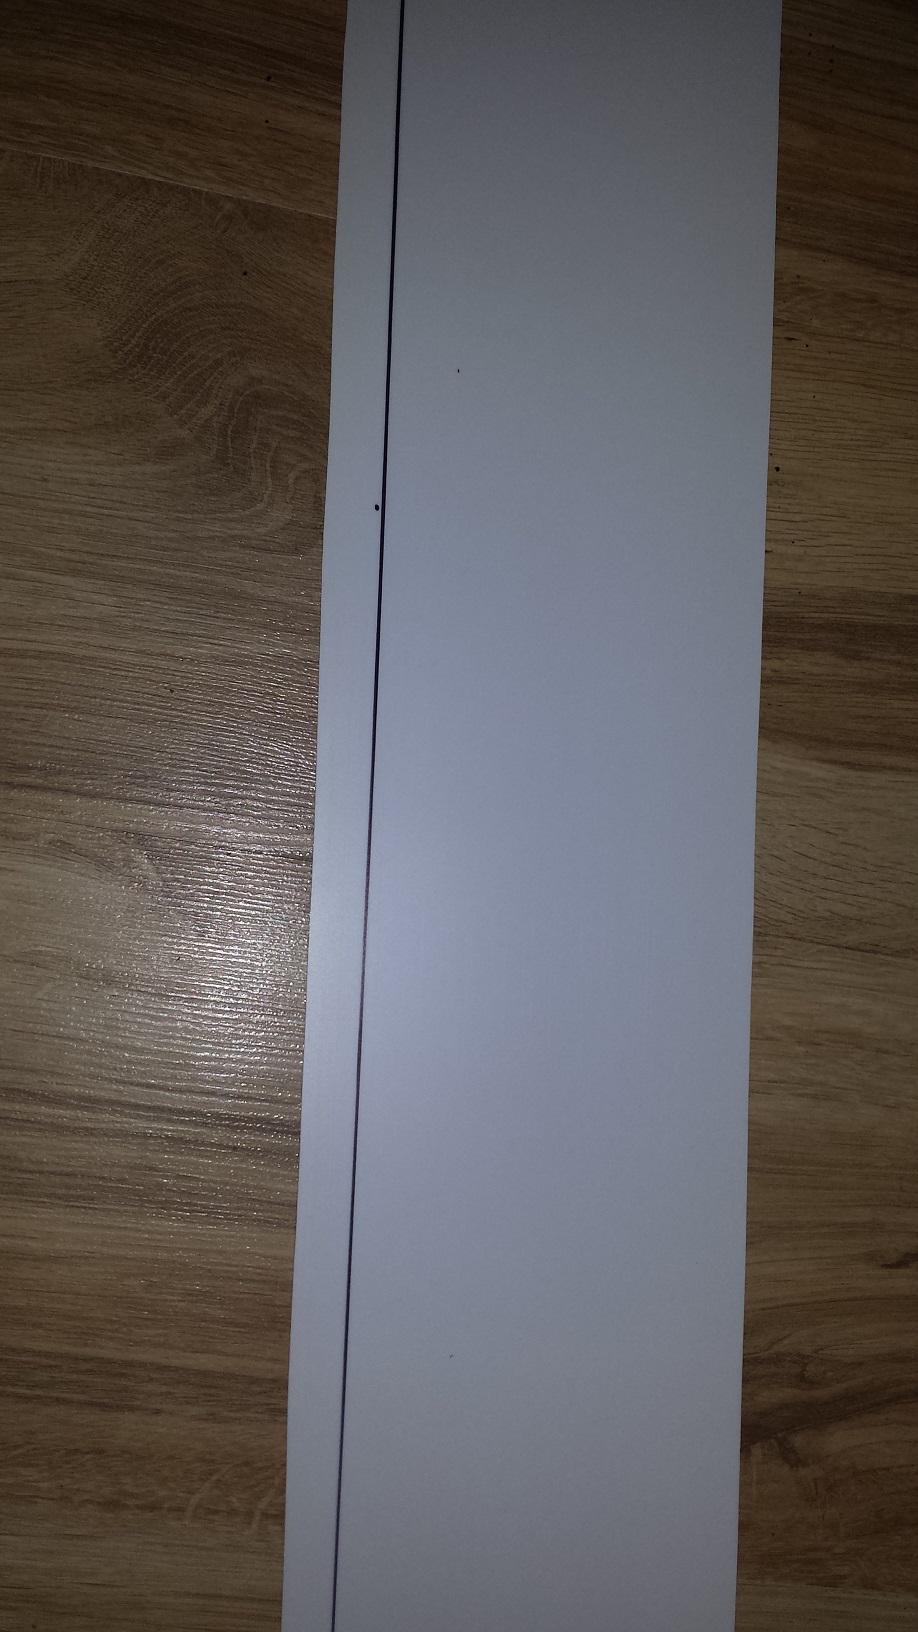
Thus we need to trim the wrap to the exact depth required. For method 1, we will be trimming it to 1/2″ shy of the shell depth. This is often referred to as 1/4″ cutback. Walopus’ thick variety of drum wrap is white plastic on the back which makes for easy marking of cut-lines with a marker suitable for plastic.
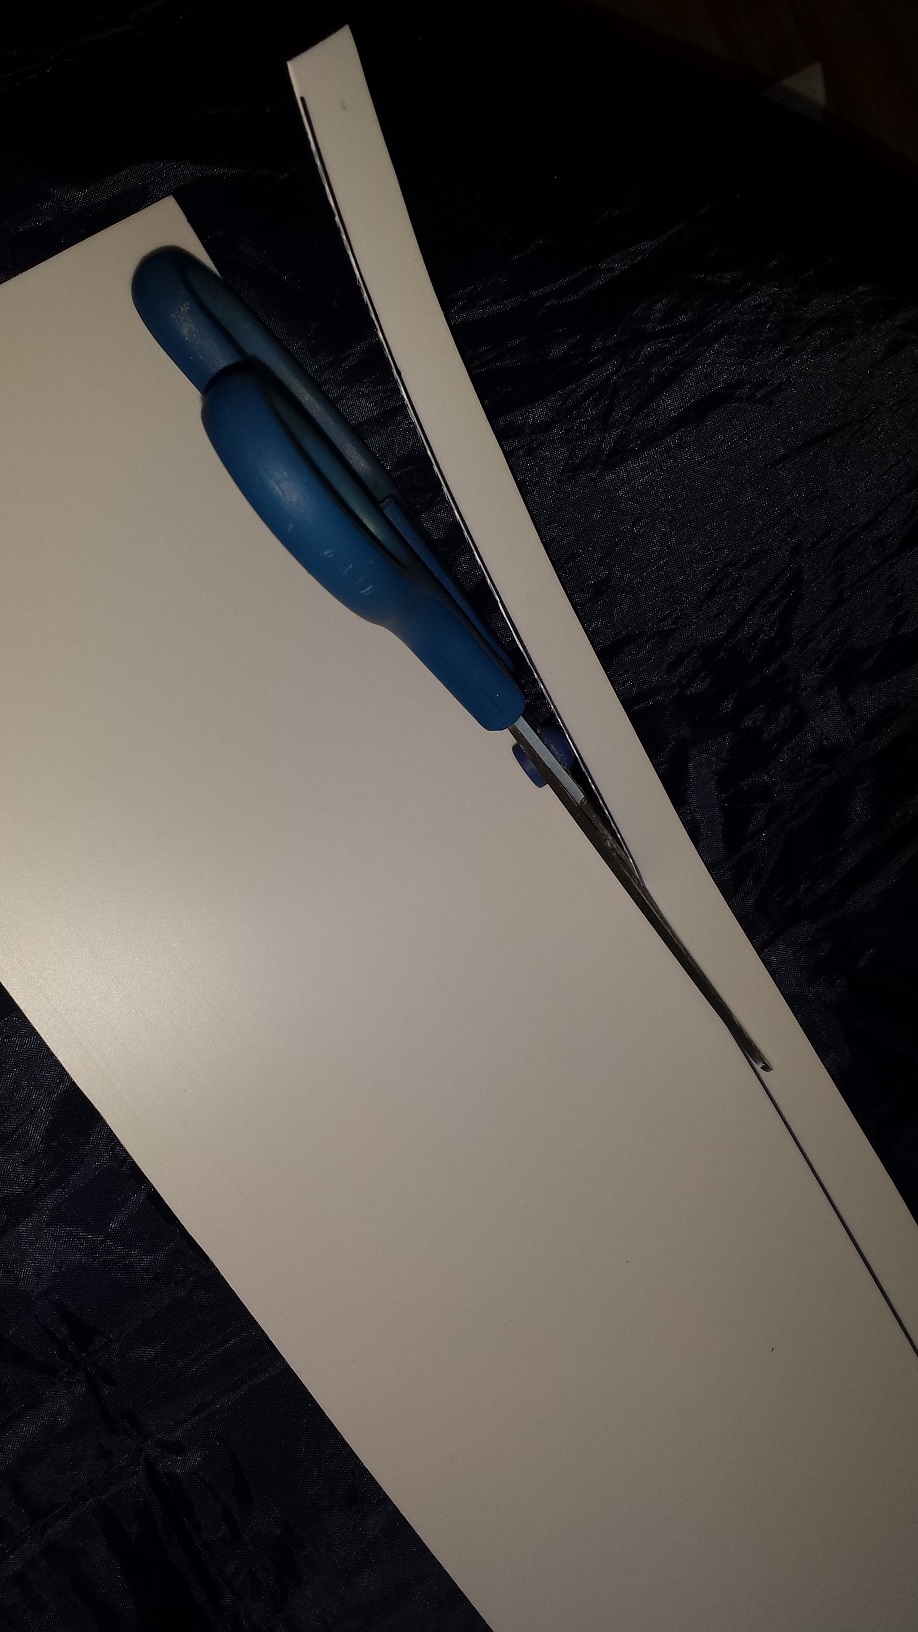
Simply measure the total depth of the shell, subtract 1/2″ from that depth and mark a few spots at that measurement on the backside of the wrap. Use a straight-edge to mark a line connecting the dots. Cut along the line with regular household scissors.
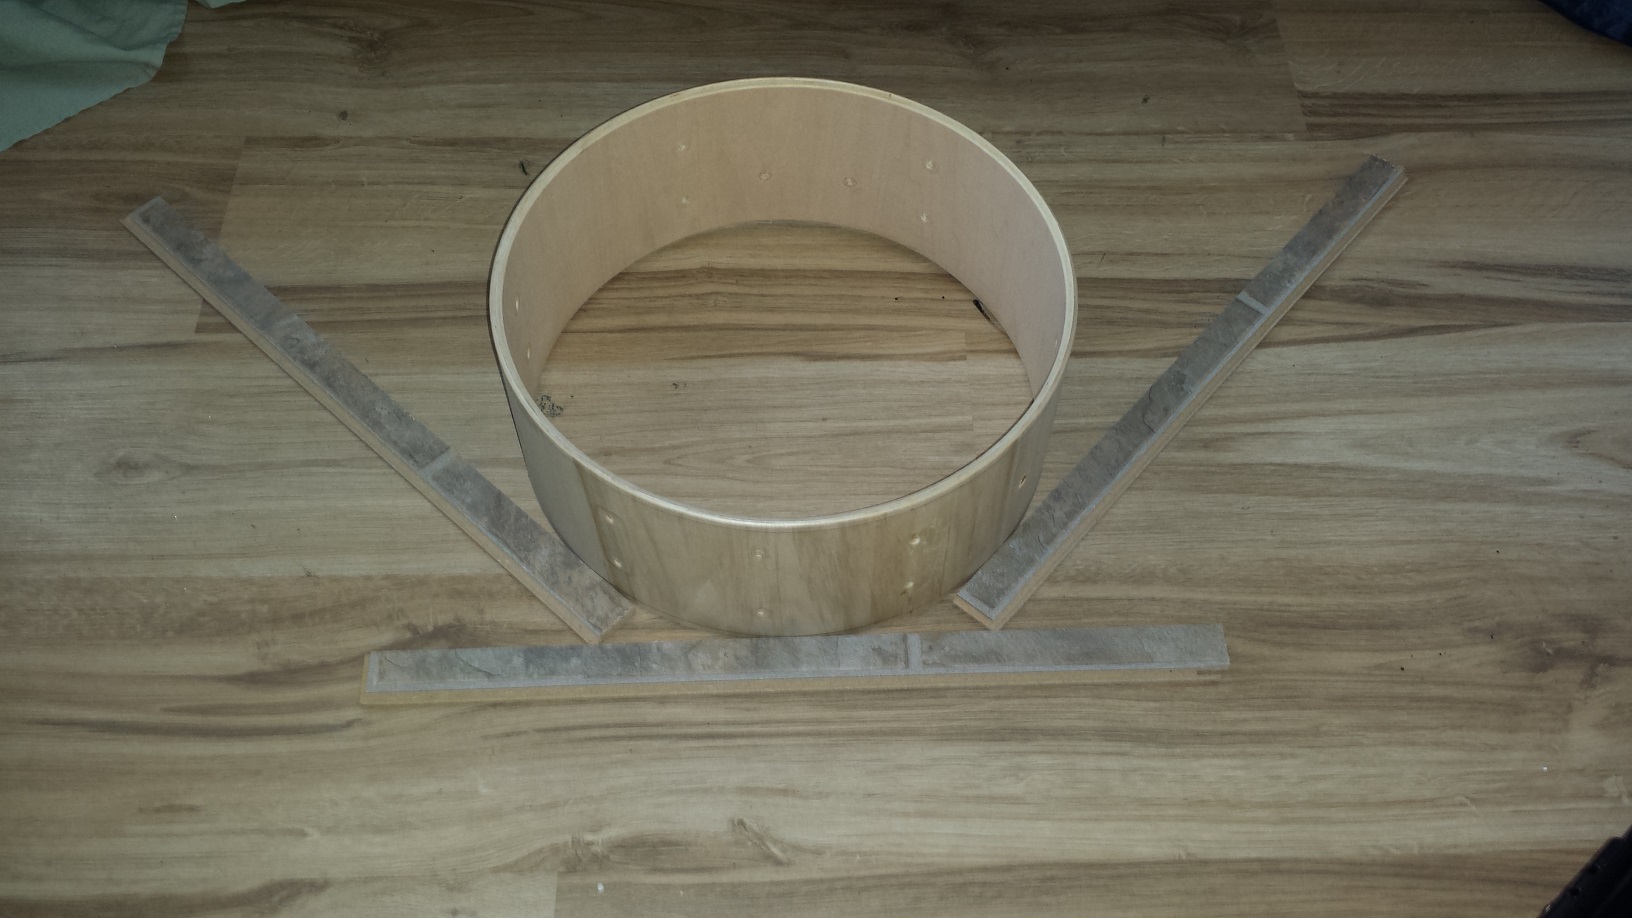
Assuming you cut the wrap exactly 1/2″ shallower than the total depth of the shell you will need three items of 1/4″ thickness.
I happened to have some laminate floor off-cuts, but magazines, stacks of paper, or whatever will work as long as they are the same thickness and the thickness corresponds to the cut-back of your wrap.
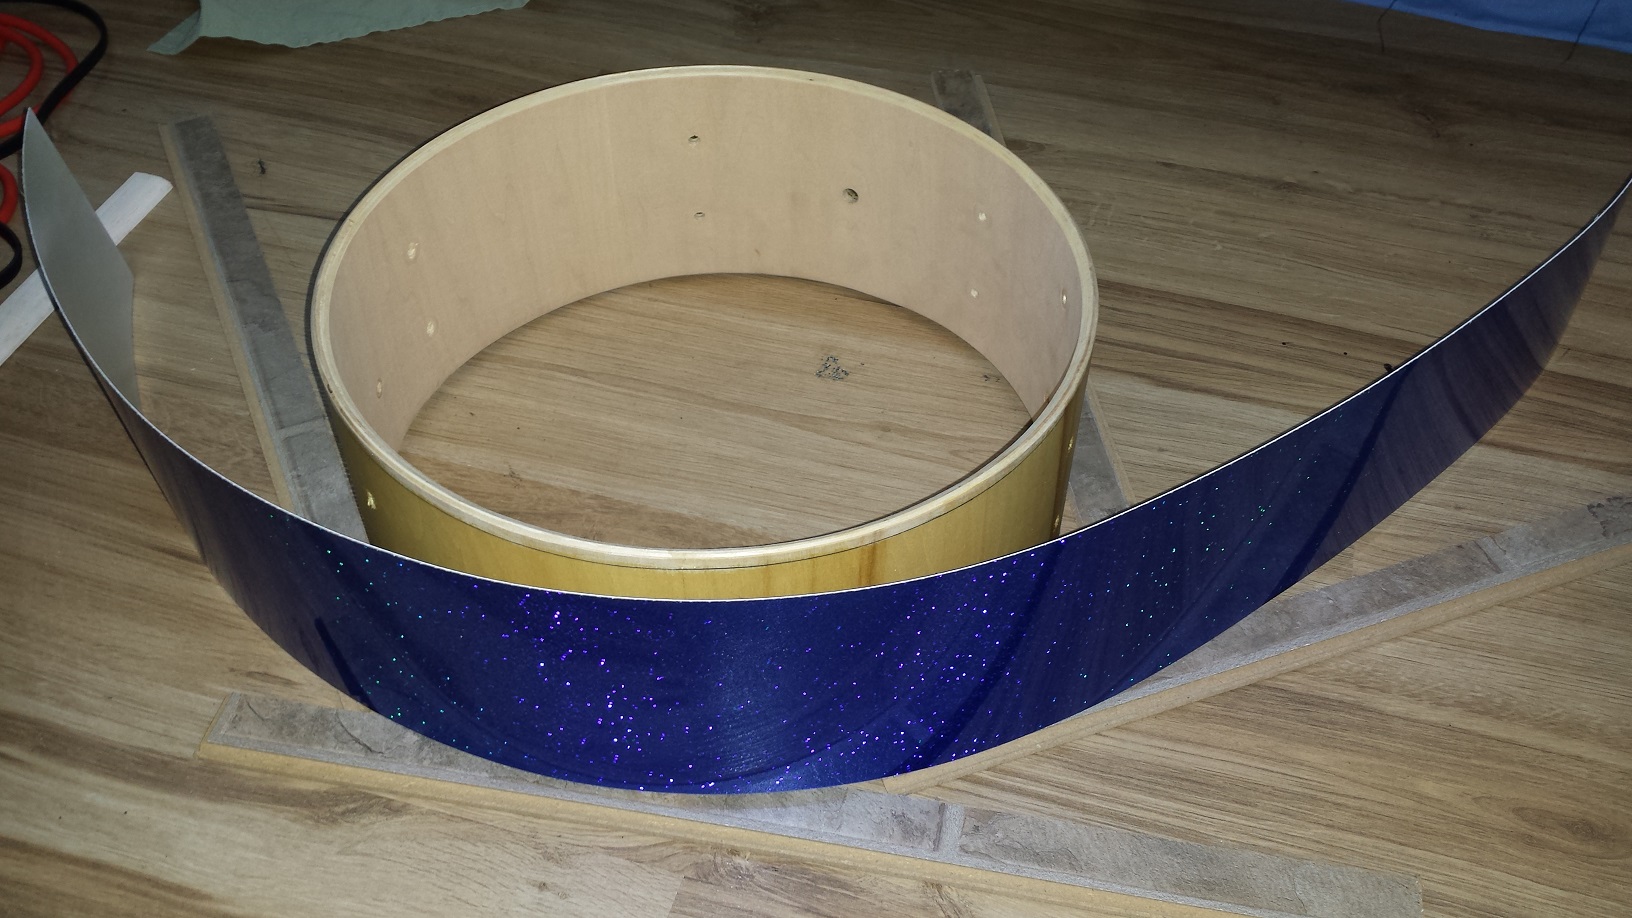
Place the shell on a flat surface and place your three “shims” as shown in the picture to the left.

Next use the shims as guides to test-wrap the shell with the drum wrap. Hold the wrap tight around the shell and trace lines around the shell on either side. Practice the process of wrapping the shell with the wrap a few times. Once we have contact cement applied, we only get one shot at it.
Next step is to scuff the back of the wrap with sandpaper. Simply place the wrap face down on a soft surface and give it a quick sanding. Also scuff about 1/2″ along one edge on the front for where the seam will overlap.
Time for contact cement. Before we get carried away though, test the contact cement on a small patch of your cut off first. Walopus wrap should be fine with any contact cement including the solvent based ones, but as it’s impossible to test every variety of contact cement available it’s best to make sure. Leave your test patch for some 20 minutes or so. As long as it didn’t cause any strange events, we can go ahead with applying it to the shell and the back of the wrap.


Simply brush it on evenly and rather thin with a regular paint brush. We want it as thin as possible, while maintaining a somewhat even coat. Let the contact cement dry for roughly 20 minutes, or as per the manufacturers instructions. Also apply a strip of contact cement on the front side of the wrap at the end that will be the “lower” side of the seam. Contact cement is gooey, stringy and overall frustrating to work with, so take care not to get it on the front of the wrap, in your hair, or anywhere else it’s not supposed to be.
Hopefully you practised wrapping the shell enough times that you feel confident that you have developed a repeatable process. Identify and mark where you want the overlapping seam to be positioned on the drum and place the shell on your flat surface so that the spot where the seam will be is in the right position for your process.
For me it means facing the seam away from me and wrapping the shell starting from the center of the wrap. Not everyone does it like this though and it really doesn’t matter as long as you have practised your process and the wrap ends up inside the guidelines consistently.
When we do it for real, we only have one shot at it. A contact cement bond is close to impossible to separate once the surfaces touch.
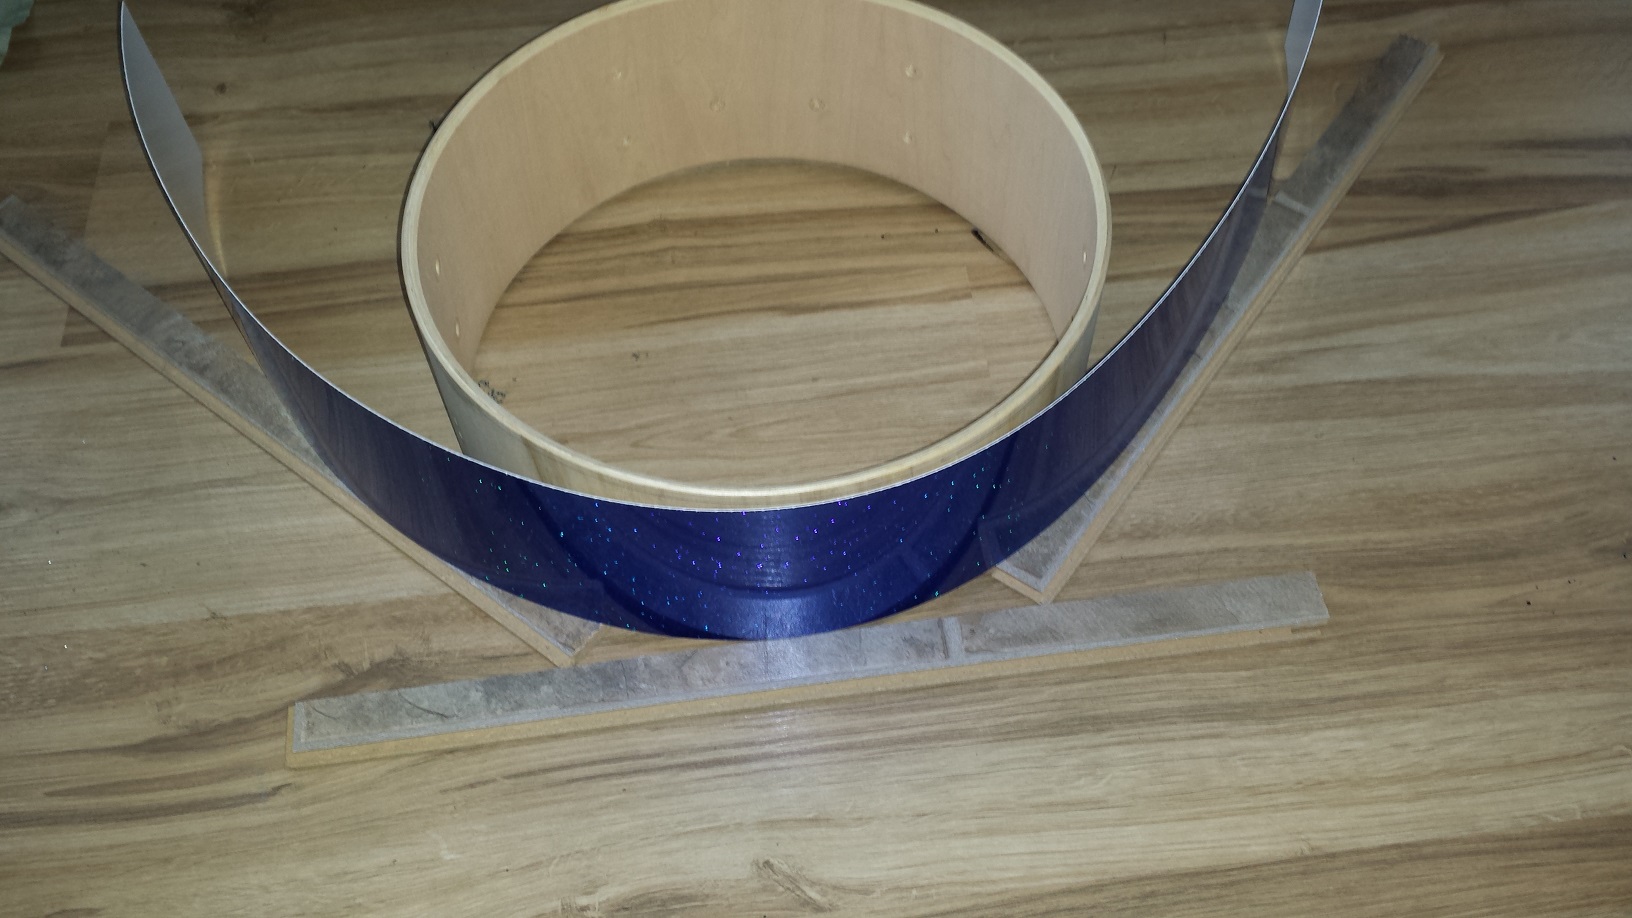
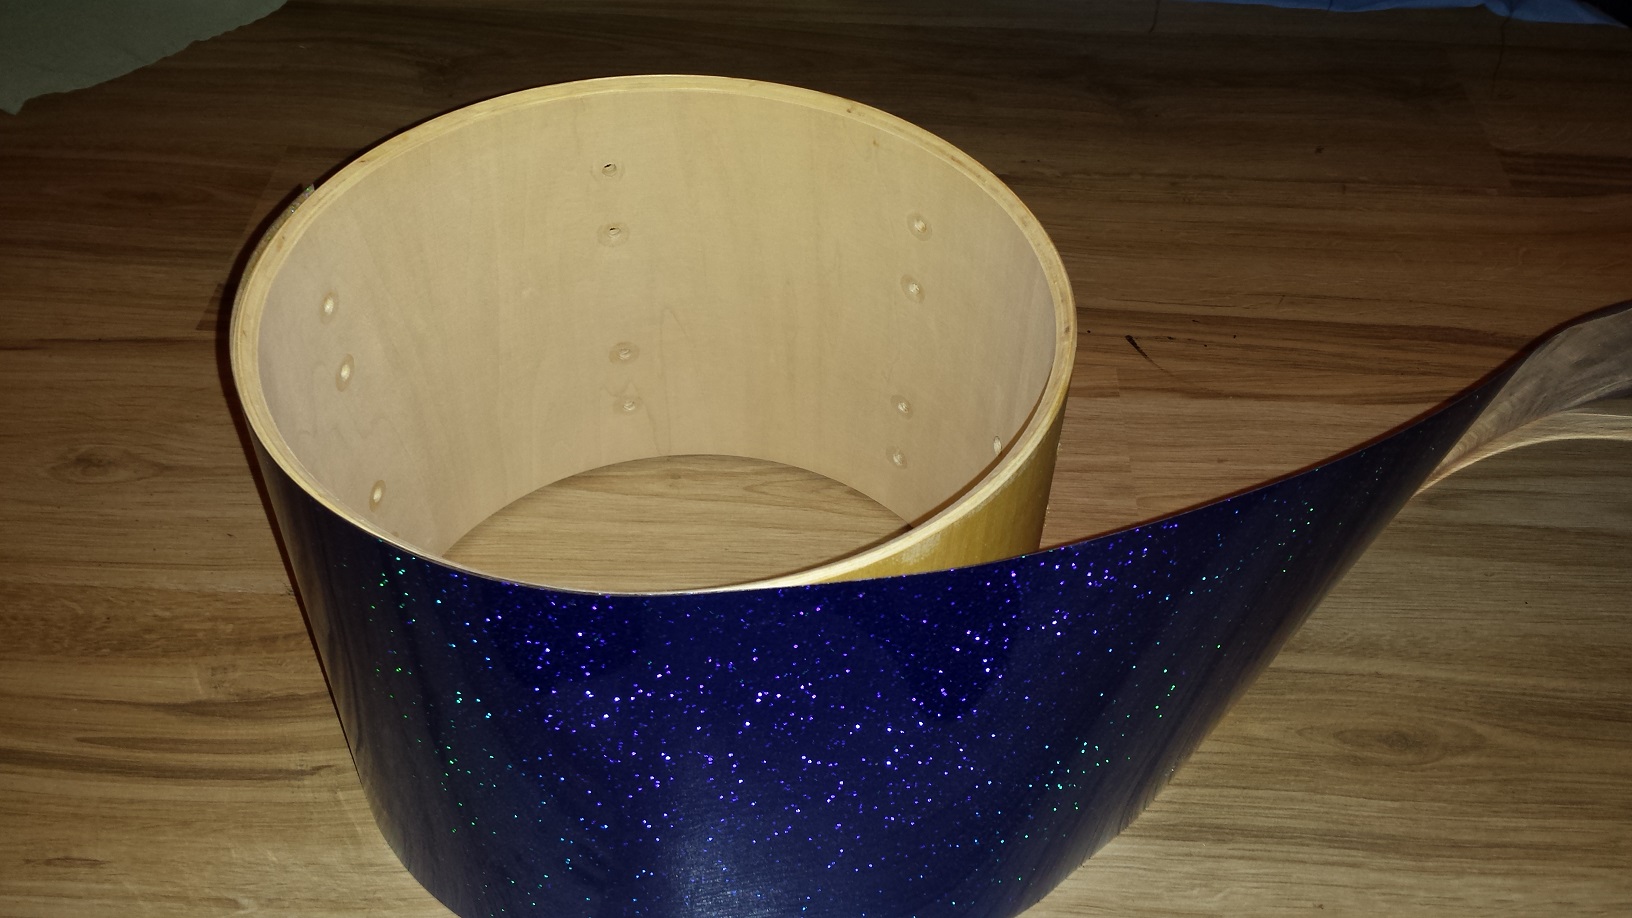
I start with placing the wrap around the shell, leaving about an inch between the shell and the wrap at the closest spot. (Roughly the center of the wrap.)

Then with one eye on the guidelines slowly slide the wrap closer to the shell ensuring that it remains resting equally on the shims. once the wrap makes contact with the shell at the center, start firmly pressing the wrap down against the shell in the direction of the end with contact cement on the front side. repeat in the opposite direction.
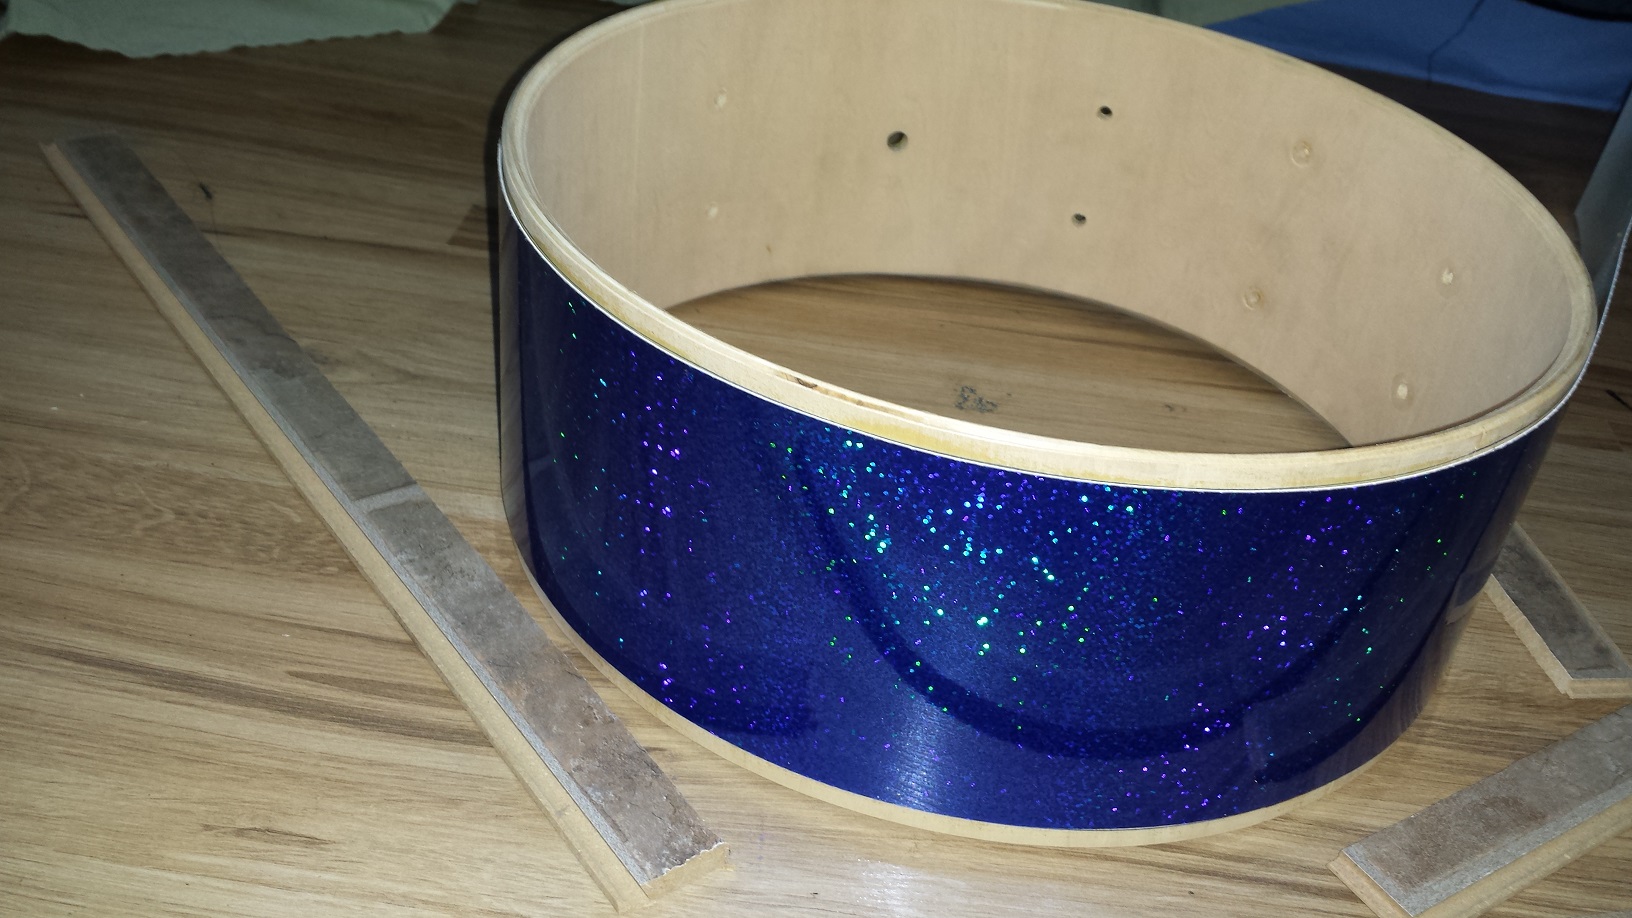
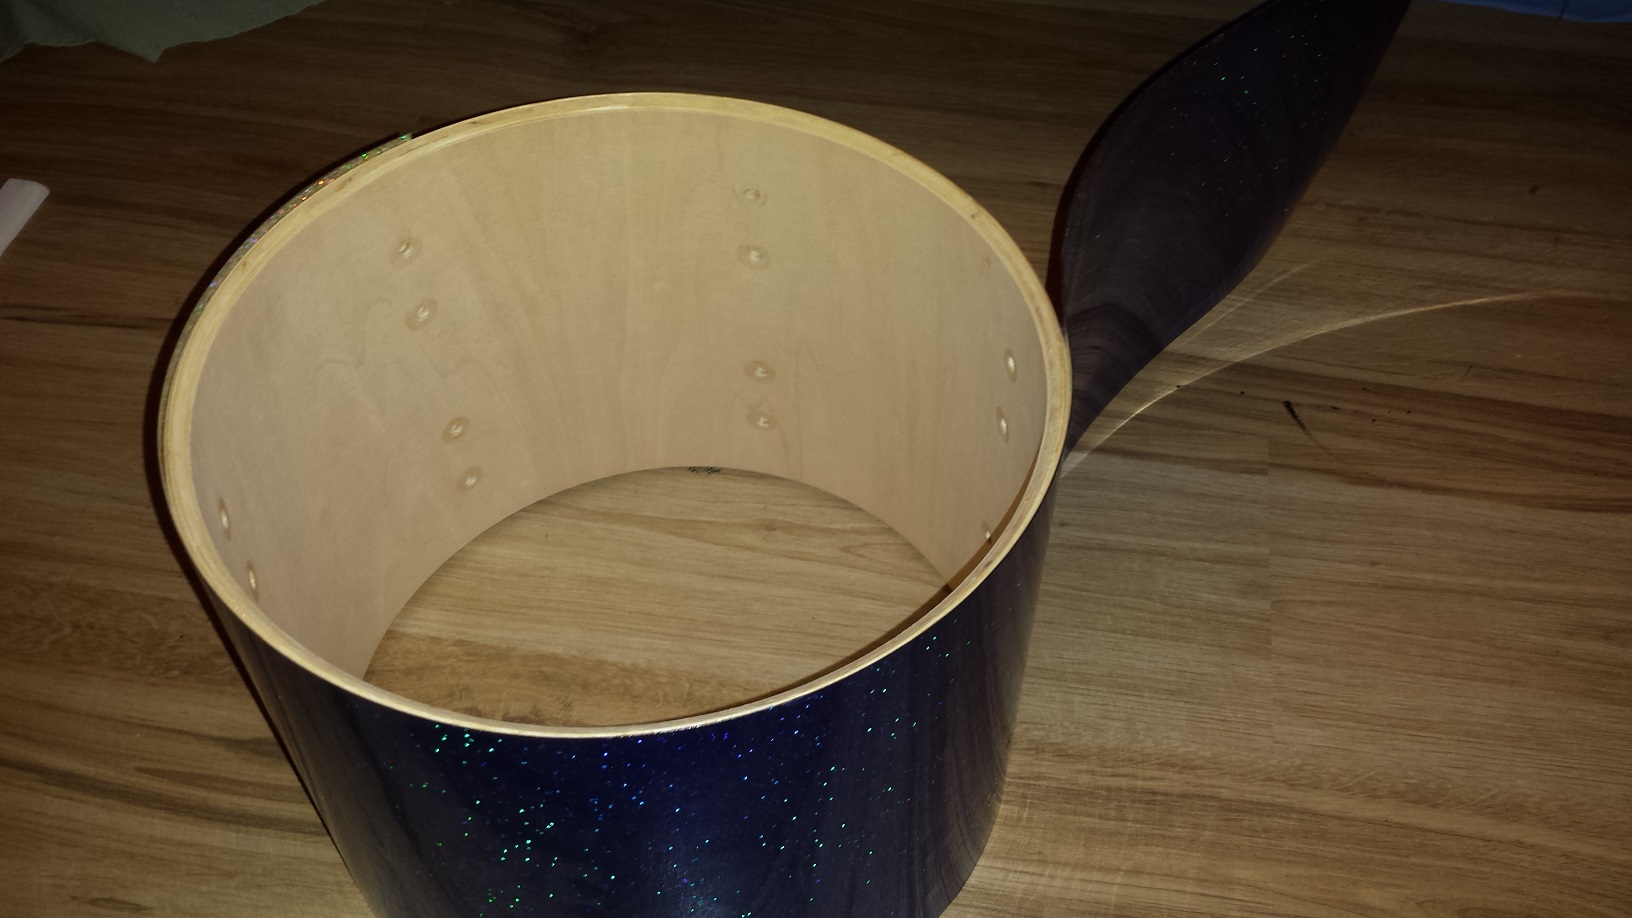
Once wrapped, Take a deep breath. Step back and admire your work. Feel the tension release from your shoulders and anxiety levels start to dissipate. Apply pressure all around the shell to ensure a tight bond. leave to fully cure for a minimum of 48 hours.
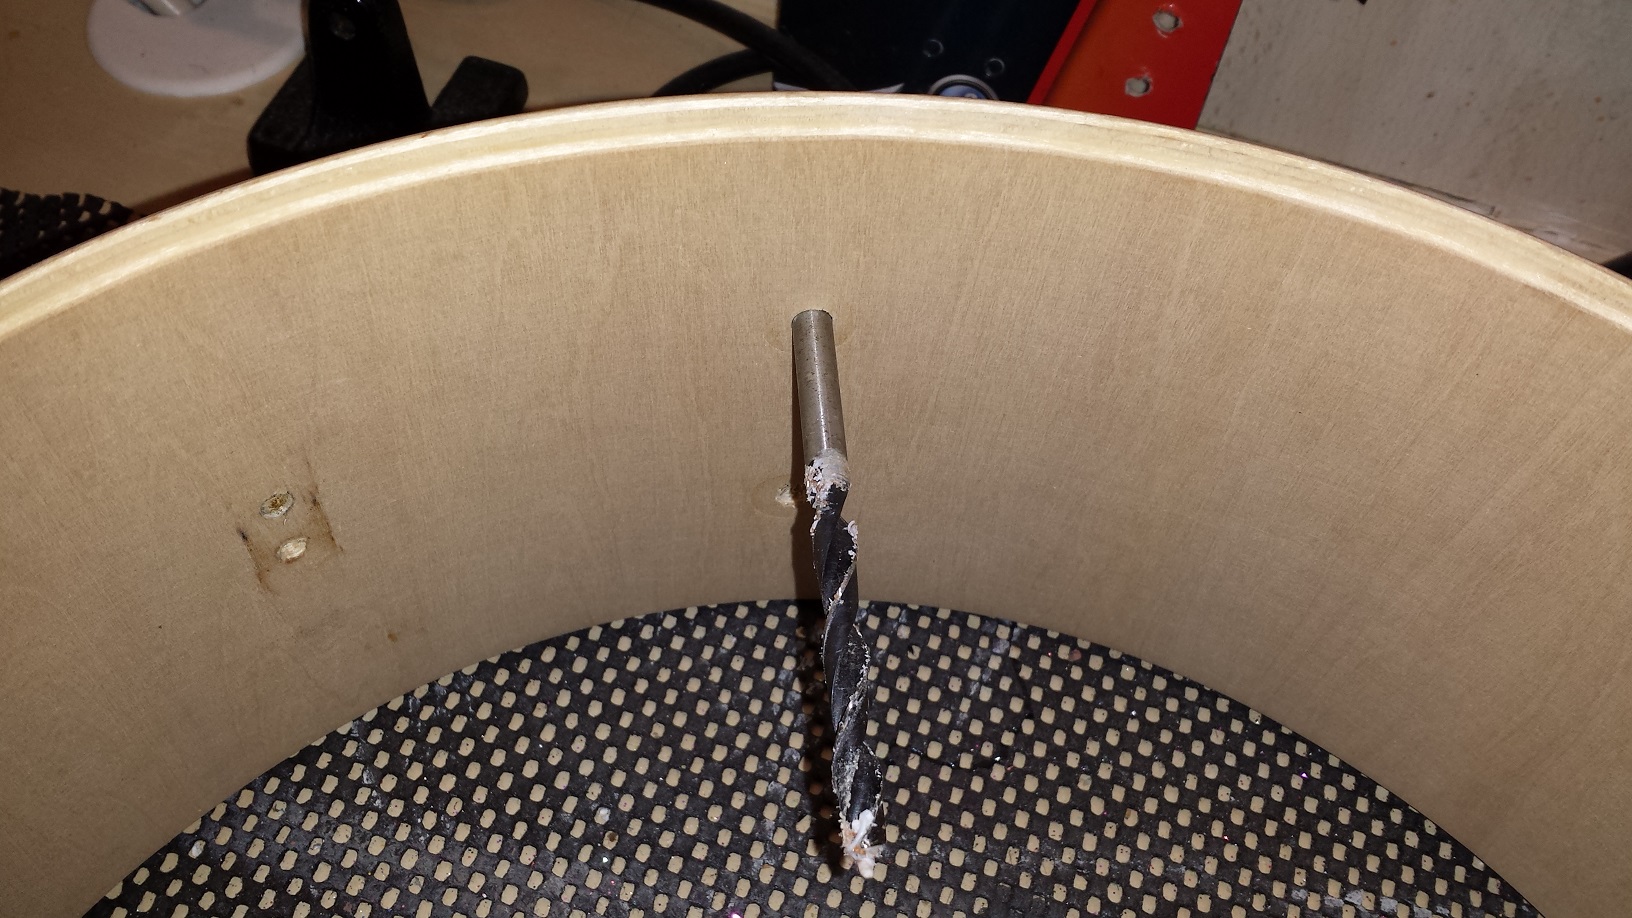
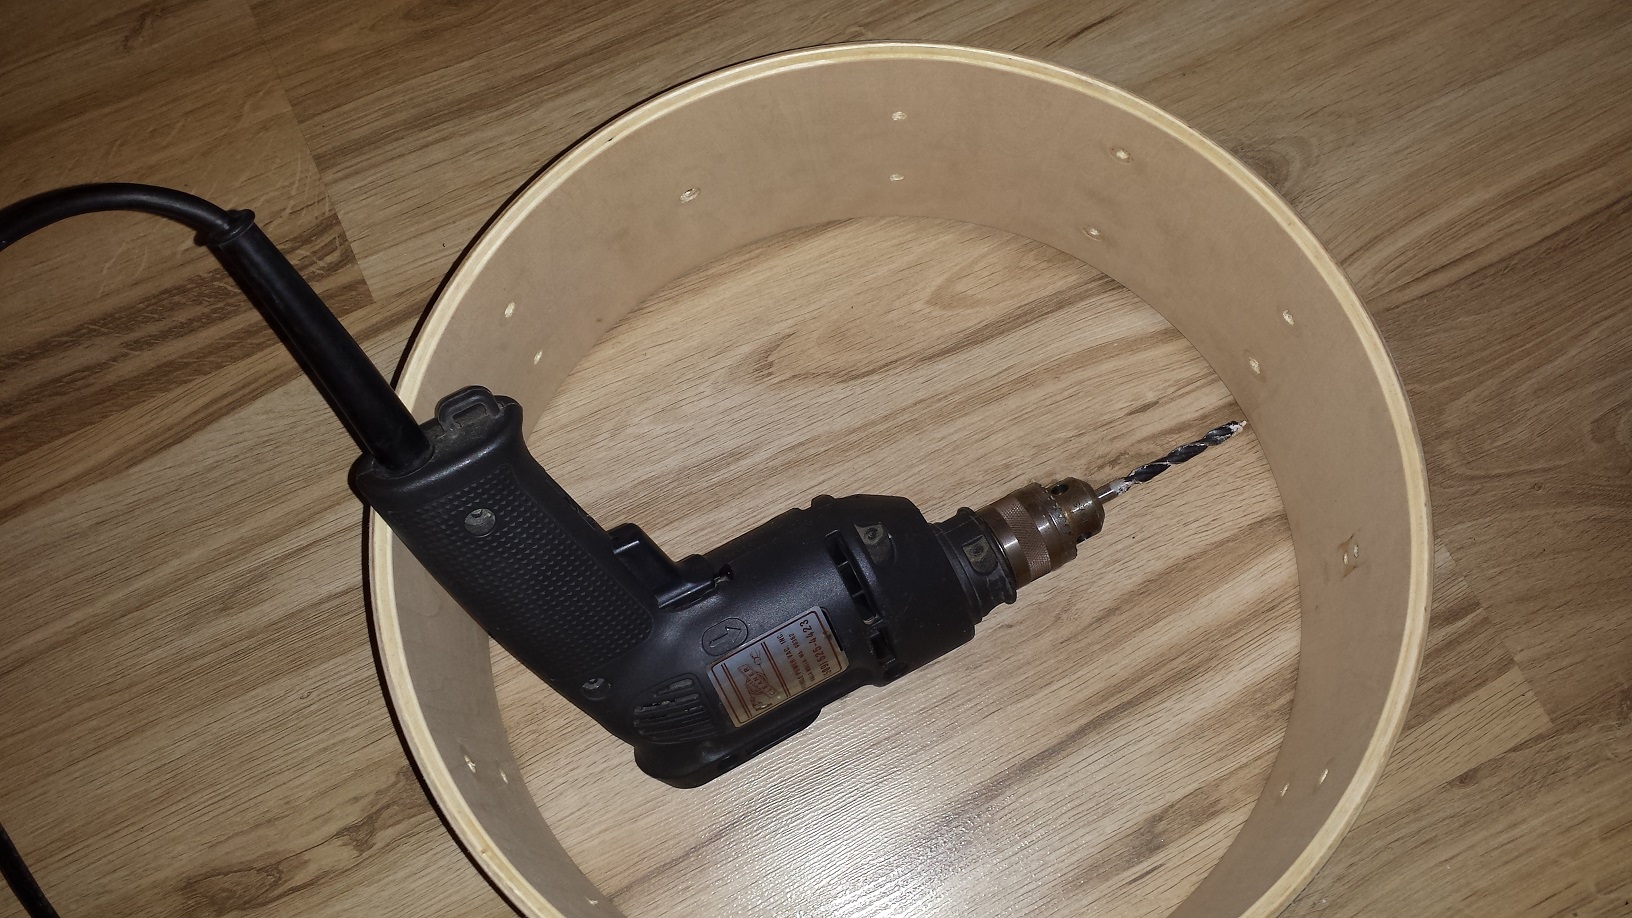
Walopus Thick wrap will require drilling the holes out. Make sure to pick drill bits that fit snugly in the holes of the shell. We need to ensure the holes in the wrap are as large as the holes in the shell. The screws and-or posts will otherwise be supported by the wrap, rather than the drum shell. If possible I drill from the inside as it’s faster. If the drill won’t fit inside the shell, make a pilot hole in the wrap from the inside and drill from the outside.
Make sure not to tighten the lugs too tight. Just a bit past snug is adequate. Too tight lugs can result in snapped screws, stripped threads and bulging wrap.
Disassembly and Wrap Removal
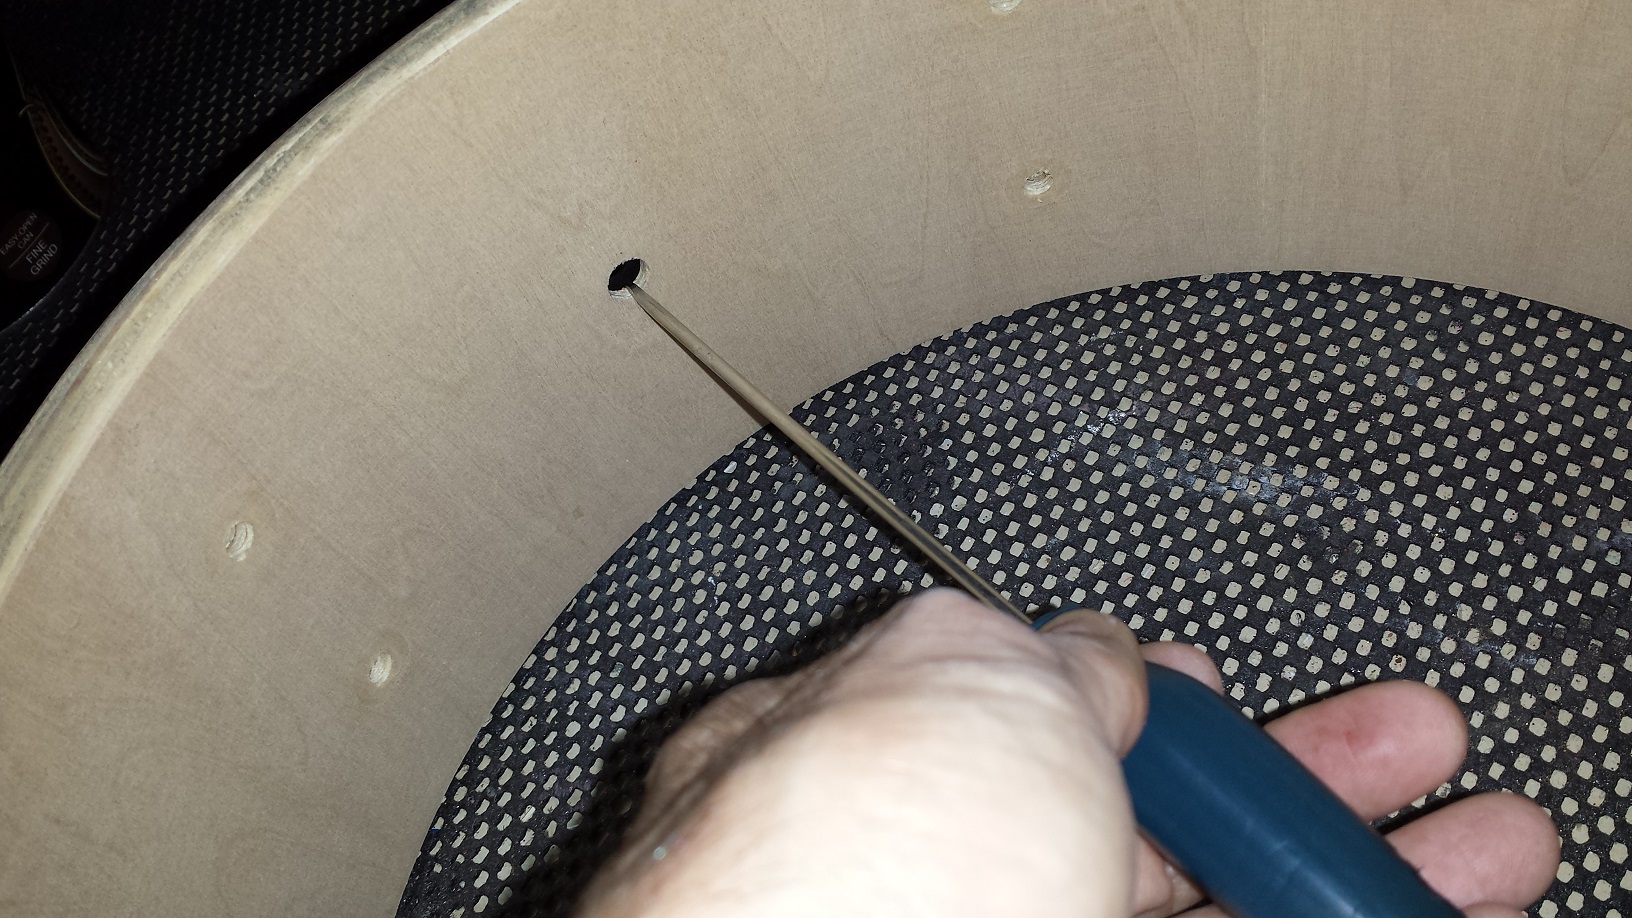
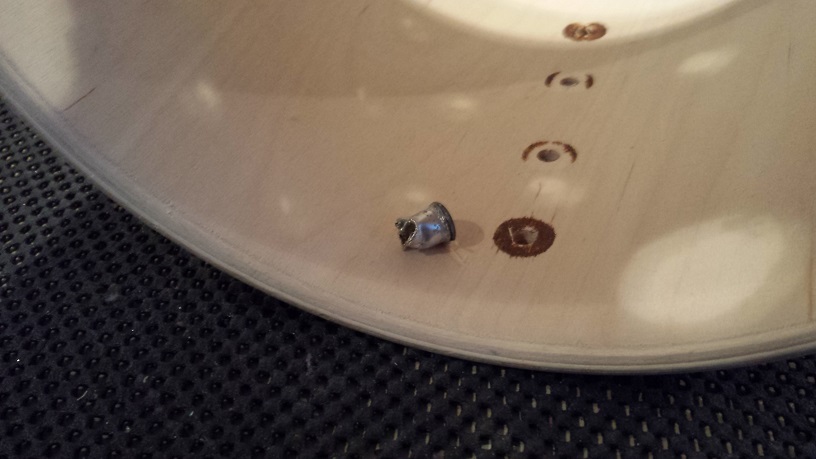
Assuming all the “easy” parts are removed, let’s move on to the first challenge. The air vent grommet. Often these are just one-sided in which case they usually pop out quite easily with the help of an appropriate size socket. 6 mm seems to work more often than not. If it does turn out to be too stubborn for the socket, prying a bit at the inside edges with a small screwdriver may be necessary.

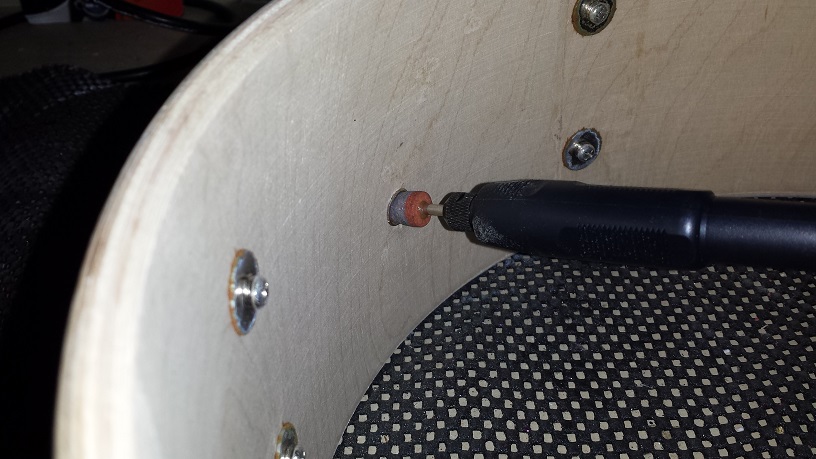
There are two additional types of air vent grommets. The threaded style doesn’t require any further instructions. The rivet type on the other hand is the most dreaded variety. These can be removed by either mutilating the inside flange with pliers, or by grinding out the inside flange. A Dremel type tool is suitable for the latter method.
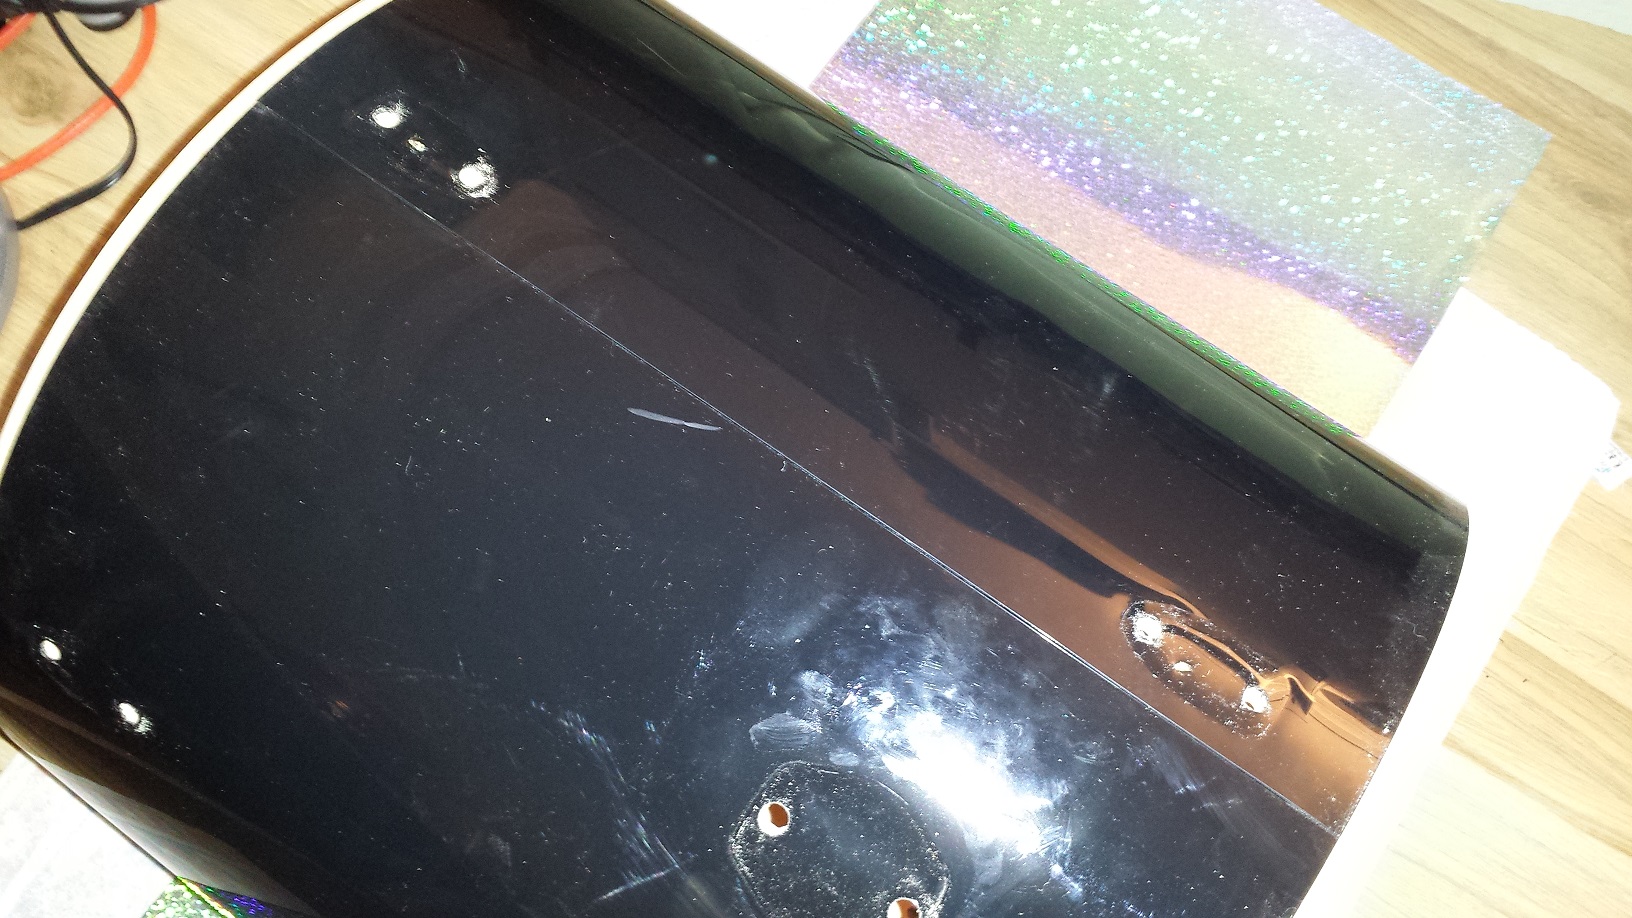
Once the grommets are removed the turn has come to the old boring, generic wrap. On entry level kits the wrap is usually adhered to the shell with a strip of adhesive at the leading edge and another strip at the overlap of the seam. Sometimes these can just be pulled right off after a bit of prying. To be safe though, heating up the adhesive makes for a clean removal without tearing off any wood in the process.
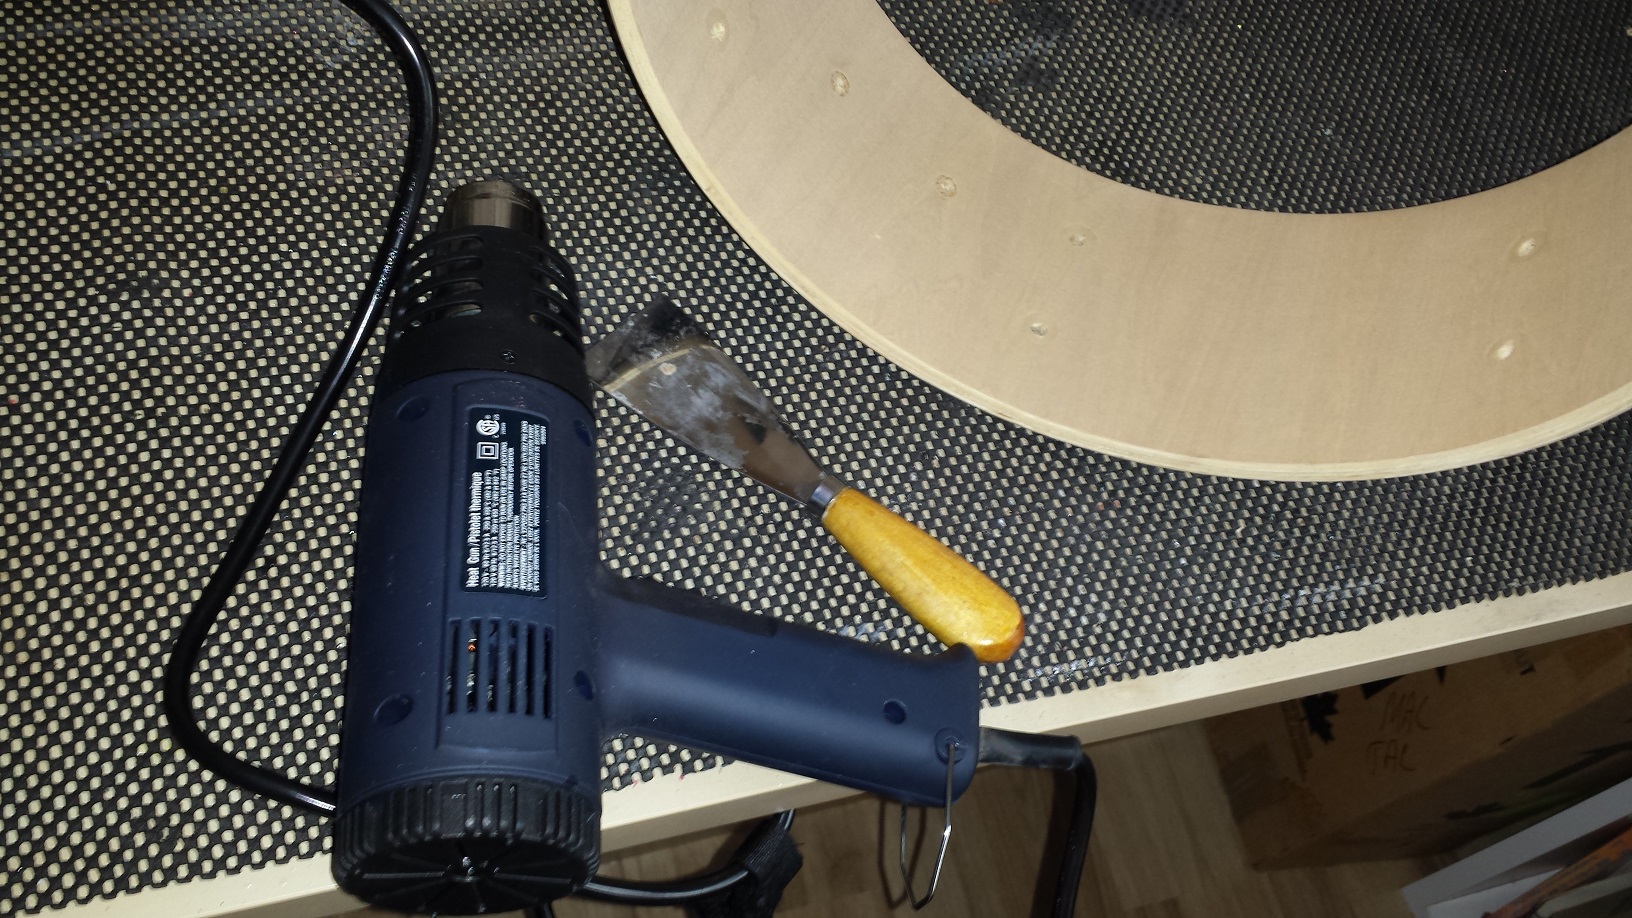
A heat gun is the best source of heat, but a blow dryer does an adequate job too. Simply heat up the entire area of the seam and pry up the edge, followed by pulling the wrap. Use caution. The heat brings out an odour which likely is an indication of toxic fumes. The wrap and adhesive also catches on fire if the heat level gets too high. If the wrap is adhered along the entire shell, a heat-pull-repeat process will be necessary.
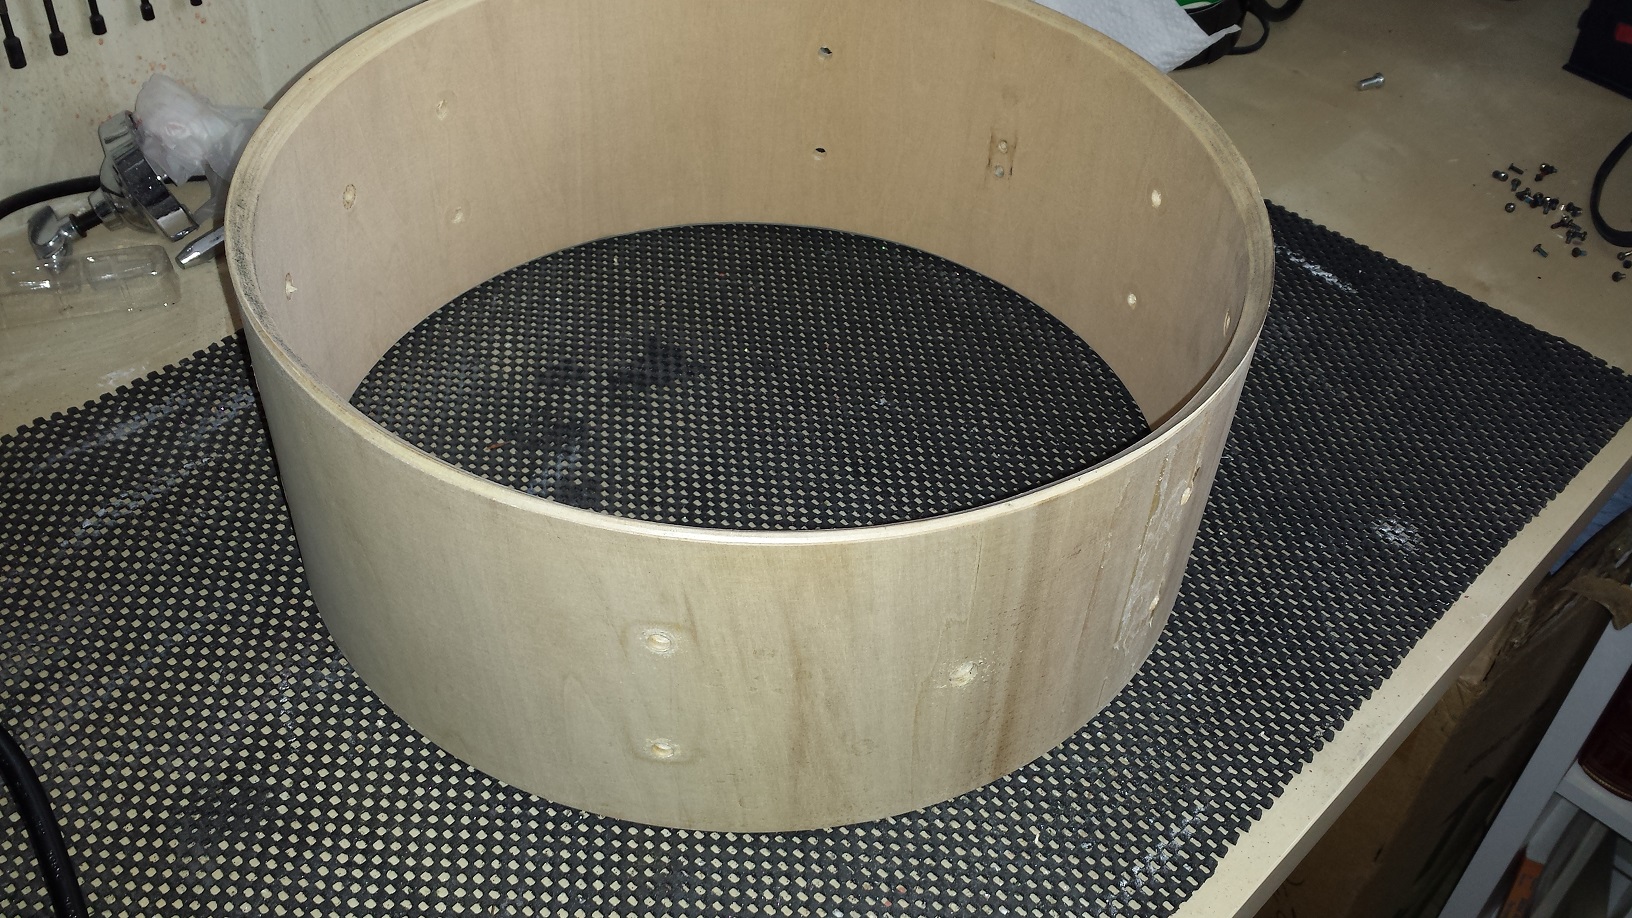
That’s all there is to it. With a bit of patience and careful prying the wrap should come off clean without damage to the wood.
Drum Wrap Instructions
Drum Wrap Instructions Method 2
Walopus Standard Wrap Adhered to the Shell & Trimmed Post Installation
The “Standard” wrap from Walopus is substantially thinner than the “Thick” variety. At roughly 20 mil it’s about average as far as wrap goes. Even though method 2 involves trimming the wrap after adhering it to the shell, I like to cut it down to just a smidge wider than the shell depth before I start slopping on the contact cement. Mostly because it’s a bit more manageable but also to cut down on surface area covered with sticky contact cement. Following the same process of trimming as with “Method 1″, mark dots at about 1/8″ wider than the shell depth. The shell in this case being the 12” rack tom. Connect the dots using a straight edge as a guide and cut with scissors. Although substantially thinner than the “Thick” wrap, it’s about as tough to cut through.

Once the wrap is cut we proceed with a quick sanding of the back and painting the contact cement on the shell and the back of the wrap in the same manner as with “Method 1”. Apply as thin as possible while still maintaining a nice, even coat. Remember to paint a line on the front side of the wrap on one end for the seam. Leave to dry for 20 minutes, or as per the manufacturers instructions.
Applying the wrap to the shell is done in a similar manner as in “Method 1″ but much less nerve-wrecking and substantially more forgiving. Since we’ll be trimming the wrap after application, there is no need for the shims. In addition it doesn’t have to go on 100% perfectly straight since we have a little over 1/8″ margin. More if you didn’t bother trimming some of the excess prior to slopping on the contact cement.
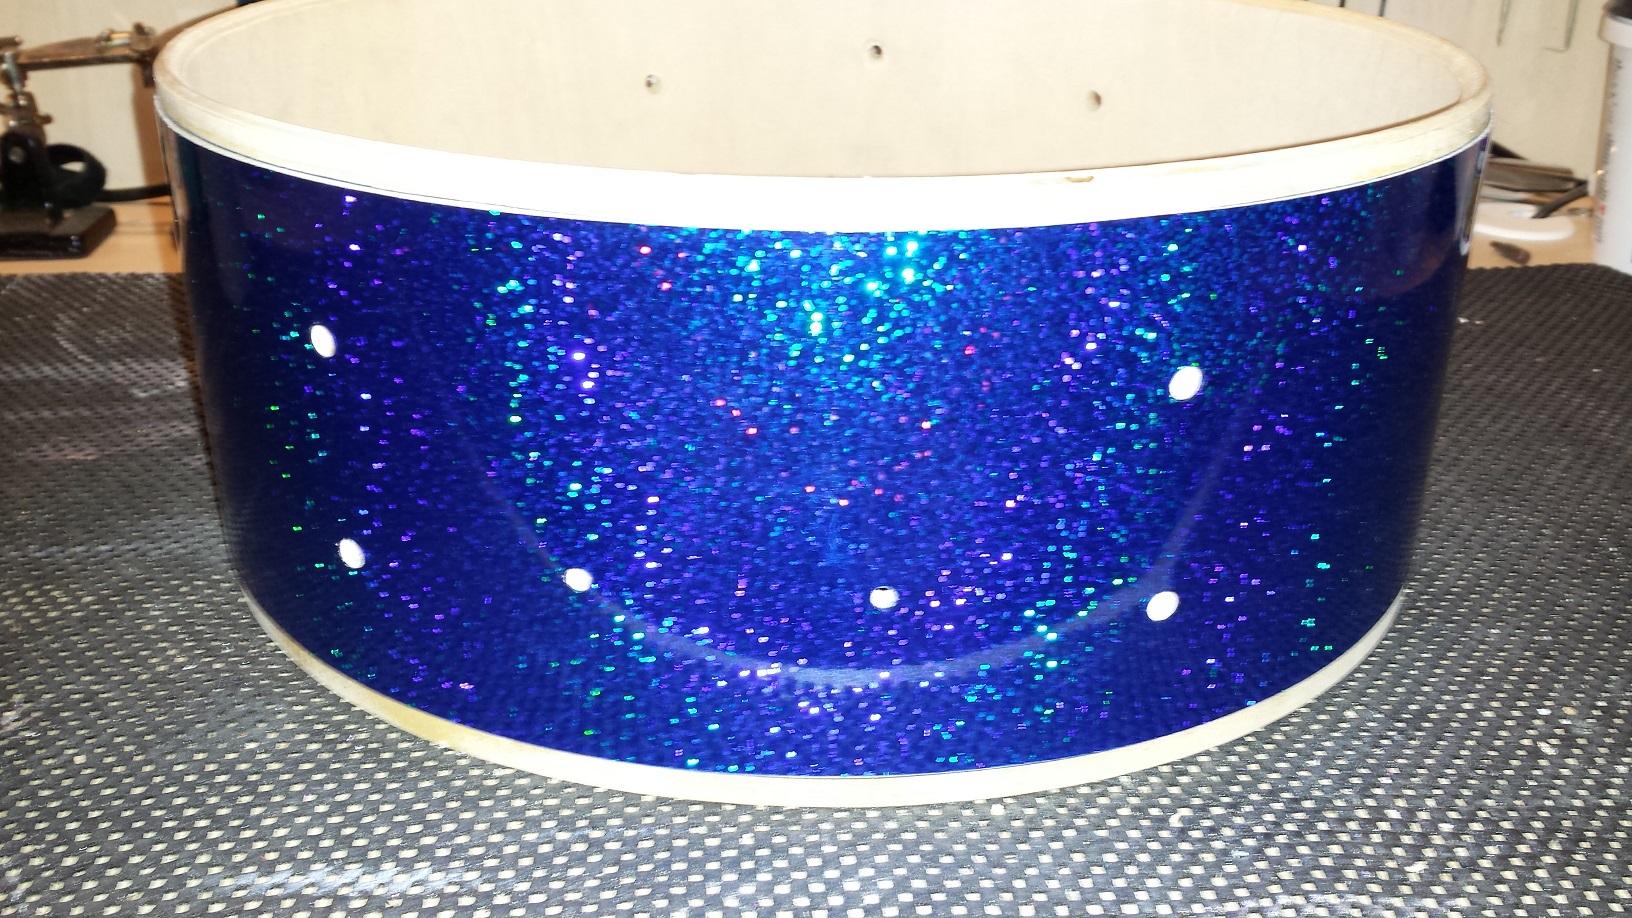
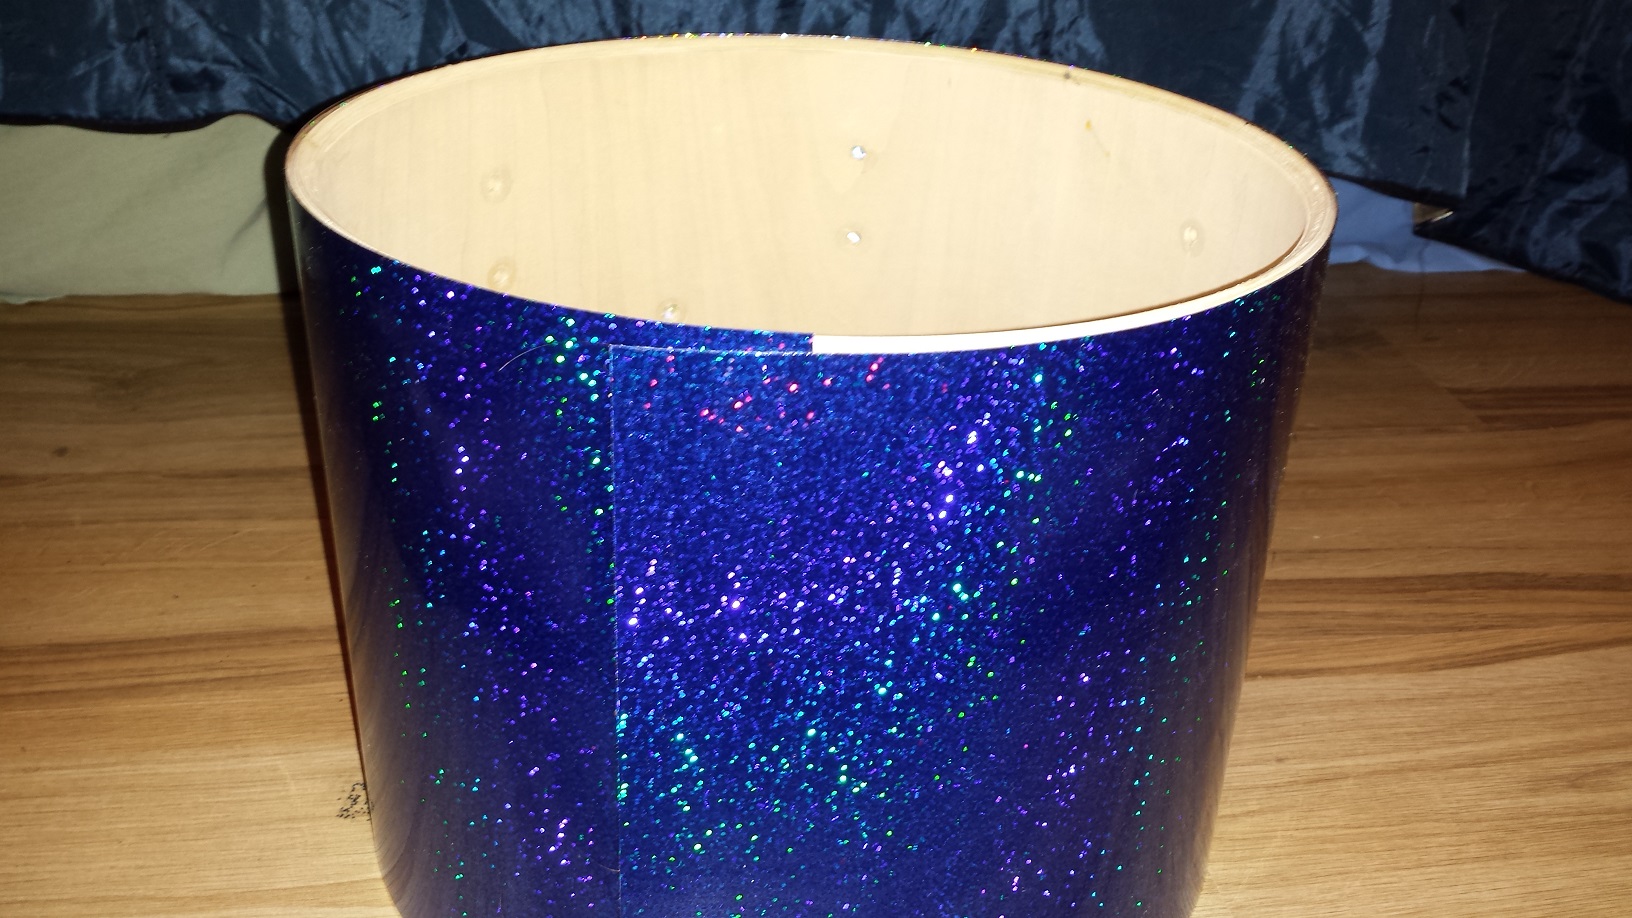
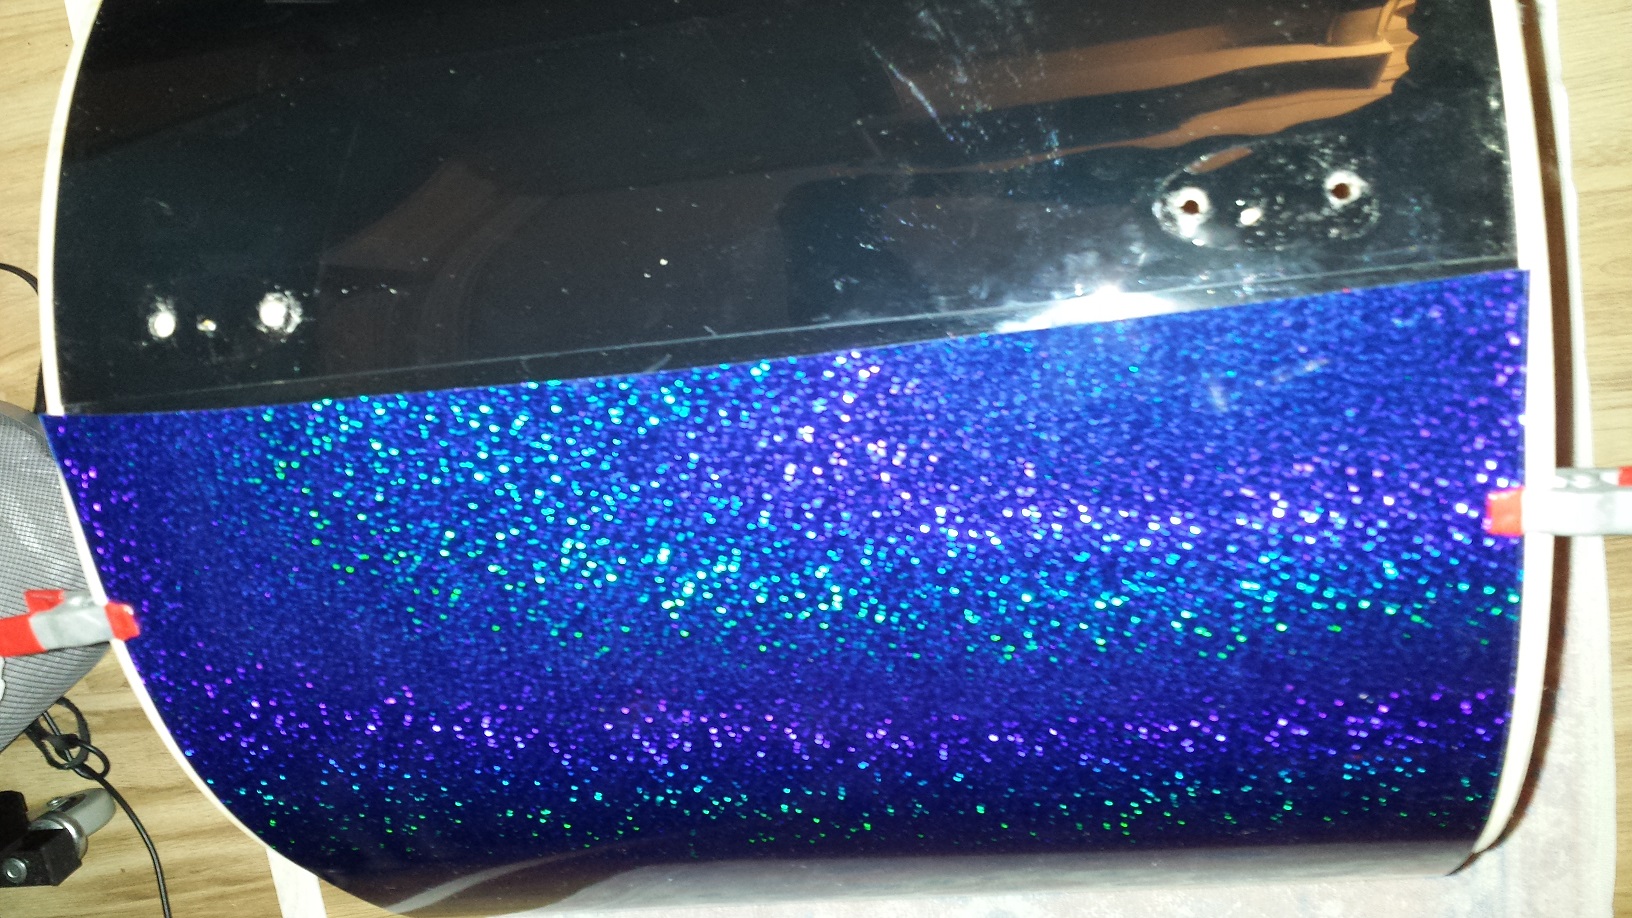
Simply place the shell on the floor, place the wrap in a semi-circle around the shell leaving about 1” distance between the wrap and the shell at the closest point. Slowly and gently move the wrap closer to the shell while ensuring the wrap is resting evenly against the floor along it’s length. Once contact is made smooth the wrap against the shell in the direction of the end with a strip of contact cement on the front edge first. Repeat for the other end and apply pressure around the entire shell paying extra attention at the seam. Leave to cure fully for a minimum of 48 hours. Good thing we had some margin as the ends didn’t quite meet up 100% perfectly.

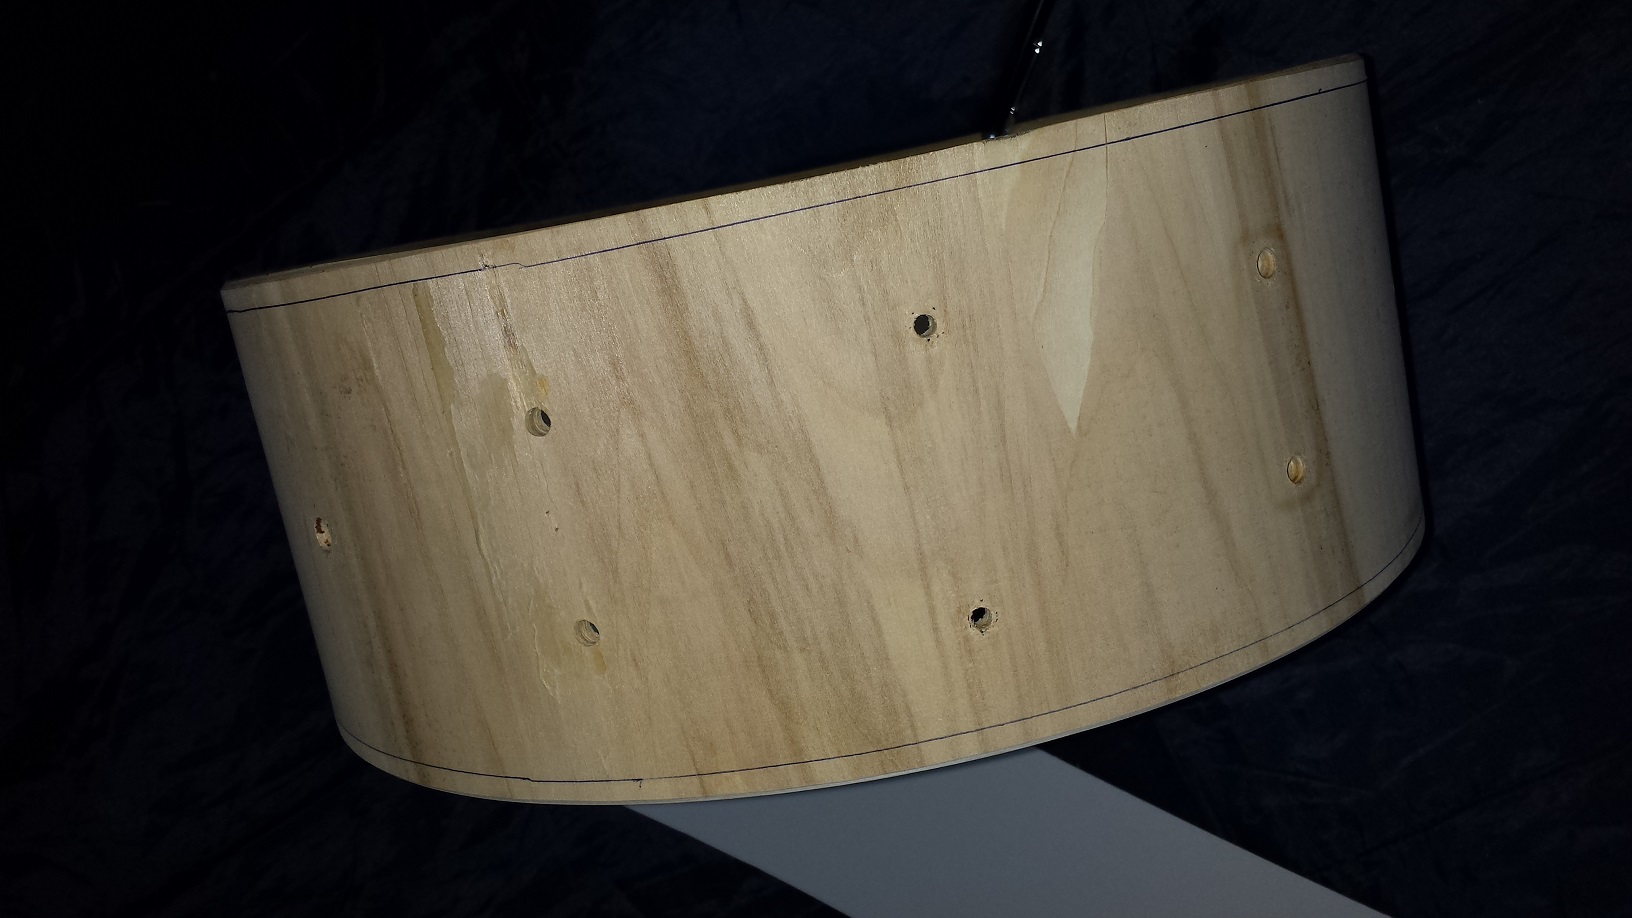
Once the adhesive is fully cured, trim off the excess wrap by inserting an Exacto-knife parallel with the angle of the outside bearing edge, through the wrap. Trace along the edge of the shell keeping the blade parallel to the bearing edge counter-cut.
Depending on whether you prefer to drill, or cut the holes out with an Exacto knife, continue as per the instructions for “Method 1” (Drill), or “Method 4” (Cut)

Drum Wrap Instructions Method 3
Walopus Thin Wrap Installed over Existing Wrap
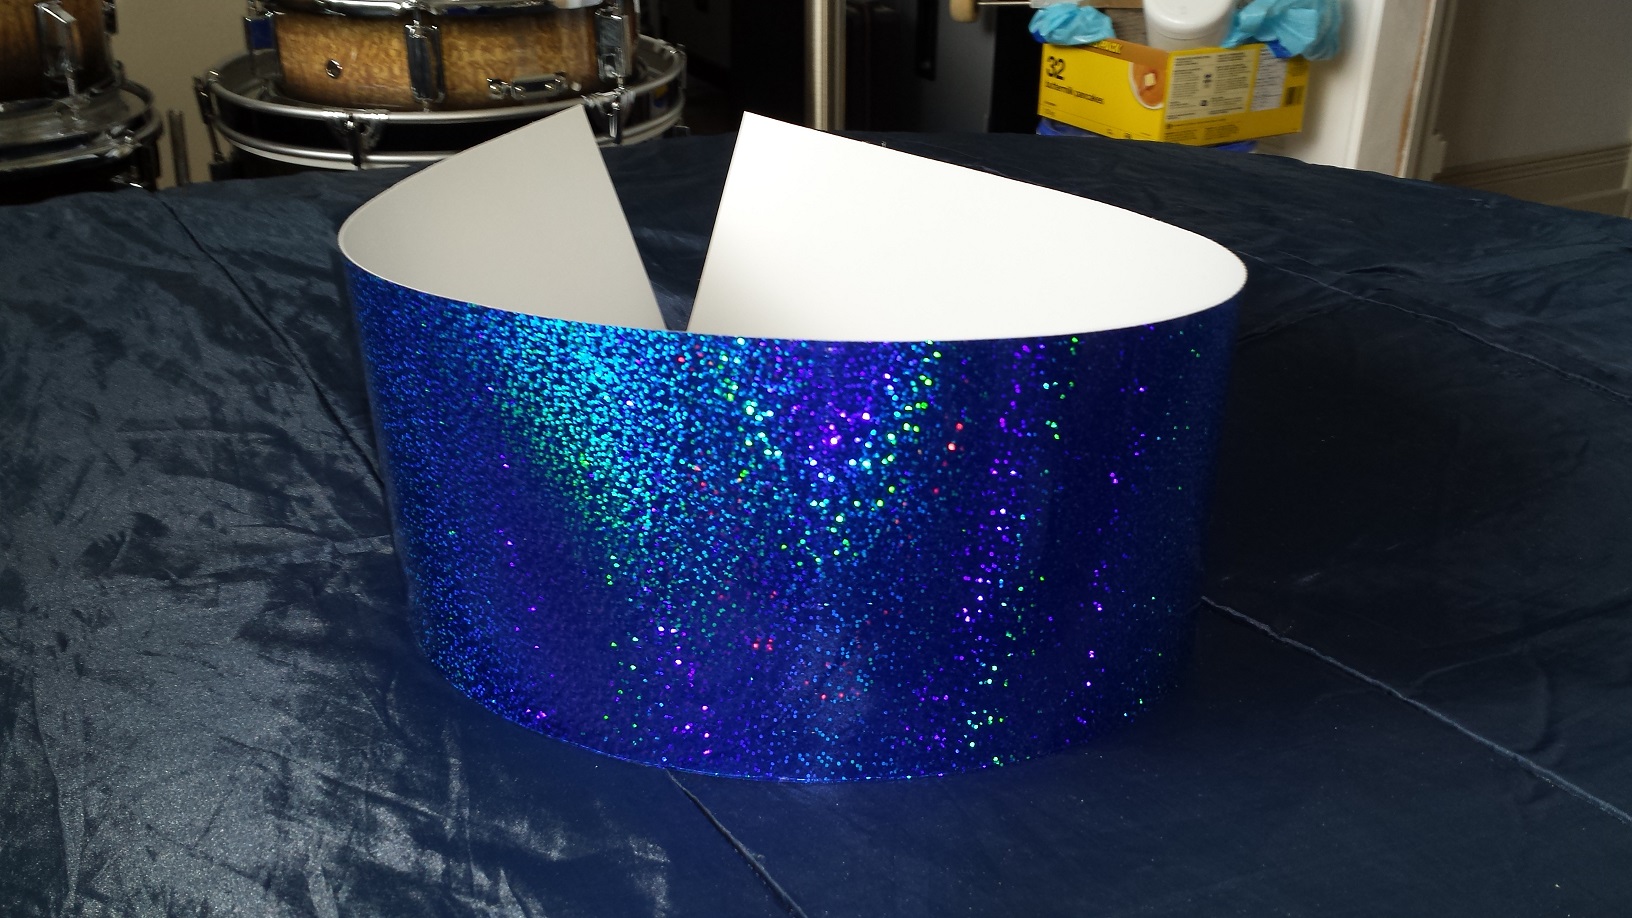
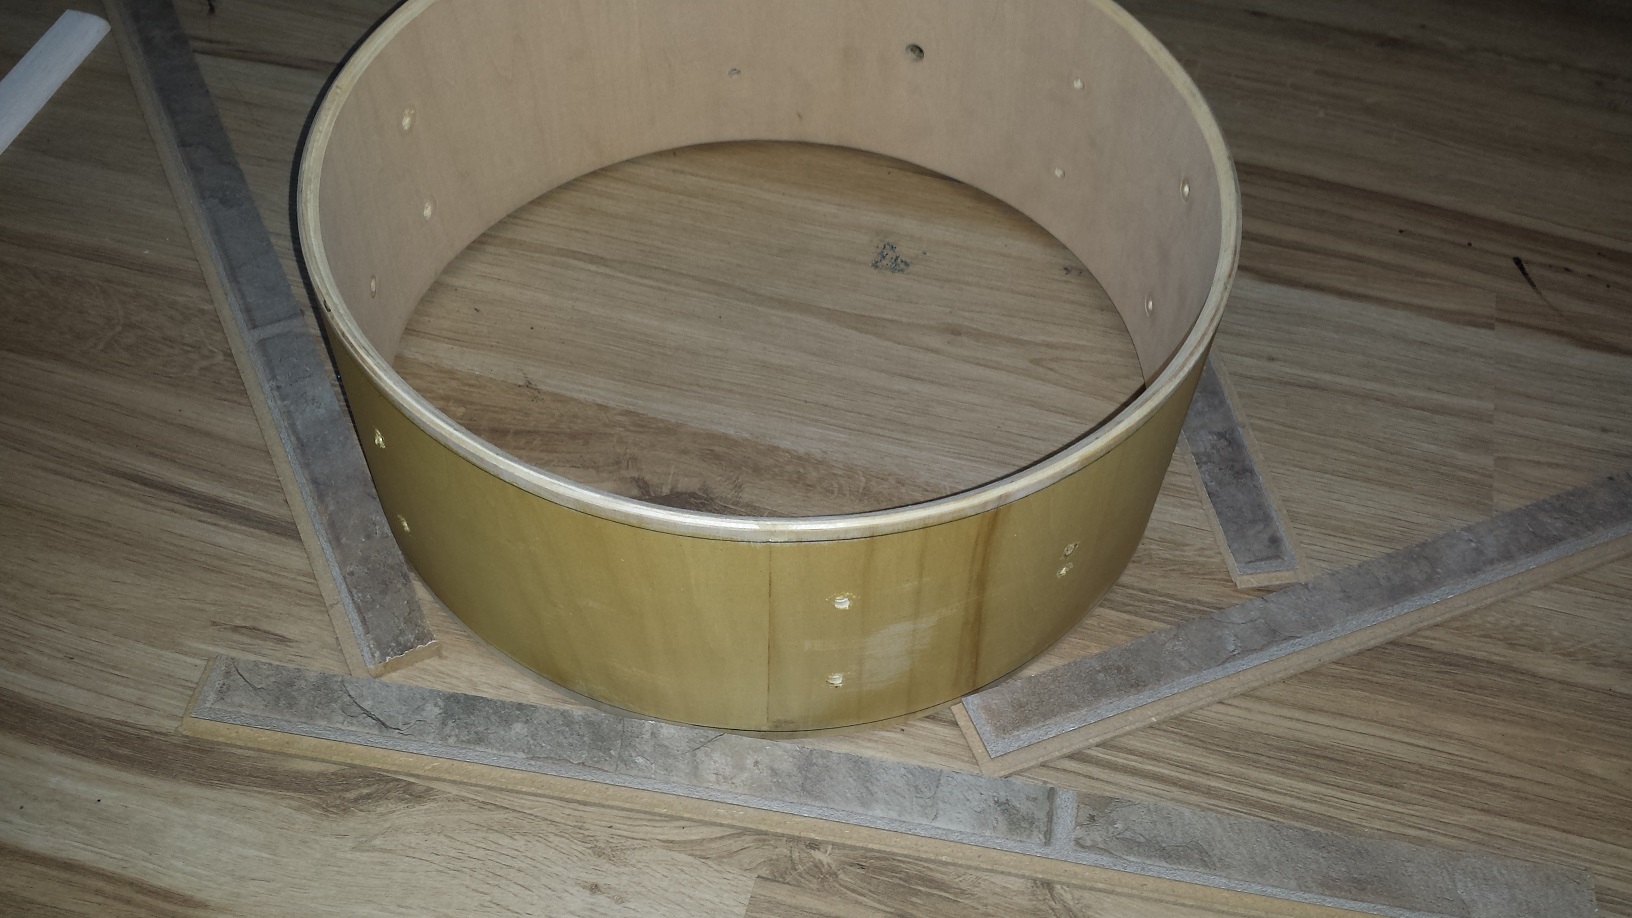
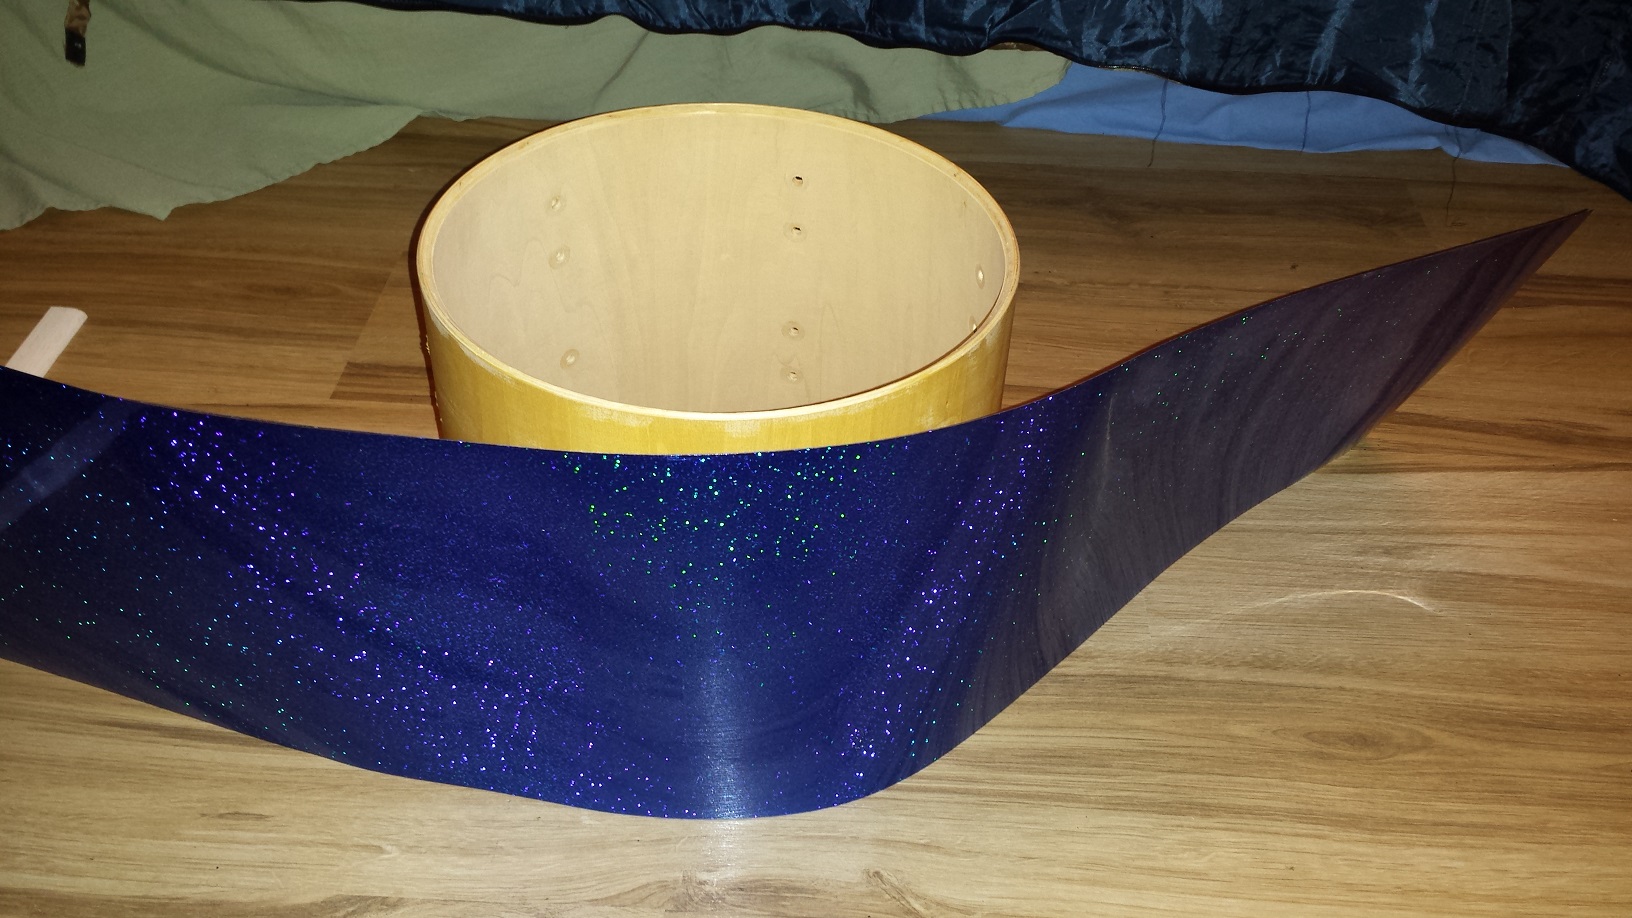
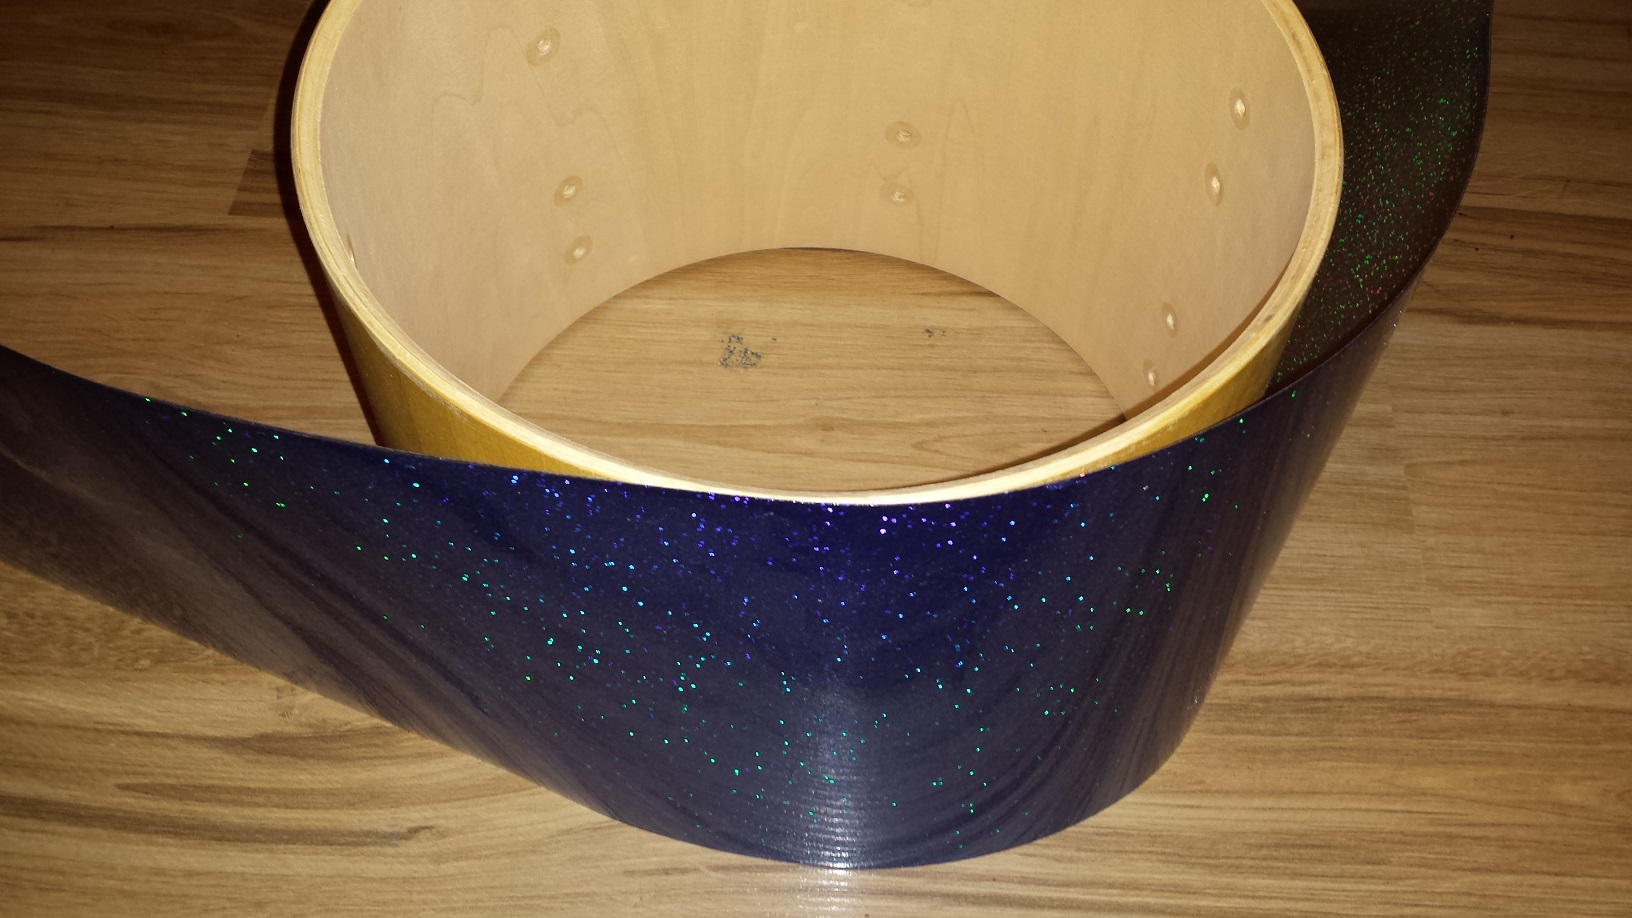
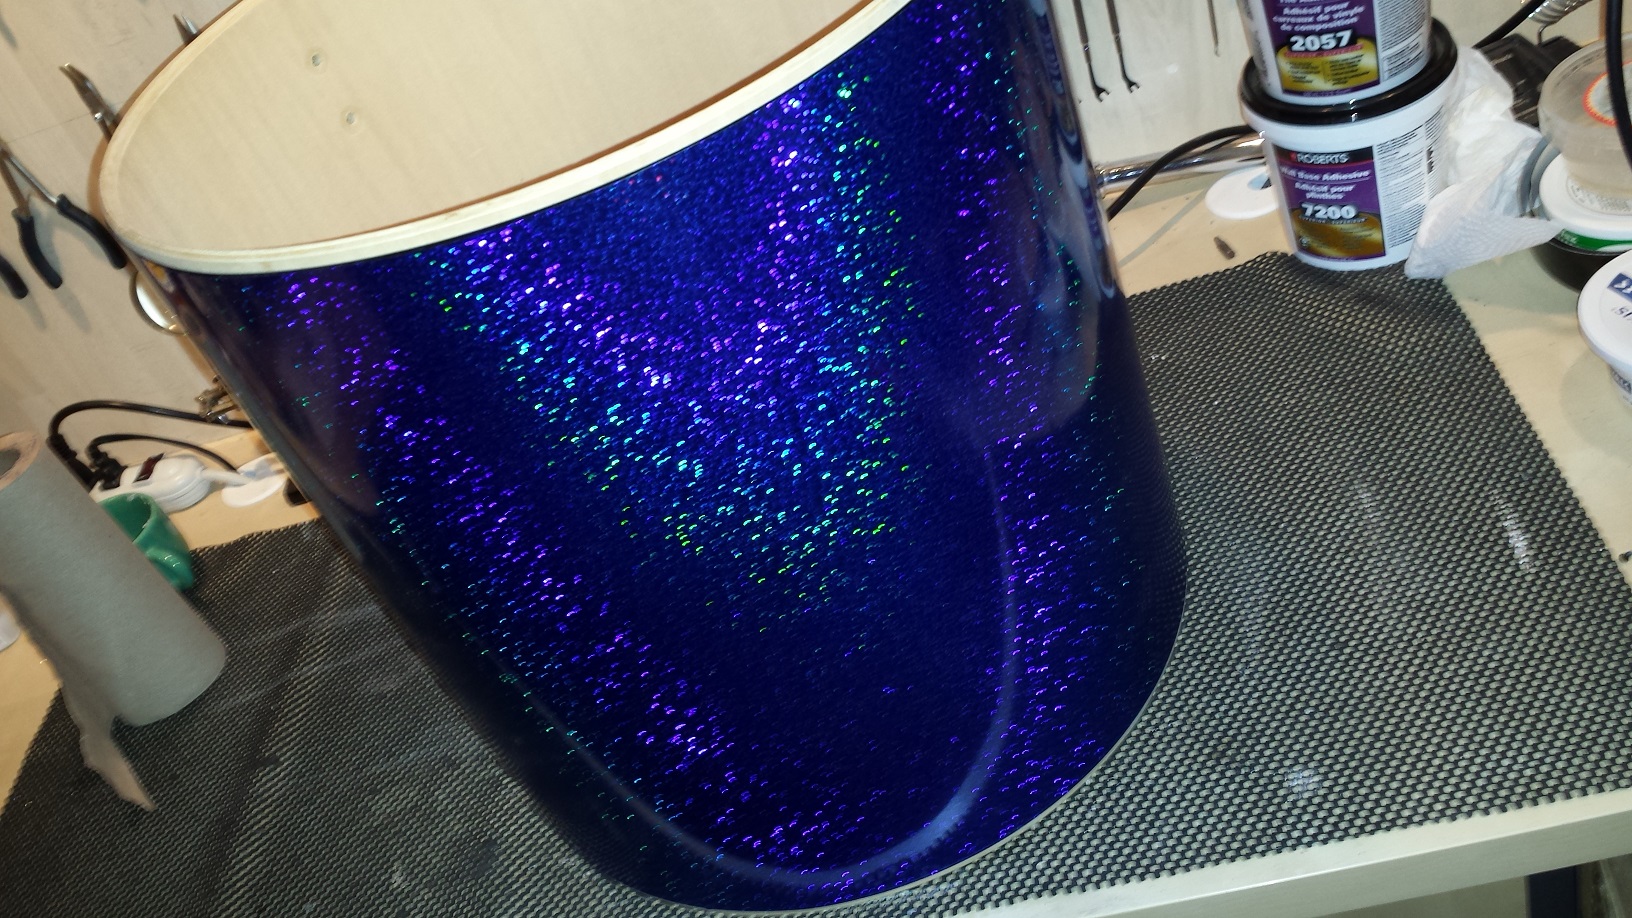
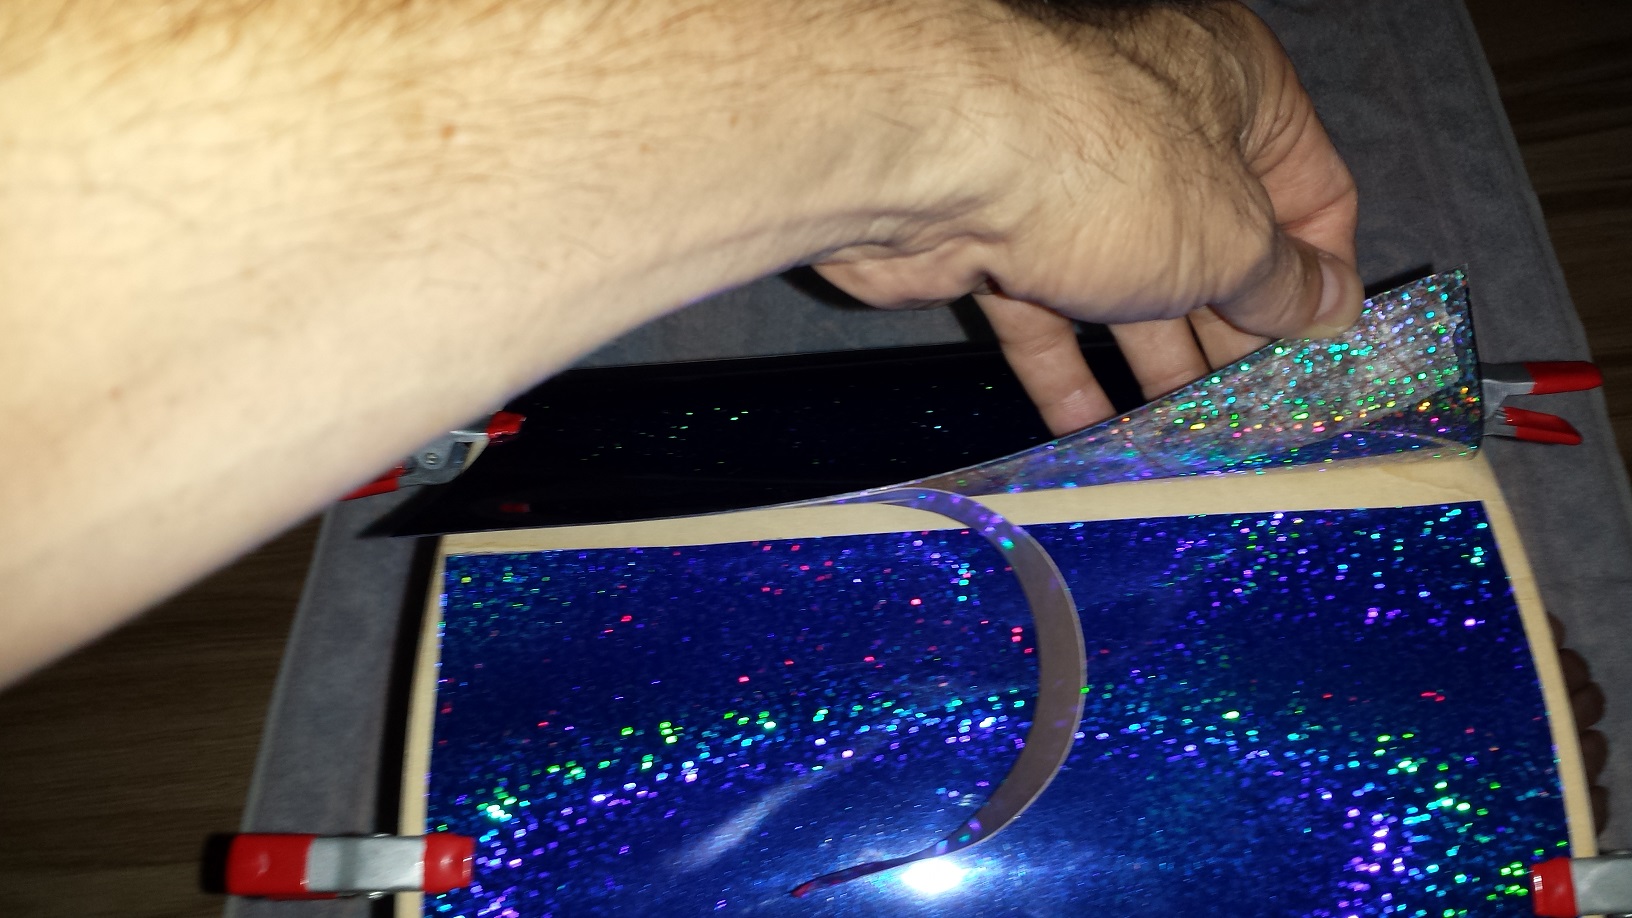
First a noteworthy observation. Walopus calls their drum wrap “Gloriously Gleaming”. The Thick and Standard wraps from Walopus are most certainly the most gleaming and glossy wrap I have seen. However the thin variety is more “regular”. On par with the glossy, “gleaming” factor of average drum wrap. I’m not sure if the difference is visible in these pictures. Of course under normal circumstances one wouldn’t mix wrap thickness on a drum kit, but for the purpose of these instructions we kinda’ have to.
The reason, I found out, is that the clear top layer of the “Thick” and “Standard” varieties is thicker than the entire thickness of the “Thin” wrap.
The process of wrapping the thin Walopus wraap over existing wrap is almost identical to the process described in “Method 4”. The only exception being that the seam of the existing wrap serves as a guide to line up the “bottom” edge of the new wrap to. This makes it a simple task to get the wrap aligned and straight at the first attempt. Simply “butt” the “bottom” end of the wrap up to the overlap of the old wrap, secure with two clamps and then proceed exactly as in “Method 4”. I would recommend the knife for cutting the holes.
Drum Wrap Instructions Method 4
Walopus Standard Wrap Affixed with Adhesive Strip
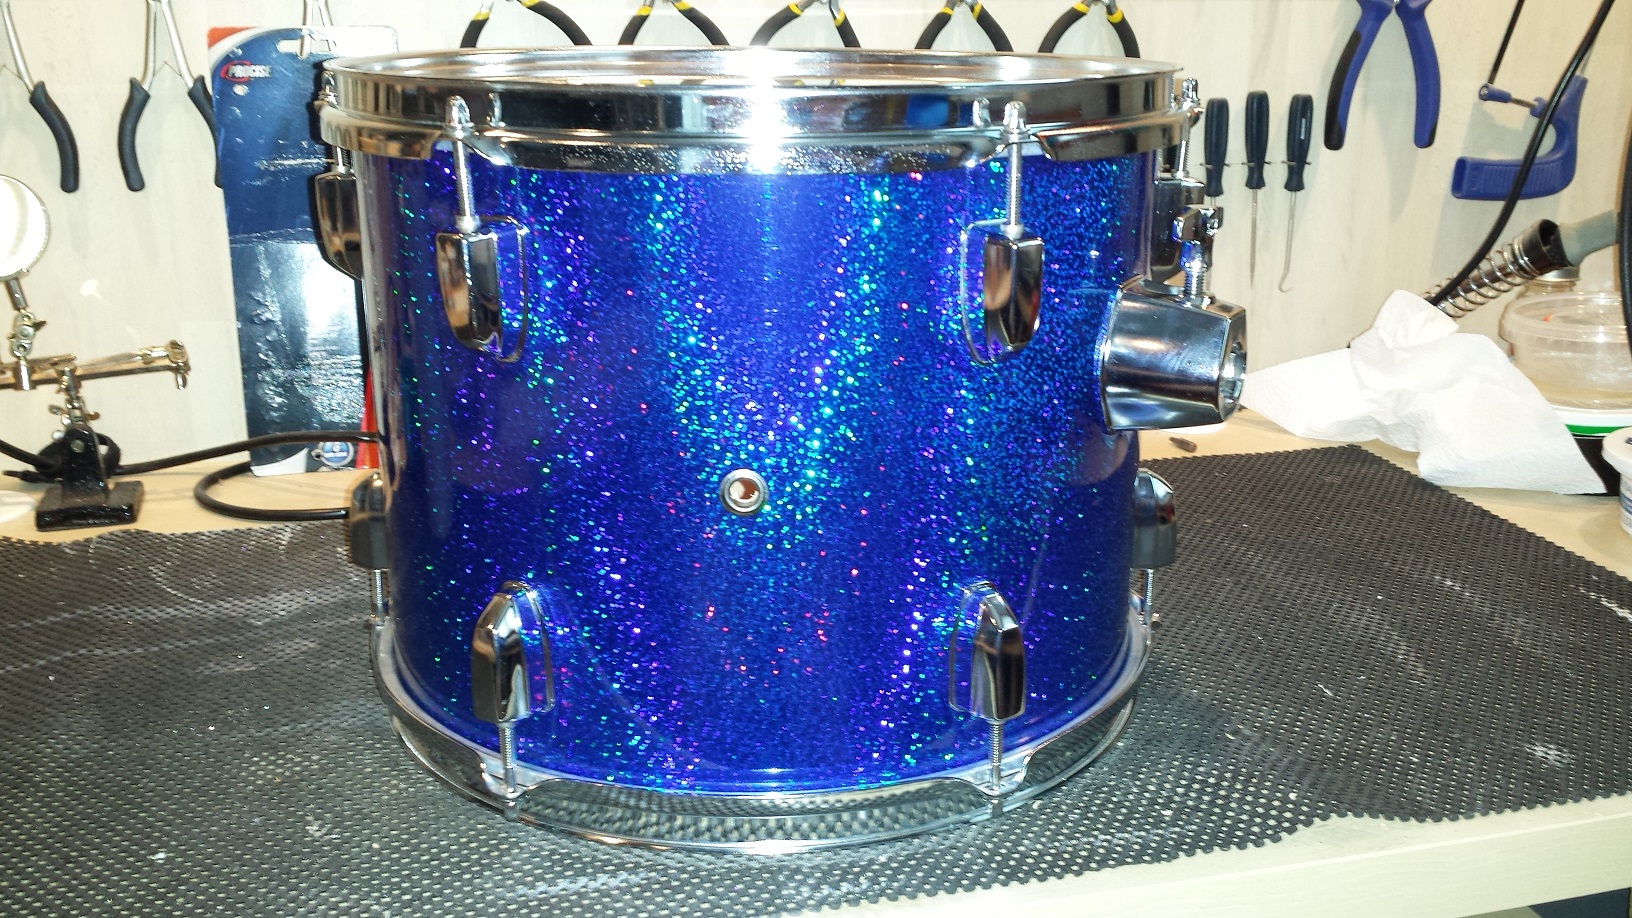
Some claim that the traditional method (Method 1) is the superior approach and the only one that doesn’t have a negative impact on a drum’s sound. However for every person that makes that claim, there’s someone claiming that the the human ear can’t hear the difference anyway. Simply “blanketing” the shell with the wrap and securing with a strip of adhesive at the overlap is by far the most common method. Also it’s the easiest and fastest way to get the wrap installed. Further, it is the method recommended by the bulk of drum wrap suppliers. We’ll use the 13″ tom for this example.
Step 1 – Trim the wrap 1/2″ shy of the shell’s depth following the process outlined in “Method 1”.
Step 2 – Make a mark on the outside of the shell where you wish to position the overlapping seam.
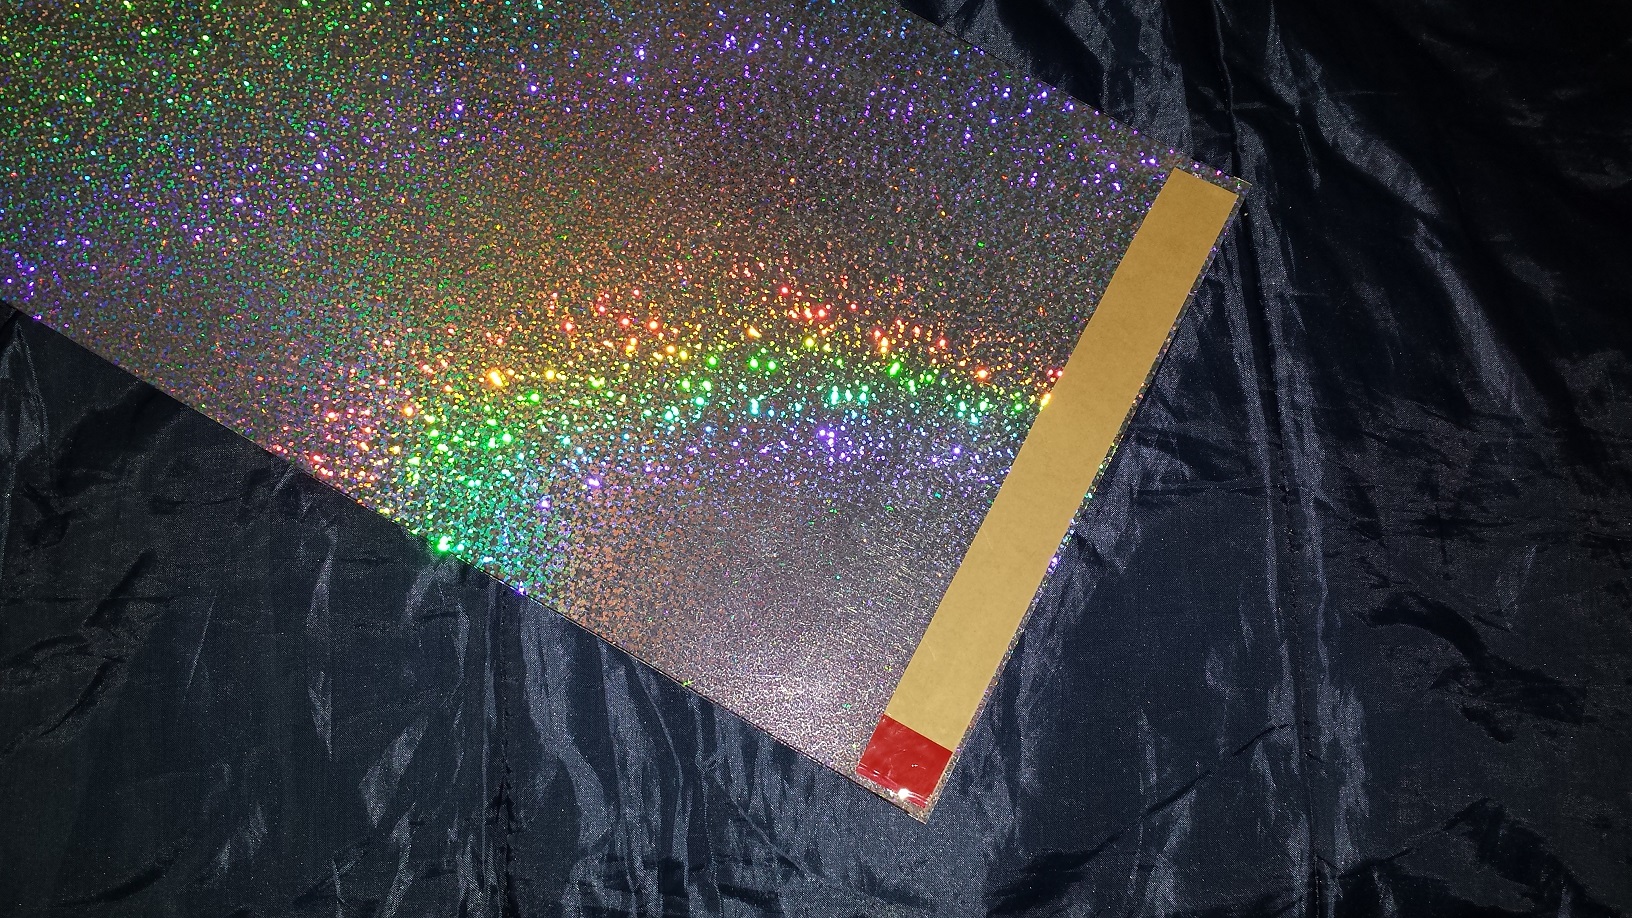
Step 3 – Affix a strip of Adhesive along one edge of the wrap’s back. We recommend the type intended for installing carpet and vinyl floor. It is readily available in the flooring section of any home-improvement center. Any high quality double-sided tape will work though as long as it’s not too thick. I sliced it down the middle as it was excessively wide.
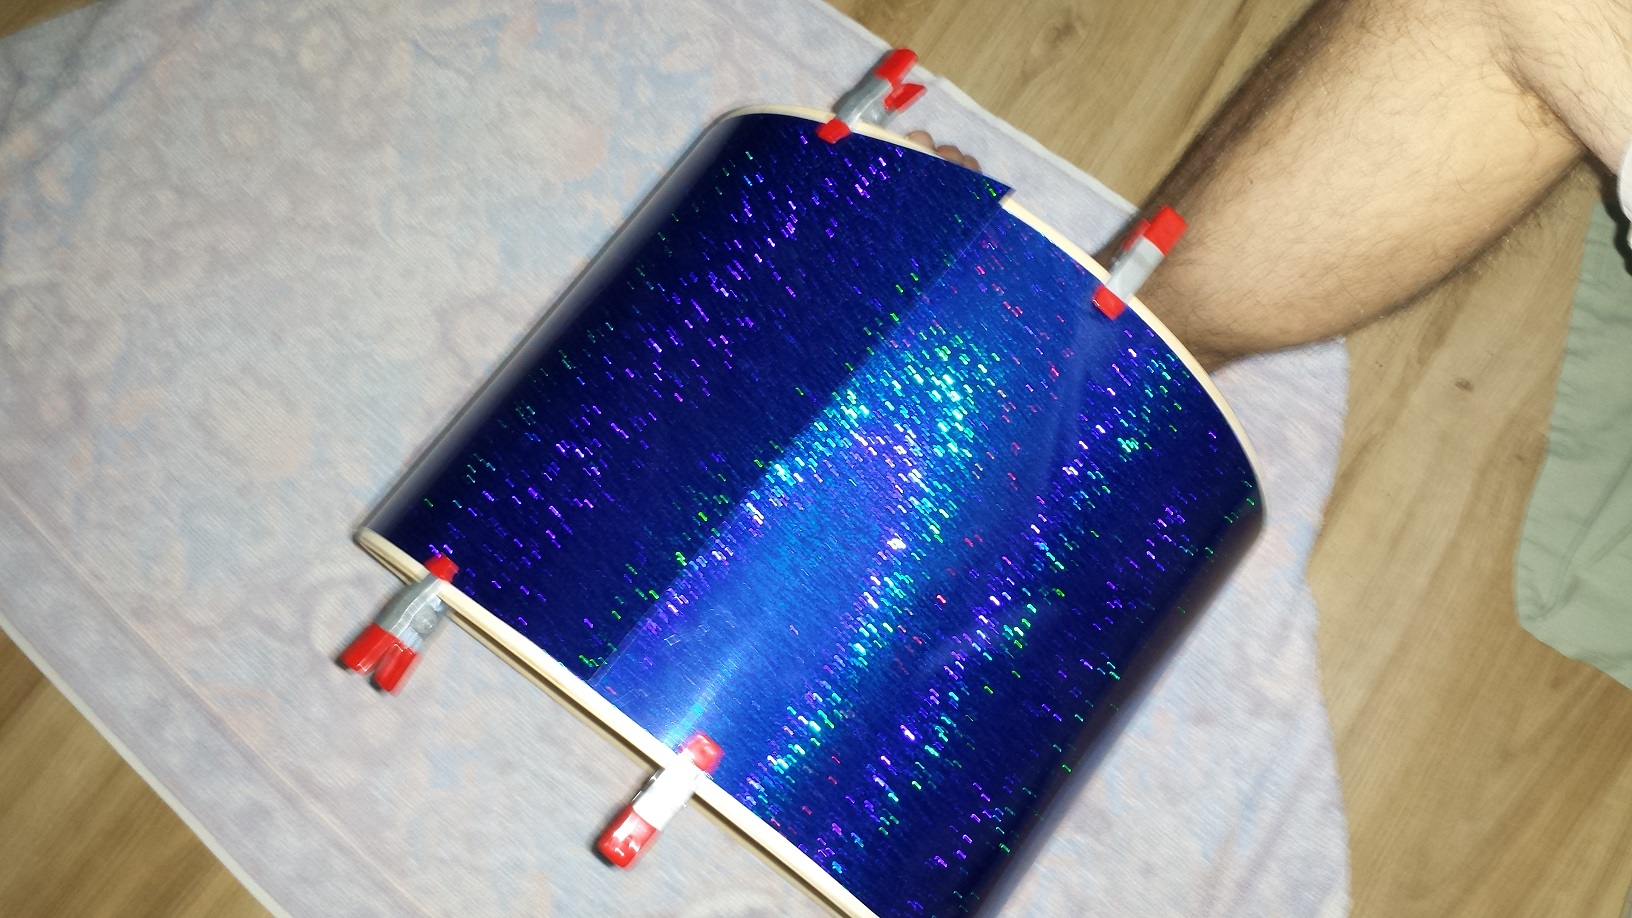
Step 4 – Practice wrapping the shell ensuring the wrap is tightly wound around the shell, straight and of uniform distance from the edge.
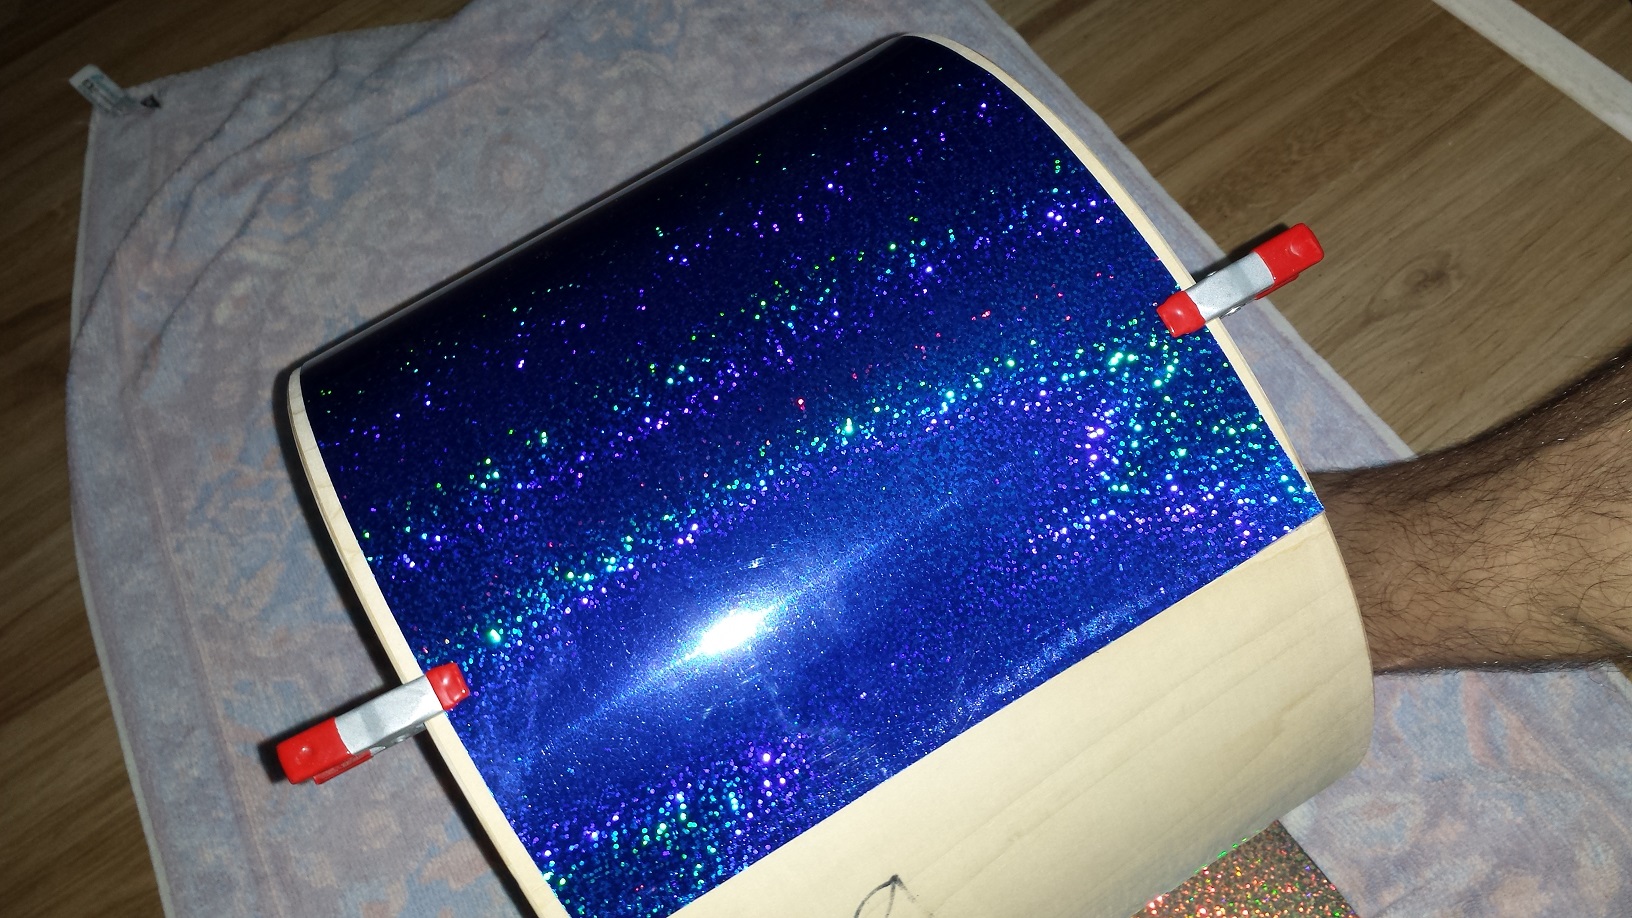
Step 5 – Once you have the wrap snugly wound around the shell, secure the “bottom” end (The end without adhesive.) with clamps about 3″ from the end. Make sure to use clamps with soft or “rubbery” grip surfaces.
Step 6 – Secure the “top” with clamps end in the same manner about 4″ from the end.
Step 7 – Remove the backing paper on the adhesive strip
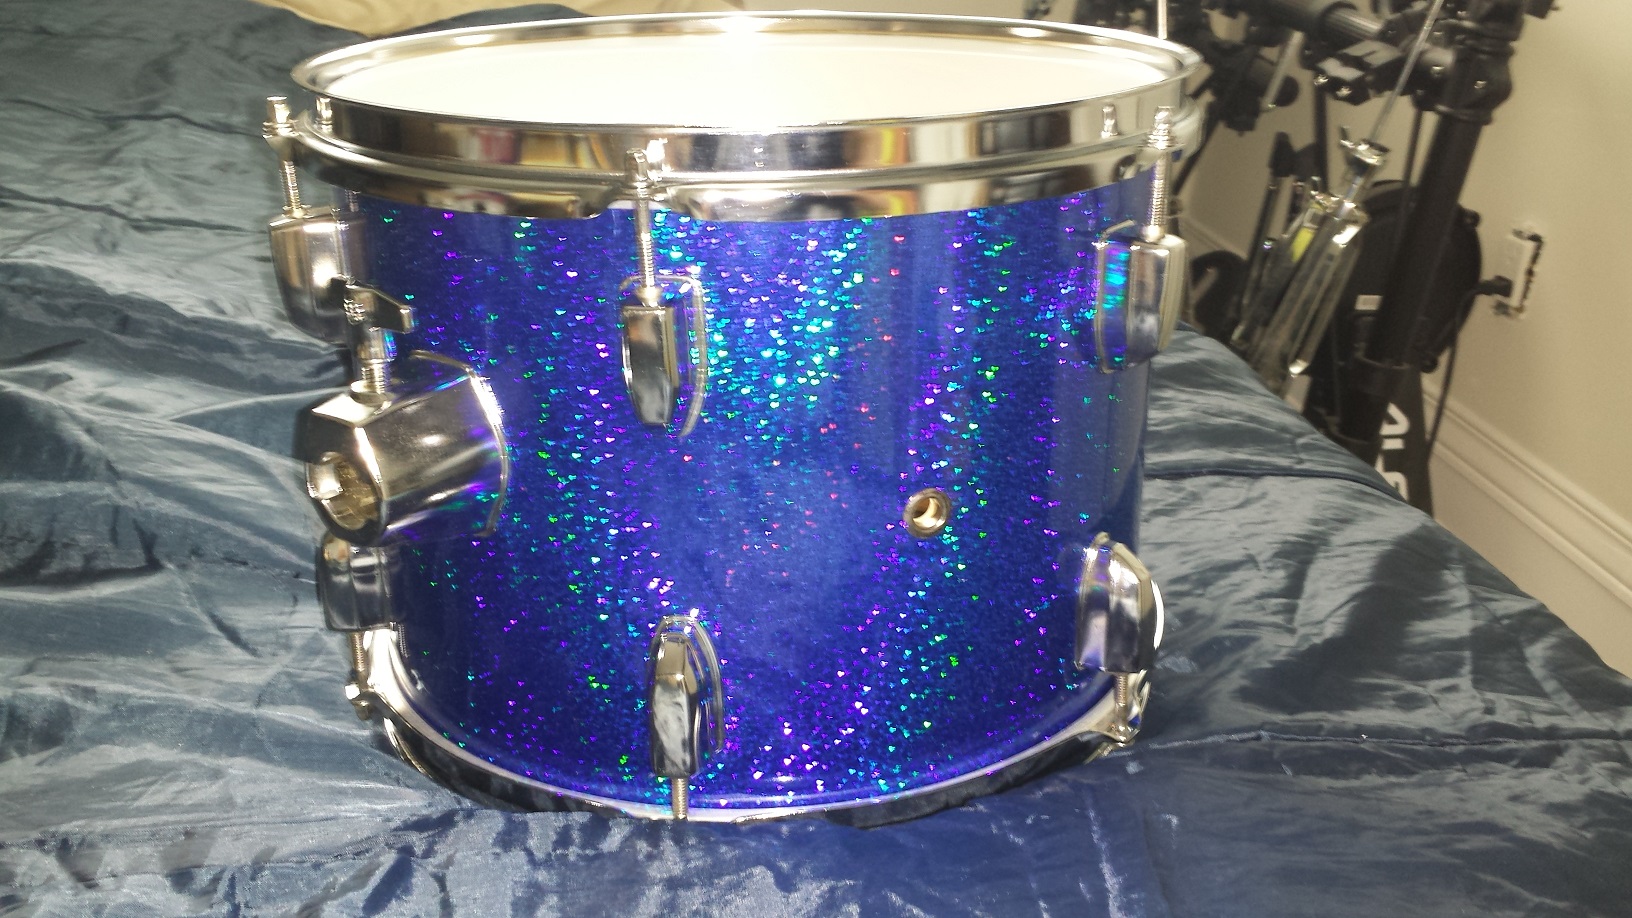
Step 8 – While pulling the wrap tight around the shell press down the overlapping end and apply pressure along the entire seam to ensure a tight bond of the adhesive strip.
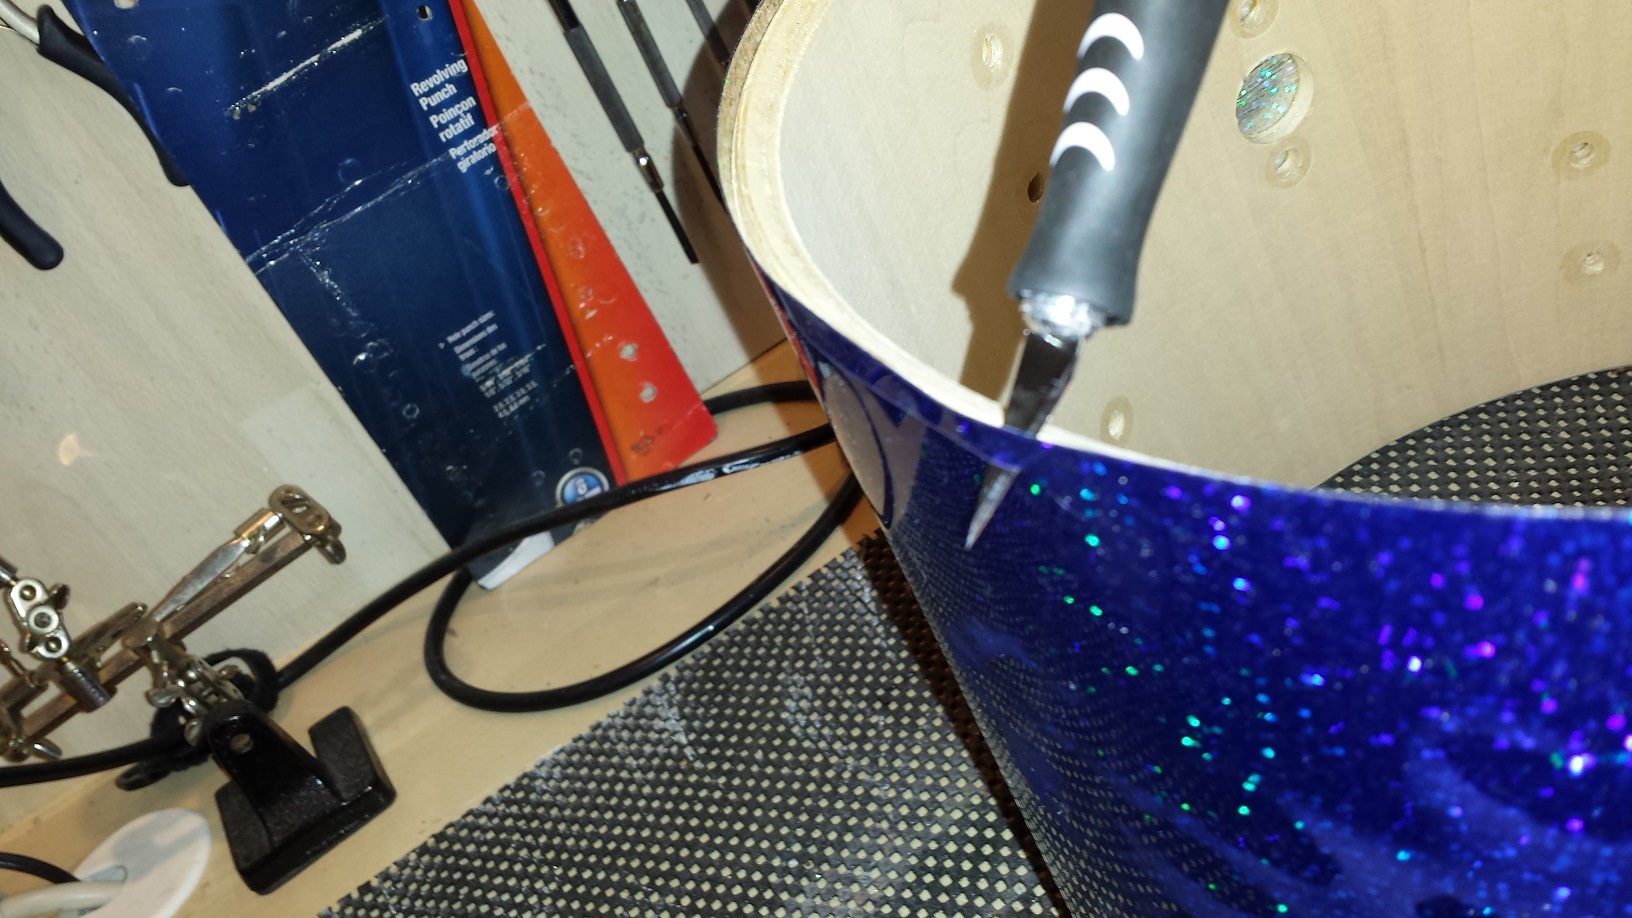
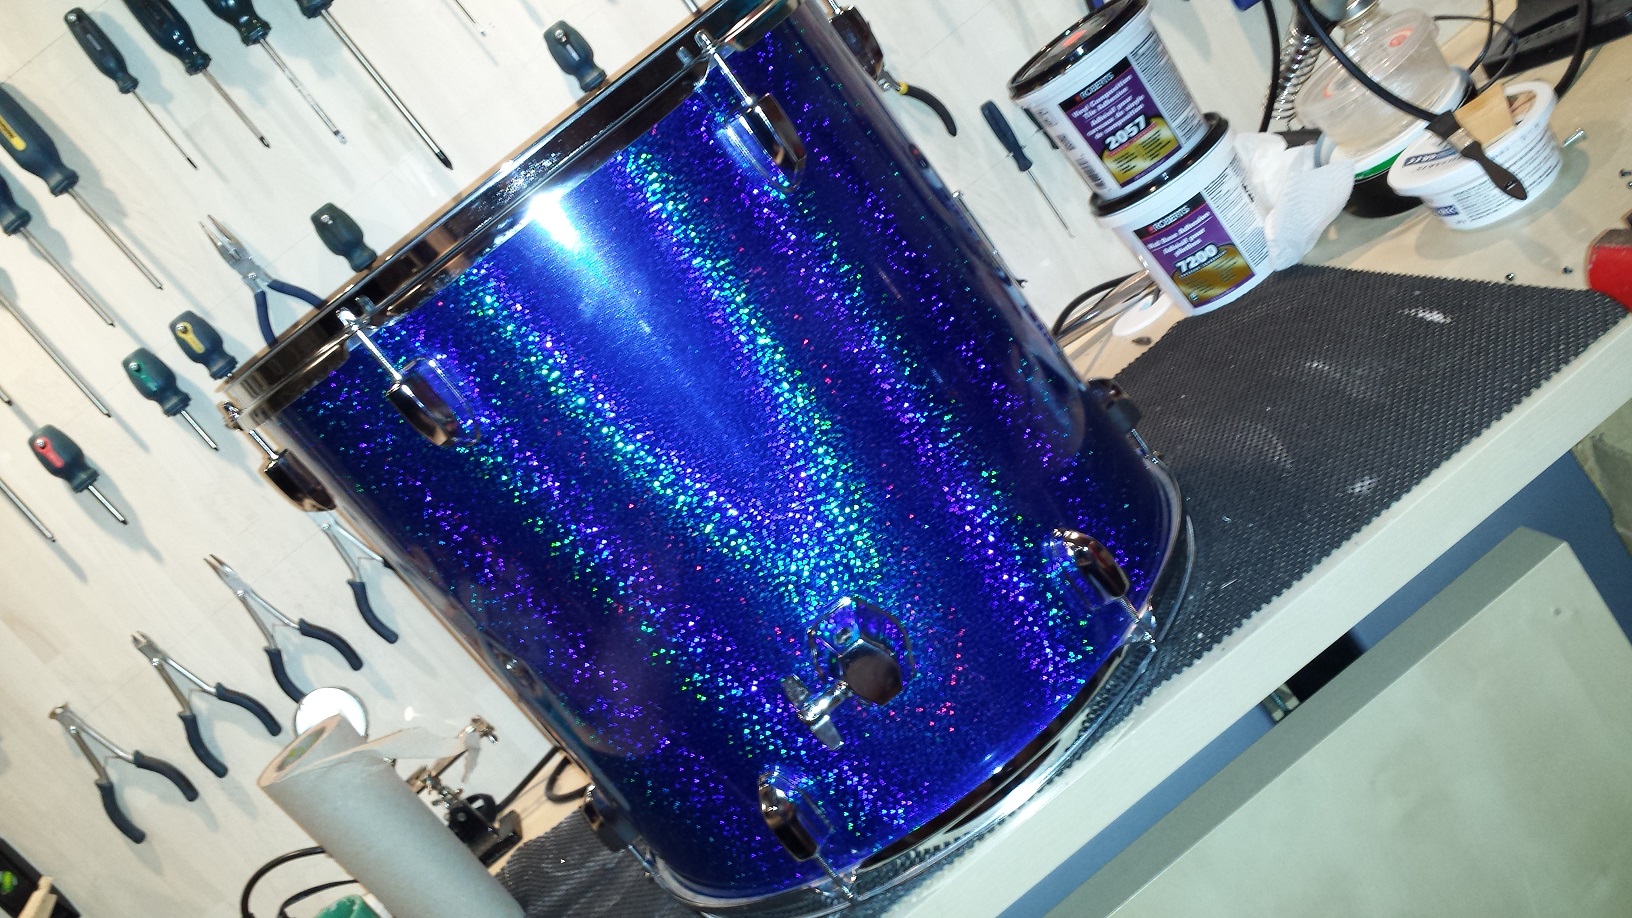
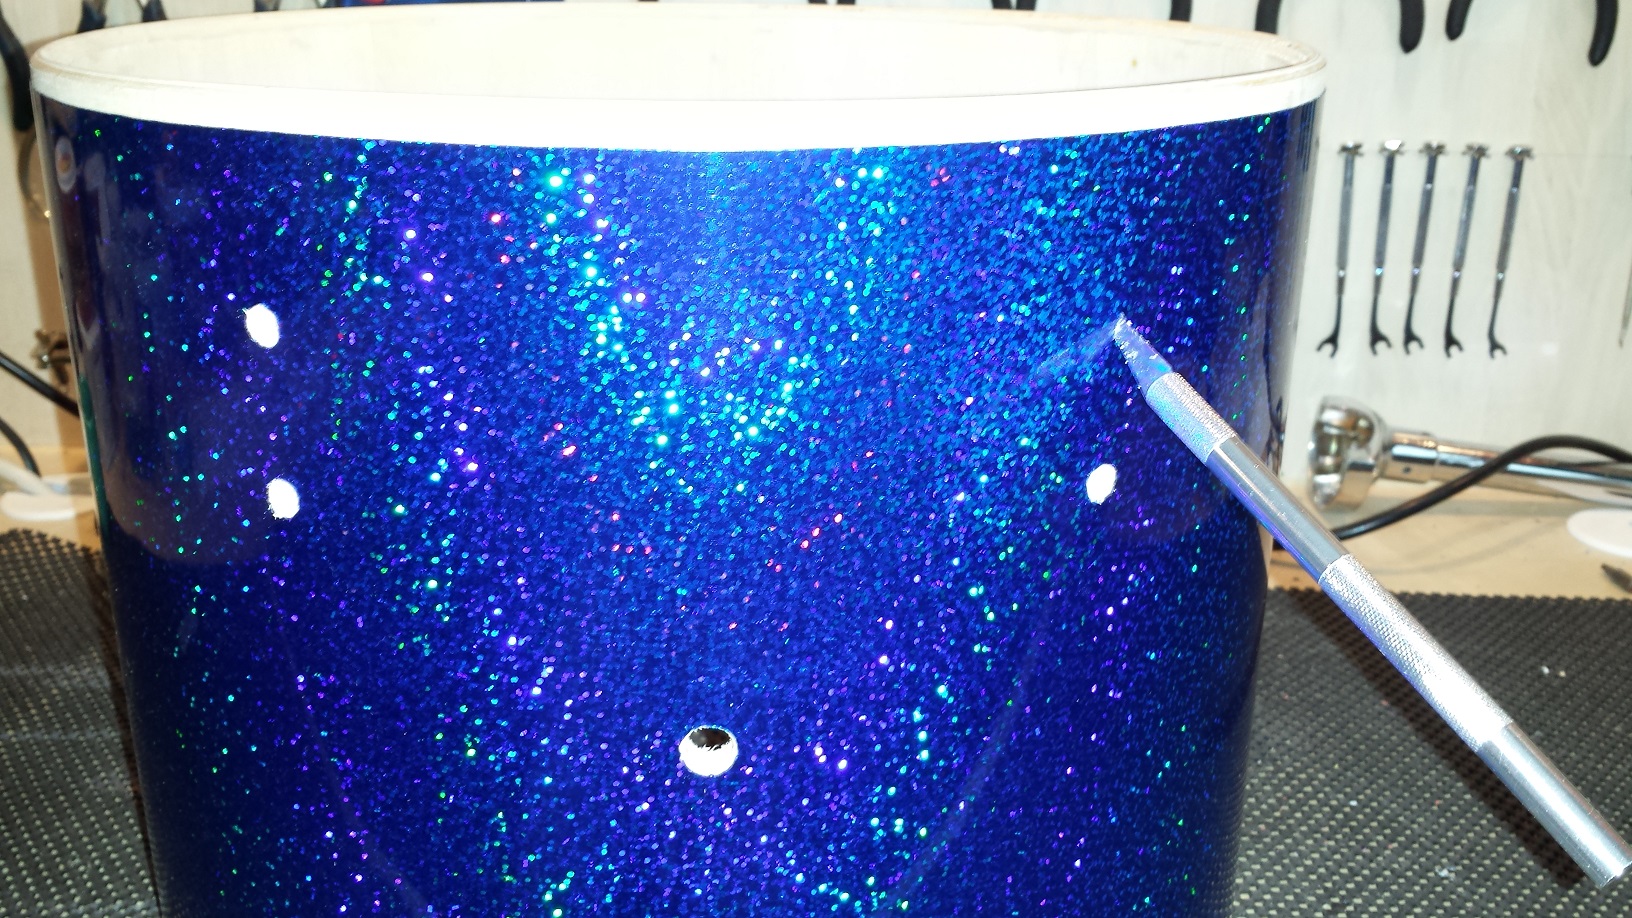
As with “Method 2” Walopus standard wrap is thin enough that holes can be cut with an Exacto-knife. If preferred drilling from the inside works just as well. Personally I have a slight preference towards the knife method as I don’t need to change bits with hole sizes and I can sit at my work bench listening to tunes. Simply poke the knife through a hole from the inside, then trace the edge of the hole from the outside. Be careful! Keep in mind you have a sharp knife and a beautiful new wrap job!
Also make sure to make the holes as large as the holes in the shell. Otherwise the wrap will be supporting the tension from the screws and/or posts, rather than the shell.
As with the other methods, take care not to over-tighten the lugs.
Drum Wrap Instructions


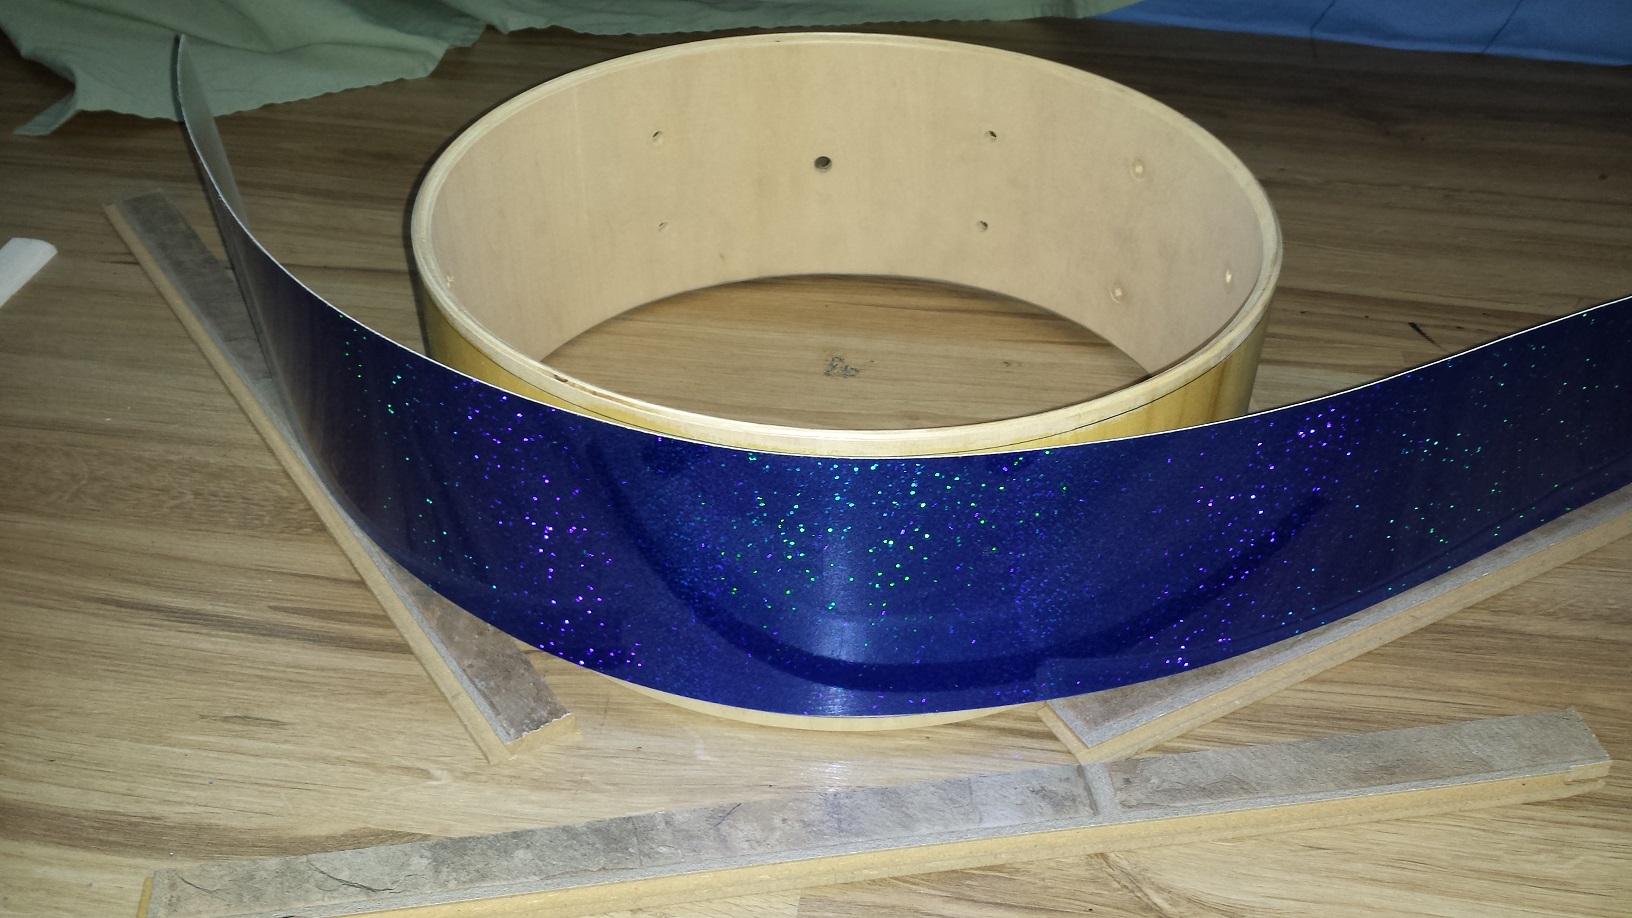
We went ahead and wrapped the bass drum following method 4 as well. The bass drum hoop inlay can be installed using any of the above methods. I almost always use method 4. Should you wish to adhere it along the entire hoop I would suggest double sided tape, rather than contact cement.
For anyone intent on the “Traditional” Method. here are a set of excellent YouTube videos with very detailed instructions.
Part 1: https://www.youtube.com/watch?v=cwQ_1v_AAuk
Part 2: https://www.youtube.com/watch?v=alDYkCnaBQg
Part 3: https://www.youtube.com/watch?v=_4NOdJW0bvQ
Part 4: https://www.youtube.com/watch?v=MhwJA_e7YS0
Part 5: https://www.youtube.com/watch?v=-px-m9oGg1Q