


Introduction
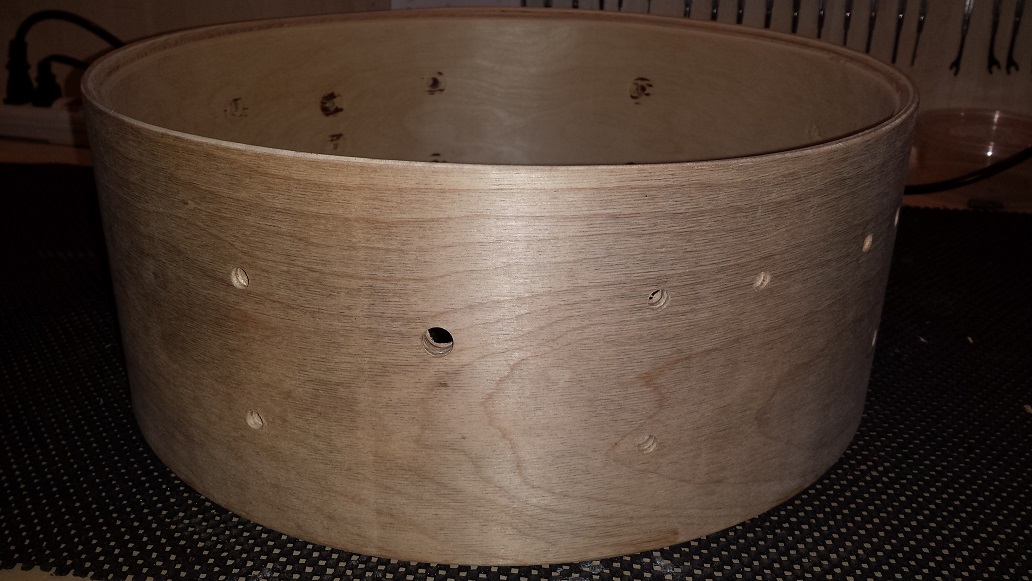
In the deepest, darkest corner of our deepest, darkest closet I found a long forgotten snare drum shell. At some point in it’s life it enjoyed the glory and fulfilment as a complete snare drum. It has since donated all it’s parts to other projects and rested peacefully while collecting dust. Closer inspection reveals a sweet candidate shell for refinishing and likely returning to glory as a centrepiece of our upcoming DIY Jazz / Bop Drum Kit project. It’s hard to determine with accuracy the wood species, but the 10 mm thick shell could be made of Birch, Poplar, Basswood or maybe mystery wood. Dimensions are standard 14″ X 5.5″. Lug hole spacing as well as the hole pattern for the strainer are identical to the ones on my Gretsch Catalina Maple. This means we have lugs on hand and a strainer can be easily and quickly obtained. Placing the shell on our granite slab revealed a perfectly true and flat bearing edge on both sides. The snare bed is also perfect, as is the roundness of the shell. It just needs some minor sanding both in and out to be 10/10.
Preparing the Shell
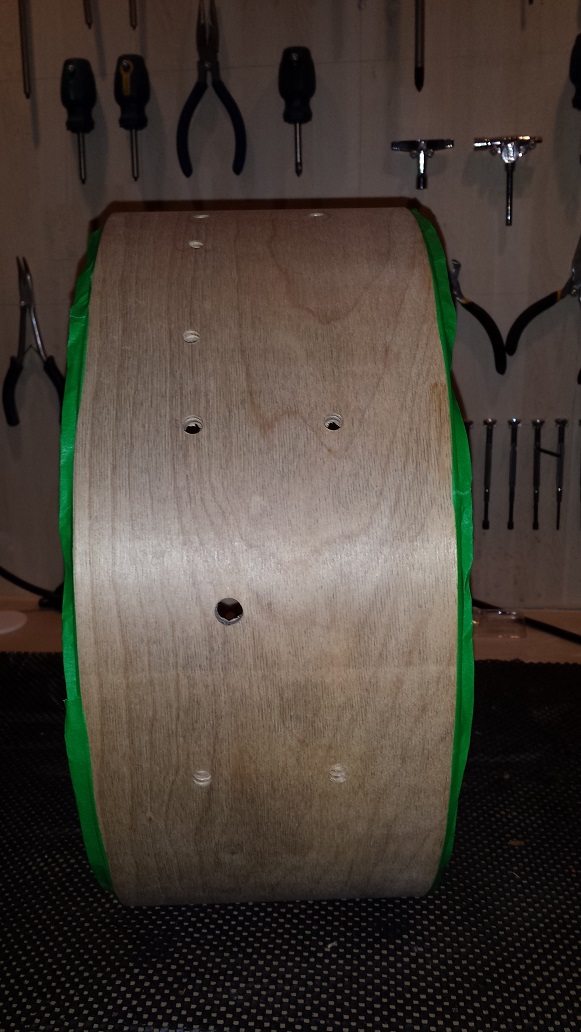
The DIY Jazz / Bop Drum Kit is destined for a light natural wood finish. Suitable Contact Paper has been selected. The Marketing Department, (my Wife) has however instructed us to refer to it as “faux veneer”. Thus, from this point on, Contact Paper will be known as “faux veneer”. As mentioned both in “DIY Mini Bop Drum Kit“, as well as in “Alternative Drum Wrap Materials“, there are some tricks involved in obtaining excellent results with “faux veneer”. We started with giving the shell a quick sanding to remove raised grain. The intention is to seal the shell, both in and out, as well as apply a few coats of clear on the inside. Clear-coating the inside of a snare drum to a slick sheen drastically improves projection and gives the snare teeth. We’d like it to not only growl, but also bite a little. Our sealer of choice is Carpenter’s Glue, or white glue, diluted with water. This also acts as an excellent adhesion promoter for the “faux veneer”. Sealing the wood is also necessary prior to applying water based polyurethane clear-coat. Before sealing, mask the bearing edges with masking tape, or electrical tape. Apply the sealer with a brush or sponge. I tend to use a brush but rather than brushing it on, I use the brush to rub the mixture into the wood. Follow up with a couple more coats allowing an hour or so to dry in between coats.
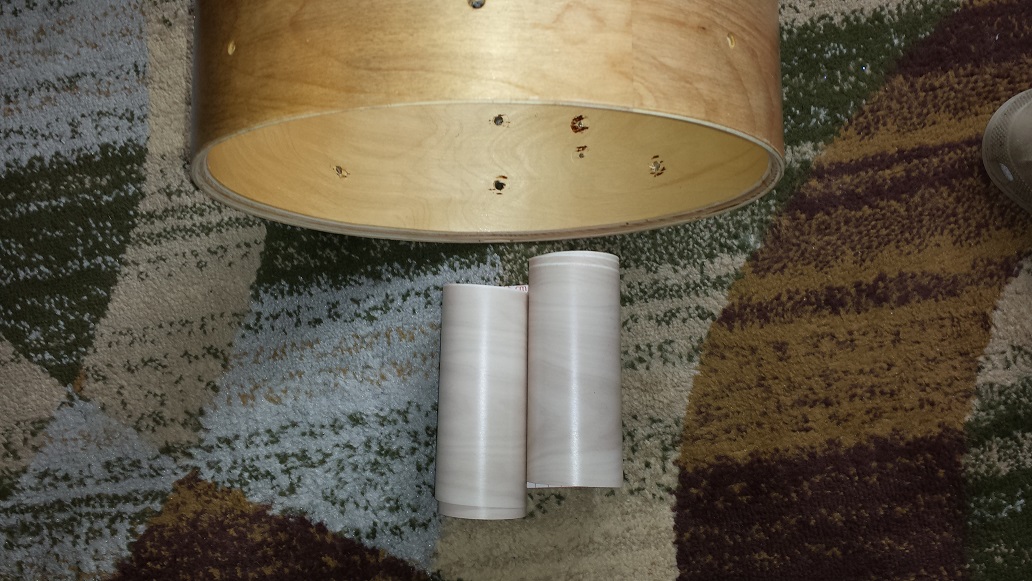
Applying the “Faux Veneer”
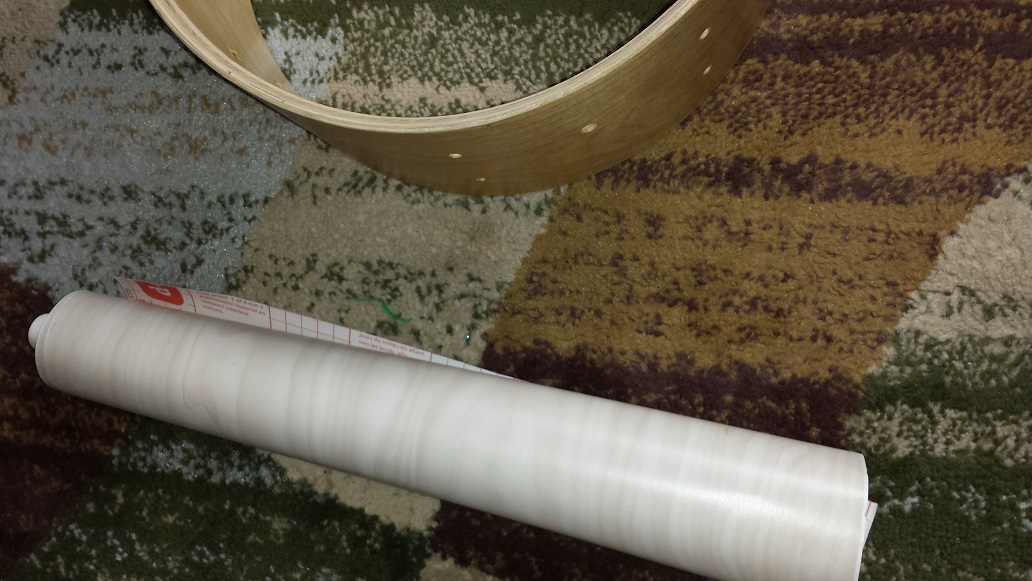
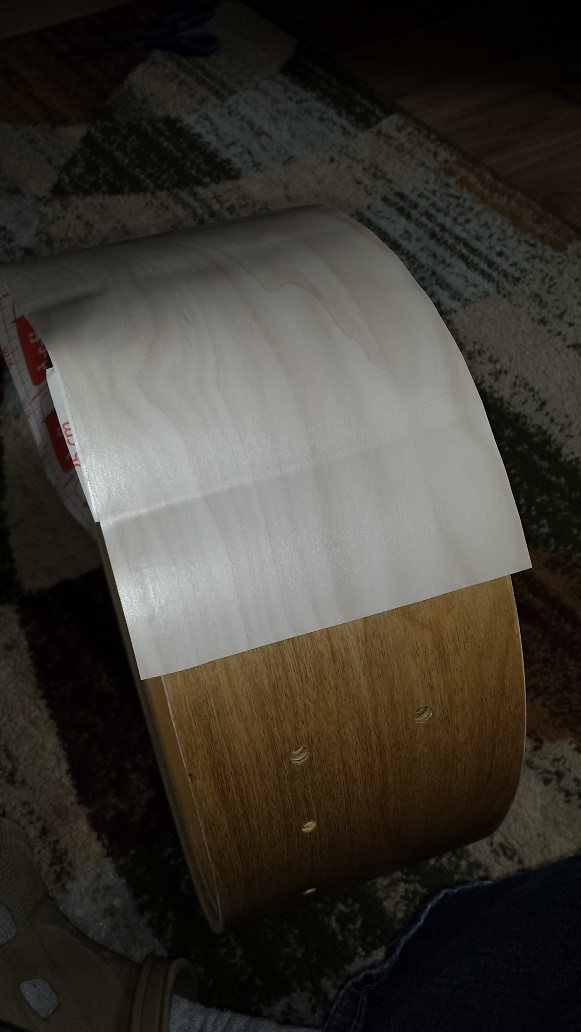
After removing the masking tape, the shell is ready to be wrapped with “faux veneer”. Cut a strip long enough to overlap the leading edge by half an inch or so, and just a little wider than the shell depth. Fold back a couple of inches of the backing paper and line up the shell on top of the up-side-down “faux veneer”. Adhere the leading edge and rub it down firmly. Unroll the backing paper an inch at a time while pressing the “faux veneer” firmly onto the shell. Proceed all the way around. continue rubbing down the “faux veneer” onto the shell, pressing firmly, going around the shell a couple more times.

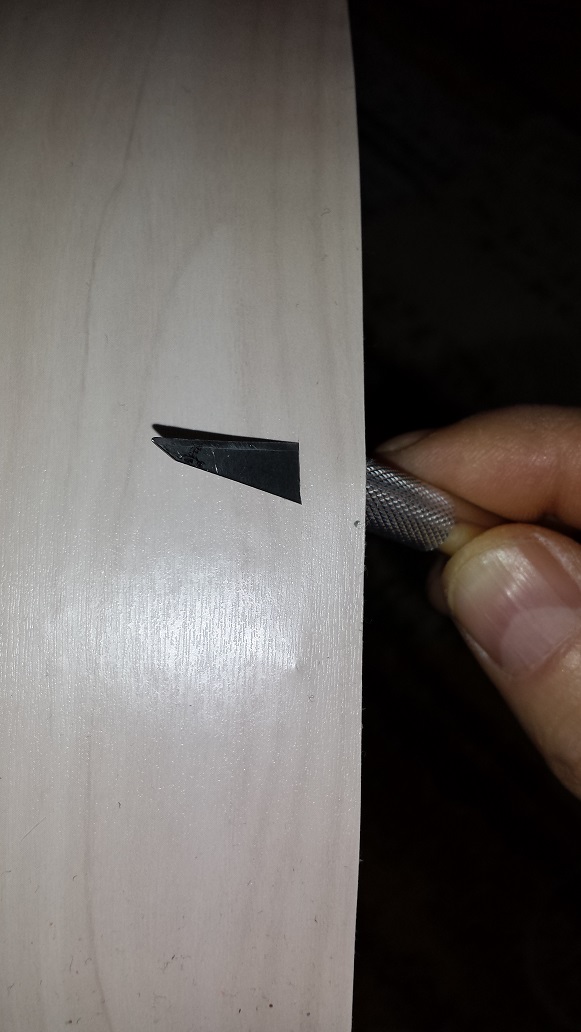
Once rubbed on firmly, to trim off the excess “faux veneer”, use an Exacto knife at an angle snugly against the outside bearing edge and run it around the perimeter of the shell. Repeat on the opposite side.
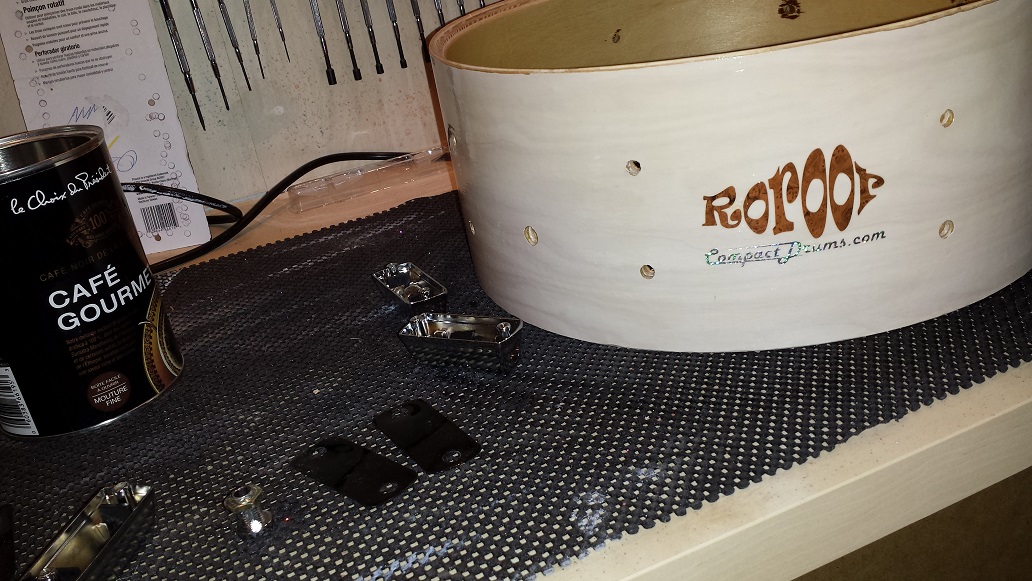
Space filler
Carefully insert an Exacto-knife at an angle through the “faux veneer” and slide it around the perimeter of the shell using the edge as a guide.
This DIY Snare Drum Refinish project may receive a penalty for excessive use of the words “faux veneer”.
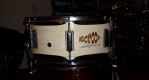
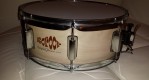
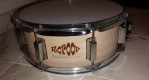
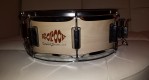
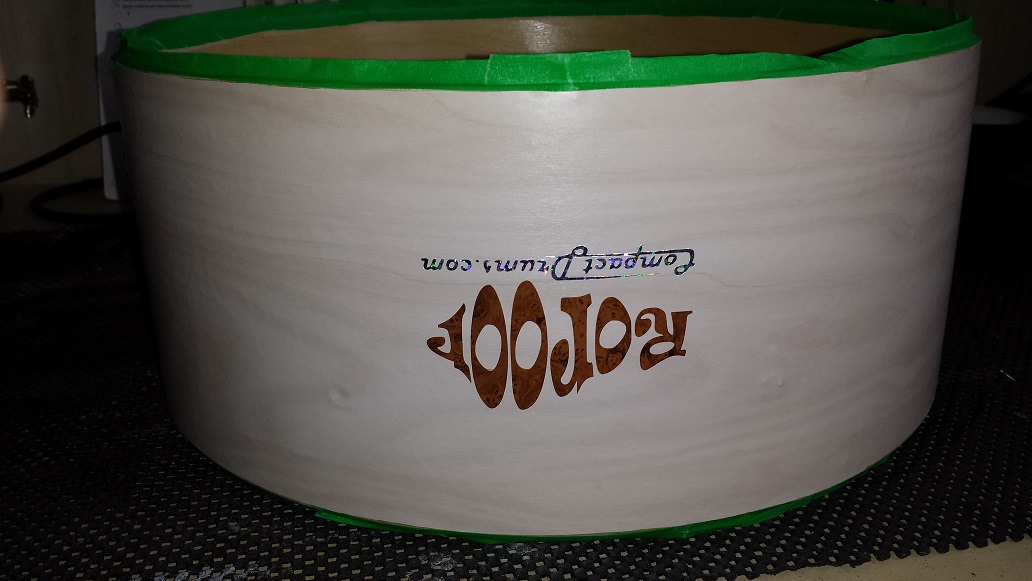
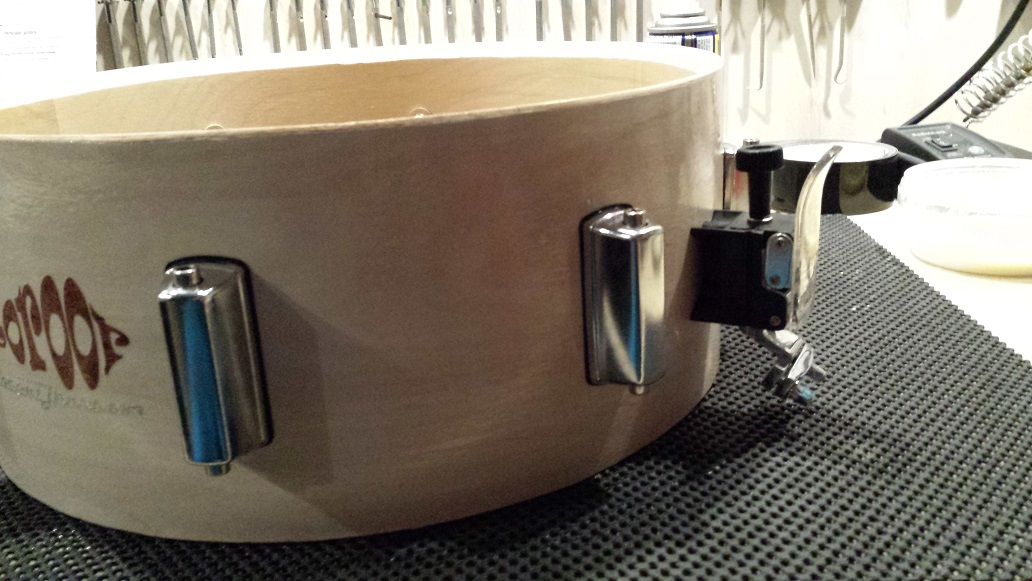
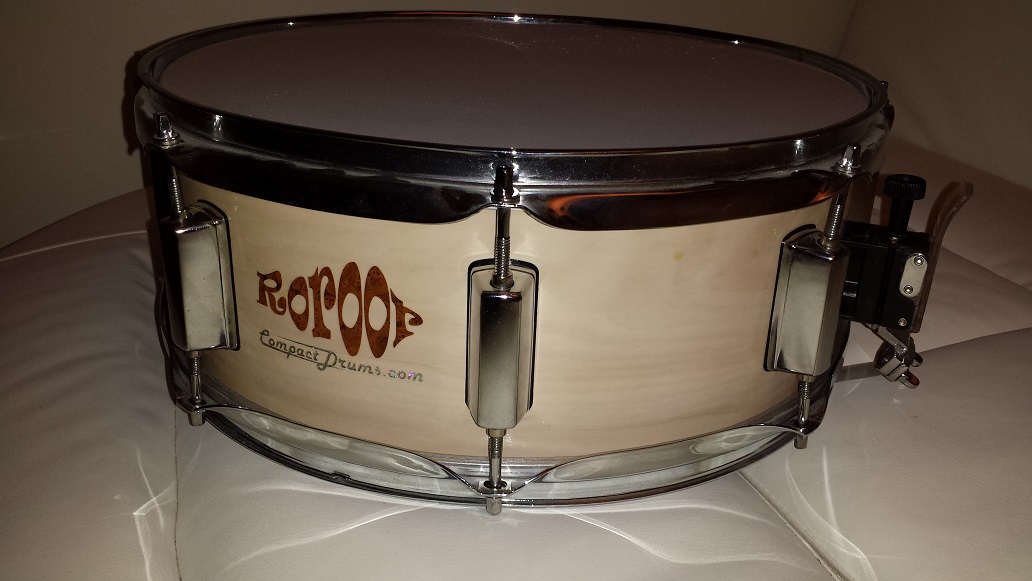
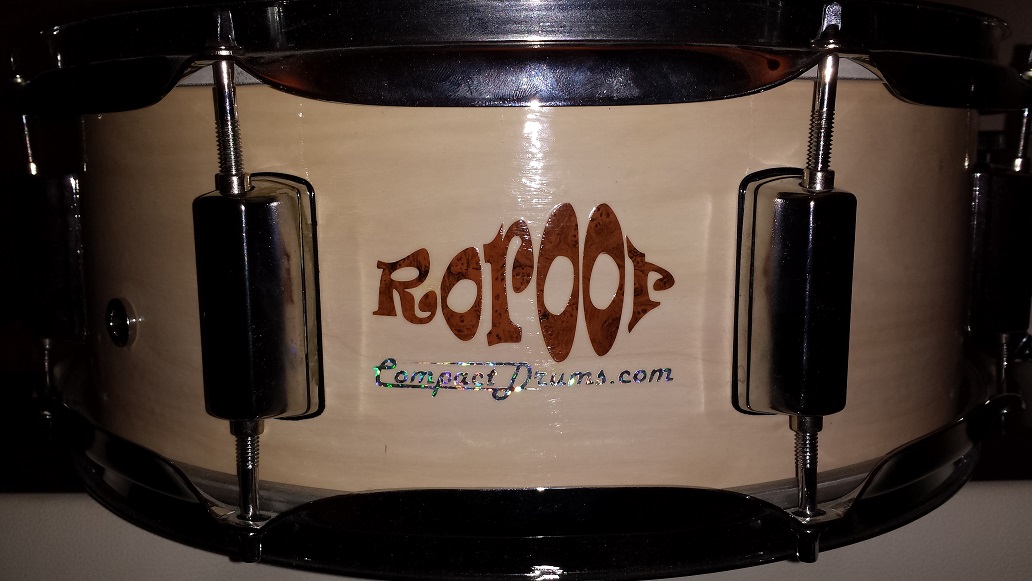
One of the disadvantages of “faux veneer” is that it doesn’t have much resistance to gouging. It’s quite resistant to scuffing and scratching, but will gouge if prodded with semi-sharp objects. The solution is clear coat. This will give it the same durability as a lacquer finish. Not to mention a visibly pleasing lustre. Before proceeding the bearing edges need to be masked again. Also, in our case we apply a nifty logo to be covered by the polyurethane as well. We apply six coats of water based polyurethane clear-coat both inside and out. And then remove the masking tape.
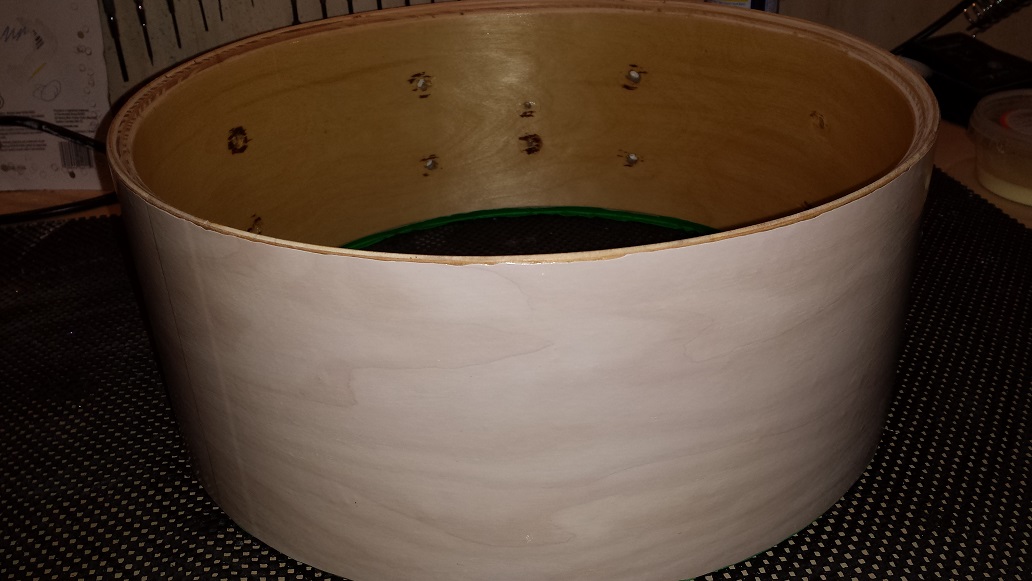
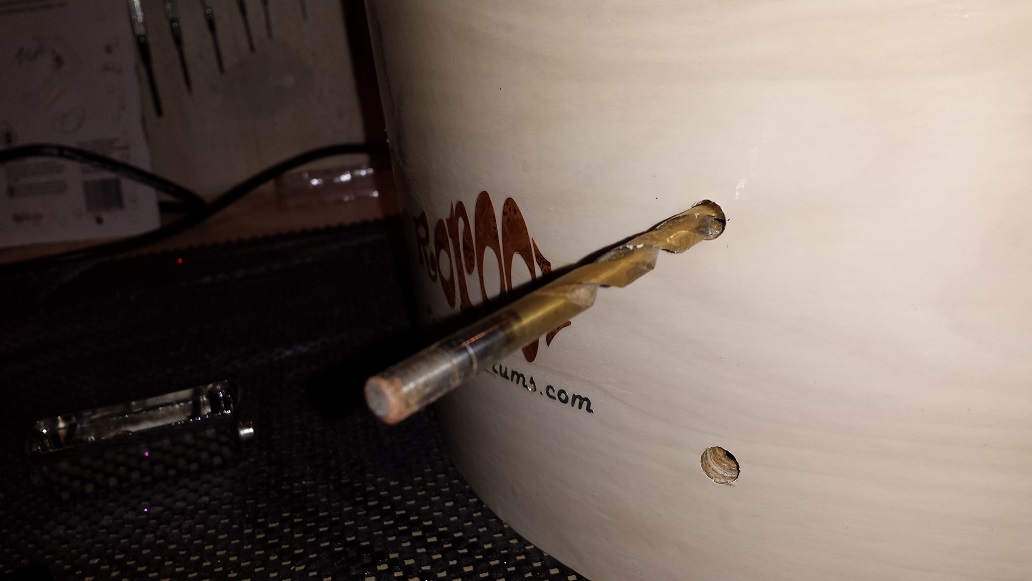
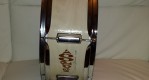
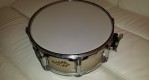
After letting the clear fully cure for a few days, use an Exacto knife to cut the holes out. Simply trace the edge of the holes with the knife. Then clean the excess polyurethane from the holes with a drill bit. We had two sets of lugs with the right hole spacing to pick between. The most simple and slightly boring seemed the best match for this finish. Meanwhile a strainer and end plate with the appropriate spacing showed up on my door step. It’s an odd looking contraption resembling a miniature nuclear power plant or something. The kind donor believes it’s from a Taye.
Assembly
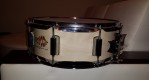
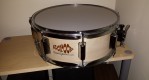
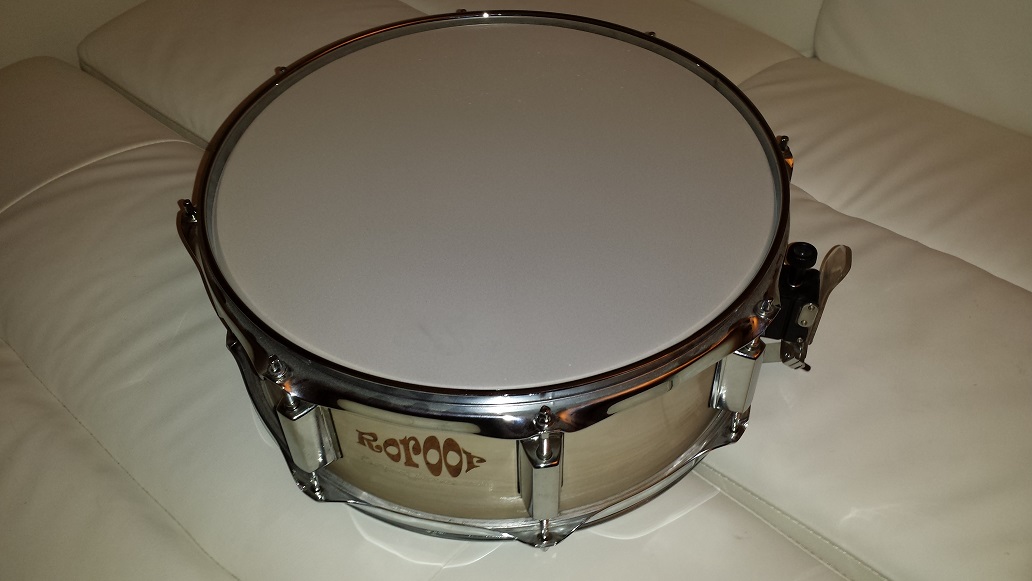
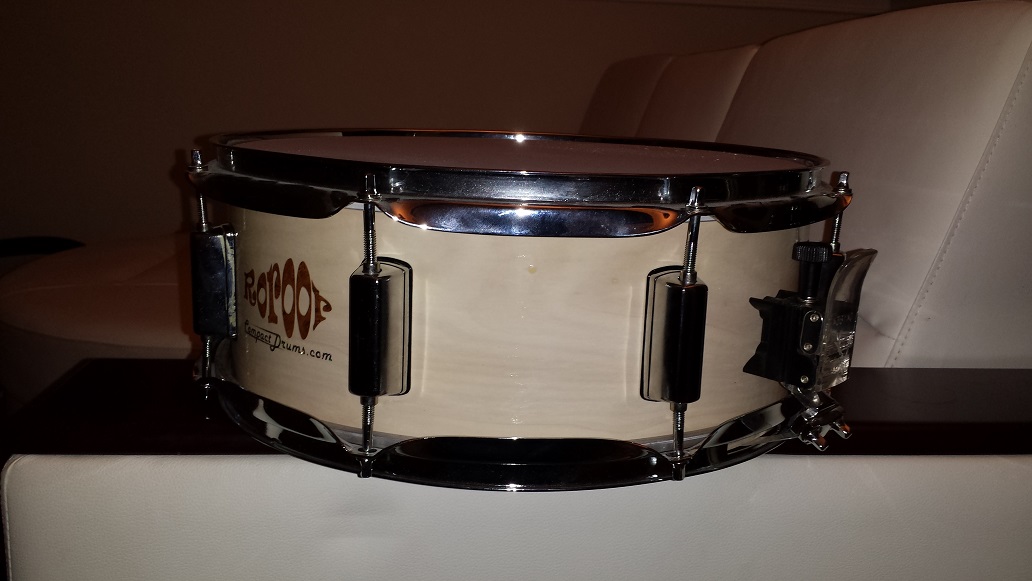
Lugs are best attached using fitting machine screws with a spring washer and a flat washer. They should be tighter than snug, but not excessively tight so as to not risk stripping the threads. Next is the vent. We found a nice threaded one in one of the treasure boxes. The nuclear power plant resembling strainer needed to be disassembled since one of the nuts resides behind the sliding throw. Once on, we proceed with the end plate. The only heads I had on hand were less than ideal but will do for now. The cheesy brand logos on the heads were quickly removed with acetone. Careful with the acetone, it’s smelly, stings like hell if you have any boo-boos on your hands and can remove the coating on the head if rubbed to vigorously. Install the heads and rims and tune up before installing the snares.


DIY Snare Drum Refinish Completed
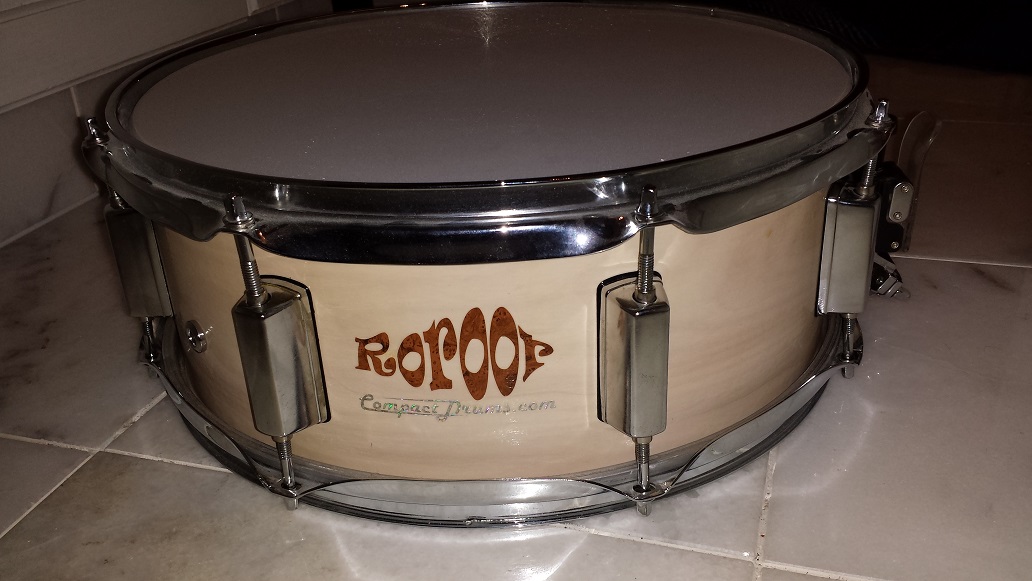
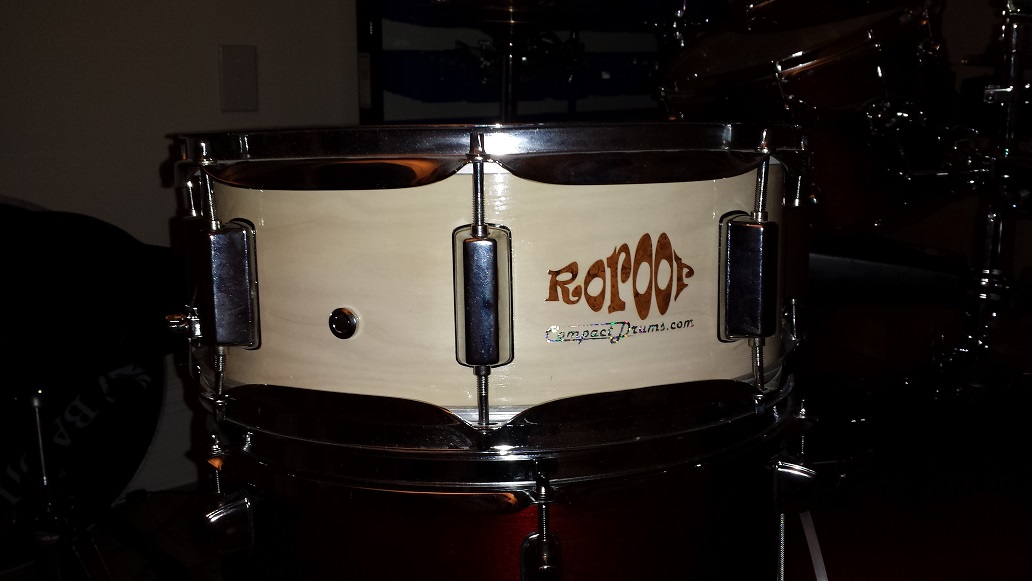
I already knew this snare drum would tune up easy and sound great as I had a more or less perfect shell as a starting point. The clear coat on the inside gives it a sharp, clean definition. Even with less than optimal heads it’s a got a real snappy crack tuned high and a very versatile tuning range. Overtones galore can be wrung out or subdued. There’s even a hint of steel-like “reverb” at certain tunings. I’m really looking forward to tweaking some more once I get some better heads.
Click images for full size view
 |
 |
 |
 |
 |
 |
 |
 |
|
|
Interesting article on making a snare drum from scratch (With traditional drum wrap – No “faux veneer”):
How To Build A Snare Drum From Scratch – DRUM! Magazine