Introduction
I was so pleased with the results of our DIY Snare Drum Improvement project published recently, I wanted to fix up another snare drum right away. Besides the next Compact Drum Kit project entitled; “DIY Mini Bop Snakeskin Drum Kit” will need a snare drum.
This one however is a bit more challenging than the previous one. I’ll get back to that in a minute. From a background point of view, the whole idea of optimizing a drum is covered in better detail in the “Improve your Drum Kit” article. In broad strokes though, the largest cost of manufacturing is labour. Therefore this is also where the corners are cut the most when attempting to produce more alternative products.
With that in mind and applying some logic specifically to snare drums, we want a candidate to meet some fundamental criteria to be worthwhile of the effort of optimization. Probably most important is the shell itself. Not the shell finish or the bearing edges, but the actual composition. Shell manufacturers make the shells in long tubes that are then sold to drum manufacturers. Therefore you can find perfectly well made shells with poorly finished edges and surface finishes.
To determine if the shell is worthy I tap it in multiple places and listen to the sound it makes. It should sound the same everywhere. Solid and crisp. This indicates well pressed together plies without air pockets or separations. Then look at the inside finish and make sure it’s even. It doesn’t have to be smooth, but it should be uniform and with fairly smooth seams between plies. Maybe most important, measure cross-wise to ensure that it’s within 2 mm of being perfectly round. Lastly we’d like the lug count to be adequate for the size. For a 14″ less than 8 lugs probably isn’t ideal. If a shell passes the above criteria, we have a useful candidate for a DIY Snare Drum optimization.
It is also a huge bonus if the installed hardware is of good quality since having to source new parts could make a project like this cost as much as a decent snare to begin with.
Let’s perform a DIY Snare Drum Optimization
The Candidate
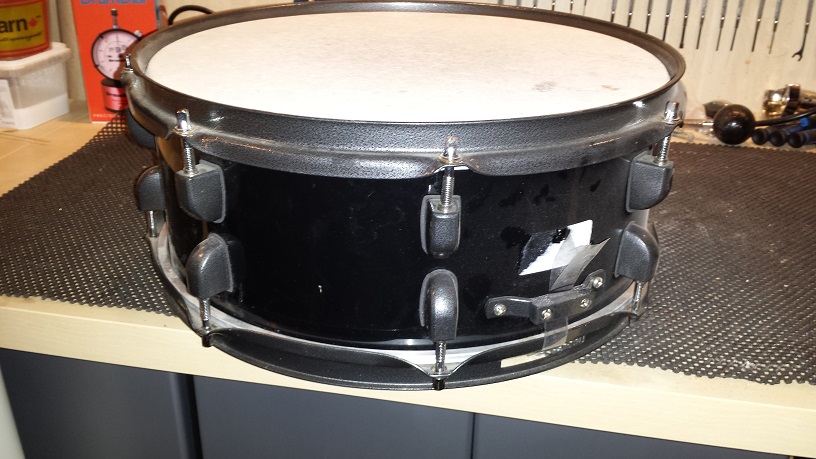
This time the candidate snare is of unknown brand. It has really unusual textured graphite powder coated hardware. The qualifying points include:
- Well Made, Low Mass Lugs
- Unusual Hardware Finish
- Good Quality Strainer and Butt Plate
- Solid, Nice Sounding Shell
- Even interior Surface
- Inside Ply Appears to be Basswood
- The Shell is Round to within 1 mm
The way I received it, no amount of tuning takes the “muddiness” out of it. It has a pleasant fundamental tone but a narrow tuning range and no “snap”.
Further investigation reveals the following shortcomings in need of rectifying:
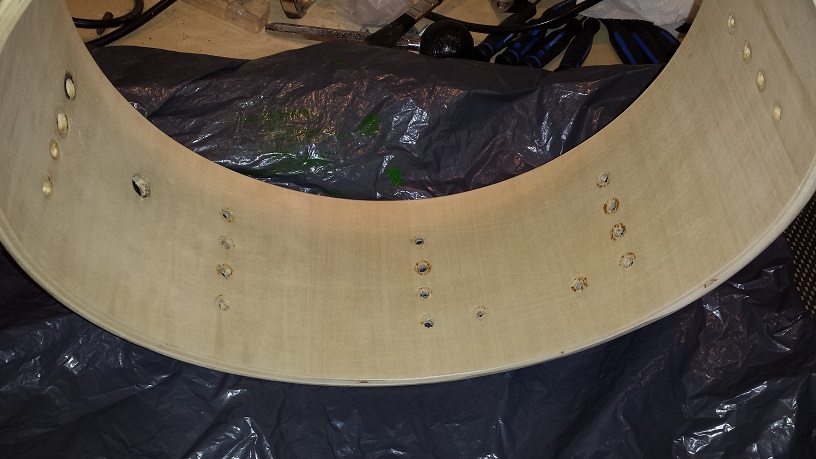
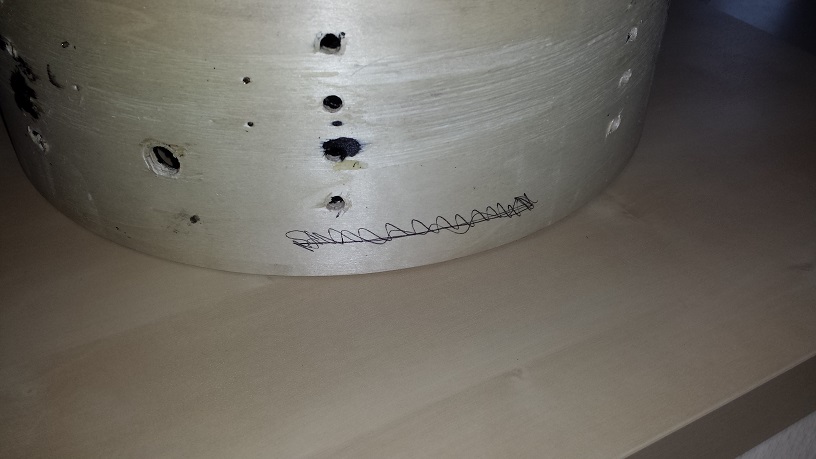
- Interior Surface is quite Rough and Unfinished
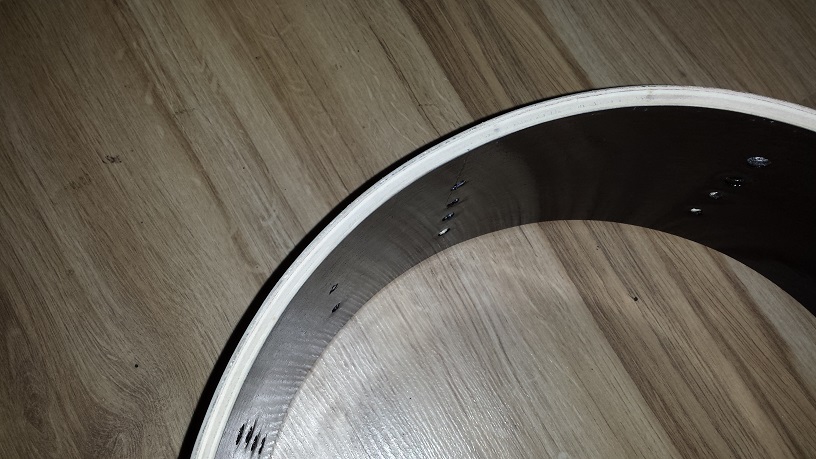
- The Bearing Edges are Uneven on Both Sides
- The Snare Beds look more like Snare Notches
- The batter Side Bearing Edge is more than 3 mm “Out-of-True”
- Poorly Installed Cheap Black Wrap
The notch-like snare beds are about the right width and depth, but they only slope for about half an inch. Also the bottoms are completely flat.
To determine the “Out-of-Flatness” I placed the shell on a 24″ X 24″ Granite tile that is identified as being true. Once on the tile, I use feeler gauges to determine the amount of discrepancy.
What’s the Plan?
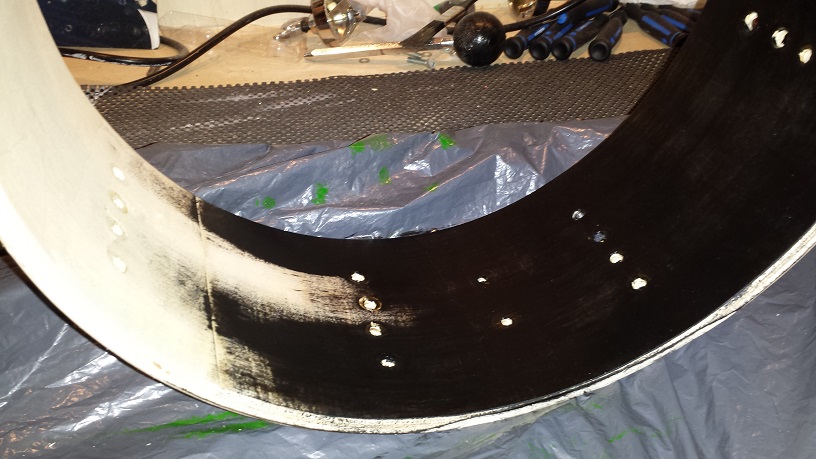
Following complete disassembly. I start with addressing the inside surface. This way I don’t need to mask the bearing edges since they need to be re-cut anyway. Just for fun and to contrast the wrap I have in mind I’m going to seal the inside with black enamel. Apply the first coat and let it dry for 24 hours. Then sand down the raised grain and smooth with 240 grit paper. Apply two more coats of black enamel with 12 hours of dry-time in between.
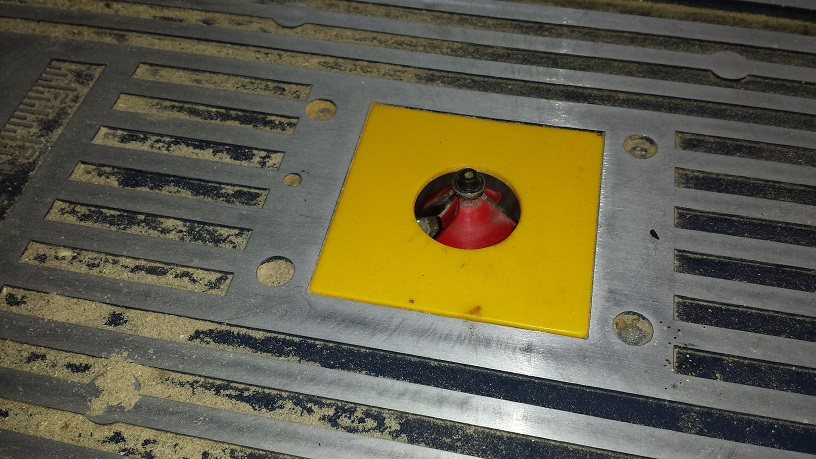
In order to “flatten” the uneven bearing edge, we need a reference surface that is known to be flat. The router table should be flat, and if it is, it makes the job easier. Mine isn’t. Usually glass top tables and ceramic cook-tops are flat. To verify, use a flash-light and a high quality level or straight edge. Shine the light at the bottom part of the level/straight edge and rotate the level around the surface. If no light escapes under the level in any direction, the surface is flat.
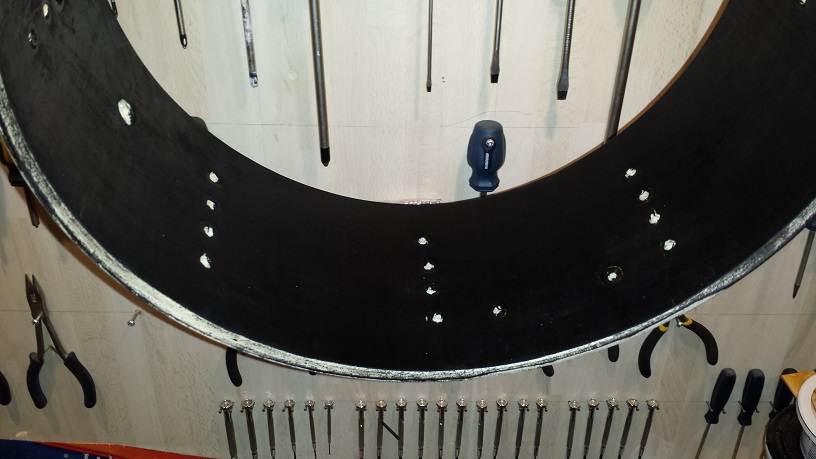
Place the shell on the surface and see if it wobbles in any direction. If it does make some marks at the spots that remain in contact with the surface. Set the router bit height so it barely contacts the existing bearing edge at the low spots. (The spots that aren’t marked.) Then cut a first pass, taking care not to press down on the low spots, but rather allow them to remain “airborne”. At this point it will still wobble, but you should see more removed wood at the “high” spots than at the low spots. Now set the bit height for the outside bevel, just about 3-4 mm above the table surface. After cutting the outside bevel, the shell should be straight. Or at least straighter. If not repeat until desired results are met.
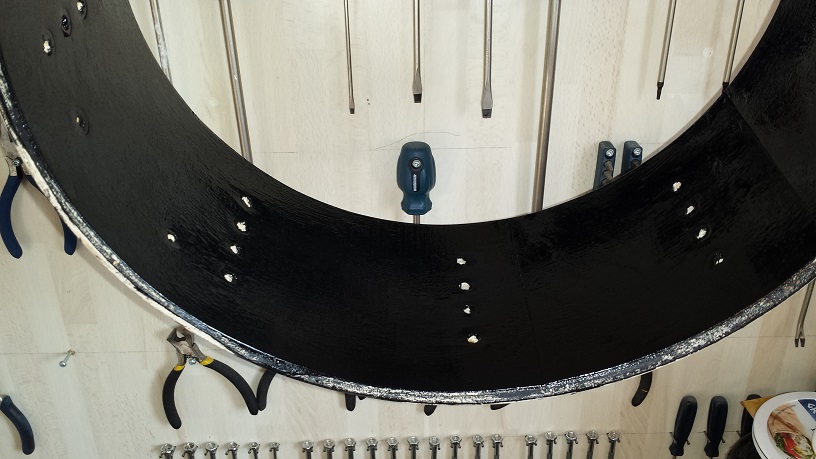
Once cut, I sand the inside edge with 100 grit on a mouse-type sander with the paper placed across the tip of the sander. (see pic.) This is because when sanding the inside only the edges of the sander surface are used. I also level out the slopes of the snare bed with the 100 grit. Next I switch to 200 and go over the entire inside edge again, then the outside bevel. I give the outside bevel a slight rounded contour as well for a smidge increased head-to-shell contact. With the 240-grit I also give the bottom of the snare bed a round-over.
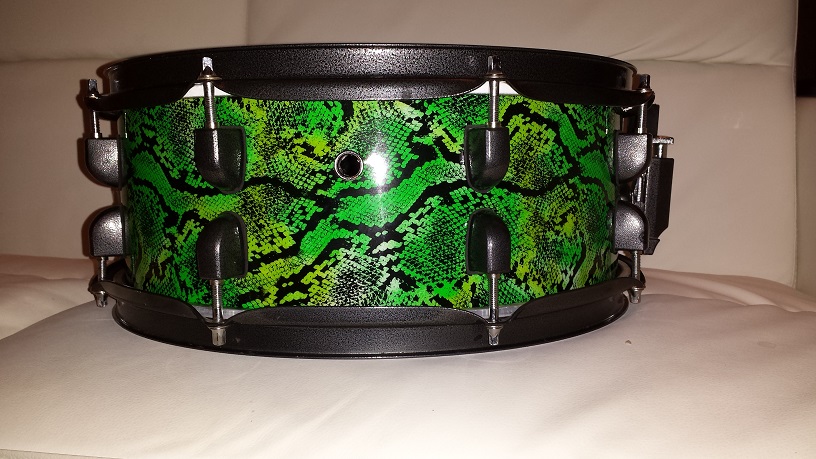
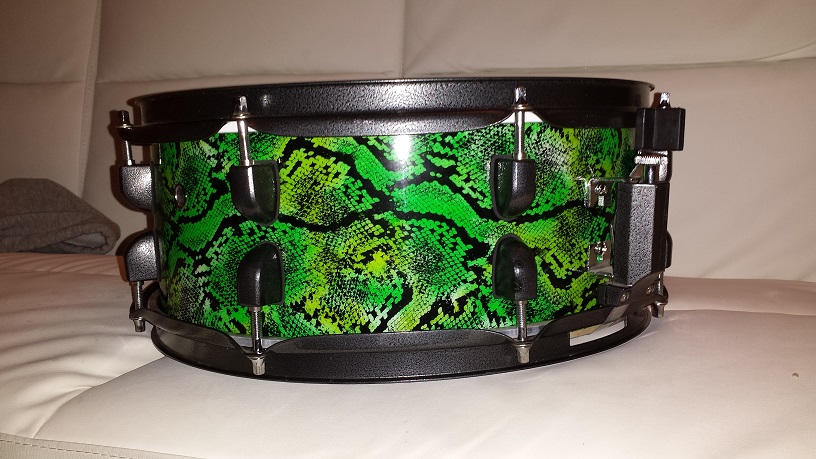
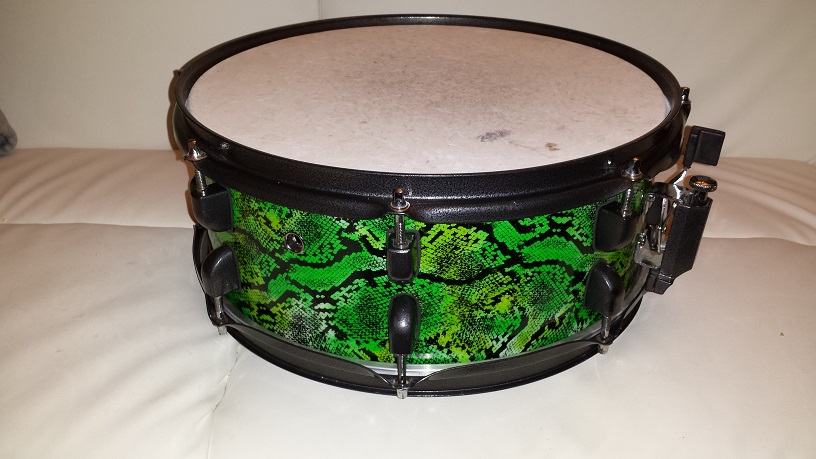
Next on the agenda for this DIY Snare Drum Optimization project is wrapping the shell in a wacky, green snake skin wrap from Walopus. We follow the procedure for “Method 4” of our Drum Wrap Instructions.
All that remains now is assembly, tuning and testing….
It sounds about 16 million times better than before. Especially tuned low it’s got a fat, gritty snarl with overtones galore in the decay. Tuned higher it gets quite snappy but still with a full bottom end.