Introduction
Arguably the snare drum is the most important in the drum kit. We strike it far more often than any of the other drums. As such it’s the most rewarding to make improvements to. For this simple reason, there are numerous players out there using a mid-range drum kit with a vastly upgraded snare drum. A while back we published an article on Improving Your Drum Kit. Using a few tricks from that article as well as some approaches specifically for snare drums, we intend to explore the possibility of making an entry level snare drum a worthy gigging companion with our DIY Snare Drum Improvement process.
While these tricks will undoubtedly improve just about any entry level snare drum to some degree, the results will vary with the chosen object. If you have the time and patience, go ahead and perform these steps with whatever cheap snare you have laying around, but some focused selecting will yield better return on your invested time and effort.
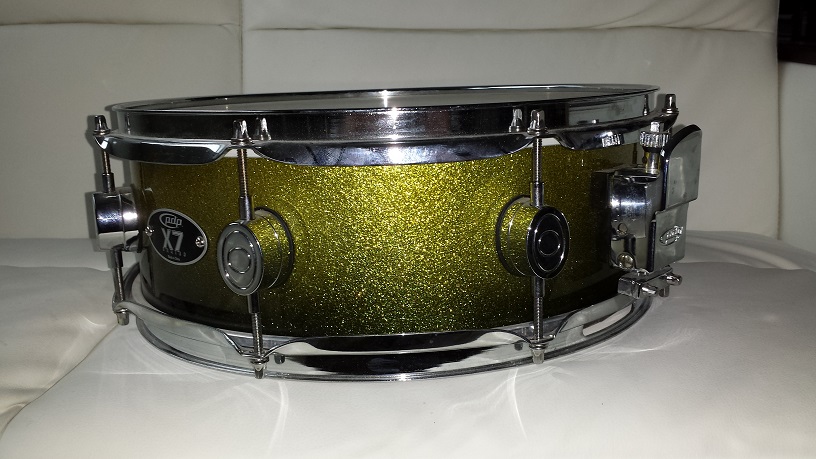
I recently became the proud owner of a snare from a PDP X7 kit. While it looks high end, the sound is rather dull and without liveliness. Some quick searching on the Internet confirms that it’s not just my specimen but it seems just about any owner of these feels the same way. the good news is that this means they can be picked up for a song on eBay or Craigslist.
What makes it a good choice of a drum to put the time and effort of a snare drum improvement into?
- Impeccable Exterior Finish
- Seemingly Round
- Nice, Solid Strainer and Butt Plate with impeccable chrome plating
- Nice, Solid Lugs with impeccable chrome plating
- A nice, clear tone when tapping the shell
Let’s see if we can determine what corners may have been cut and what can be done to breath some new life into this thing.
DIY Snare Drum Improvement
Identifying the Shortcomings
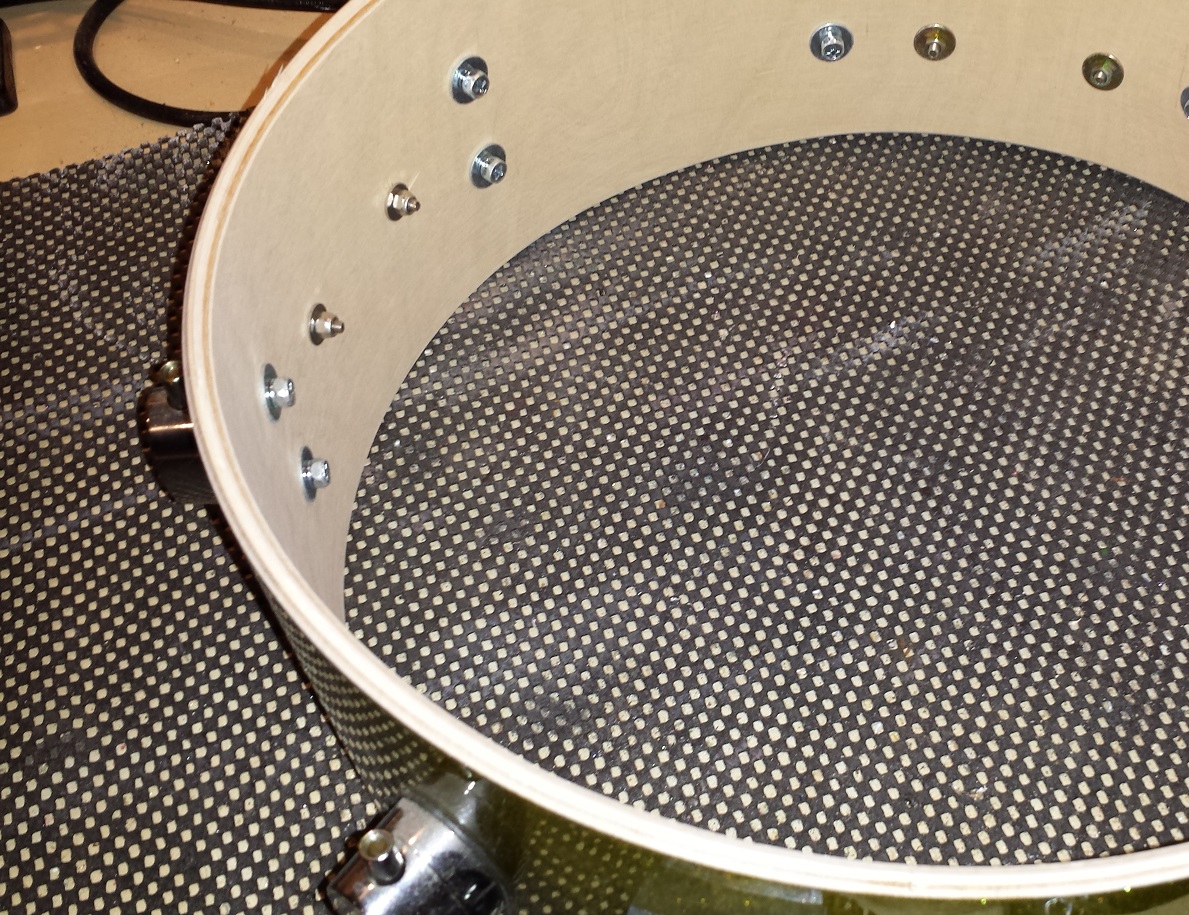
Once completely disassembled a couple of shortcomings are immediately obvious. While the exterior is finished to perfection, the interior isn’t. It is even and fairly consistent but certainly not smooth and definitely not sealed. The bearing edges have a nice consistent shape but are even less smooth than the inside of the shell. In parts even quite rough and with raised strands of grain in places.
Placing it on my 24″ X 24″ slab of granite reveals that the bearing edges are at least fairly “square” and “true”. (Square means they are at a 90 degree angle to the shell’s sides. True means that they are flat all the way around.) However what is also instantly revealed is a complete absence of snare beds.
A quick cross-measure confirms that the shell is round to within 1 mm, which is more than acceptable. I would say that these findings confirm that we have a worthy candidate for this DIY Snare Drum Improvement Project.
Plan of Action
The interior of the shell will need a fair bit of attention. Both sanding and sealing will be required to bring it up a couple of levels. Most manufacturers perform both these steps on slightly higher priced drums.
The bearing edges will also require sanding smooth and lubrication.
A snare bed will have to be cut into the snare side bearing edge.
Not necessary but in this project we also intend to wrap it in a more neutral finish.
Let’s Get to Work
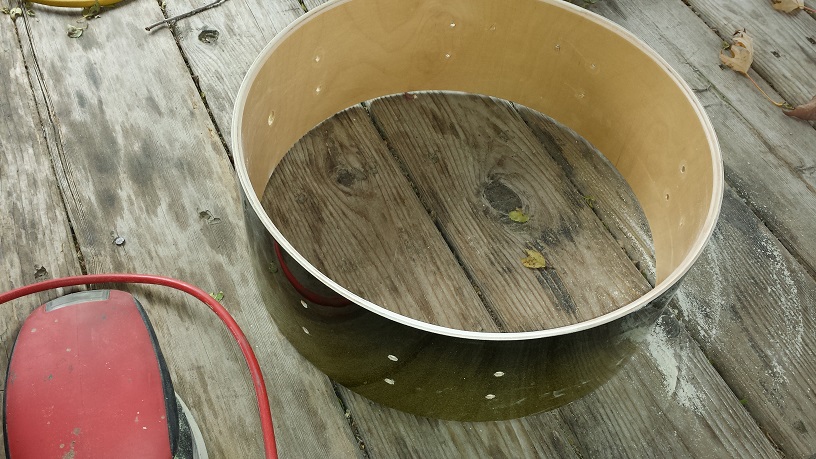
The first order of business is the shell interior. This way we don’t need to mask the bearing edges before sealing the inside. I like to bring the inside to a smoothness of a about 150 grit paper. However, I don’t start with sanding. Why? the first coat of sealer is going to raise the grain and require sanding again, so might as well apply the first coat prior to sanding.
There are a multitude of suitable sealers. Depending on the results you’re after you can use Danish Oil, Tung Oil, Enamel, Polyurethane, etc. We’ve used all of the above for our various projects and they all work well with some subtle differences in the influence of the sound. Satin, flat or gloss finishes will also have a slight impact on the tone.
For this project I’ve chosen a gloss polyurethane. Not for any particular reason except that gloss may aid a wee bit in producing a “lively” and bright, projecting sound. I apply an initial thin coat with a brush and leave to dry over night.
Once completely dry I give the entire inside a sanding by hand with 150 grit until it’s perfectly smooth and follow up with three more coats of poly. make sure to leave ample drying time between coats.
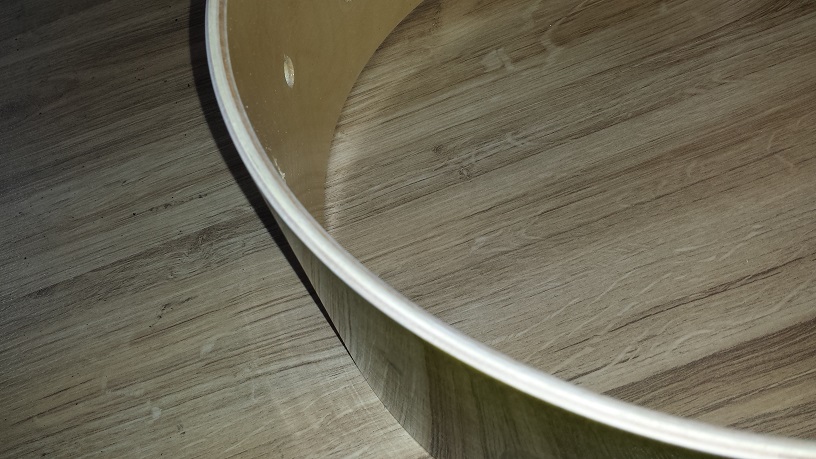
Once the third coat of poly is completely dry we can move on to sanding the bearing edges. I start with 150 grit attached to one of those “mouse” type sanders. Step 1 is to completely smooth the interior 45 degree cut on both side, then I do the same with the outside 45 degree bevel.
With the same paper I get to work on the snare beds. I tend to aim for a flat, approximately 2″ wide and 2-3 mm deep bottom with a 2″ slope on each side. Starting with the center of the bed I position the sander so it’s at the part of the point that’s about 2″ wide and “roll” it back and forth over the edge in the same spot until you can just see a depression. With the same rolling motion, I gradually introduce an increasing sideways action to gently slope up the sides will still slowly deepening the center until the desired shape is achieved.
Follow up with 200-250 grit paper over the entire bearing edge.
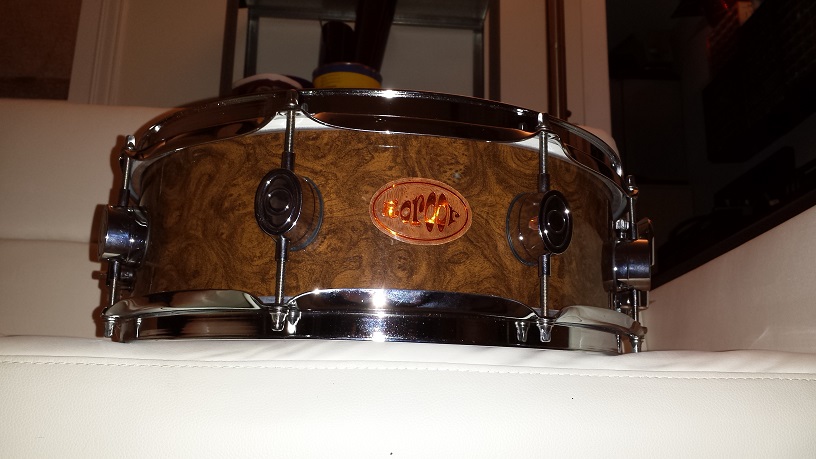
Wrapping
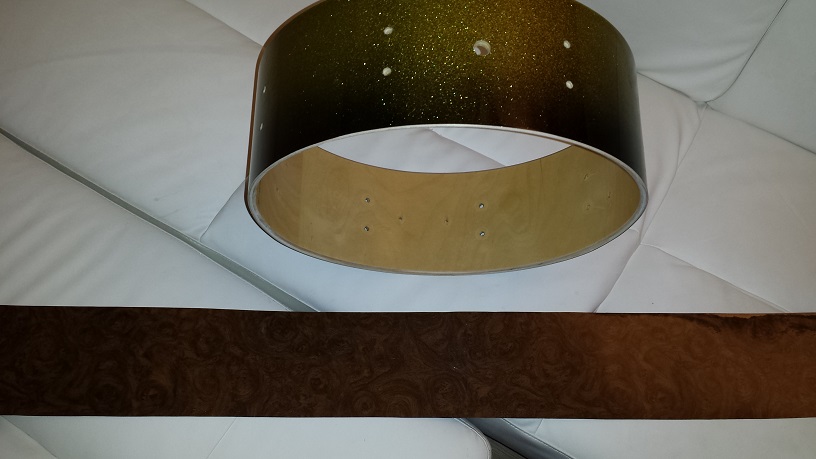
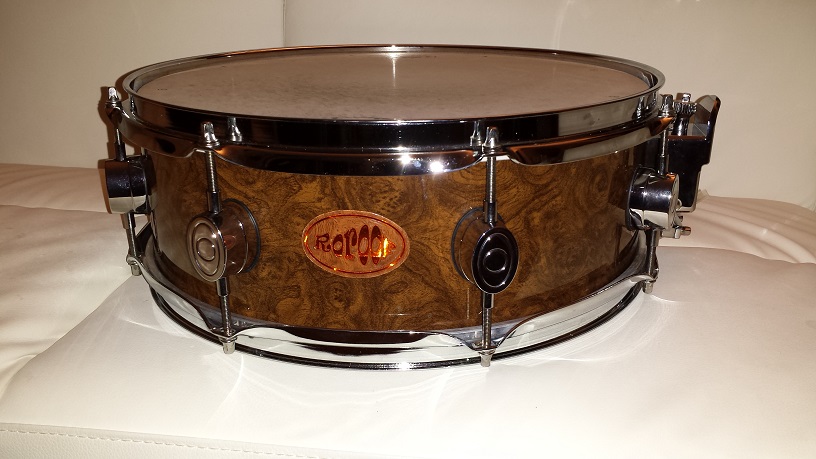
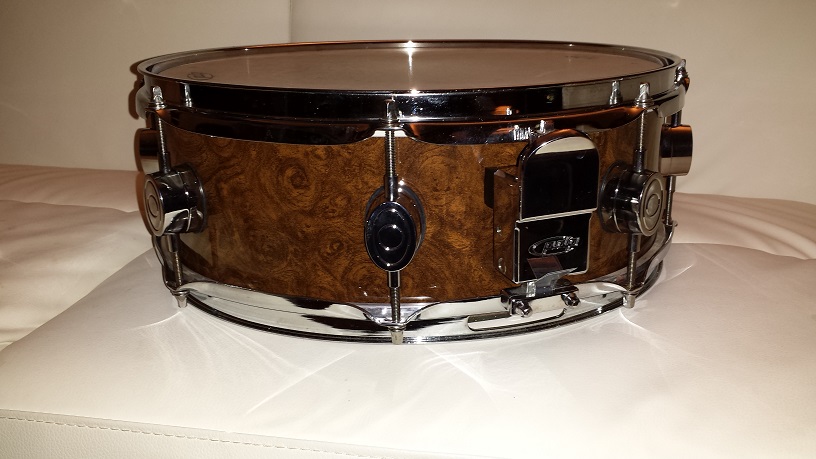
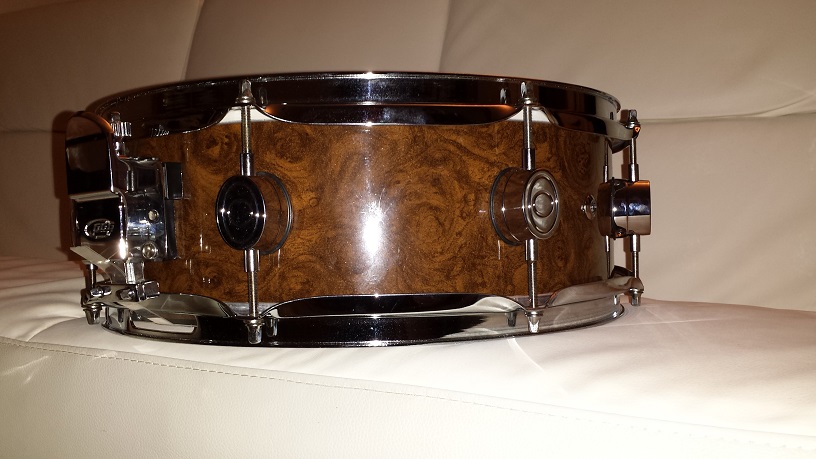
I chose a fairly elegant looking “Curly Walnut” wood grain wrap from Walopus for this snare drum improvement project. It’s a pretty awesome finish wrap with a deep glossy finish that looks like 20 coats of varnish. The snare simply gets wrapped up following the instructions for “Method 4” of our Drum Wrap Instructions page.
Assembly
As usual while assembling I give all the chrome parts a rub with a microfibre cloth and some automotive chrome polish before installing. The strainer and butt plate get tightened fairly firm, while the lug screws only need to be tightened somewhere between “snug” and tight. I mention this because when I first started working on drums I stripped a few threads on lug screws. Even snapped a few screws and cracked the casing on the odd lug.
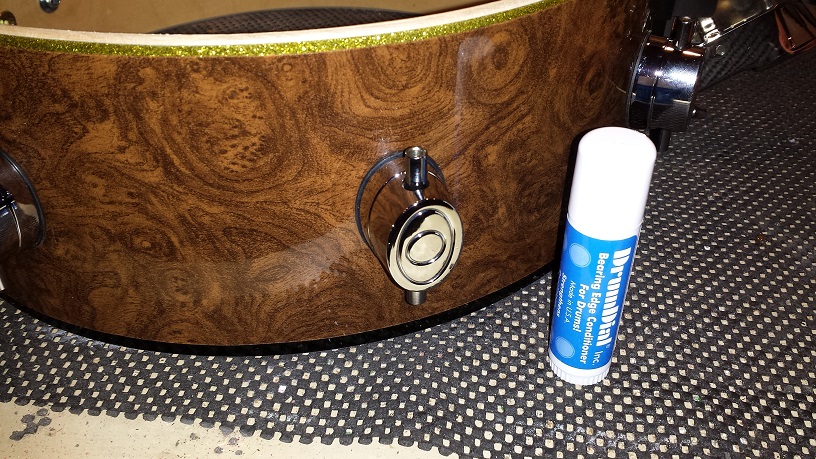
Before putting the heads back on, the bearing edges get an application of DrumDial’s “Bearing Edge Conditioner”. A bit of lube on the bearing edges makes it a lot easier to seat the heads and really aids in tuning the drum.
Conclusion of this DIY Snare Drum Improvement Project
Once tuned up it’s the moment of truth. Will it sound good enough to justify the hours of work put into it? The answer is yes indeedy! The former lifeless and dull sound is replaced with a spirited, aggressive and sharp crack followed by a gently ascending sustaining ring. The drum now has a nice wide tuning range, plenty of grit when desired and a sharp, almost steel-like bark.
Attack that stings like a bee, followed by sustain that floats like a butterfly… I’m pleased.