From mismatched orphans to a beautiful DIY Jazz / Bop Drum Kit on a budget
We’ve been itching to start this project for a while, but a suitable 14″ floor tom has been elusive…. Until today when Todd showed up on my door step with one and traded for some odds and ends from the treasure chest. Finally we can get started.
Our candidates are the already finished snare drum from a previous DIY project, A newer Pearl Export 18″ X 14″ bass drum, A matching export 12″ X 8″ Tom and today’s surprise 14″ X 13″ Floor tom of unknown brand, but with the older Pearl-style lugs and what looks like a birch shell. We may also add a thin-shell second 16″ floor tom as well since we have a suitable orphan candidate. The goal is to finish the whole kit in the same “faux veneer” as the snare drum. Should look really classy. At least in my mind it does.
If this article interests you I highly recommend reading the DIY Snare Drum Refinish article as well as that piece has the entire process for the finish being used throughout the kit.
This time around we’ll do one drum at a time rather than assembly line style. Mostly dues to space constraints in the multi-purpose room formerly referred to as the family-room.
Bass Drum Step 1 – Disassembly and Preparation
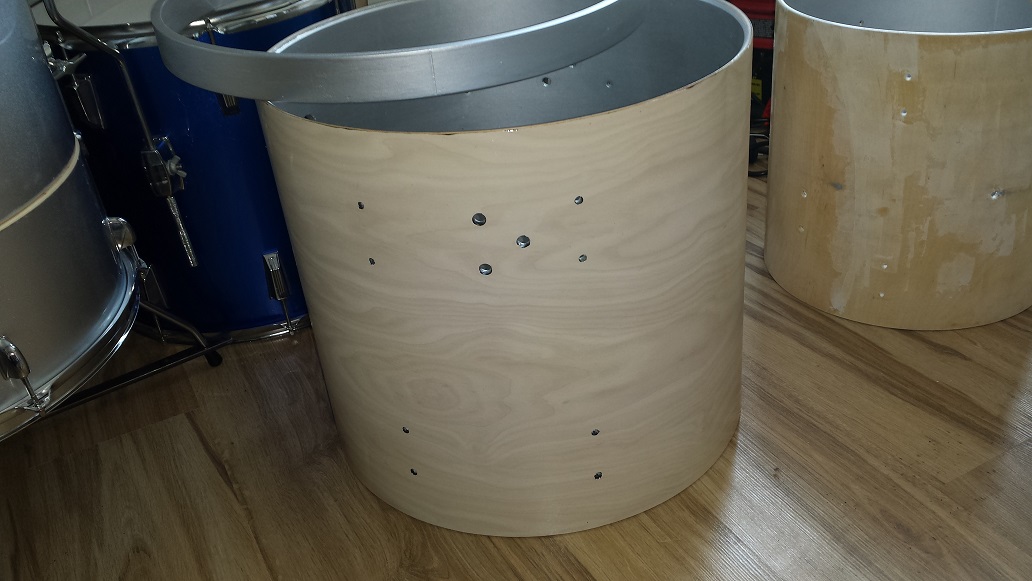
Our bass drum has been un-wrapped and painted by a previous owner. We’ll need to sand the hoops to get down to the wood and give the shell a light sanding to remove visible brush strokes and the odd run here and there. We also intend to seal the inside and see what else may need to be addressed once stripped.
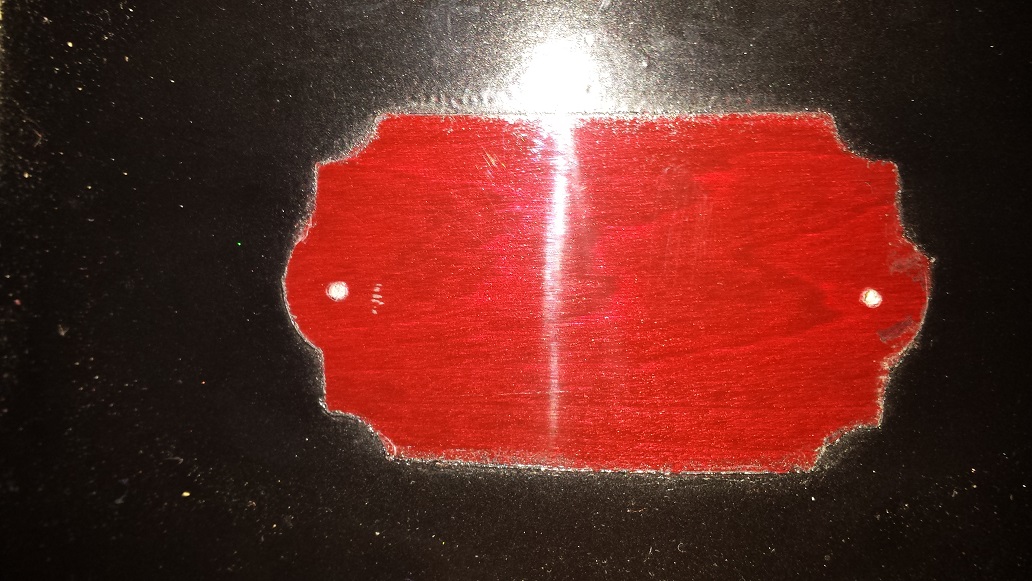

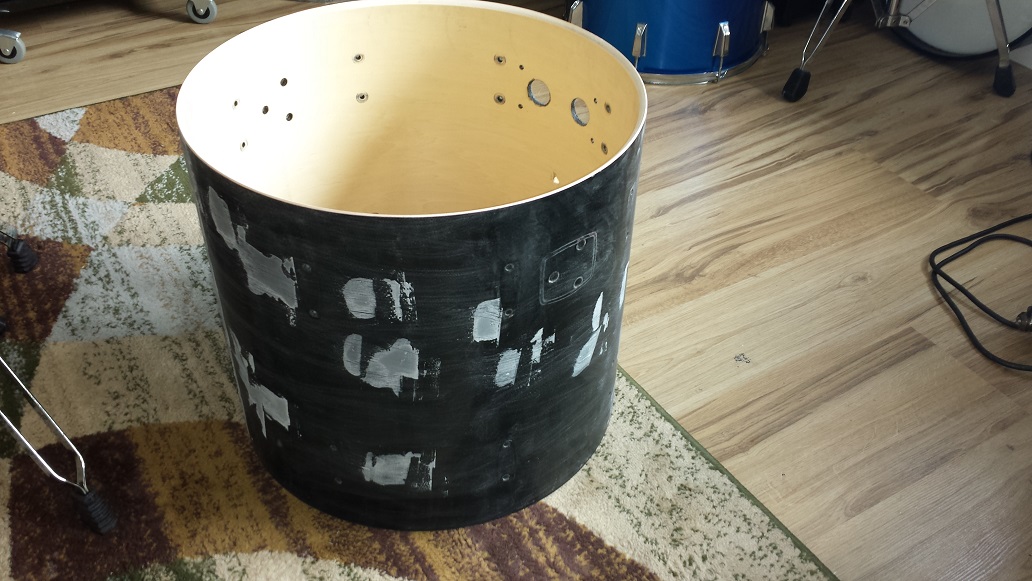
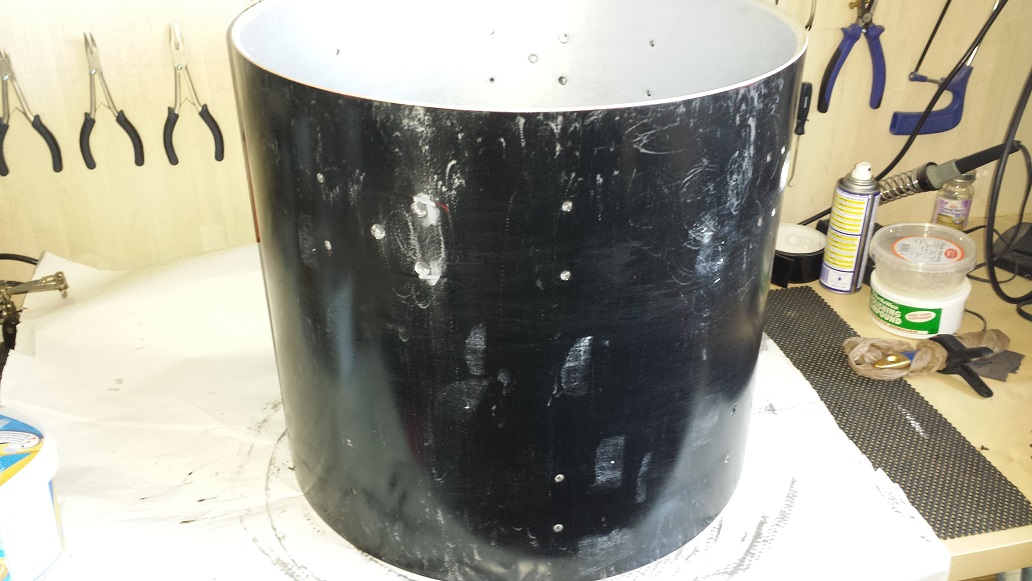
While disassembling I can’t help but notice that this is a rather nice bass drum for an Export. When I pop the badge off the reason is apparent. It wasn’t unwrapped. It’s an EXL. Nice surprise! Once the shell is bare we give it a quick sanding with 60 grit paper to smooth out any orange peel and imperfections in the black paint. We also take care to sand the bearing edges clean. Once sanded all blemishes receive a patching of drywall compound mixed with PVA. (Fortified white glue.)
Moving on to sanding the hoops. The original plan was to sand the hoops down to the bare wood and just clear over for a natural finish. However, the original red stain is deep in the wood so this won’t be an option. We’ll have to find a suitable color to paint them instead.

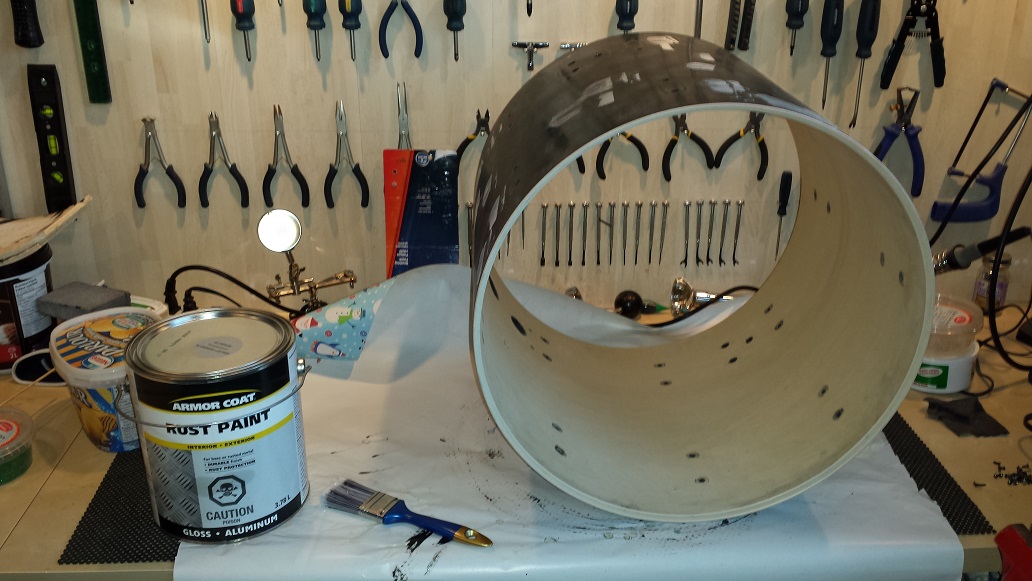
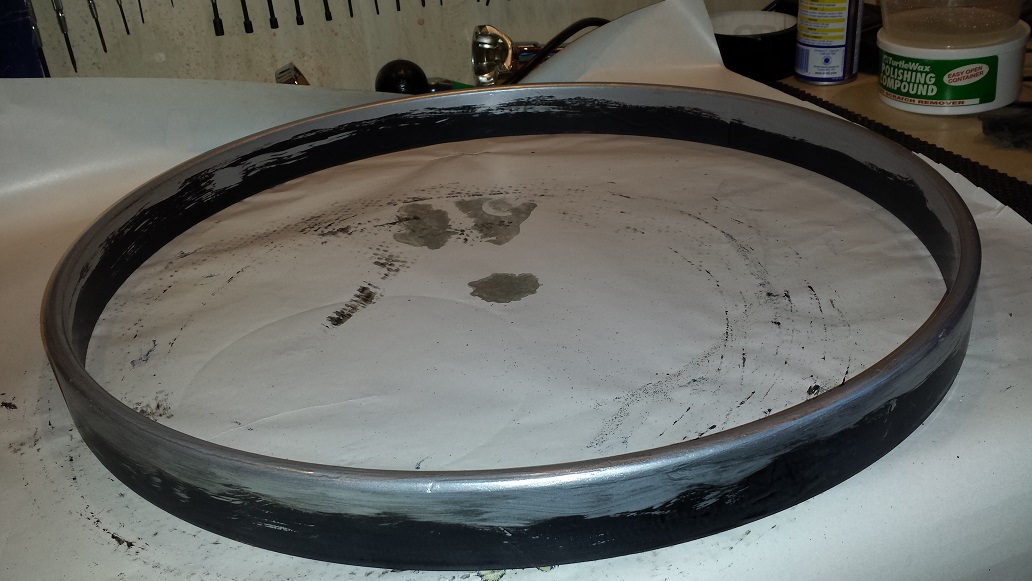
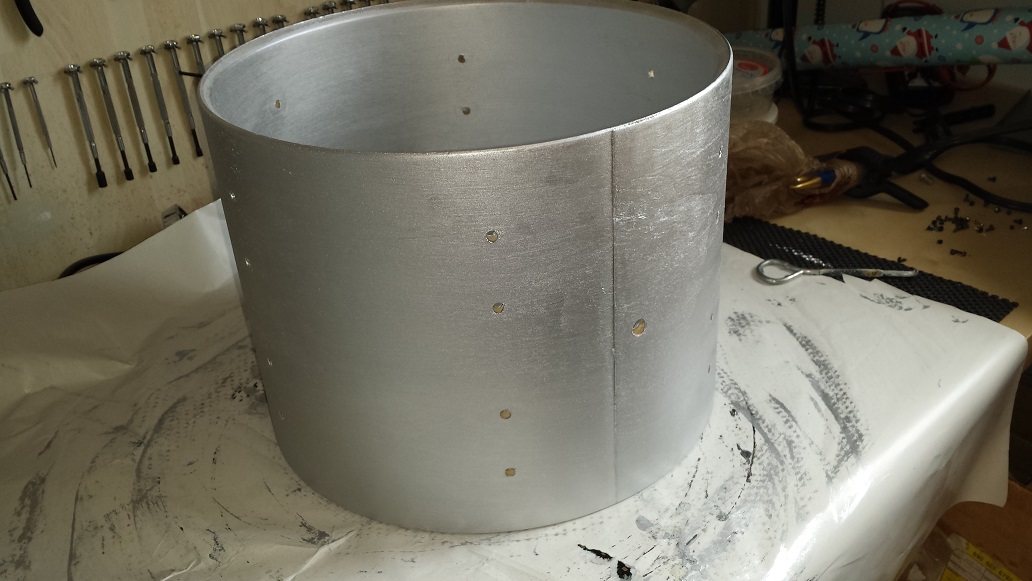
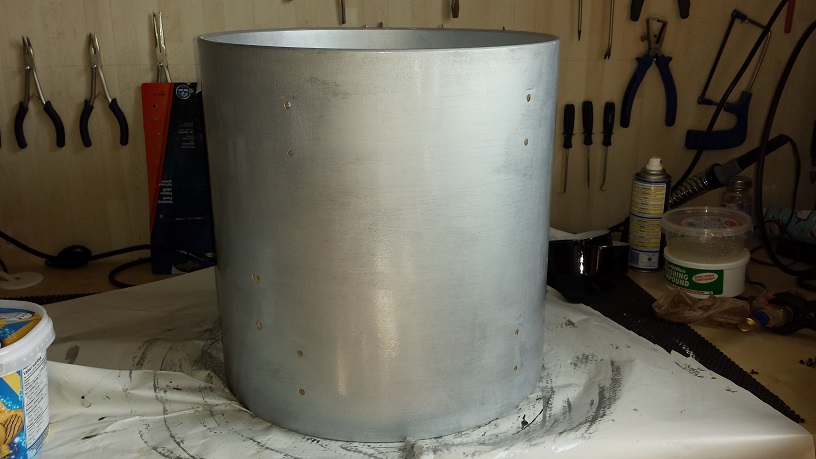
On this kit we’re going for a bit of “Gretsch-iness” with silver shell interiors. We almost always seal the shells but this is the first time I go with silver. The paint is gloss aluminum rust paint. Since the hoops need painting we’ll simply go with the same for them too for a uniform look. The silver should blend nicely with the “faux birch veneer” as well.
After the patch job on the shell we gave it a quick sanding and applied a coat of water based polyurethane. The clear is just so there’s a glossy surface for the “faux veneer” to adhere to. As already mentioned in the DIY snare refinish article, one of the drawbacks of contact paper is that it can get wrinkled at the lugs when you apply tension to the T-rods. Making sure to provide a slick surface for adhesion greatly reduces the risk of this happening.
Toms Step 1 – Strip & Prep
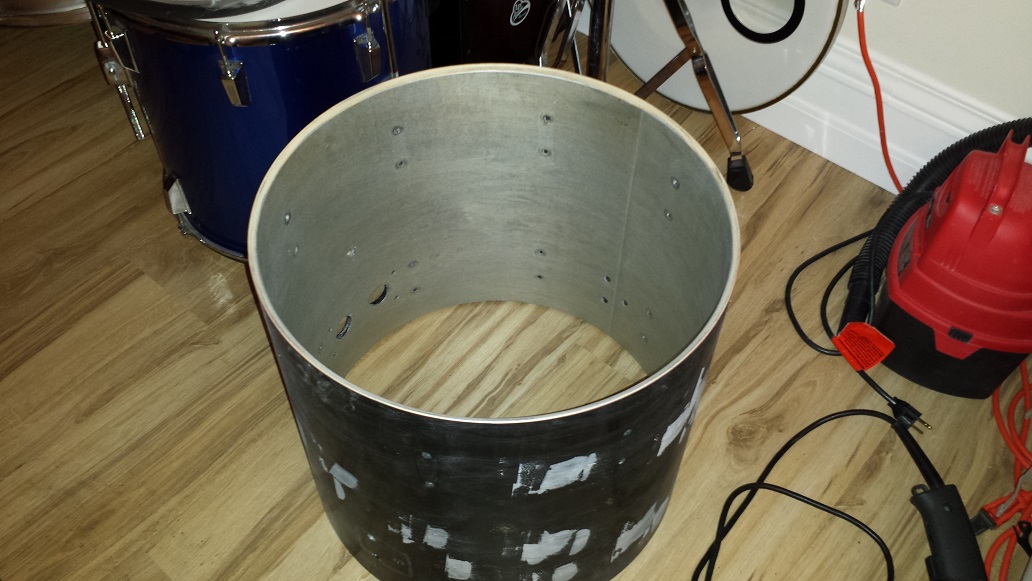
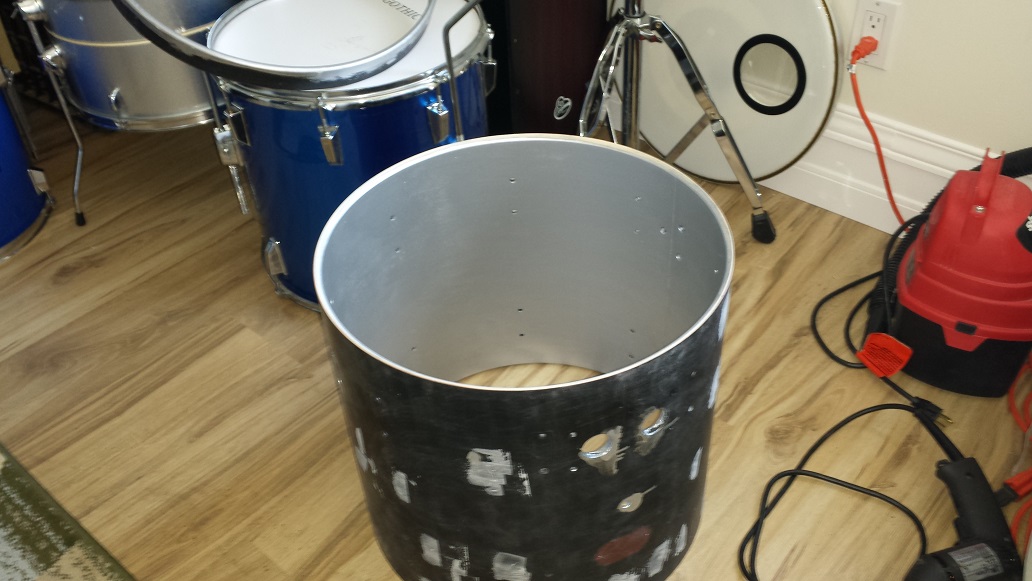
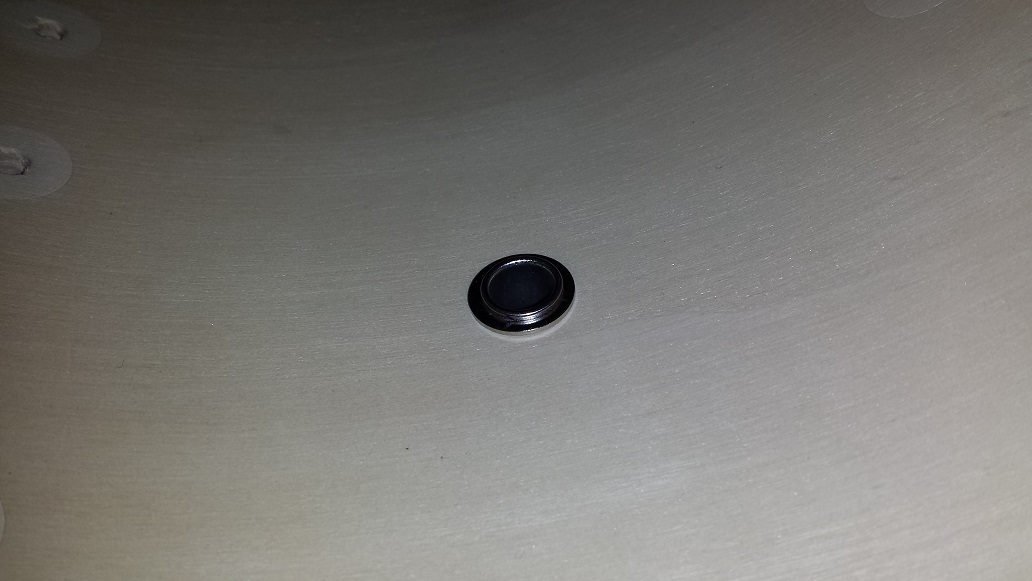
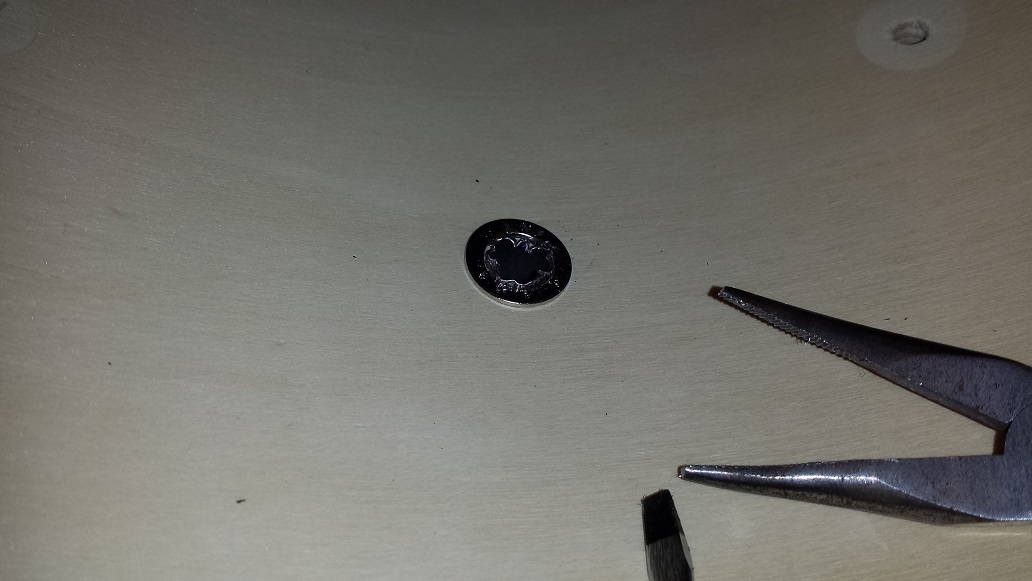
Might as well get started on the tom tom while the paint’s drying on the bass drum, or this DIY Jazz / Bop Drum Kit won’t be done any time soon. These shells are the nicest I’ve ever seen in an Export series. The air vent grommets are a pain though. They are two-piece with a regular grommet on the outside and a washer on the inside that the grommet rivets around. I remove them by prying up the grommet edge with a small screwdriver, then squishing the grommet together with pliers, allowing the washer to slip off. The wrap was only applied along the leading and trailing edges so it was easy to remove. Our Alternative Drum Wrap Materials article has everything you need to know about removing wrap.

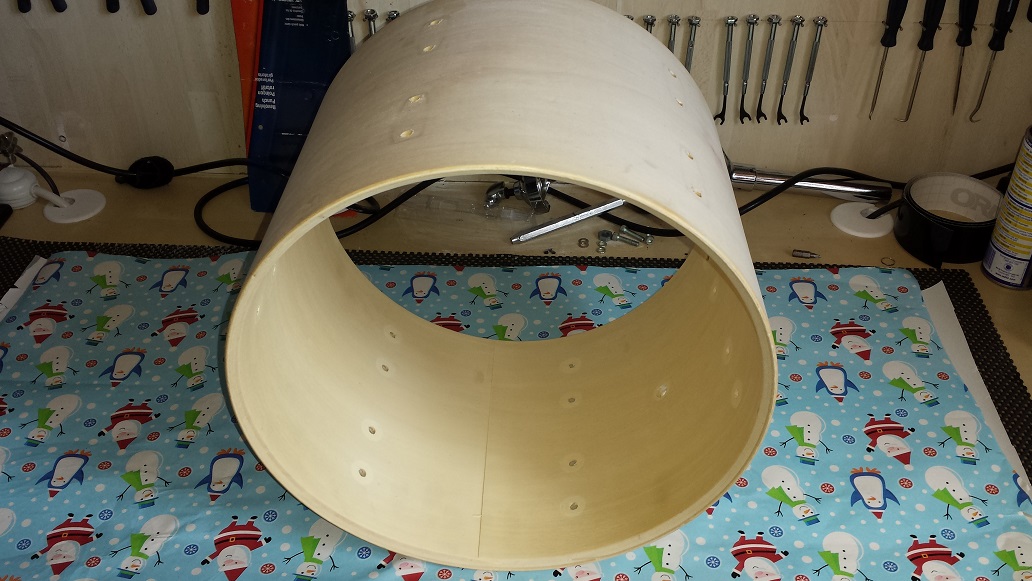
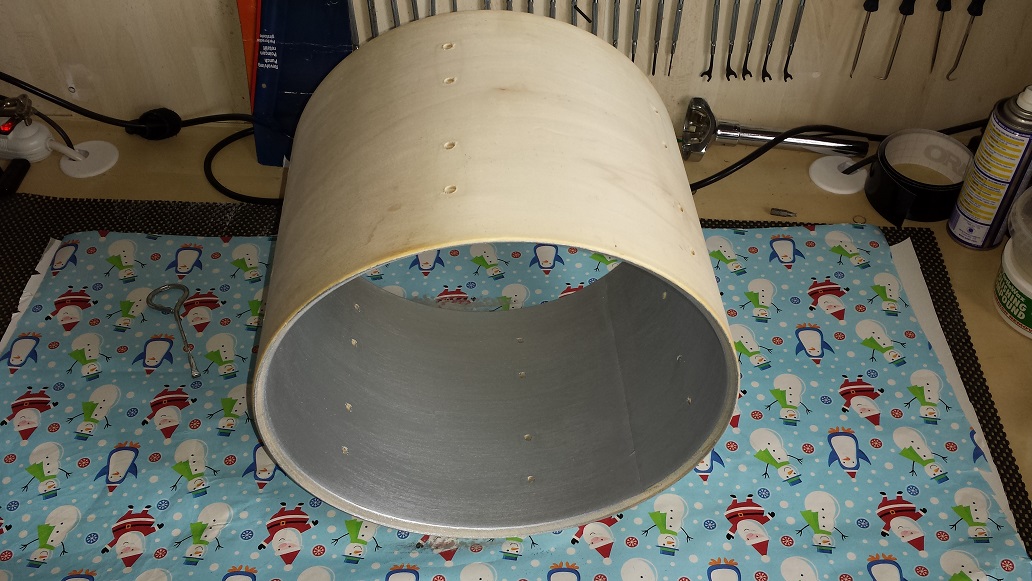
Then on to painting the first coat of silver inside. Once that’s dry we’ll give it a second. Next it’s time to sand and seal the exteriors. Sealing them is mostly to give them a conducive surface for the “faux veneer” to adhere to. Since these shells are completely untreated the sealer really raised the grain. Thus we’ll have to sand and seal one more time once the initial coat is dry. After sealing we add a coat of poly to give the “faux veneer” a sleek surface to grab on to.
Step 2 – Finishing the Shells
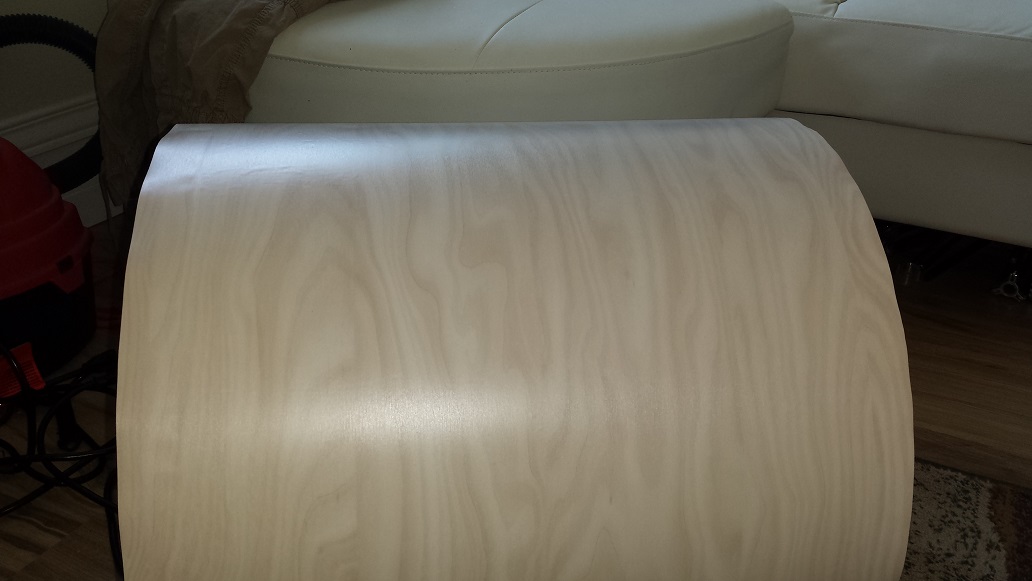
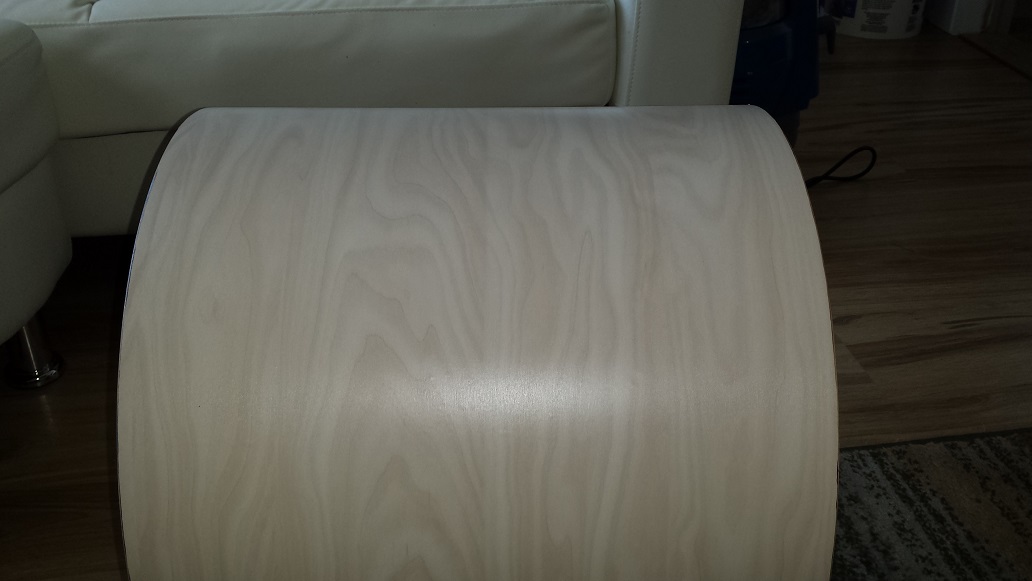
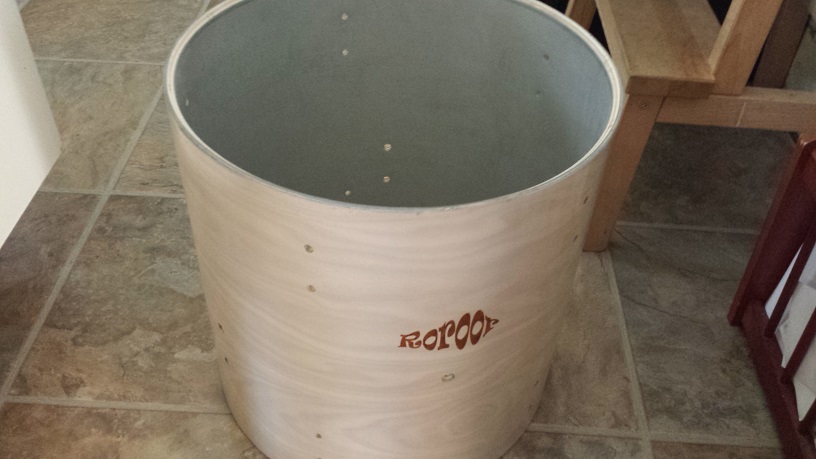
With the clear coat dried on the bass drum, we’re ready to apply the “faux birch veneer”. Start with cutting a piece a bit wider and an inch or so longer than required. Fold back the backing paper a couple of inches at the leading edge and line the shell up straight on top of the up-side-down “veneer”. Pull back the exposed “faux veneer” so it’s tight and straight and adhere the leading edge. Peel back another couple of inches of backing and rub the “faux veneer” onto the shell. Keep going around the entire shell in the same manner. Take care to wipe the shell first and keep it as dust free as possible throughout the process.

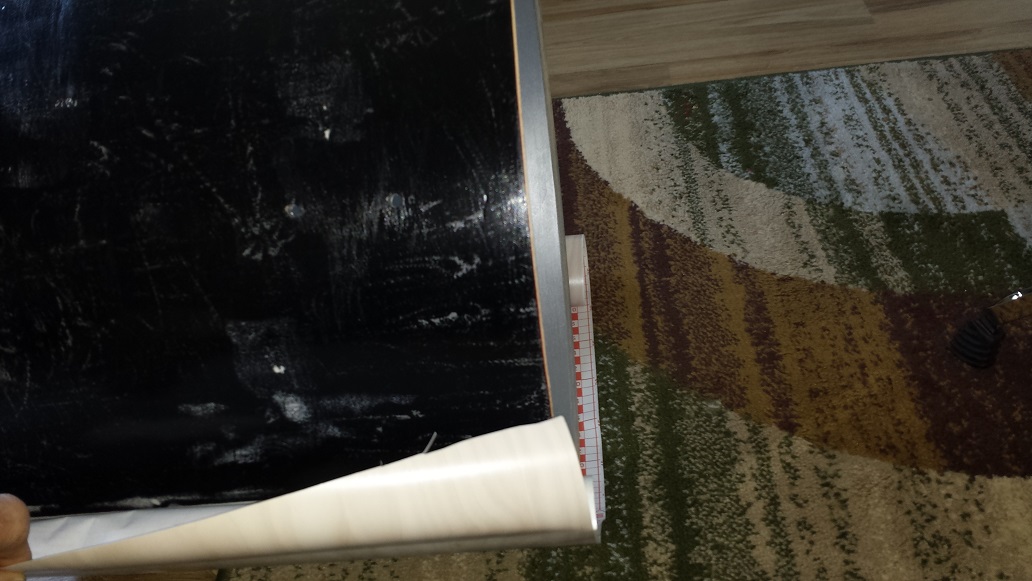
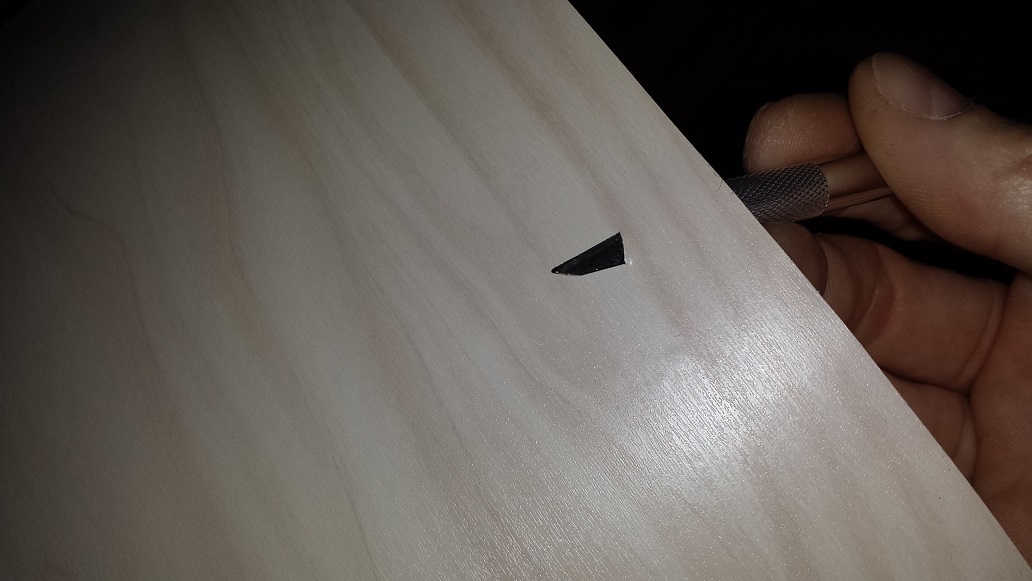
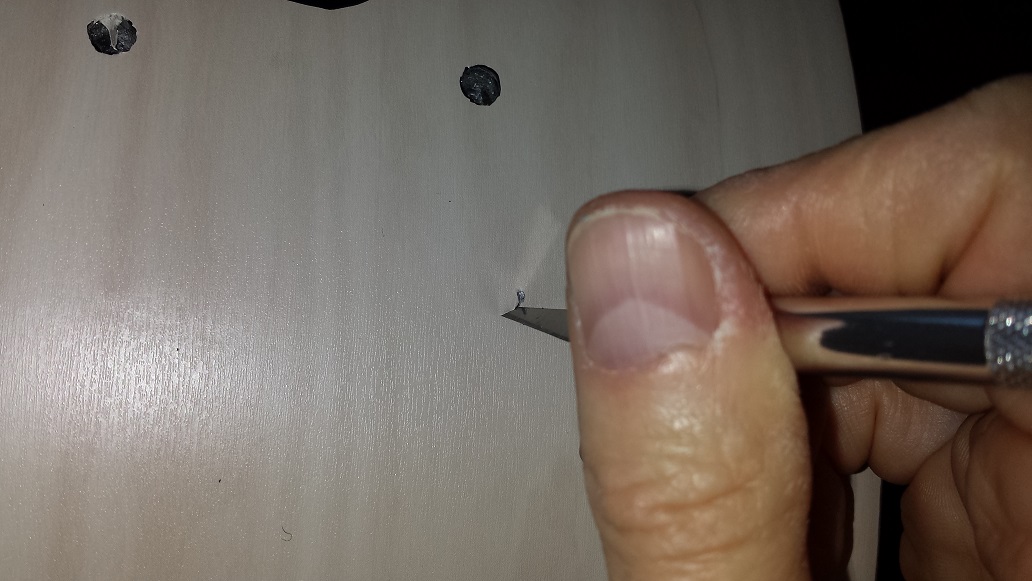
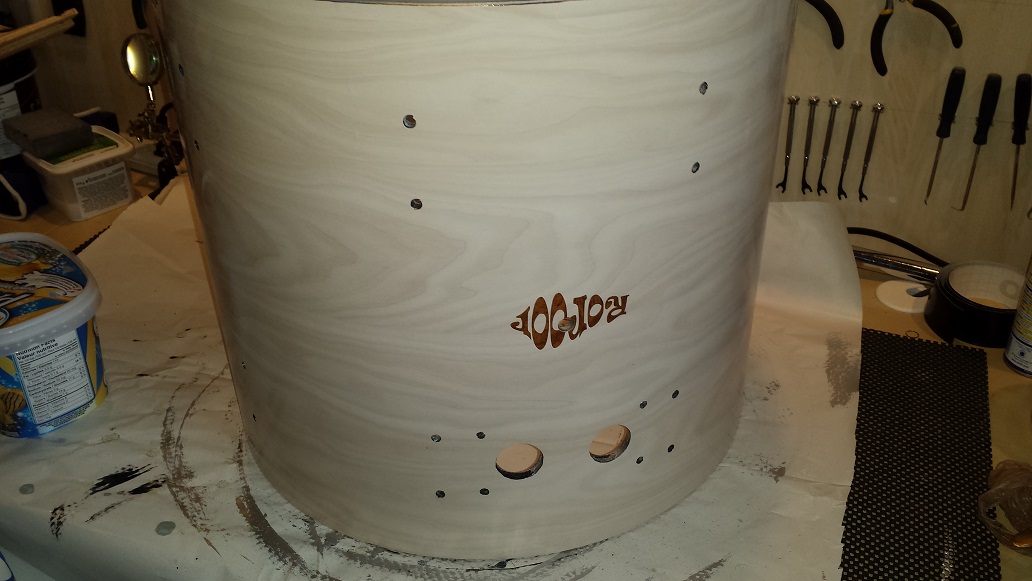
Once completely rolled on, rub it down hard around the entire shell to ensure tight adhesion. With an exacto knife, trace along the bearing edge to trim the excess. We also use the exacto-knife to remove the “faux veneer” from the holes. The reason we clean the holes out before clear-coating is to allow the clear to wick into the holes, aiding in securing the finish, which in turn prevents wrinkling when tightening the T-rods. Before we start clear coating we have to apply the Roroor-logo of course.


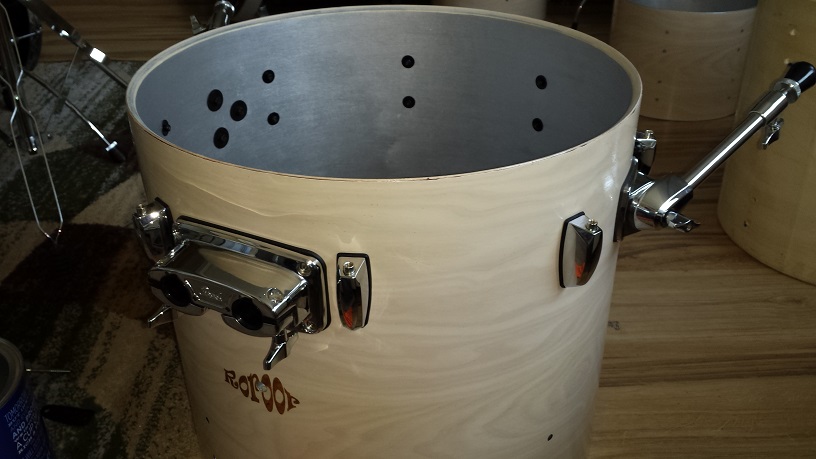
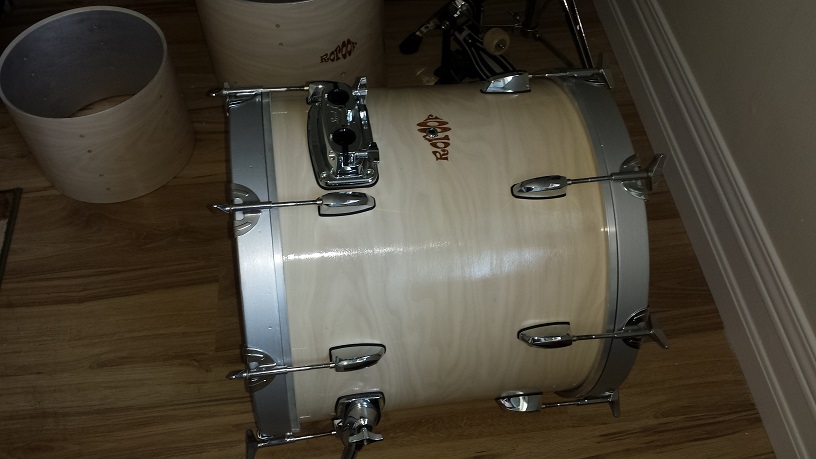
While the clear is drying on the bass drum we roll up the tom tom, apply a Roroor logo and start clear coating. The hoops still had some slight blotchiness after two coats of silver so we treat them to a final coat. They still need to be clear coated as well.
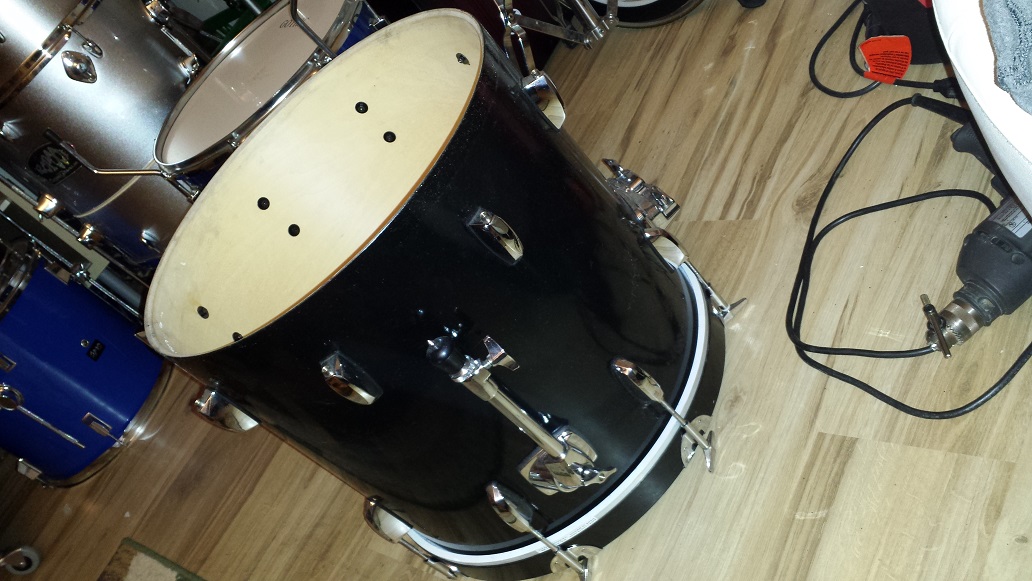
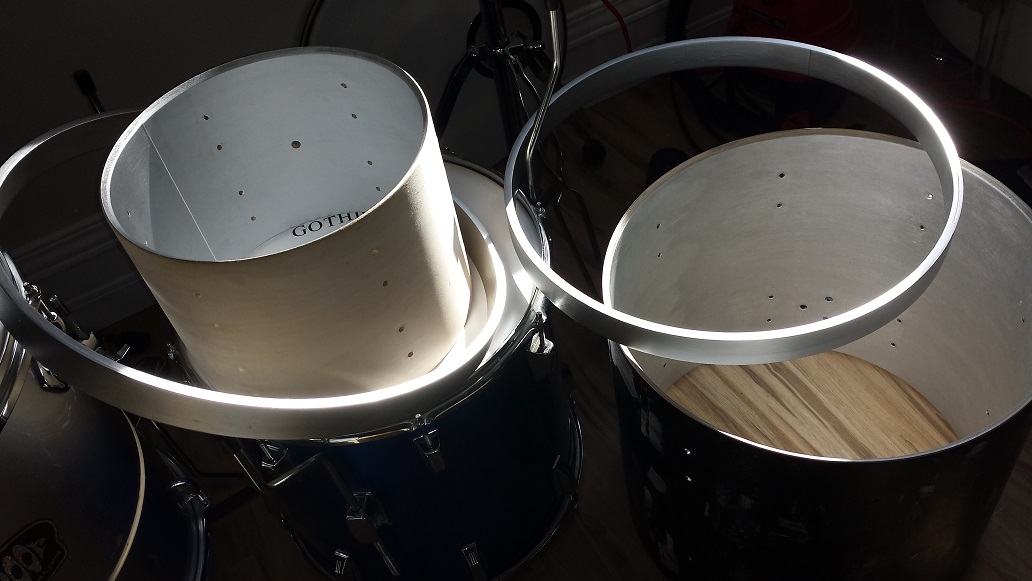
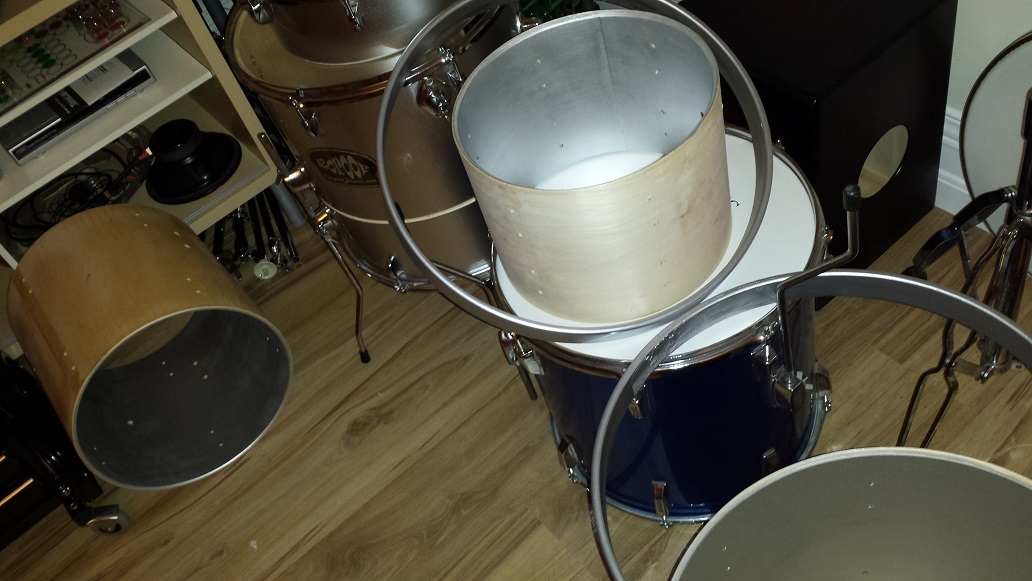
A few days have passed since applying the last coat of poly. The assembly can start. The bass drum came together nicely. The tom tom needed the bearing edges sanded still, whilst the floor tom received freshly cut 45/45 bearing edges instead of the round-over style that it came with.
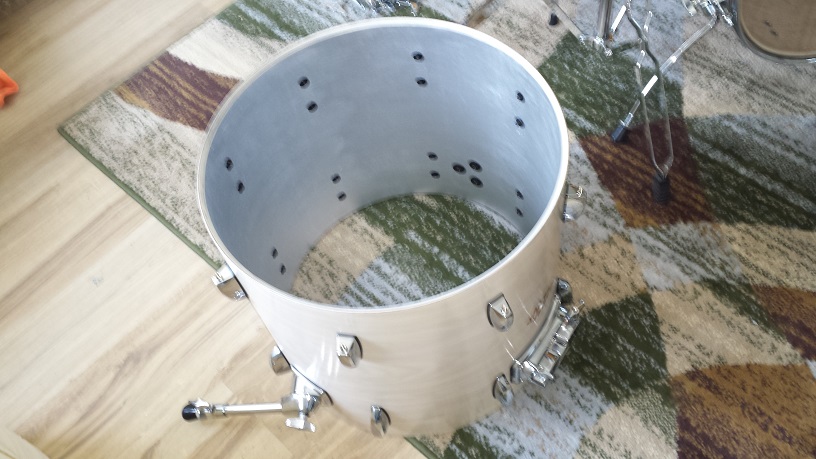
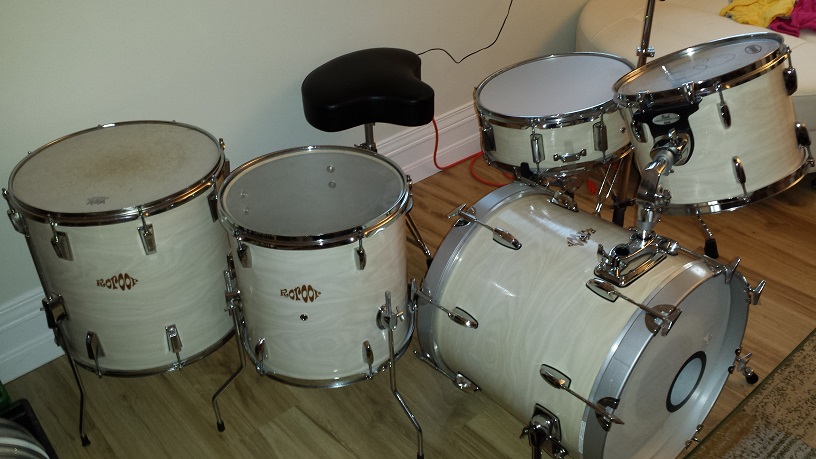
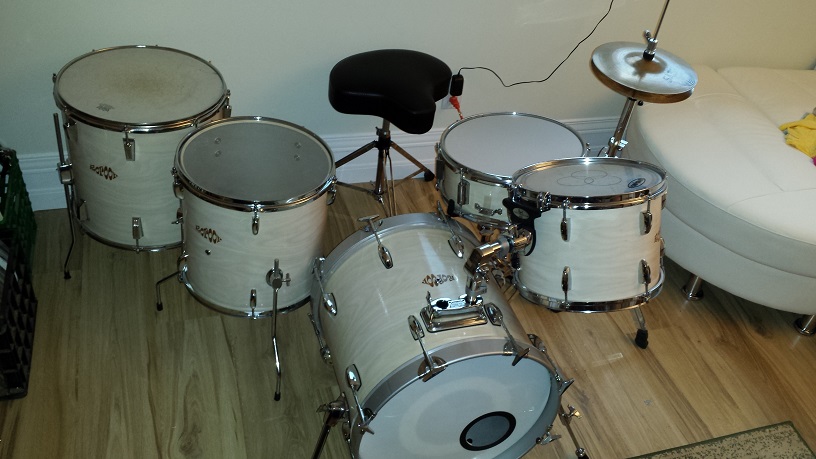
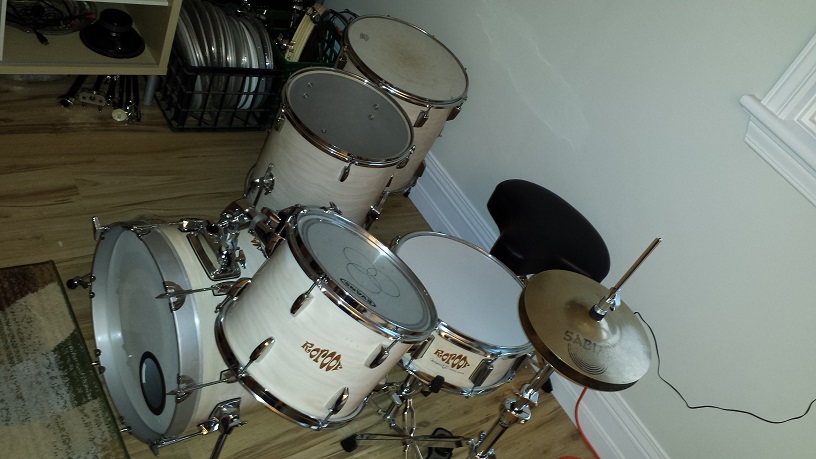
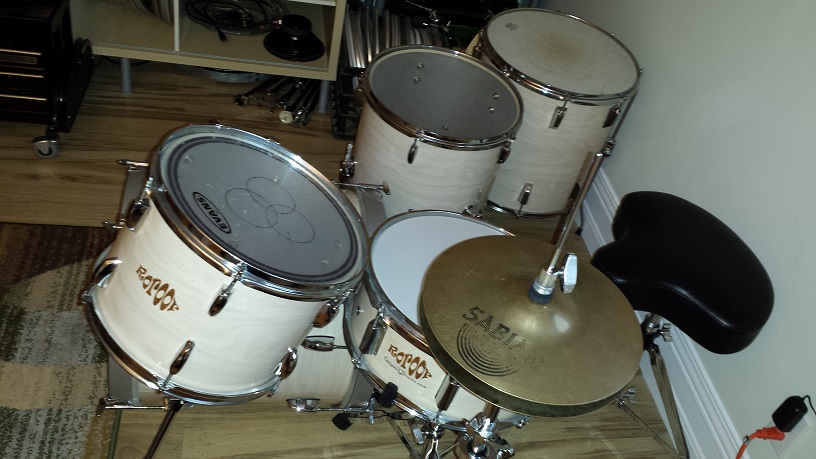
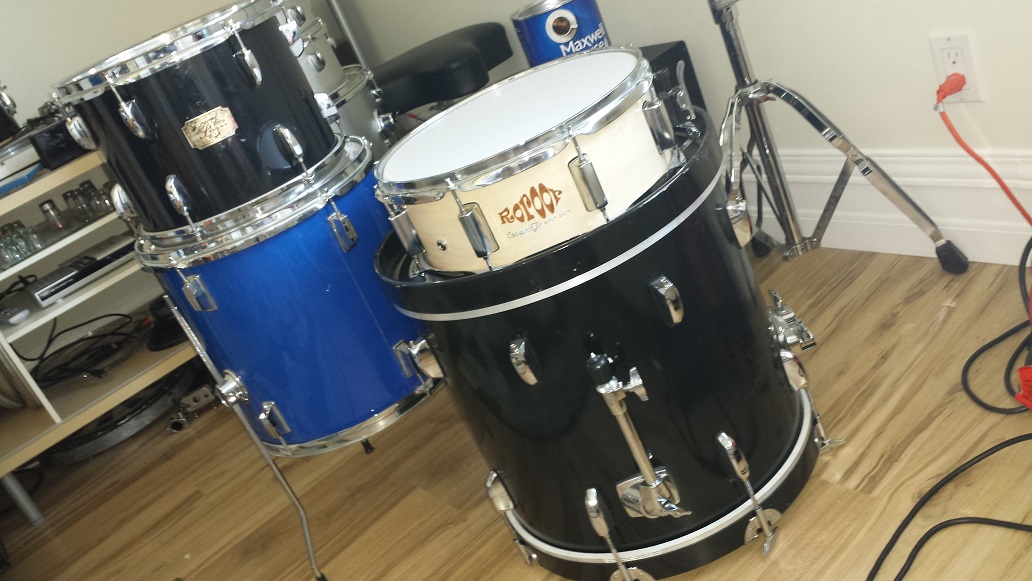
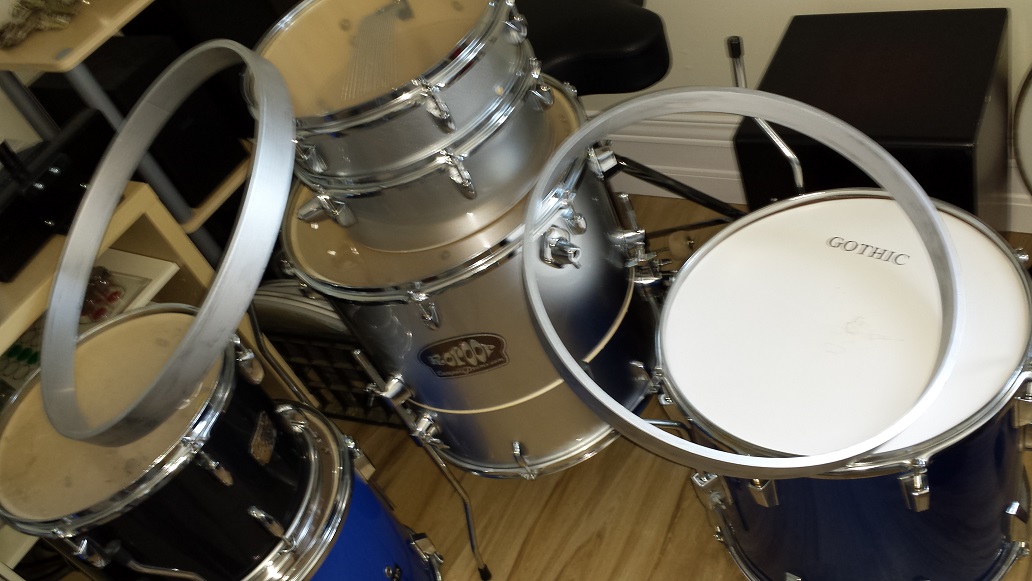
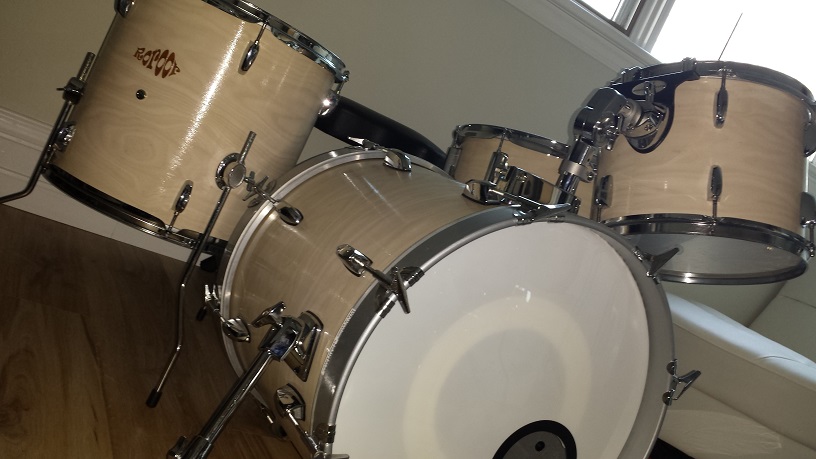
We quickly wrapped up the assembly of the toms and posed the kit for some pictures. Finally the snare that was completed about a month ago gets a kit to hang out with. We haven’t even tuned them yet. We intentionally left out the cymbals for now just for picture taking purposes. Well, except for the little 10″ hats since they don’t really block the view. Also there are still plans for an additional 16″ floor tom.
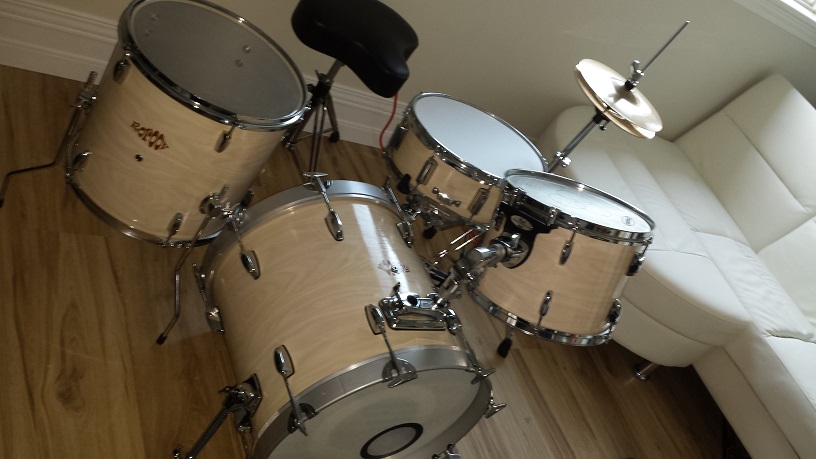
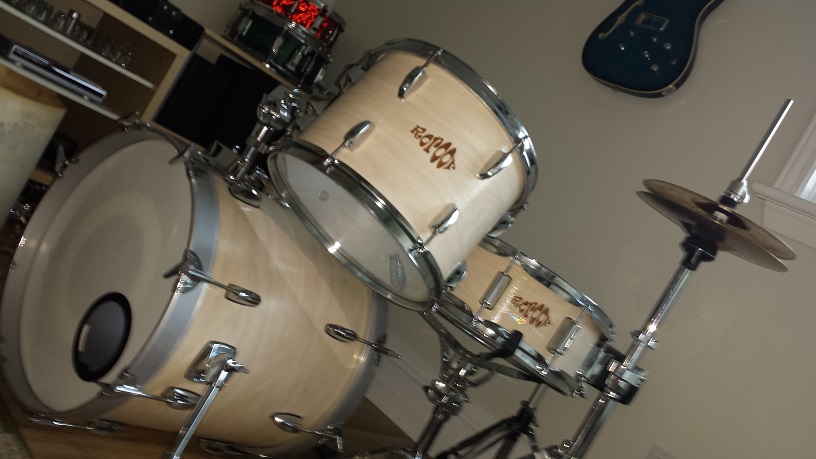
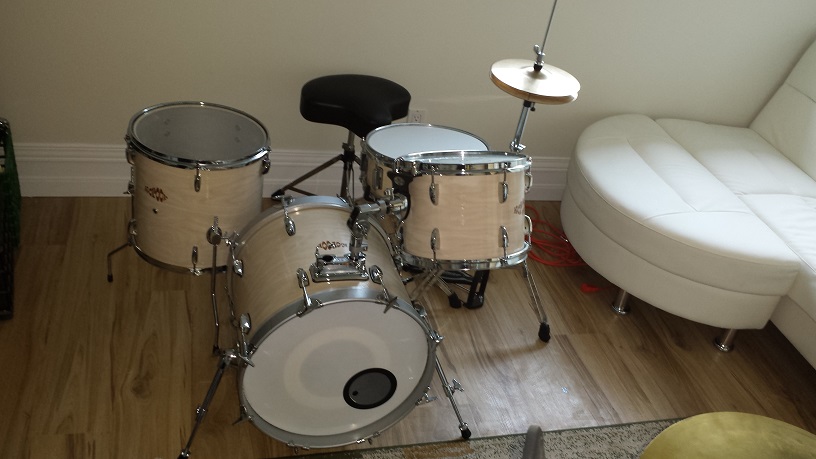
If you think it looks like something’s missing, apparently we agree. A 16″ floor tom is just what is needed to round out the set up. We had a 5 mm thin shell that adds that little bit of extra “boominess”.