


Introduction
This DIY project is an attempt at combining the best properties of some of the most popular Compact “Mini-bop” kits on the market. Our inspiration comes from The Ludwig Breakbeats, Yamaha HipGig, Sonor Safari and the Pearl Rhythm Traveler POD. Rather than just performing a conversion, an attempt will be made to produce an optimized kit since we don’t have the constraints of mass production that a major manufacturer has. This guide will be broken down into five sections; 1-Shell selection and refinish; 2-Parts and components preparation; 3-Making/Assembling the key components; 4-The snare drum; 5-Kit assembly. Go through the entire DIY Mini Bop Drum Kit project with us or cherry-pick from the steps described here to make your own project. Our goal is to use generally available parts and components as much as possible while attaining professional looking results. (Making the bass drum riser quite challenging.)
Section 1: Shell Selection and Refinish
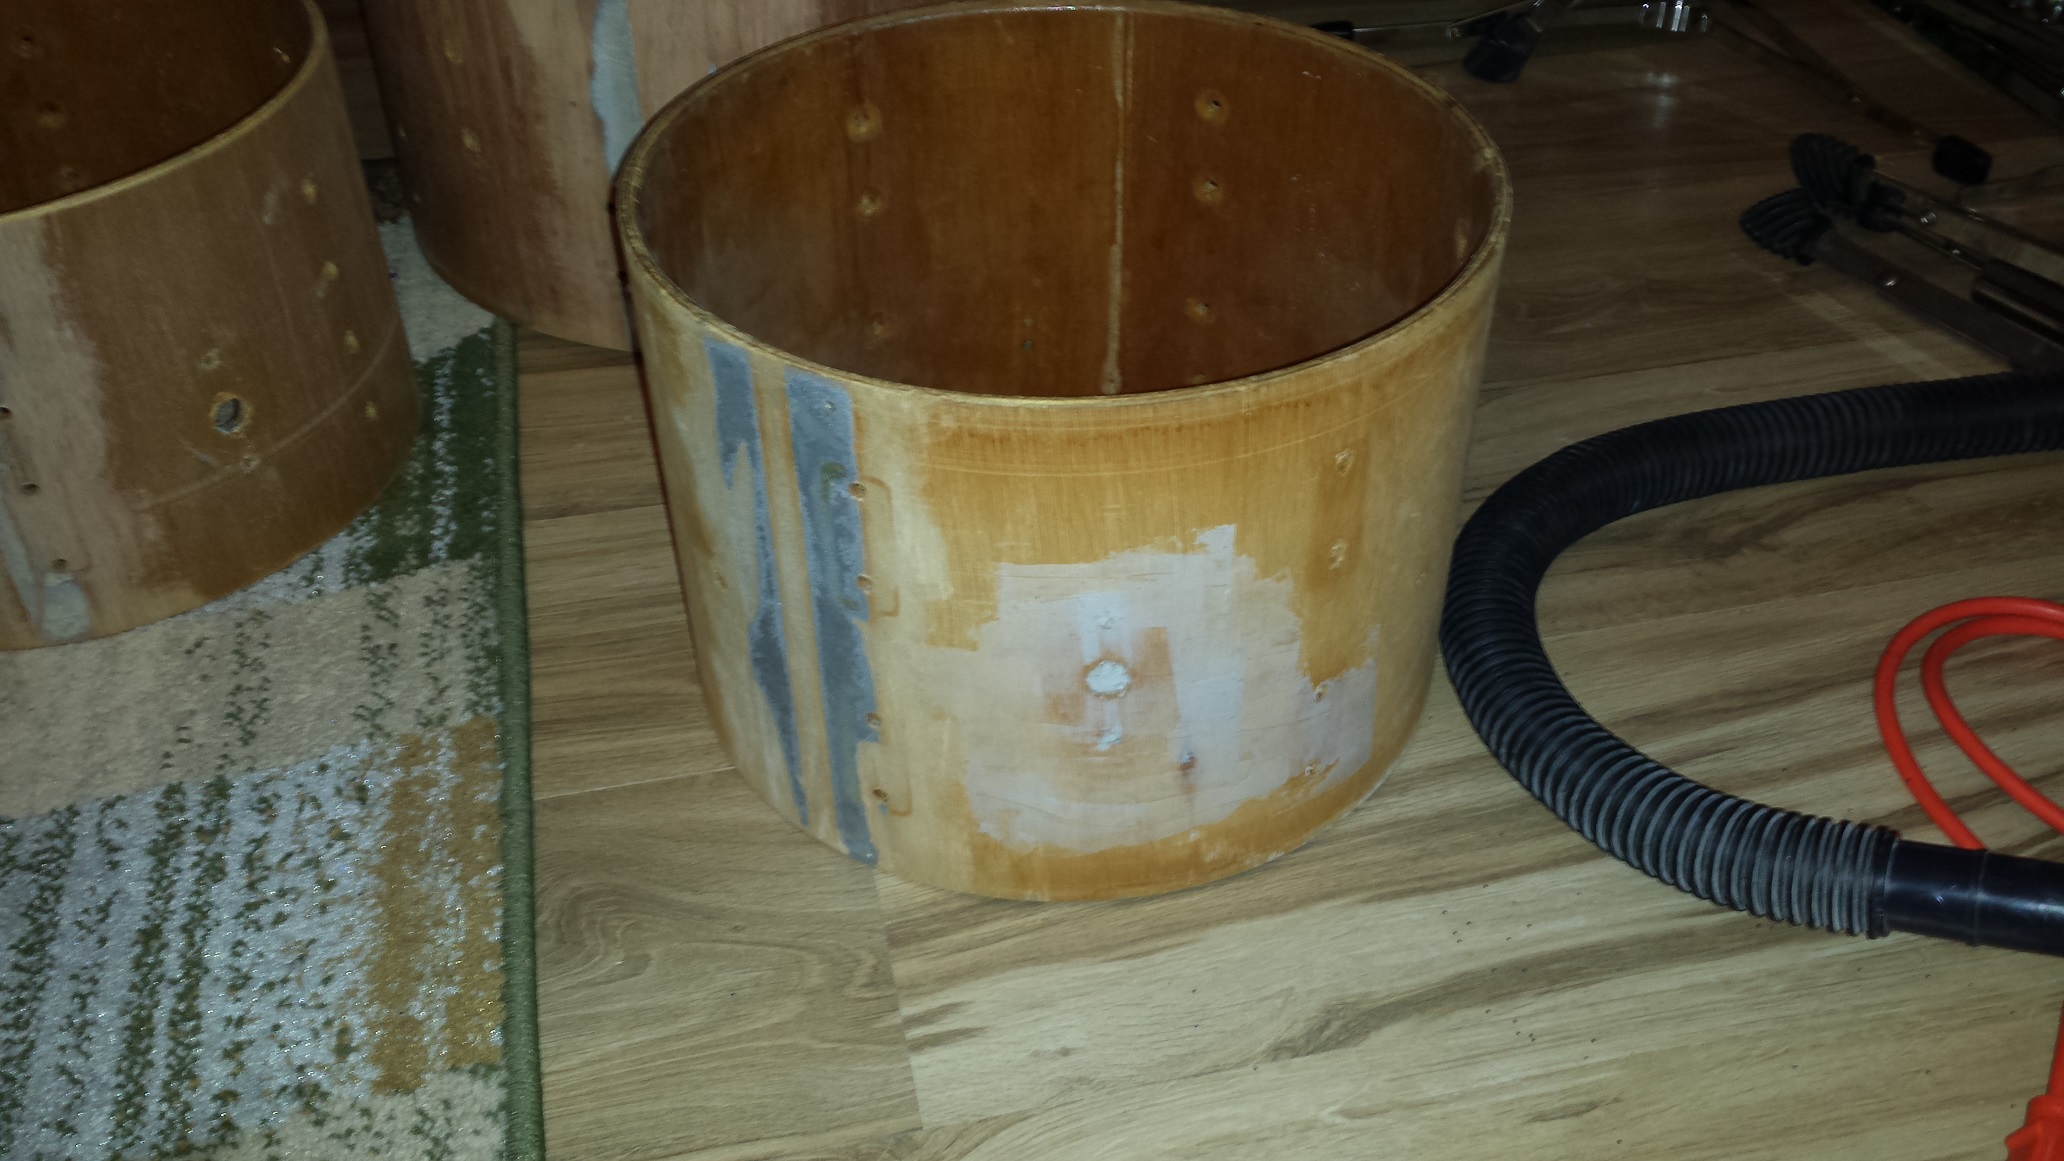
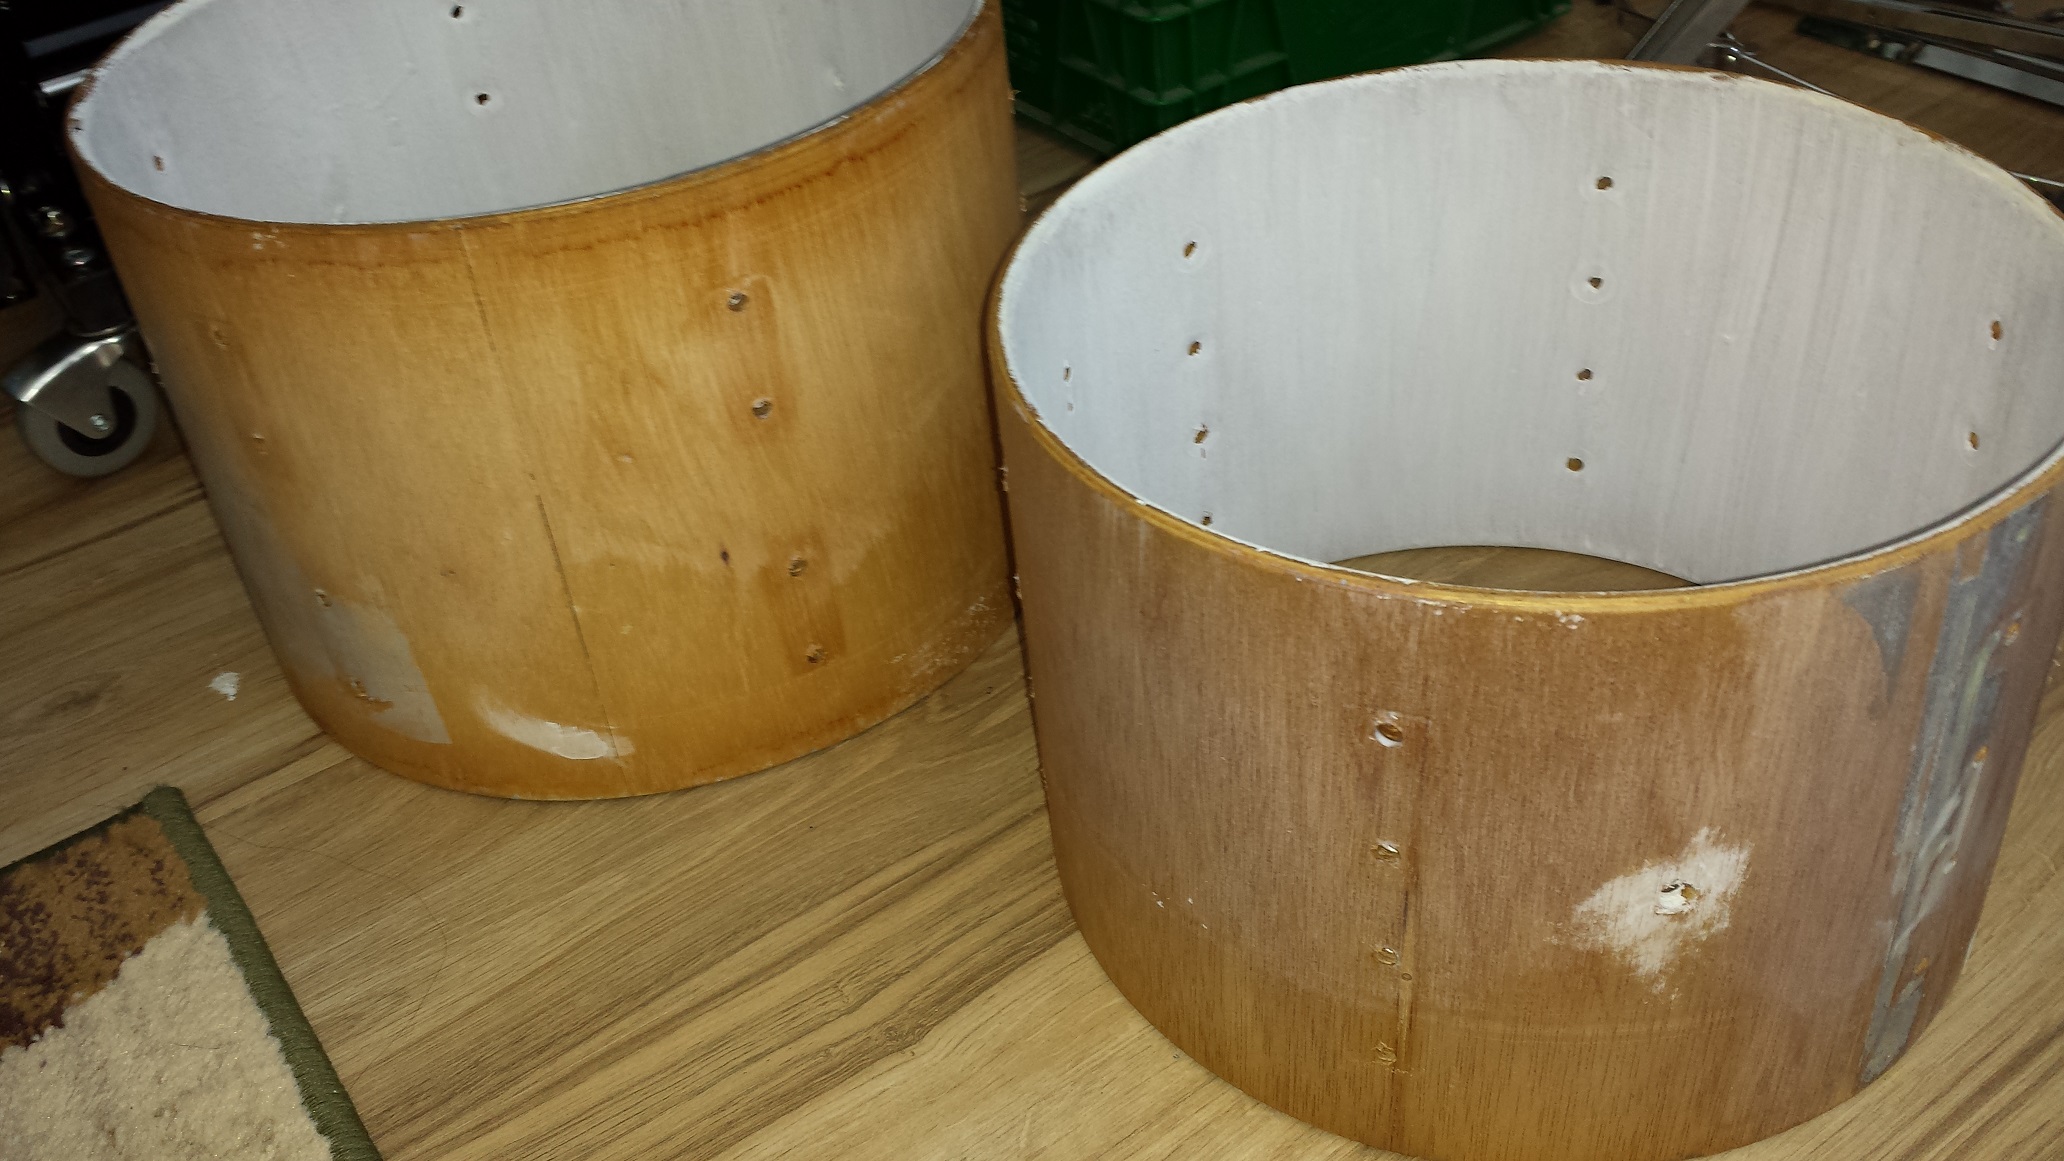
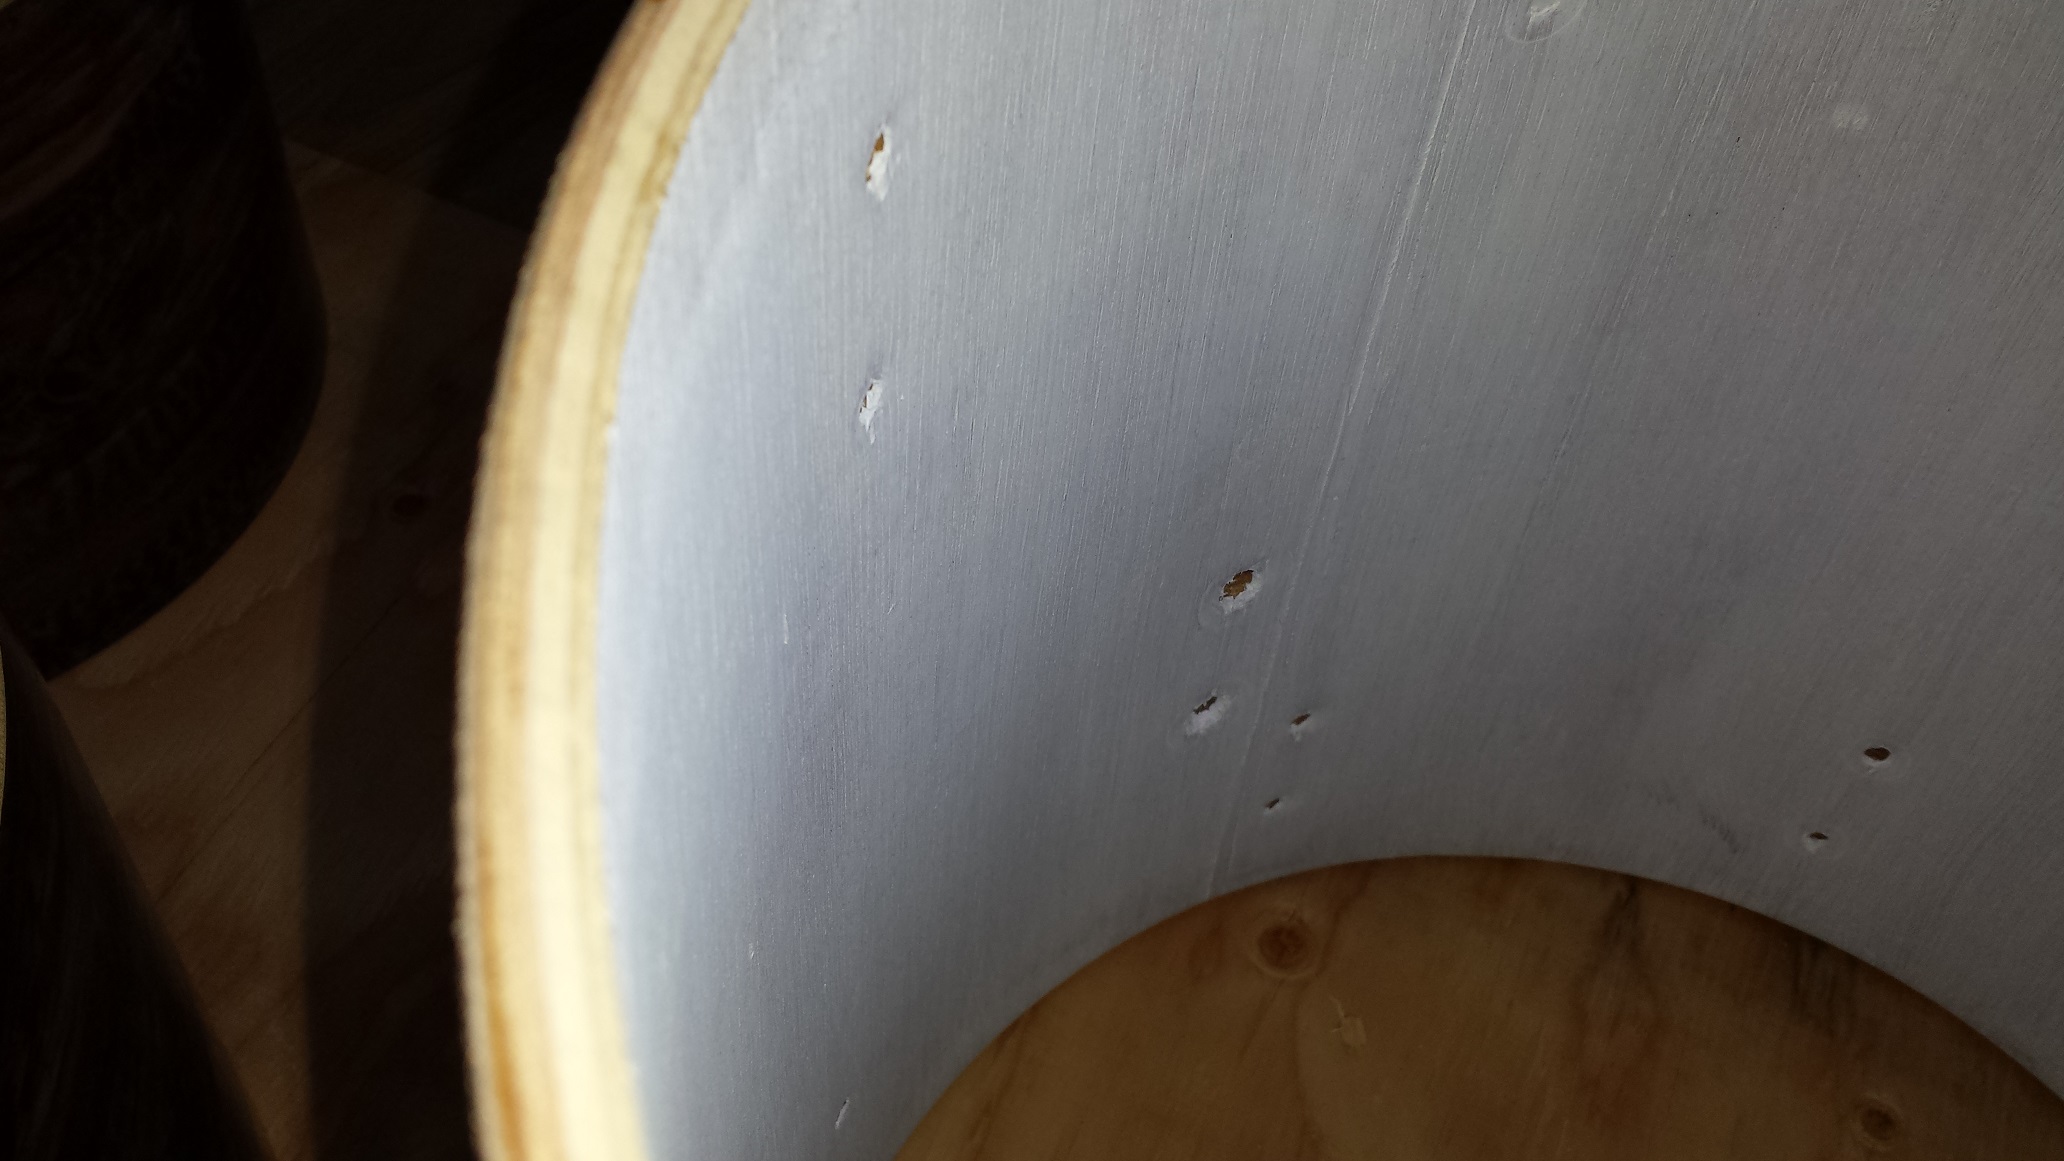
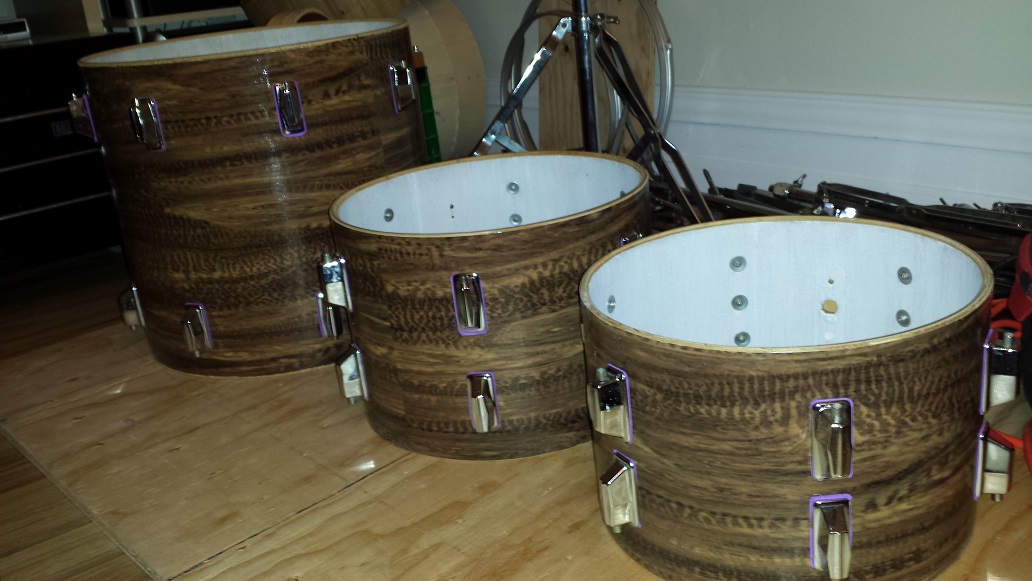
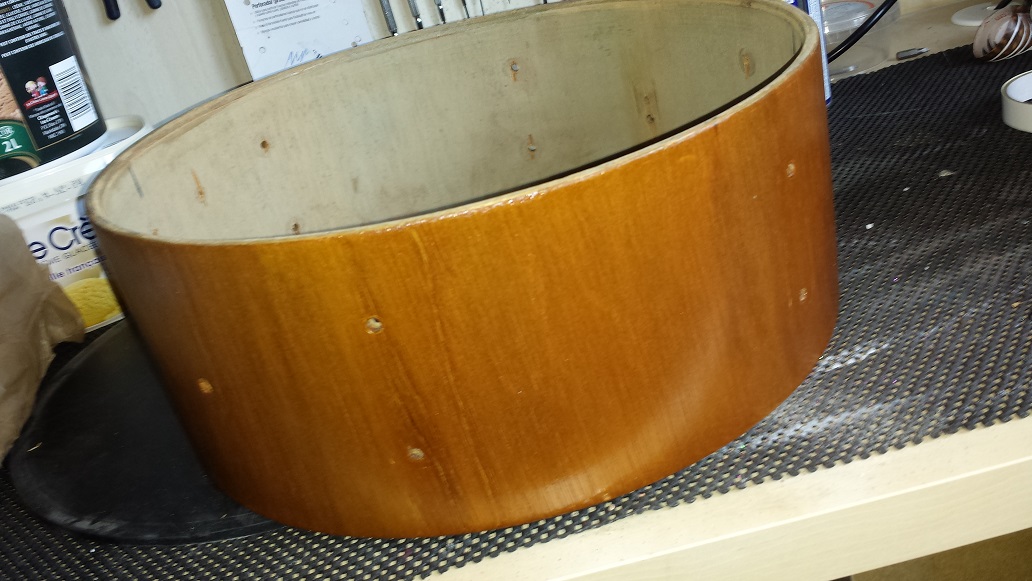
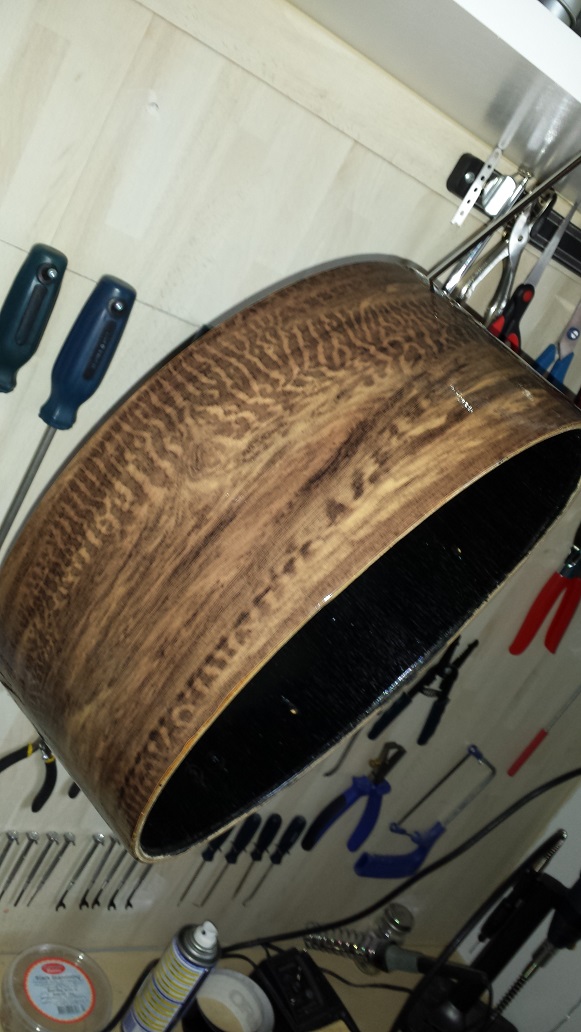
One of the advantages we have as DIY-ers is that we don’t have to make compromises for the sake of mass-production. We decided early on that we’d like to make the 16″ bass drum from a mahogany shell, in order to compensate for the smaller size, with the warmer and fuller sound that mahogany produces. Luckily old mahogany (or Lauan) kits are easy to find used at bargain basement prices. Our candidates are the 12″ 13″ and 16″ toms from a 70’s Pearl Kit which we proceeded to unwrap, seal the inside with a white alkyd sealer, and the outside with a mix of Weldbond (A Canadian brand of fortified white glue or “PVA”) and water. This mixture also doubles as an adhesion promoter for our “wrap”. Back in the day almost all drums were sealed, but is rarely done nowadays as a cost cutting measure. Note that if you are keeping the existing bearing edges make sure to mask them prior to sealing. We intend to cut new bearing edges on these so getting sealer on the bearing edges is no issue. Our toms will have standard 45 degree edges, while the bass drum will be getting a 45 degree edge with a round-over, again to compensate for the smaller size with a bit of added fullness. We also filled any holes that won’t be used with a mixture of Weldbond, fine sawdust and drywall compound. The snare drum to go with the kit will get decided at some point along the process.
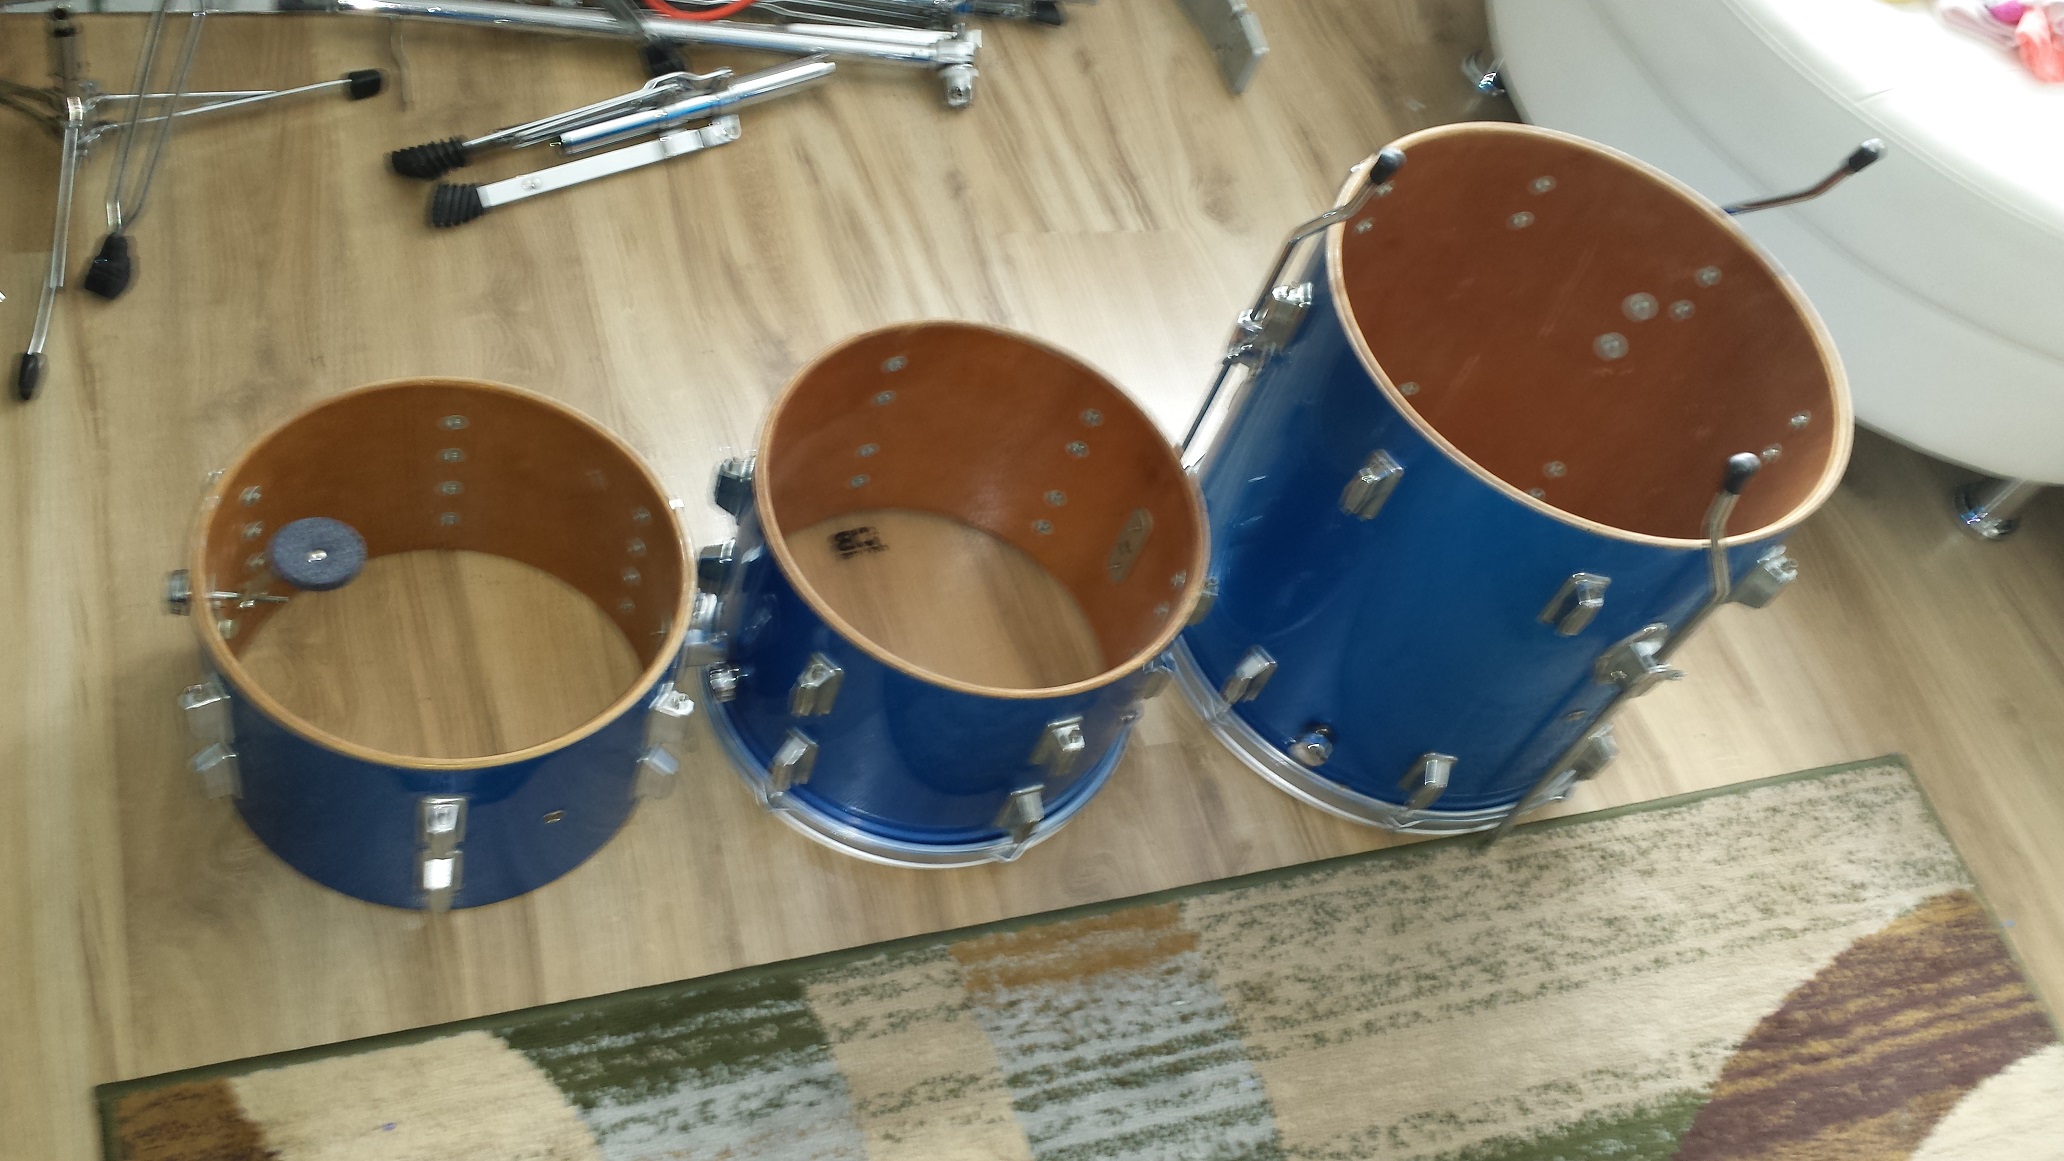
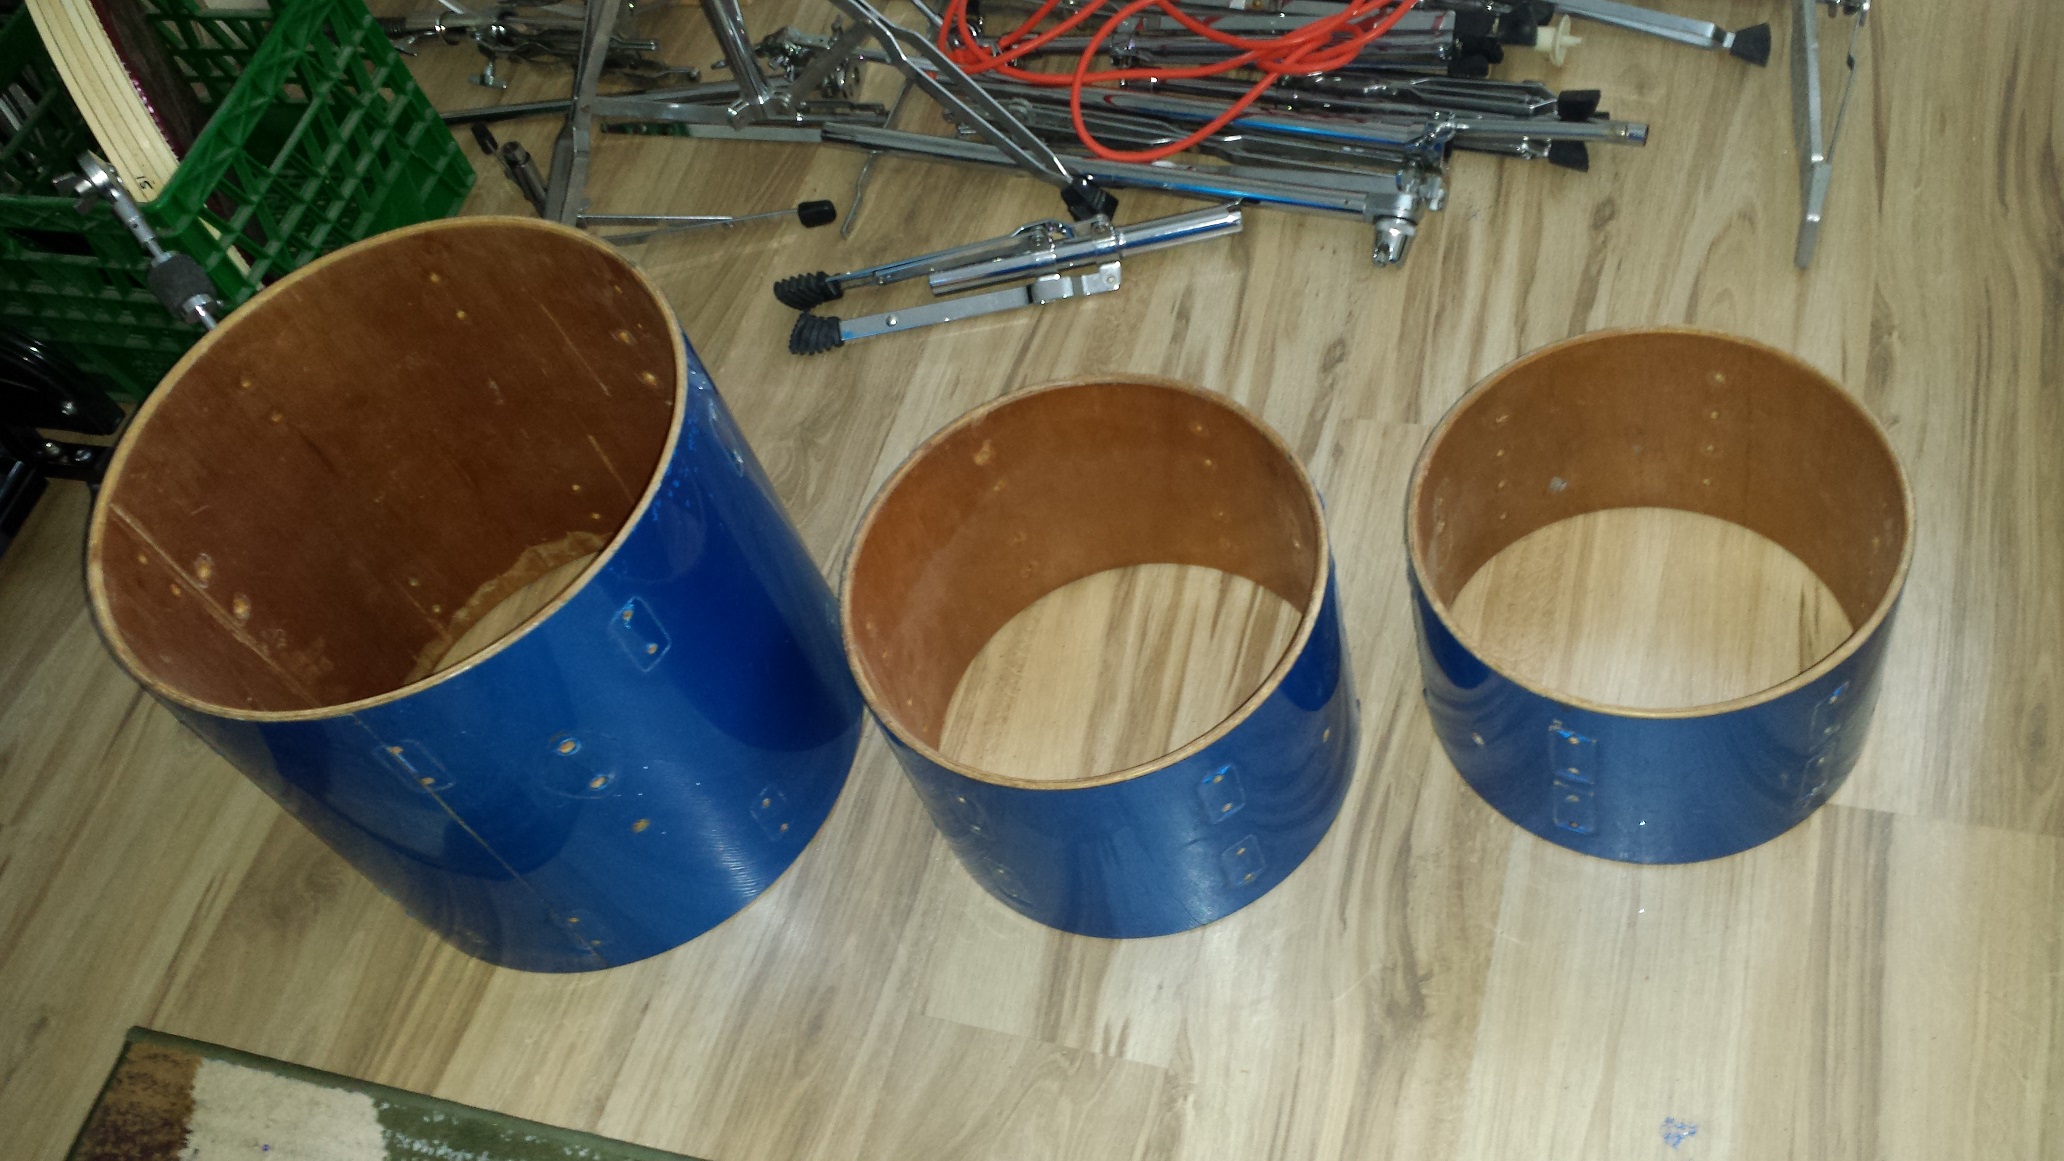
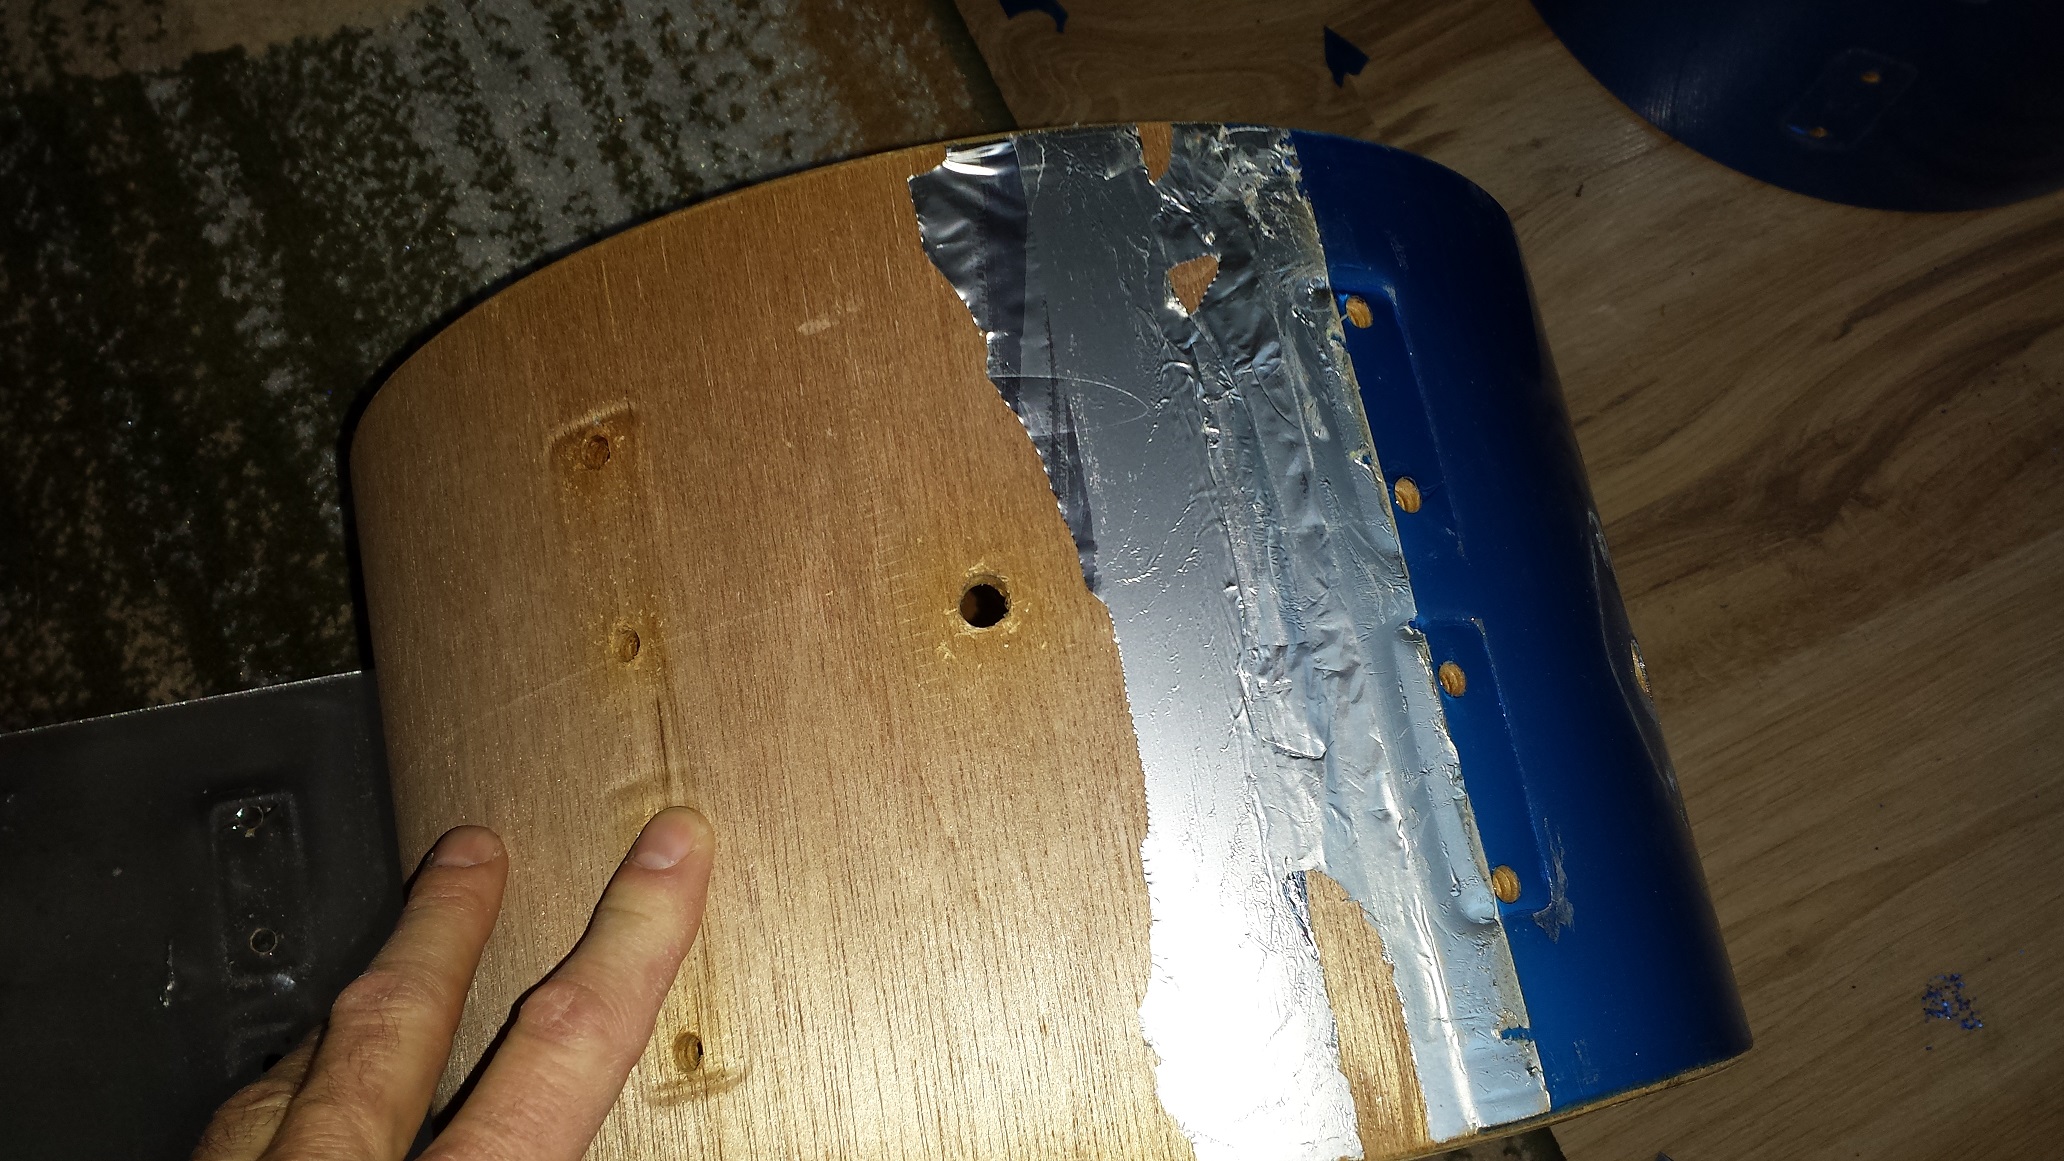
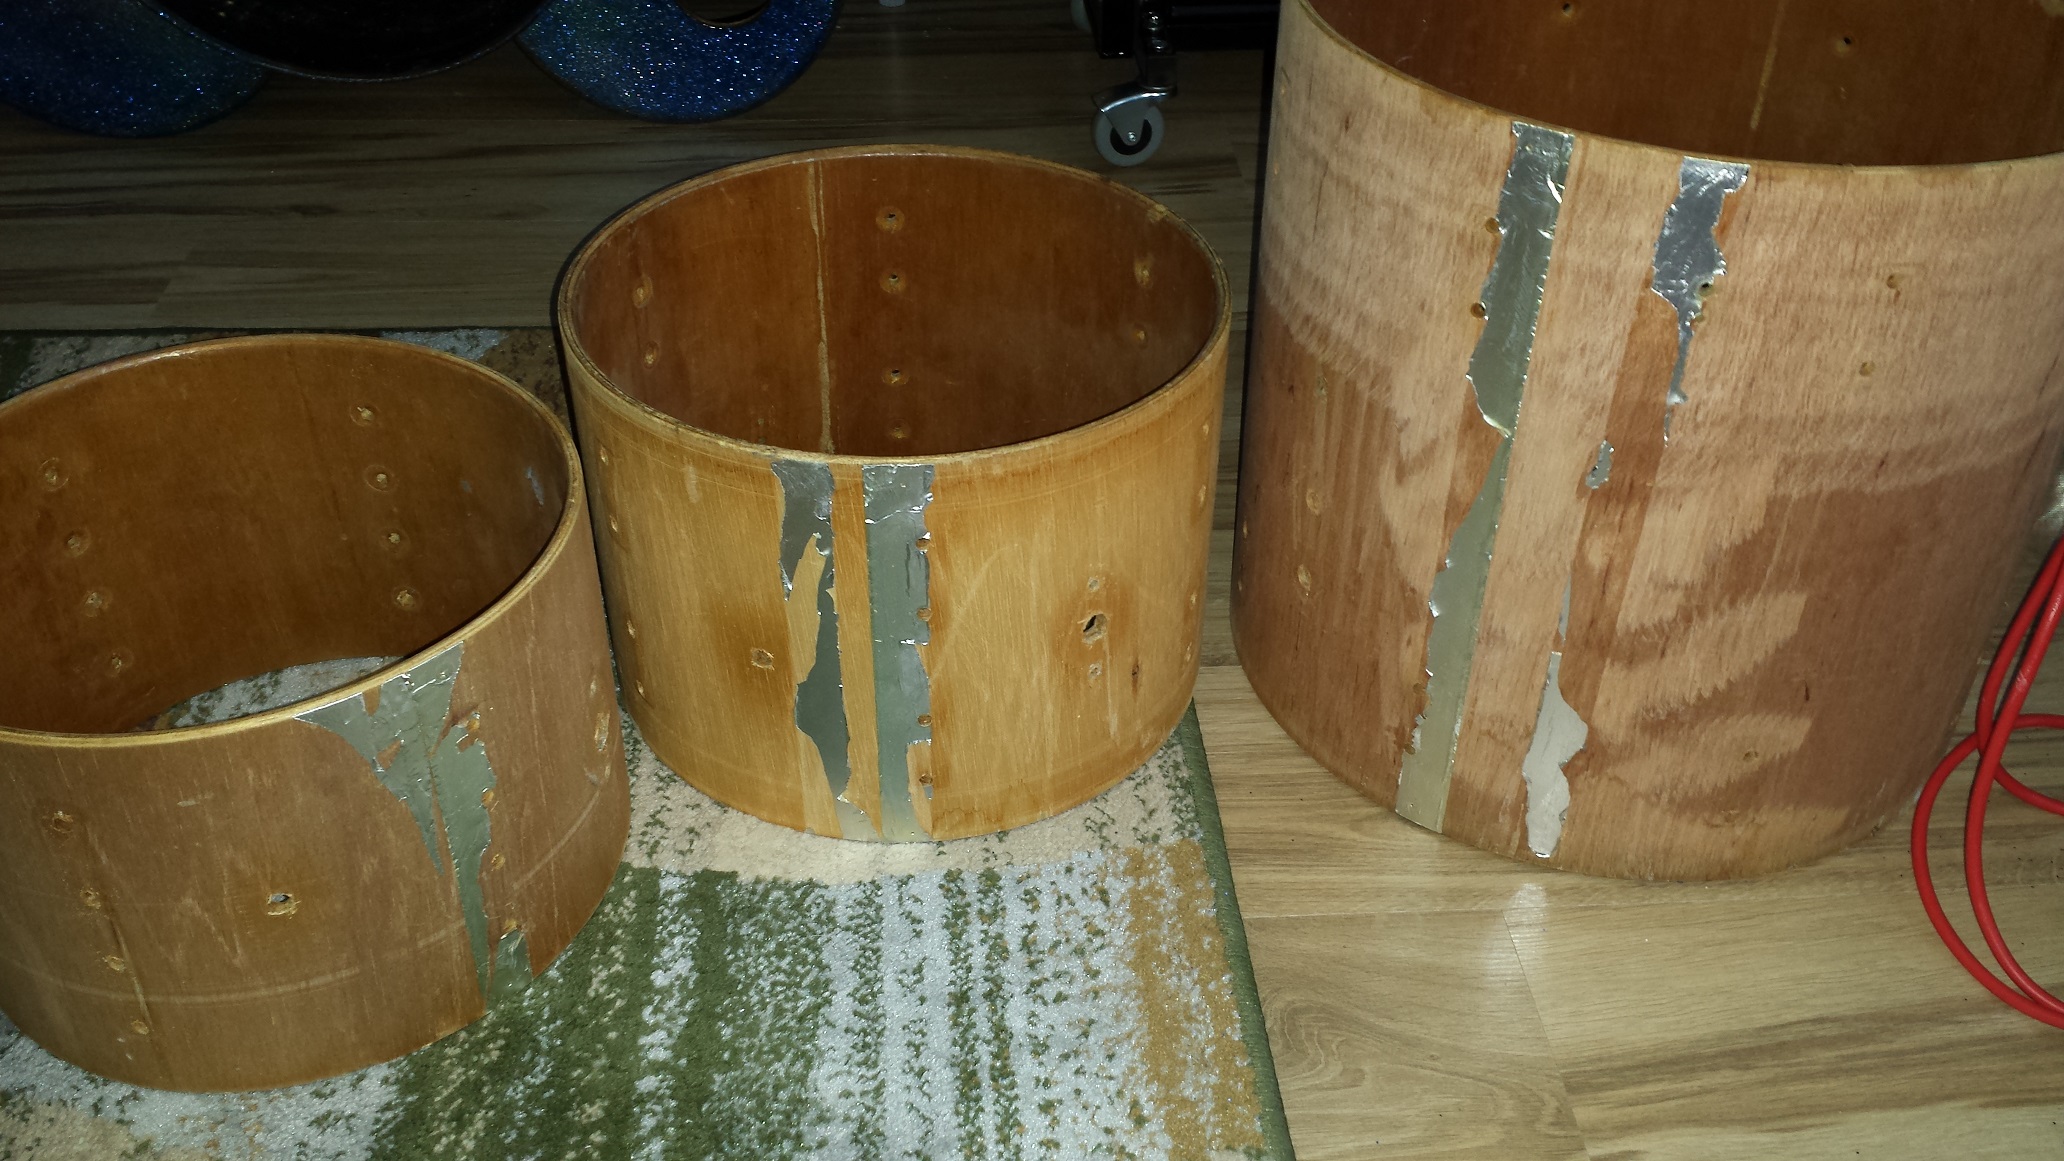
On these old drums the wrap was only adhered along the leading and trailing edges making it easy to remove without having to use the heat gun. Rather than risk tearing out any wood fibres by removing the most stubborn remnants of adhesive we sanded it down instead.


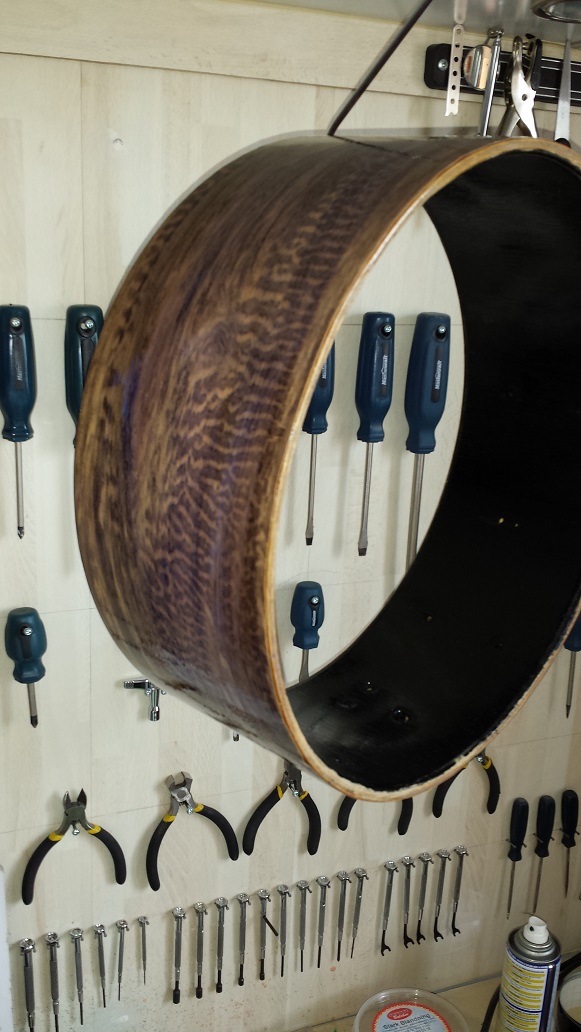
After the sealer has thoroughly dried we are ready to apply our new finish. Using drum wrap would be an obvious choice, but since we intend to optimize this kit we don’t want to introduce anything that may have a choking effect. (Not that we believe that a properly adhered wrap has a negative effect noticeable to the human ear, but regardless…) One option would be a natural finish, however this would involve a whole lot more sanding than we have the patience for. Instead we will be using contact paper, which has the thickness of about four coats of lacquer. We used “DC-Fix” brand. This has been done with varying results by a lot of folks. Here we will introduce you to a few tricks to ensure success. While high-quality contact paper, such as those used for furniture, automotive and sign applications, are very resistant to scuffs and scratches, they are easily gouged and often wrinkle when tightening the tension bolts. The first trick is already performed; using the mixture of fortified PVA and water to seal the outsides of the shells, providing an excellent adhesion promoter. The second trick is to clear-coat over the vinyl. This provides the durability of a lacquered finish, adds lustre and depth while preventing the dreaded wrinkling.
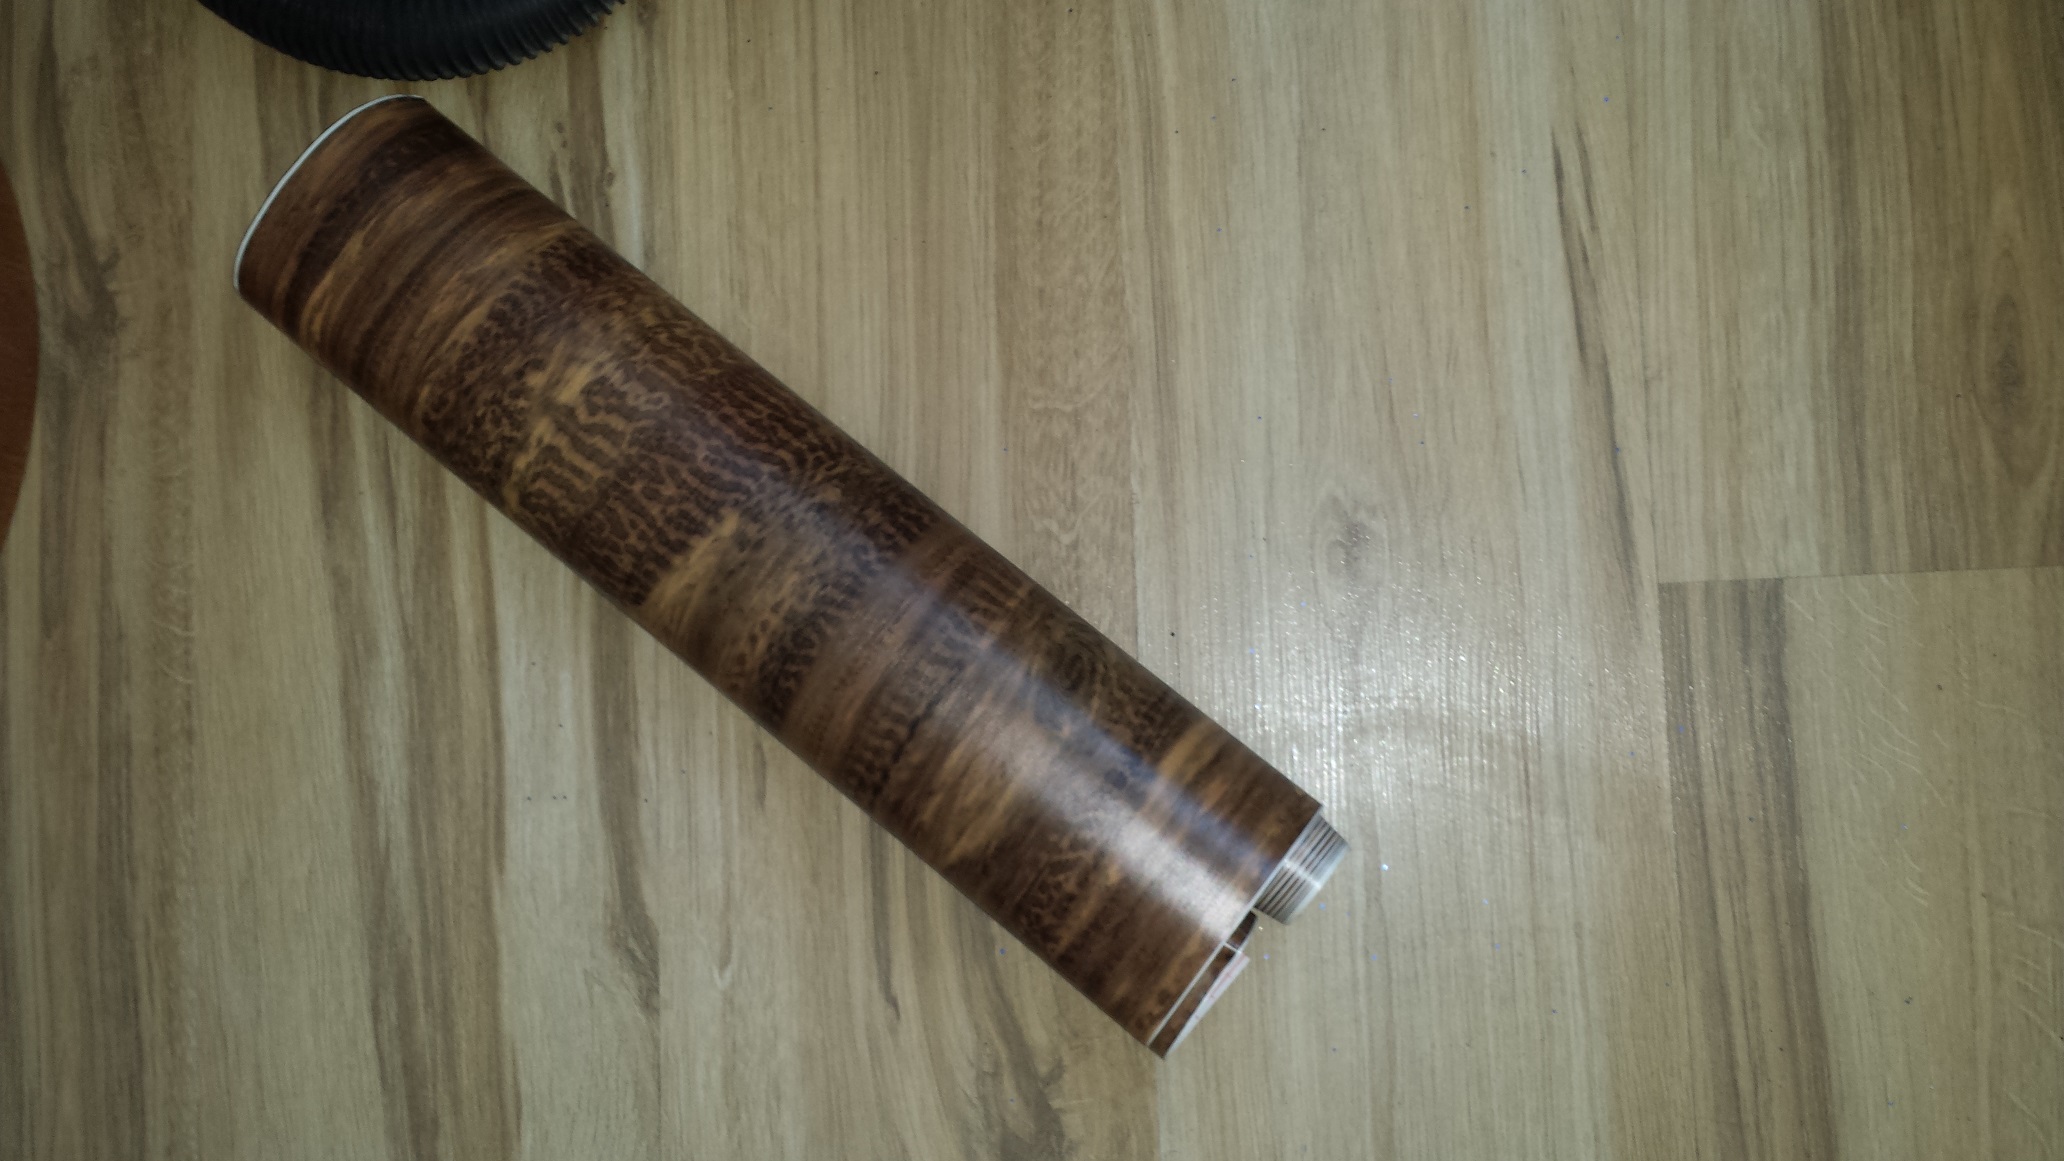
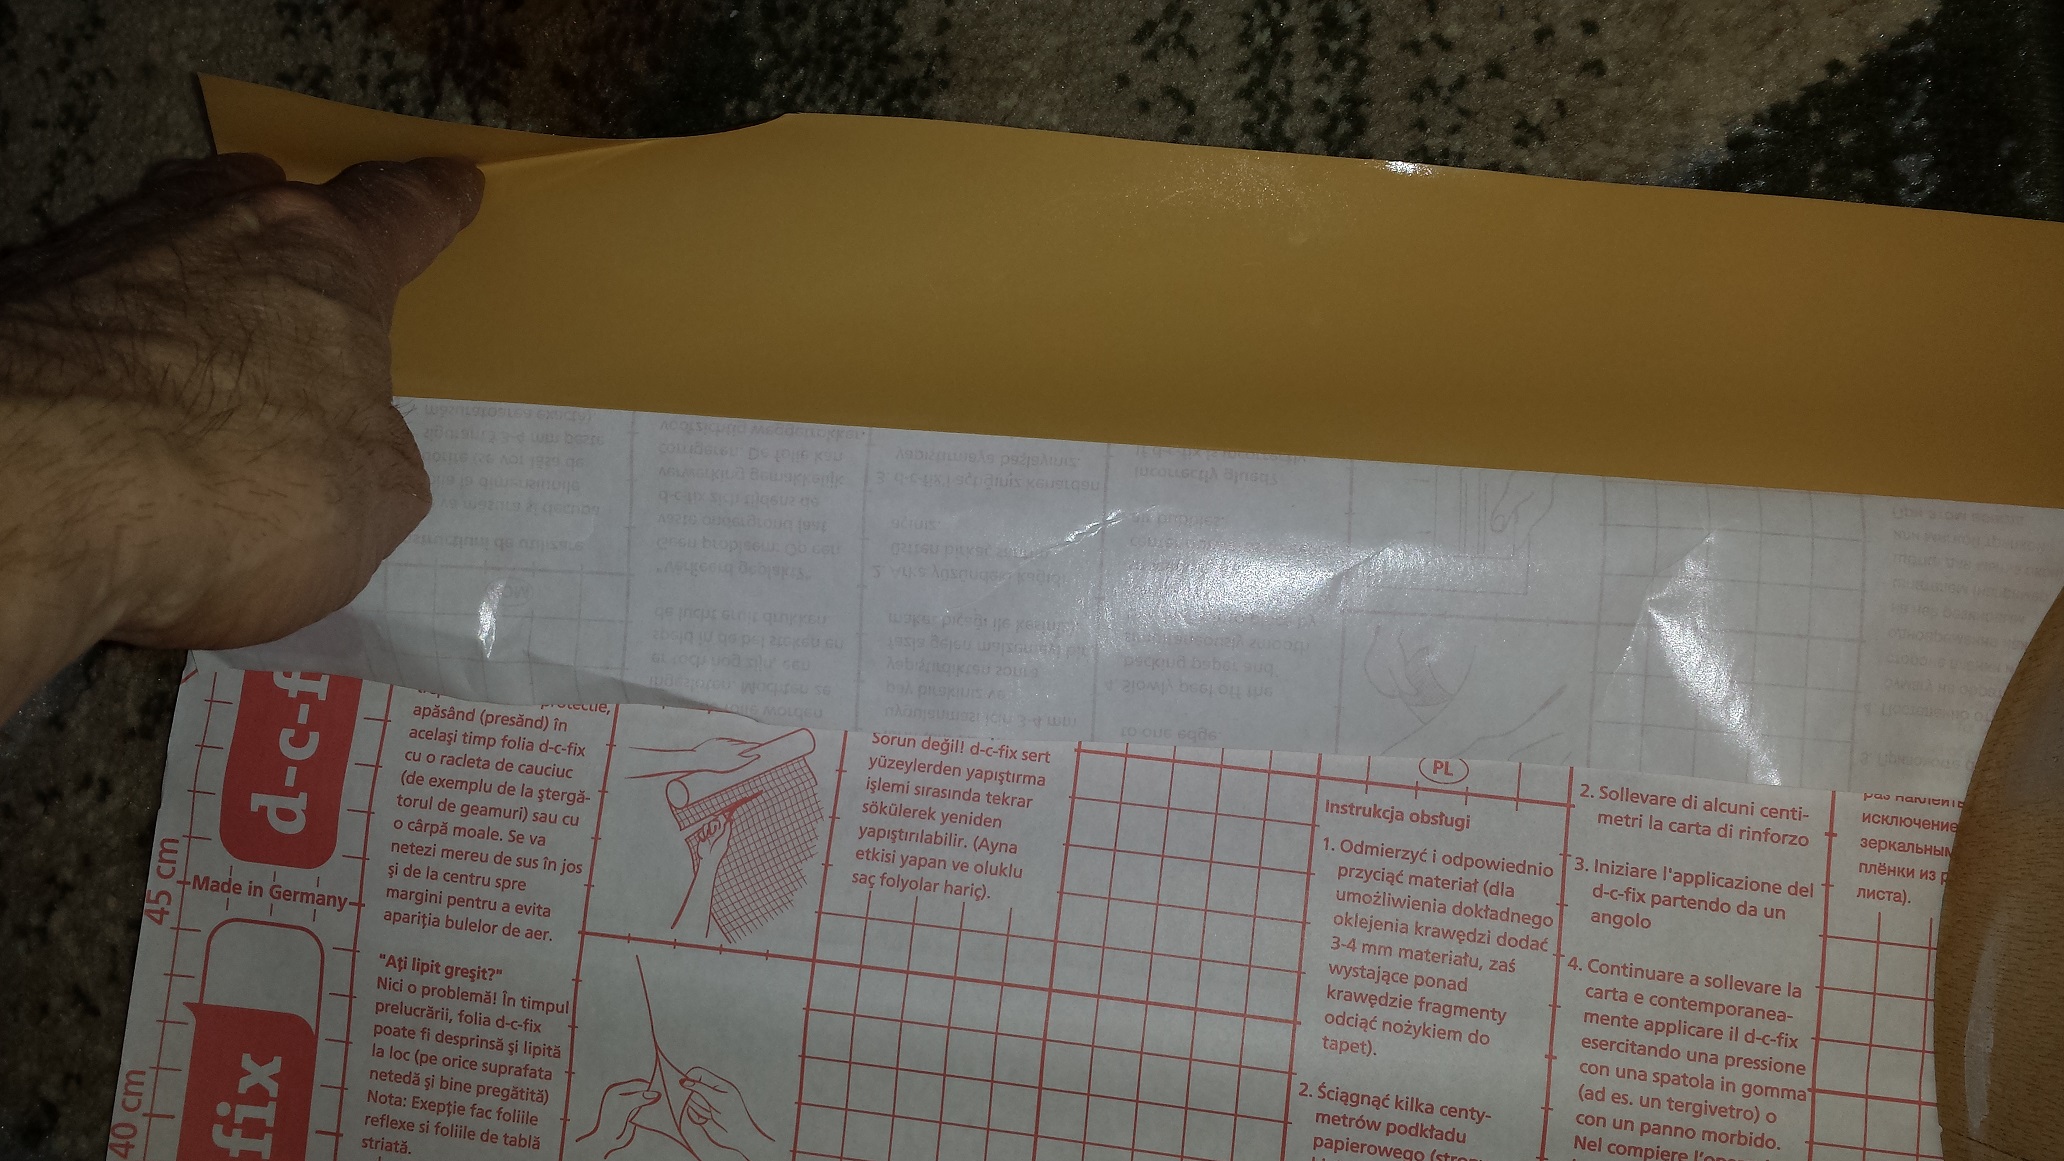
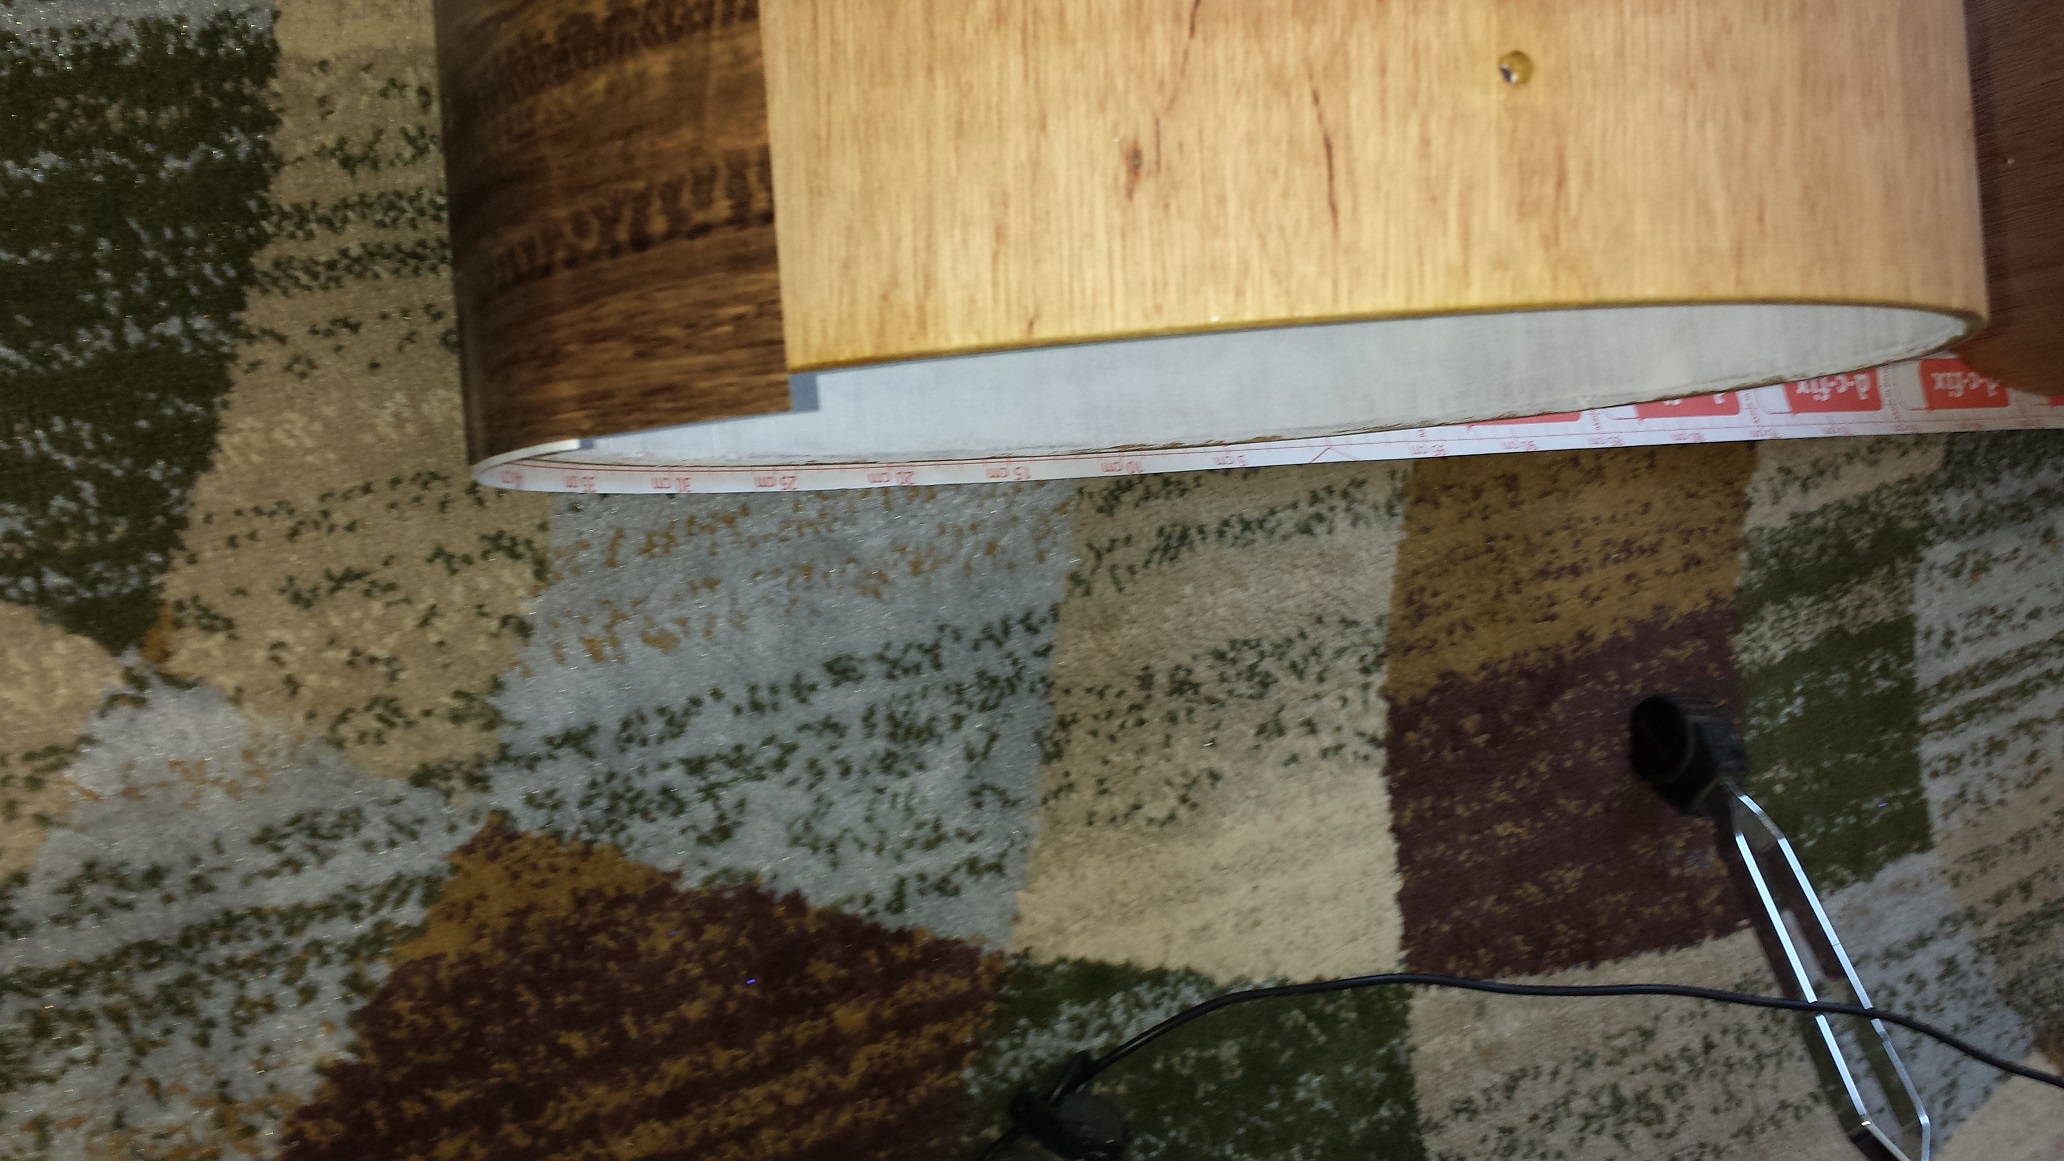
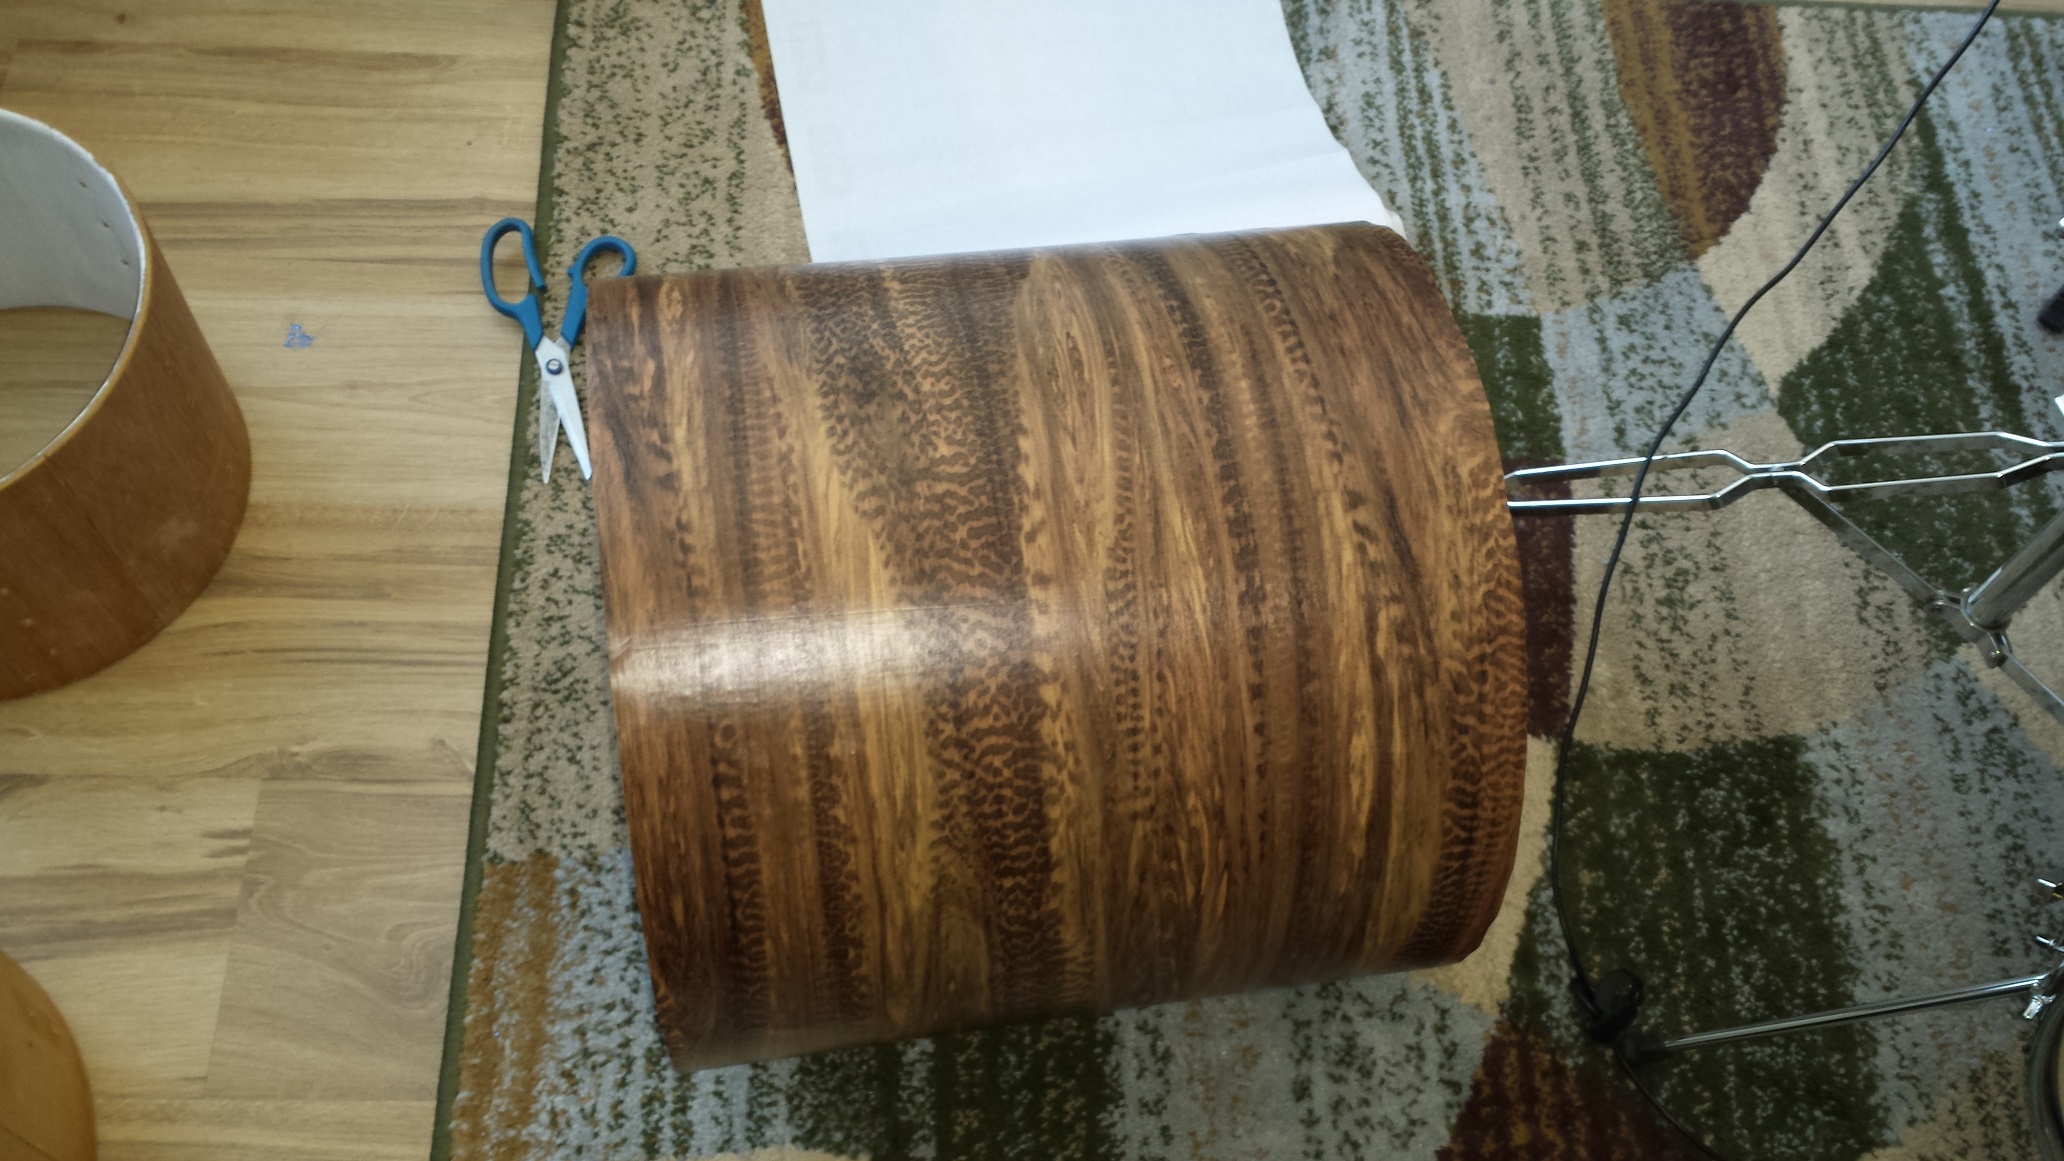
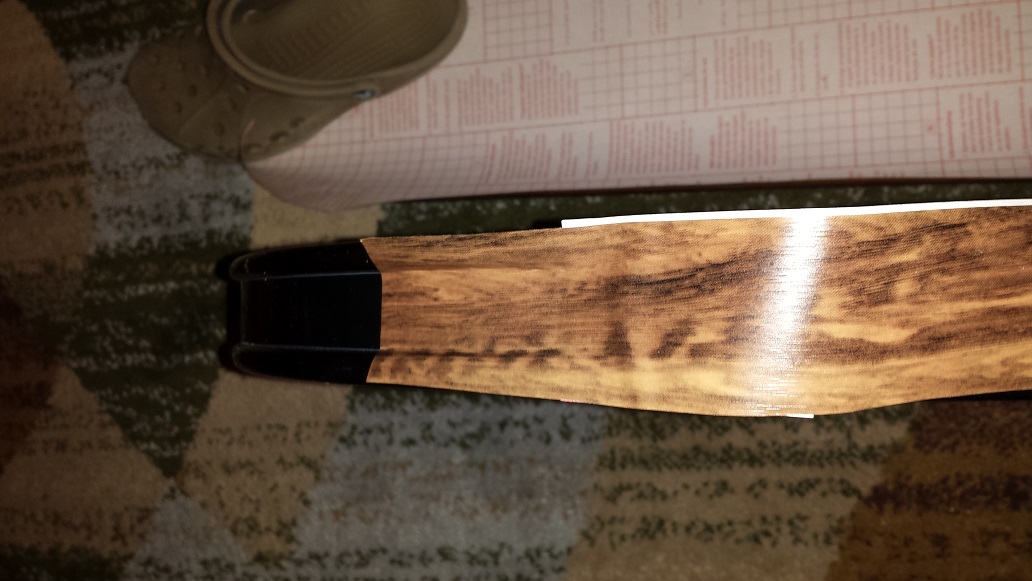
Start with cutting the vinyl to size, then simply fold back the backing paper a couple of inches, line up with the edge of the drum, attach the leading edge of the self adhesive vinyl and proceed to wrap the entire drum by firmly rubbing the vinyl down on the shell. Work in inch long increments removing the backing paper as you go.
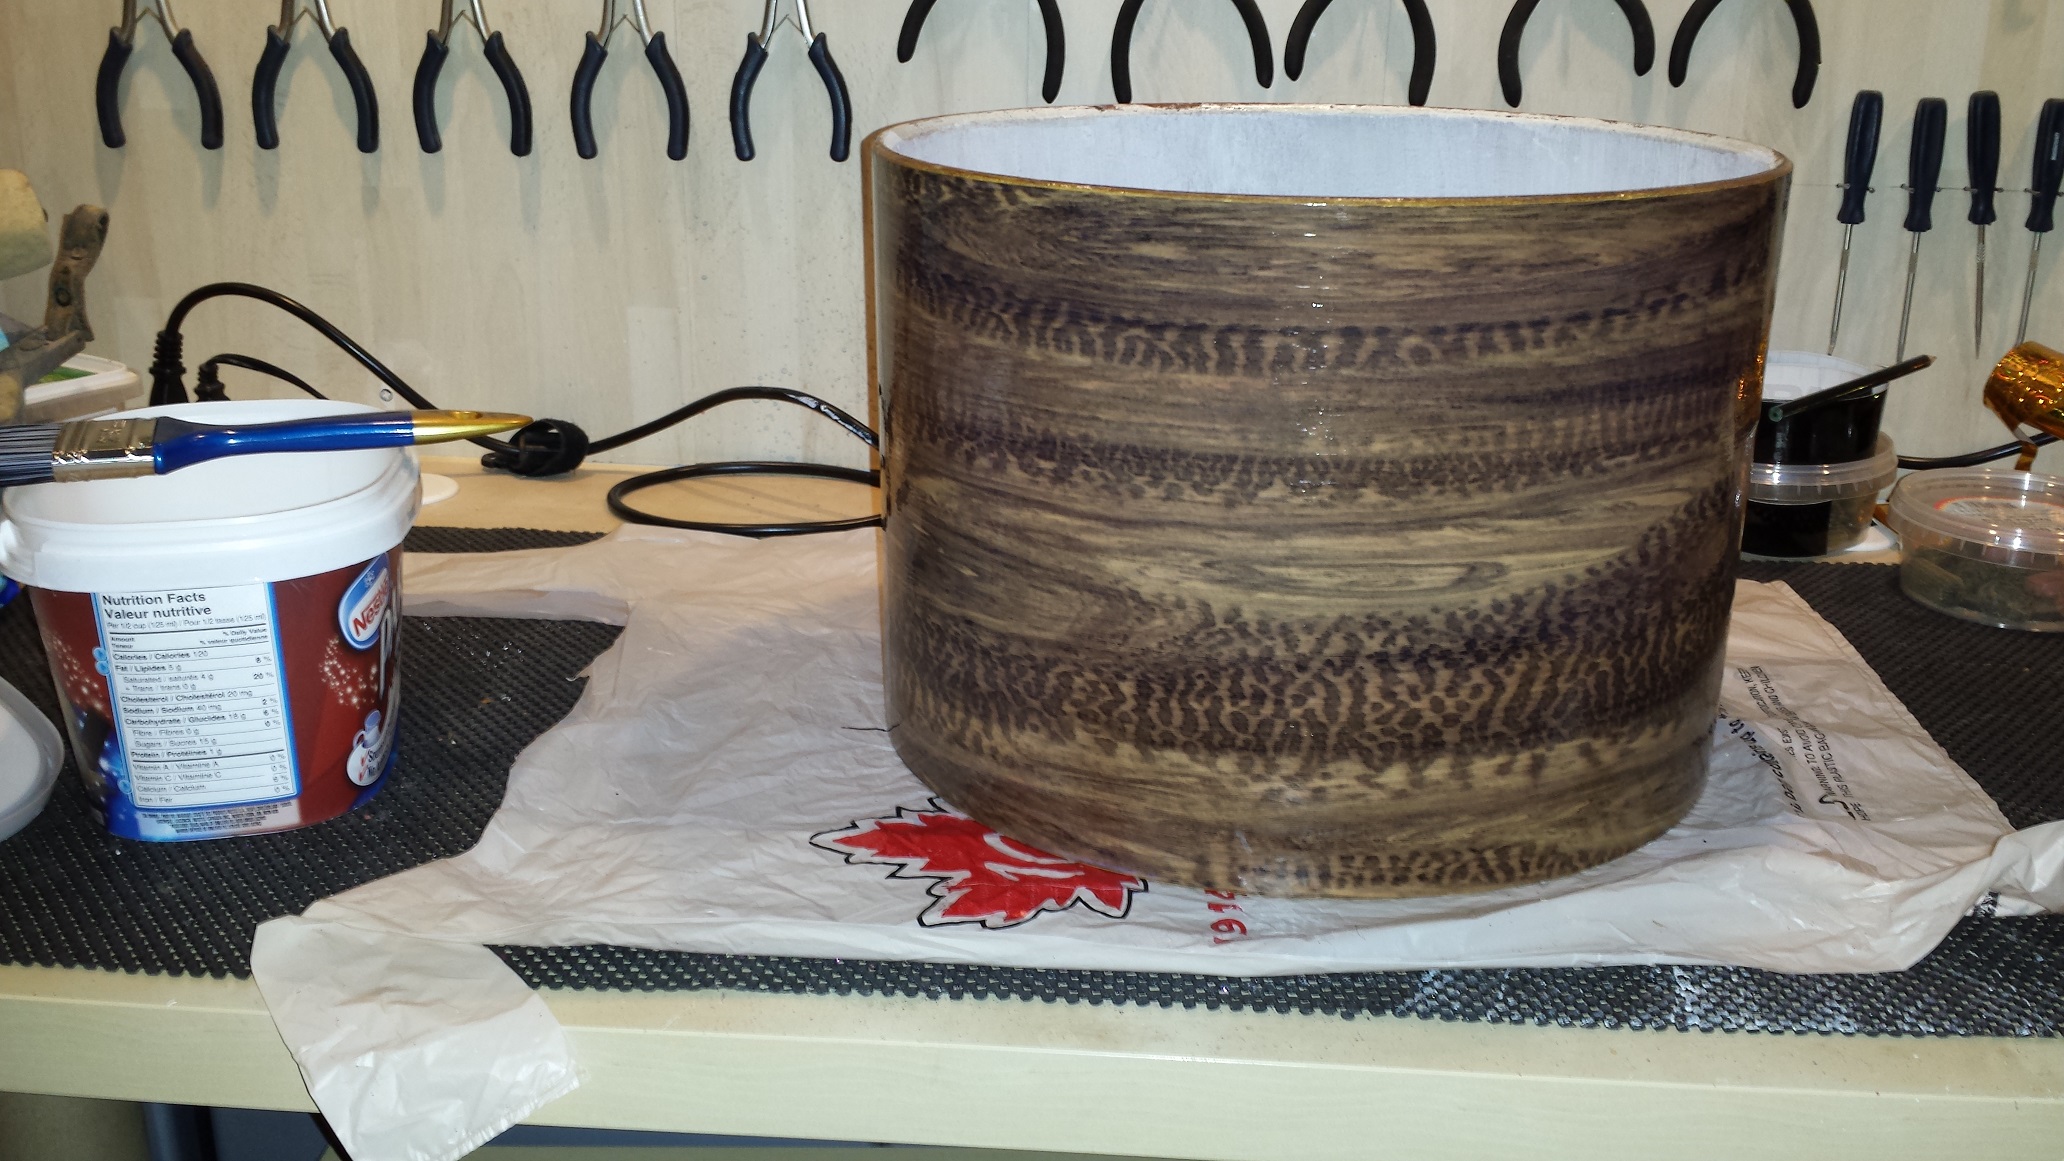
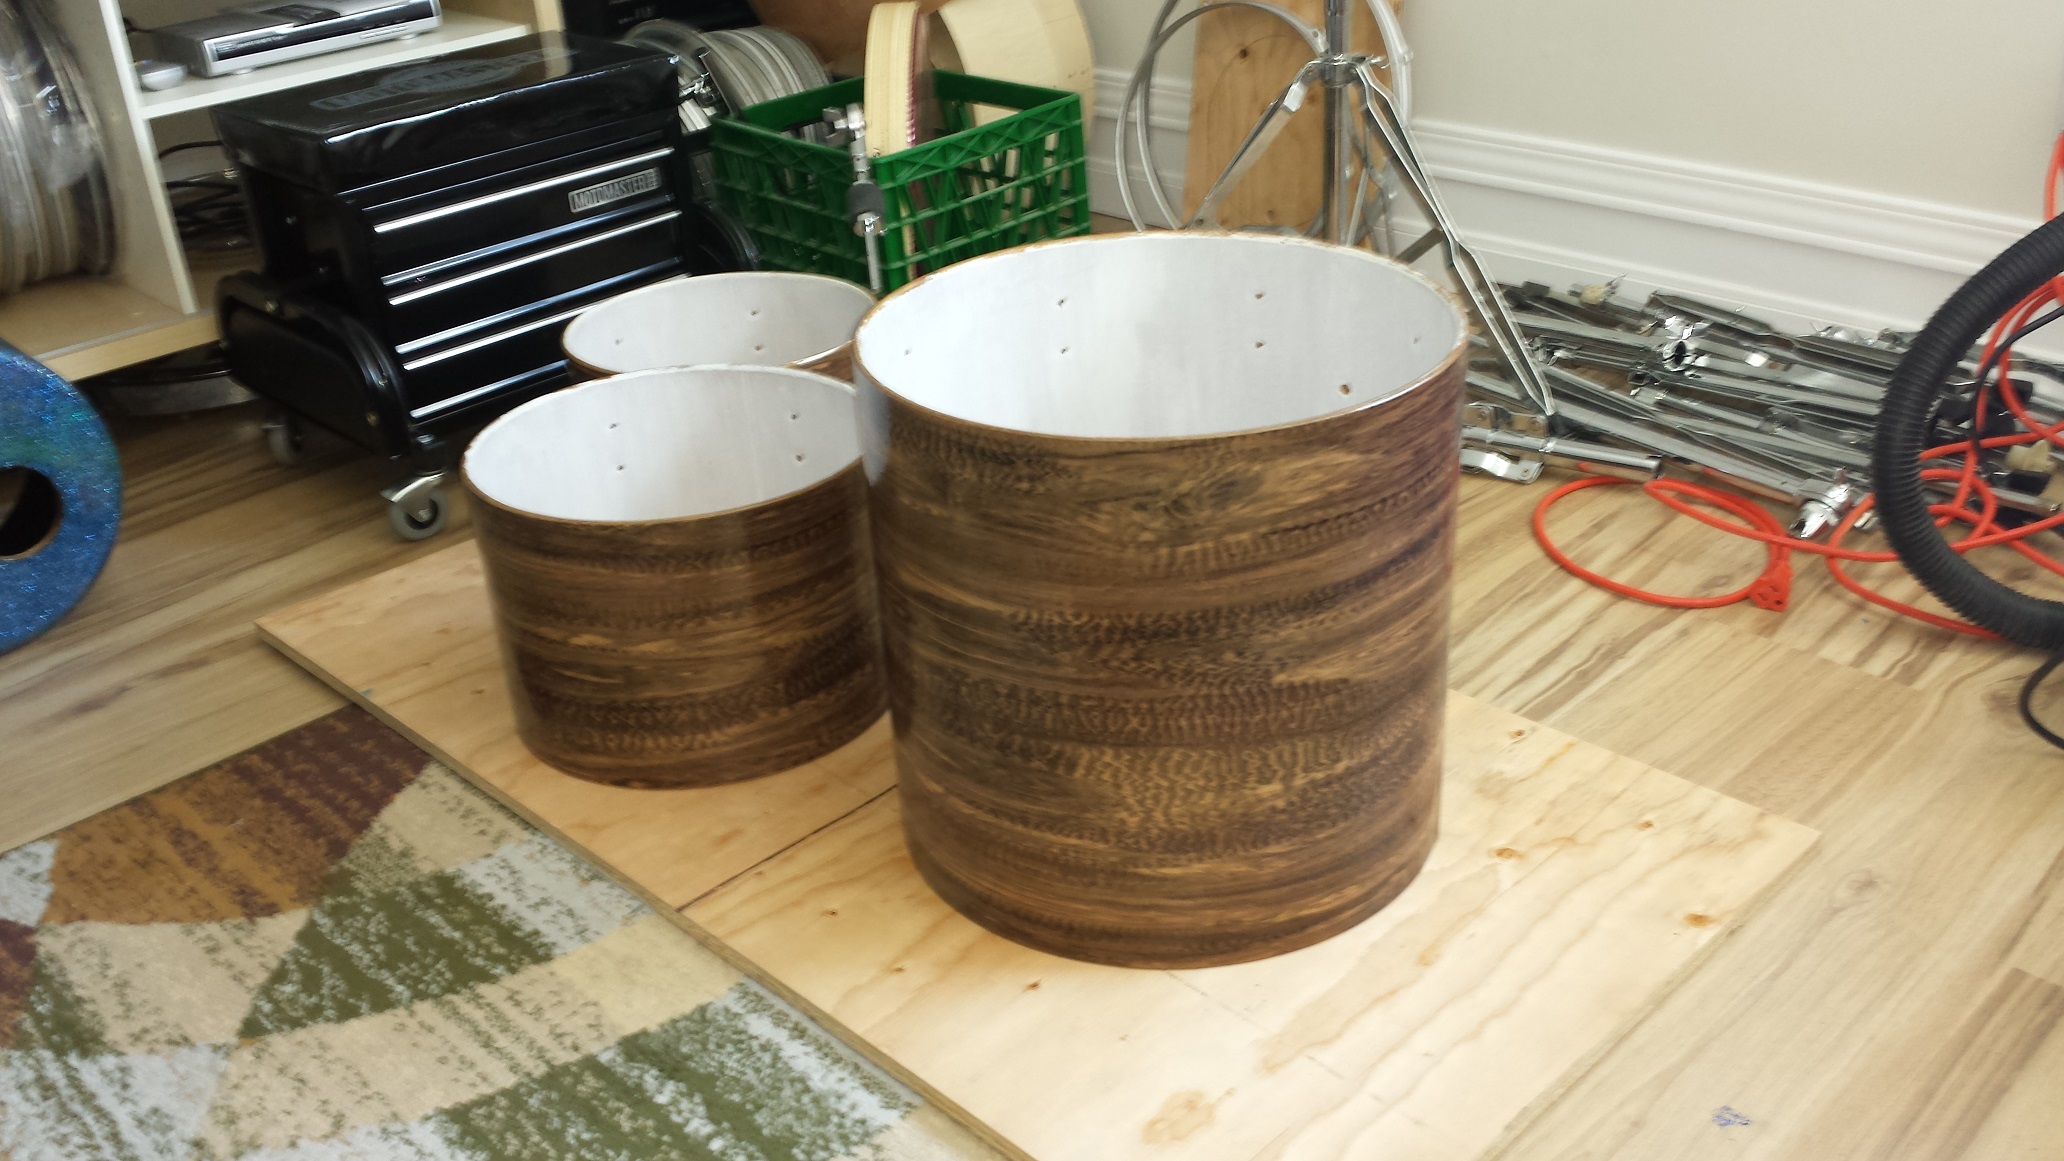
Trim the excess off with an Exacto knife using the edge of the drum as a guide. Now we are ready to clear coat. We use a water based polyurethane applied with a brush in the direction of the grain. Four coats or so is adequate to provide durability and lustre, but we applied eight to ten coats. (We lost count.) One advantage of the water based poly is a rapid drying time allowing us to add coats every couple of hours. After clear coating leave the shells alone for at least five days to fully cure.
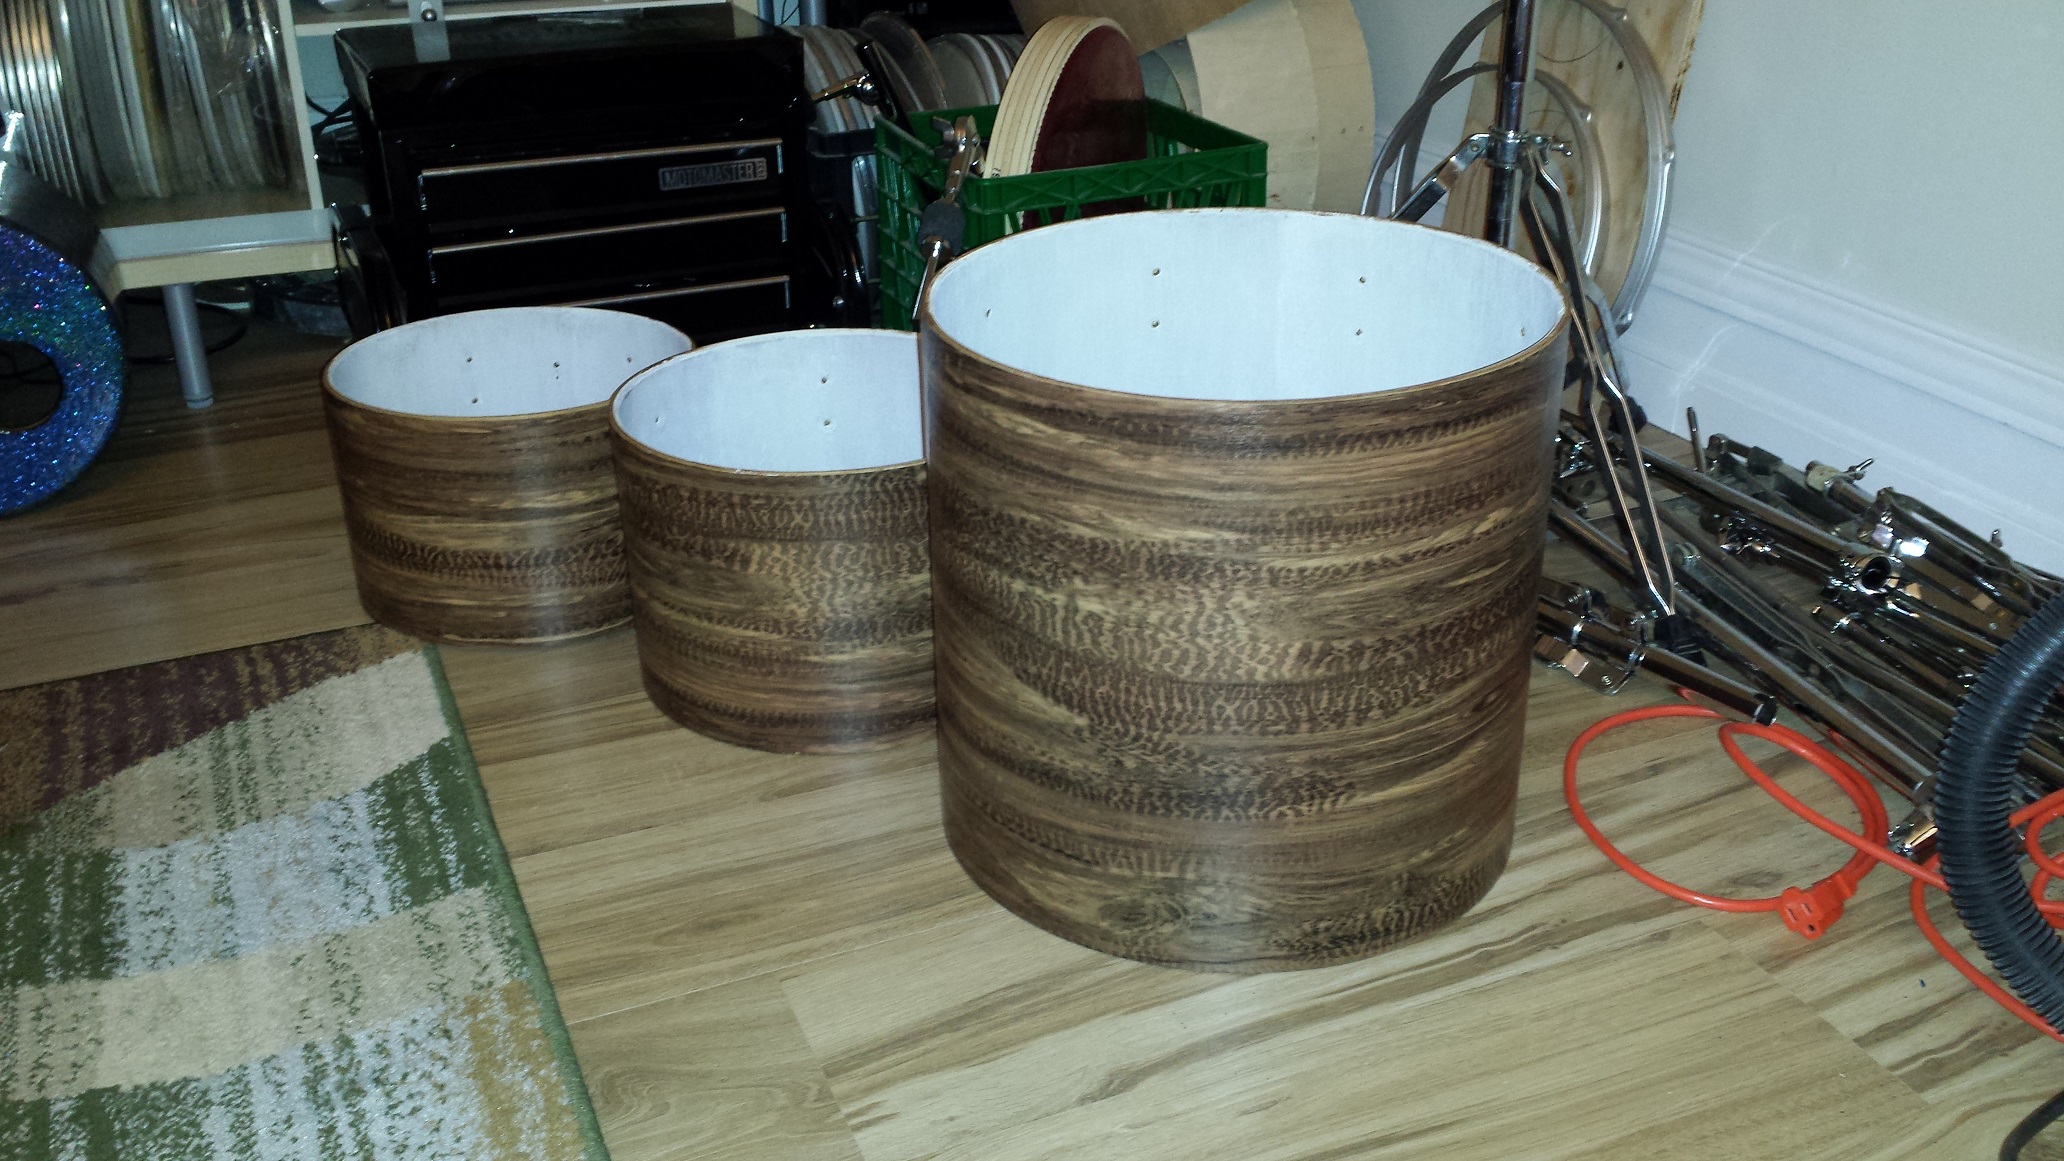
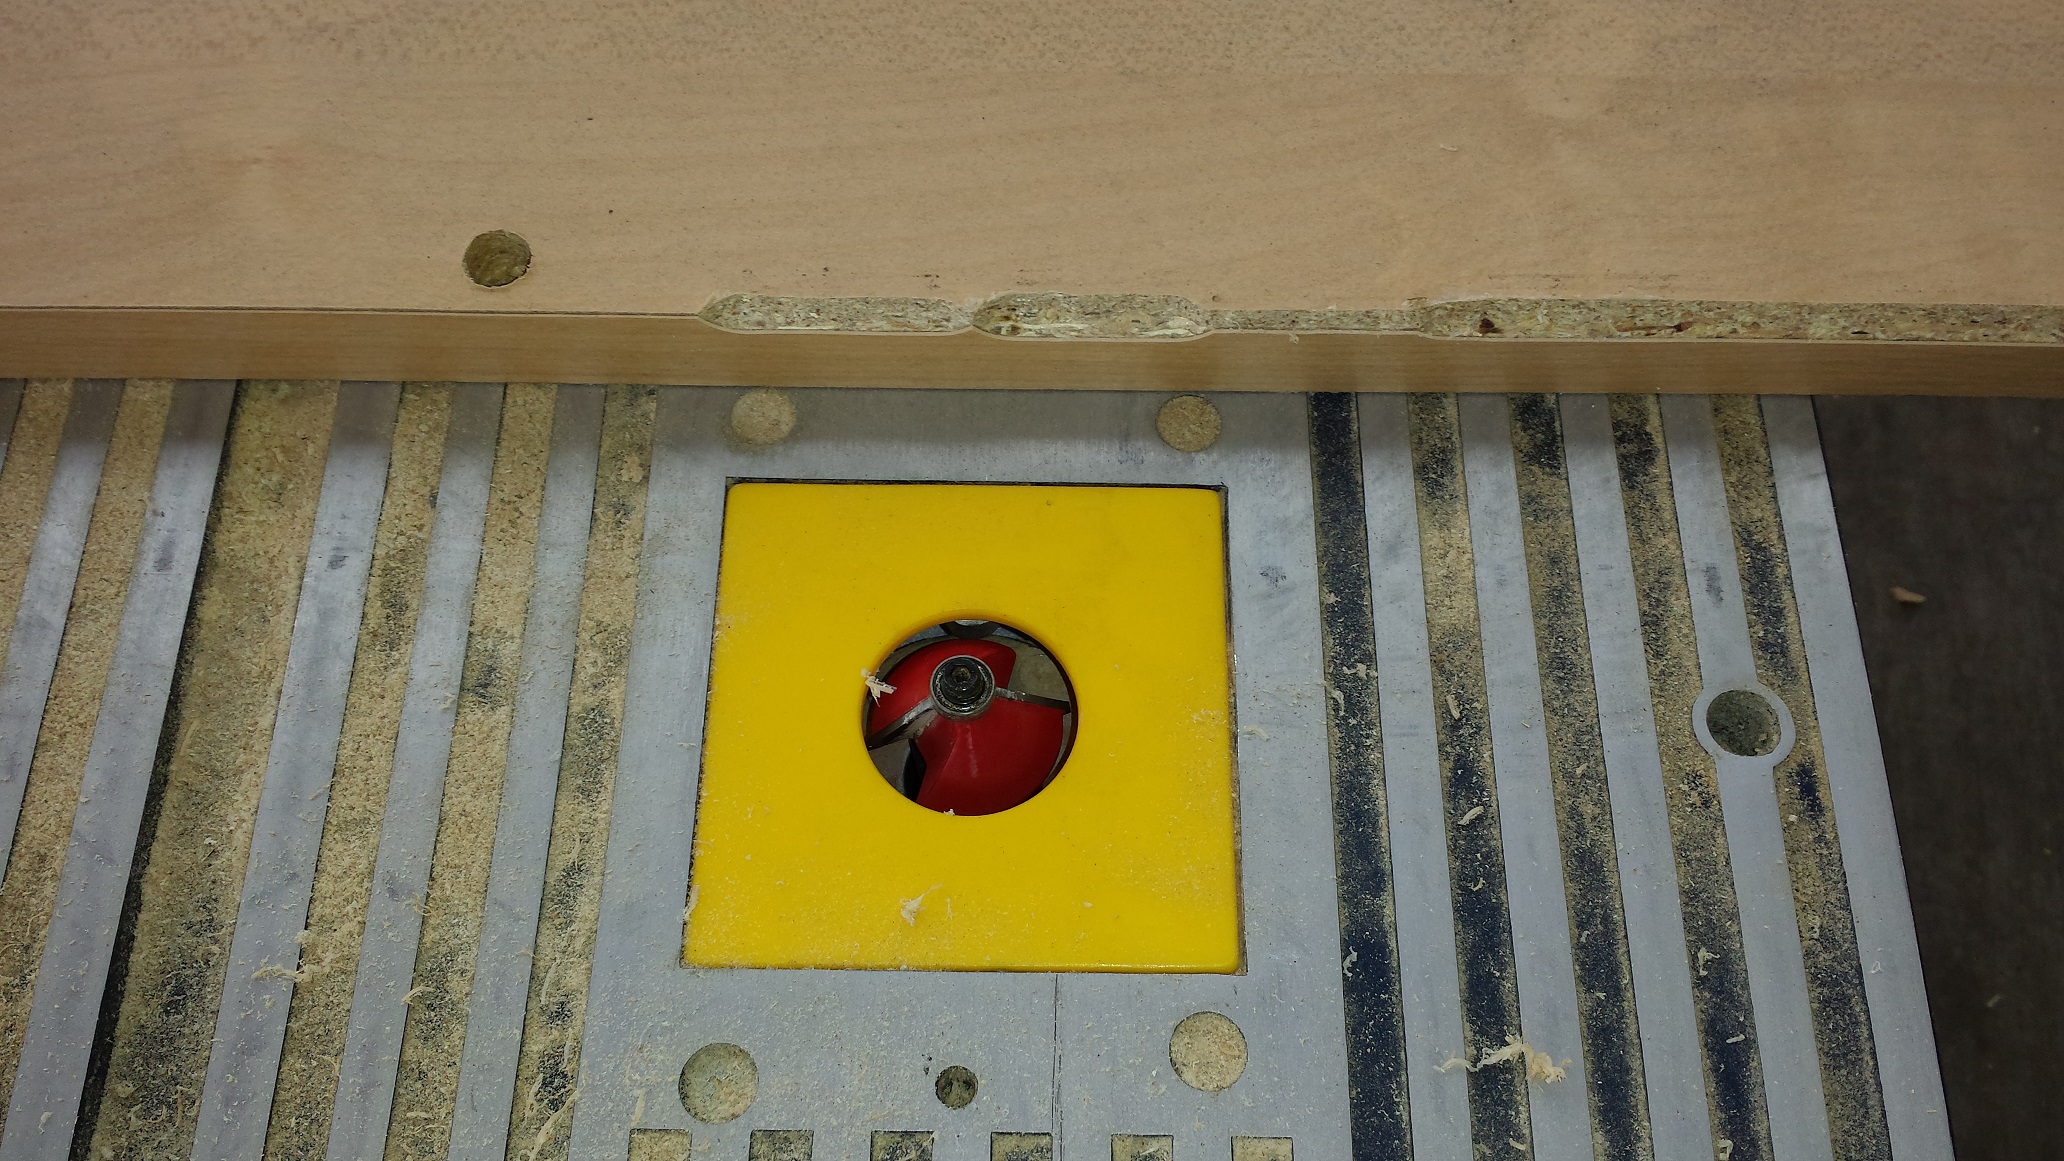
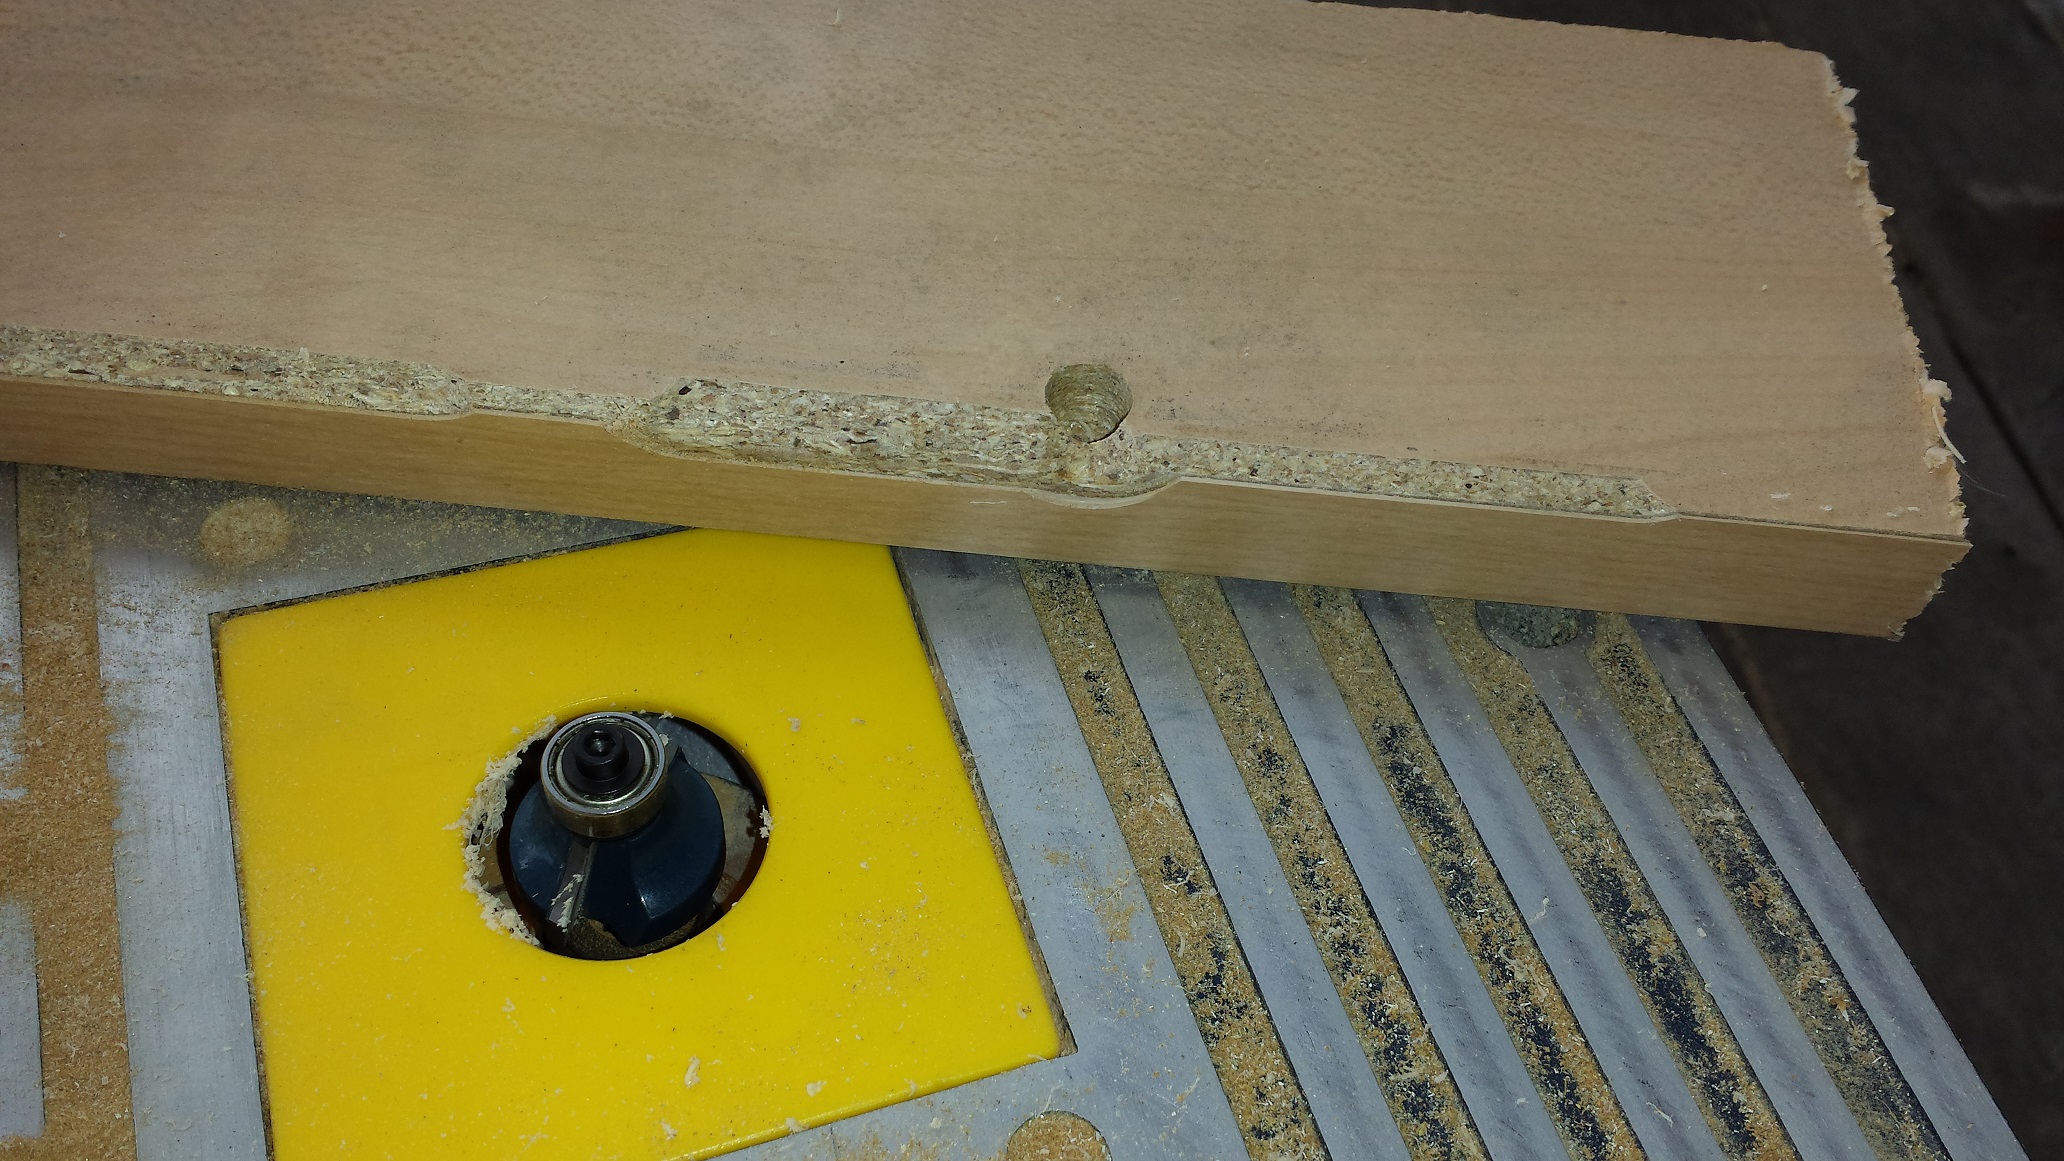
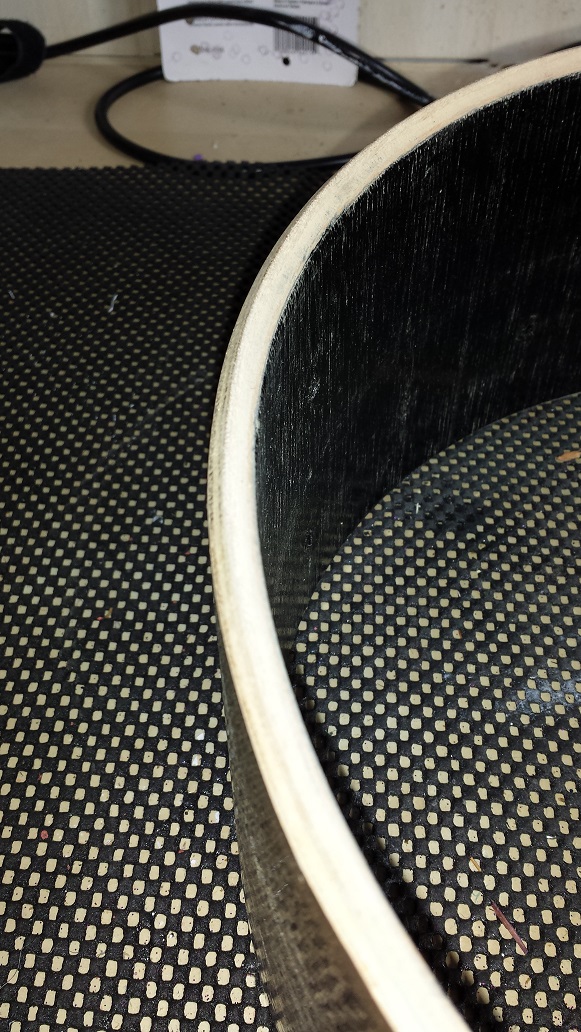
With the clear coat almost fully cured we can proceed with cutting the new bearing edges. After making a few test cuts to set the depth of the 45 degree router bit we cut all the inside edges the same, then re-adjust, test cut and cut the outside edges of the toms. Follow the same procedure for the rounded bit and cut the outside round-over on the bass drum. After the edges are cut we smooth out all the corners with 400-grit sandpaper.

Section 2: Preparing the Components
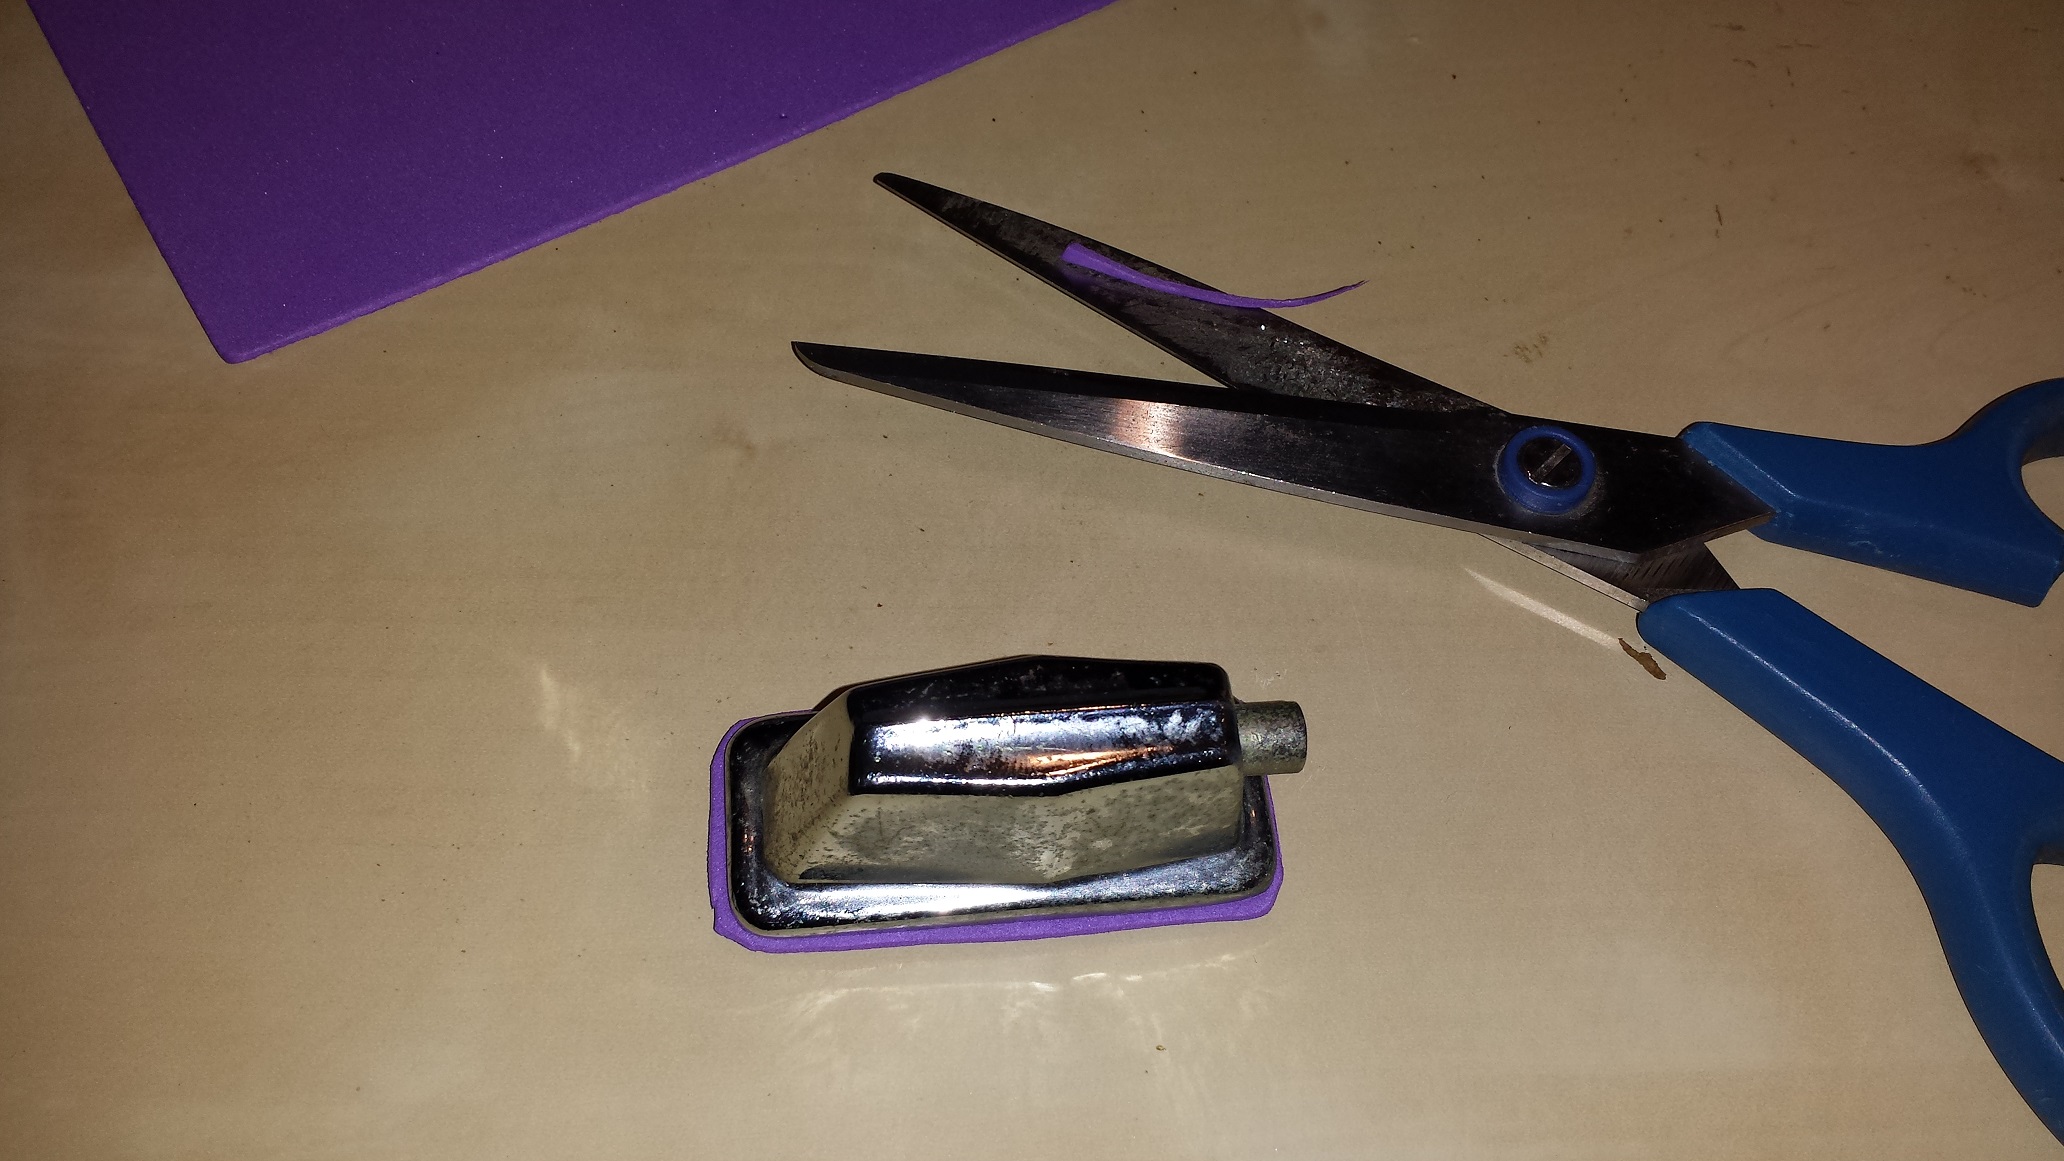
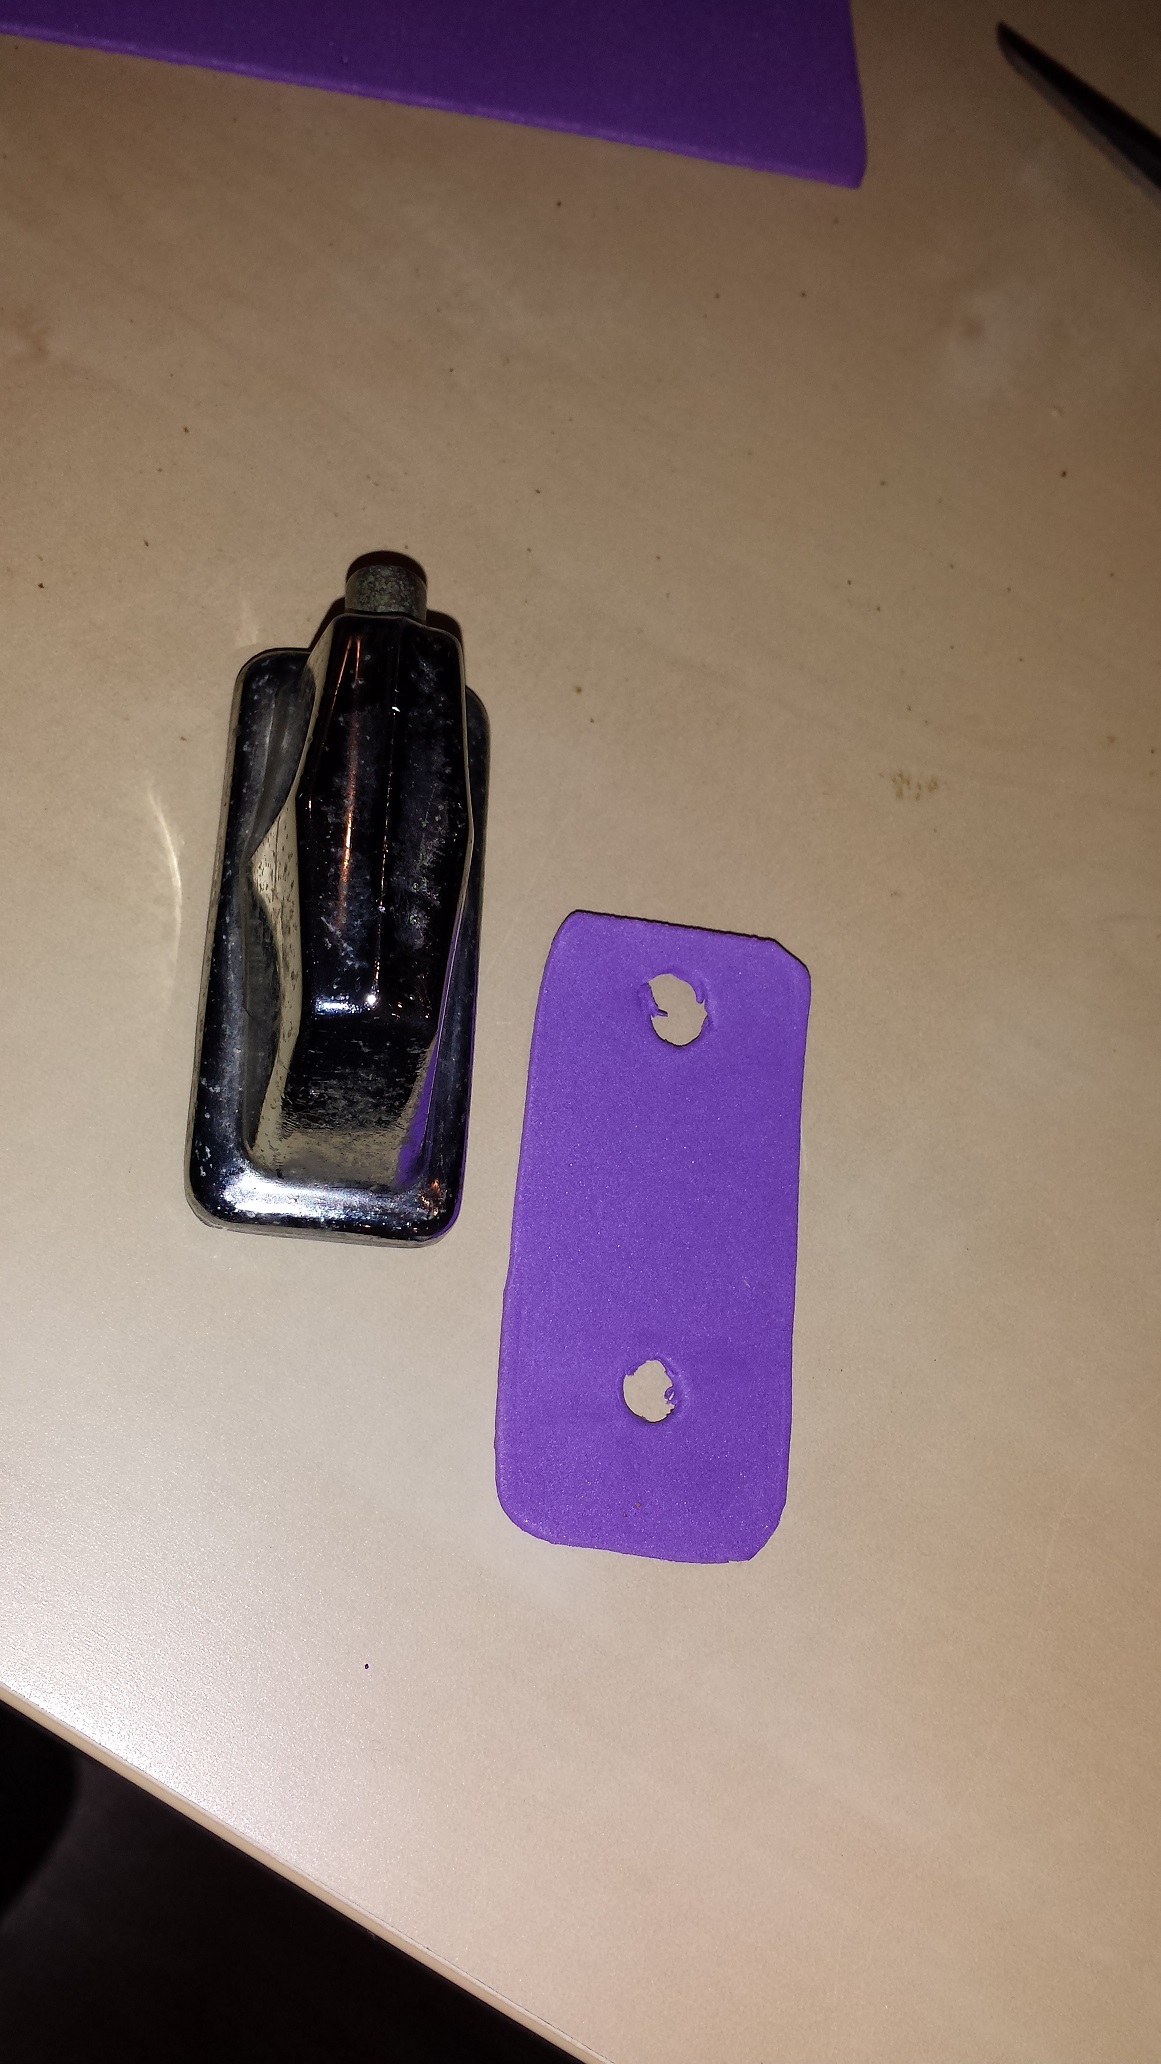
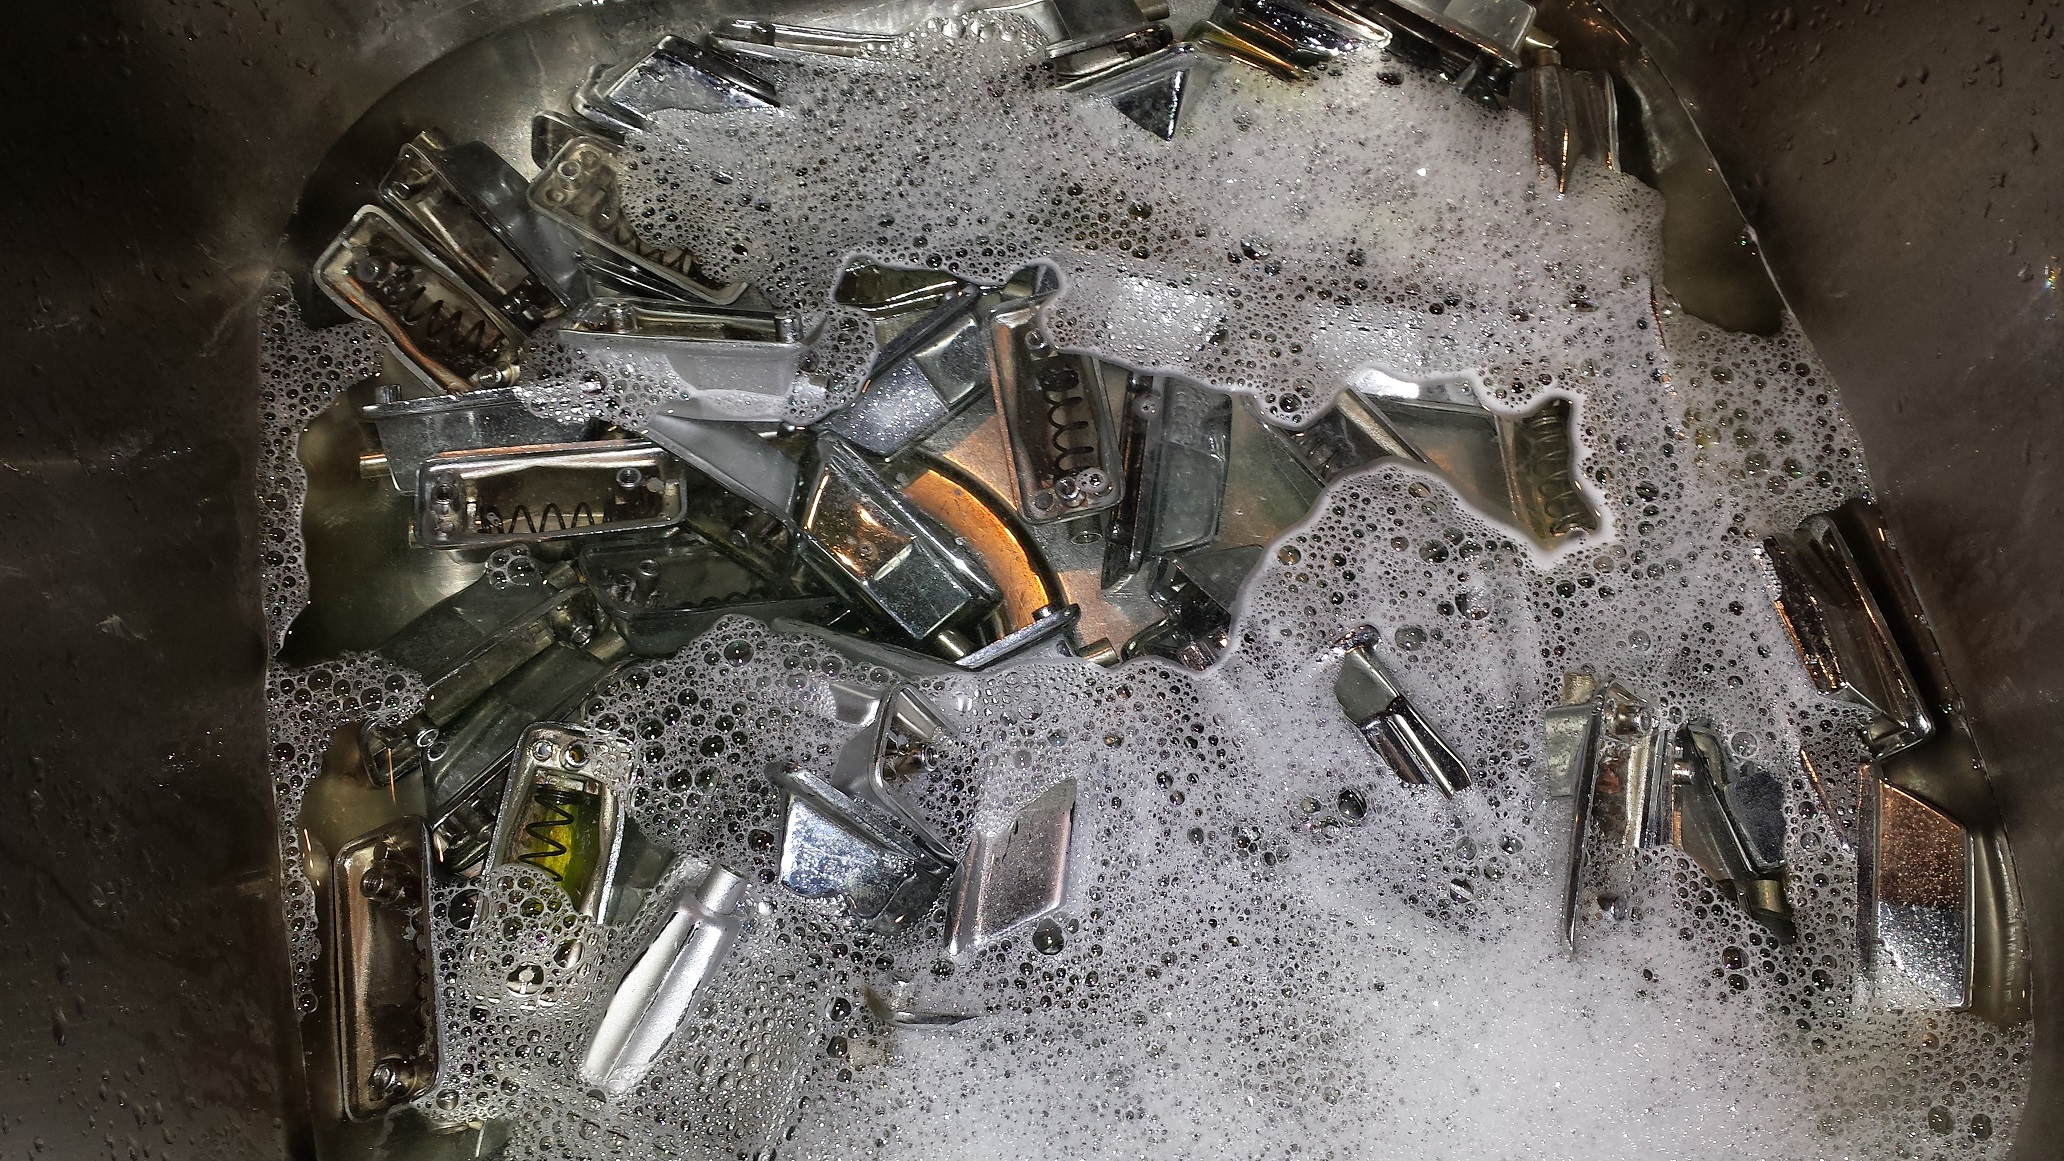
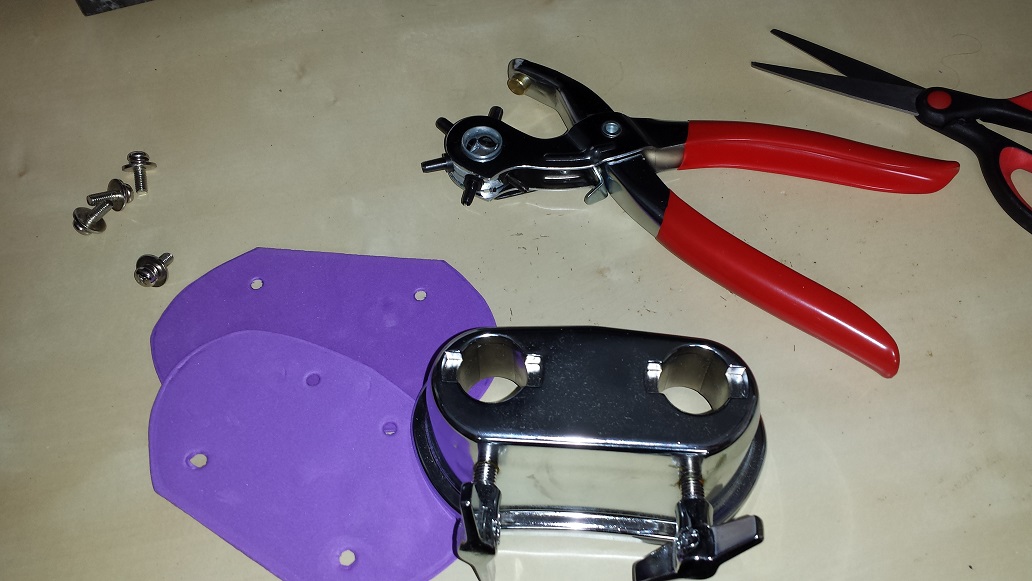
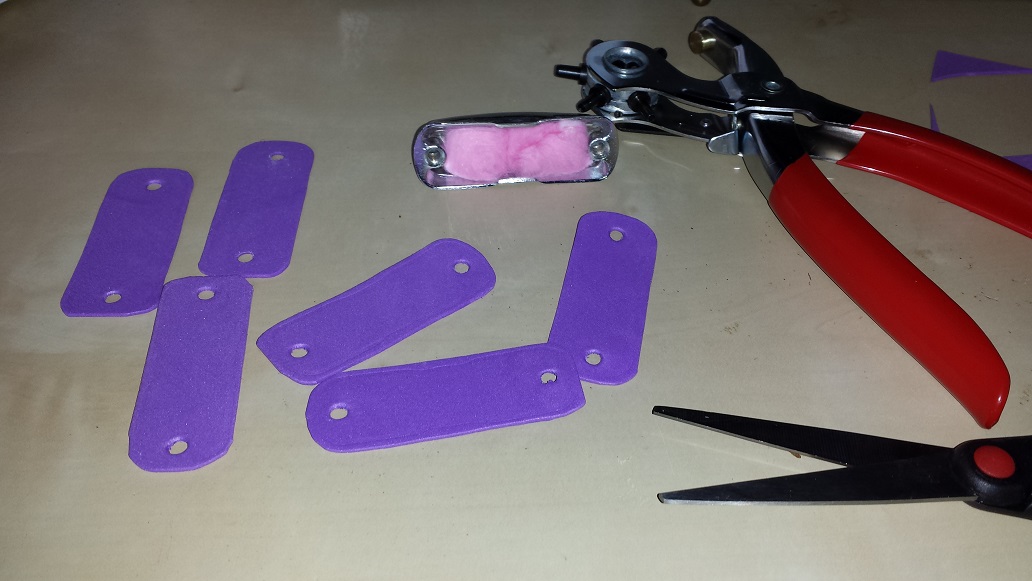
While the clear coat cures we proceed to making isolation gaskets out of craft foam for the lugs and cleaning the lugs in preparation for shining up with automotive chrome polish.
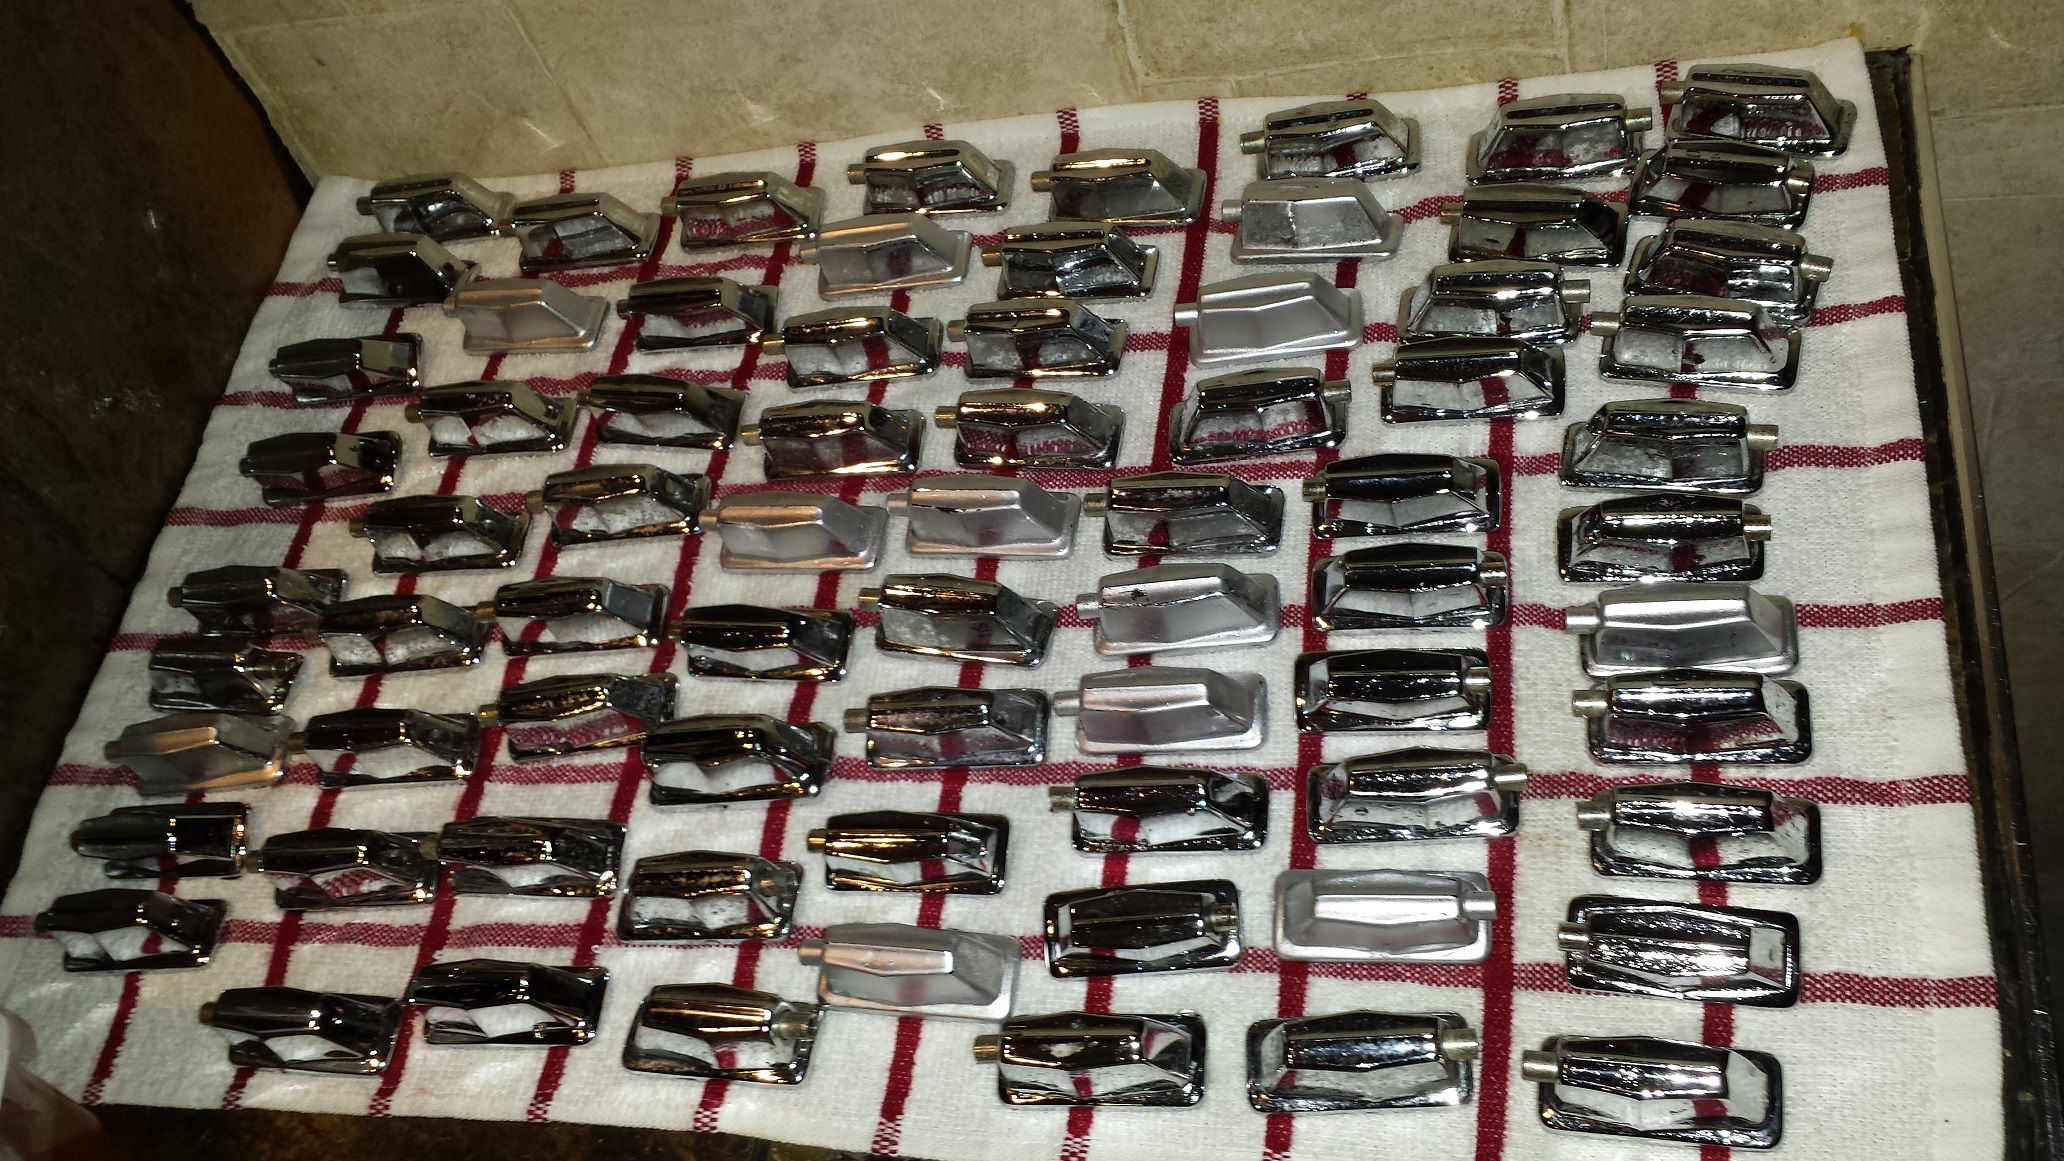
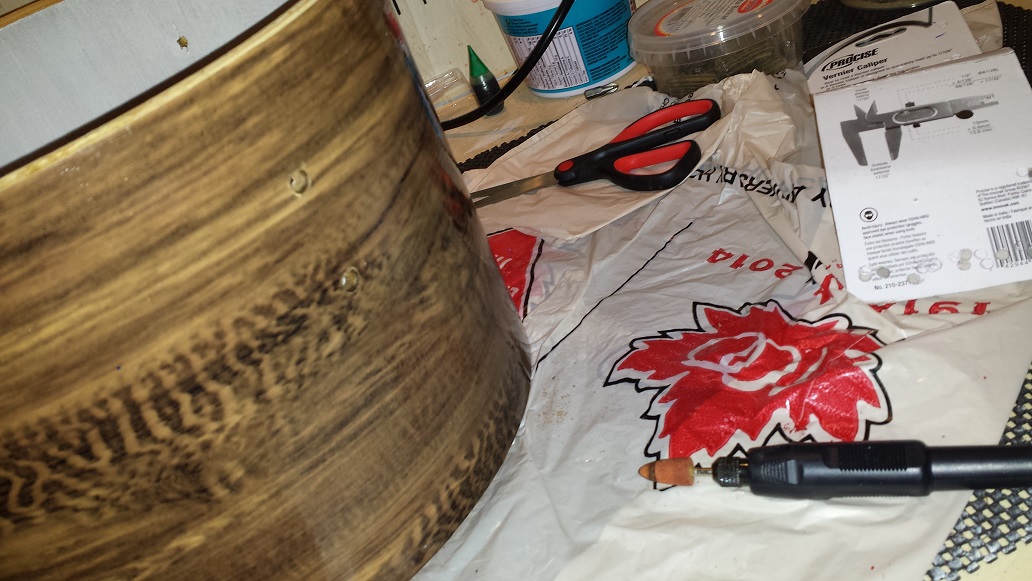
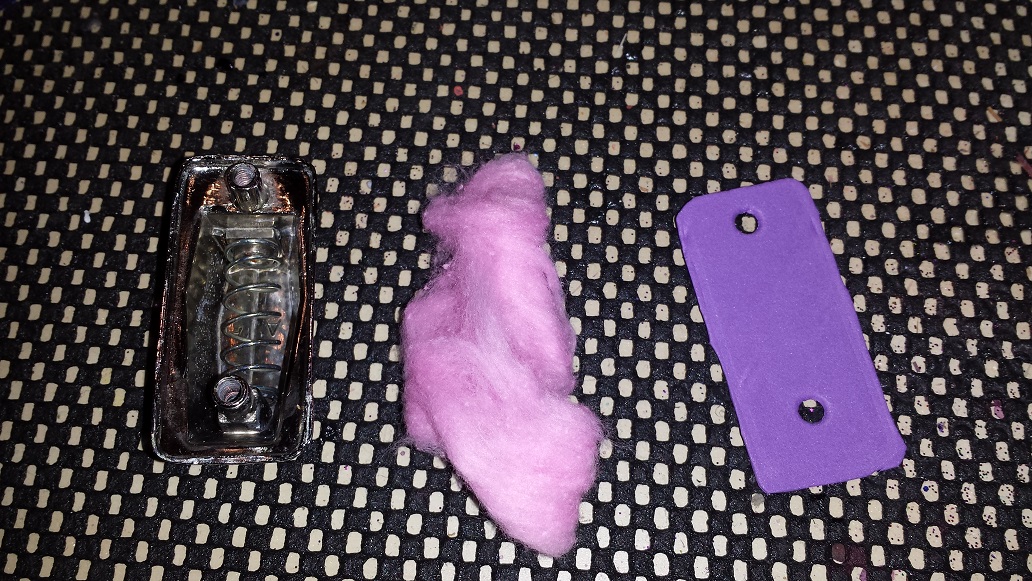
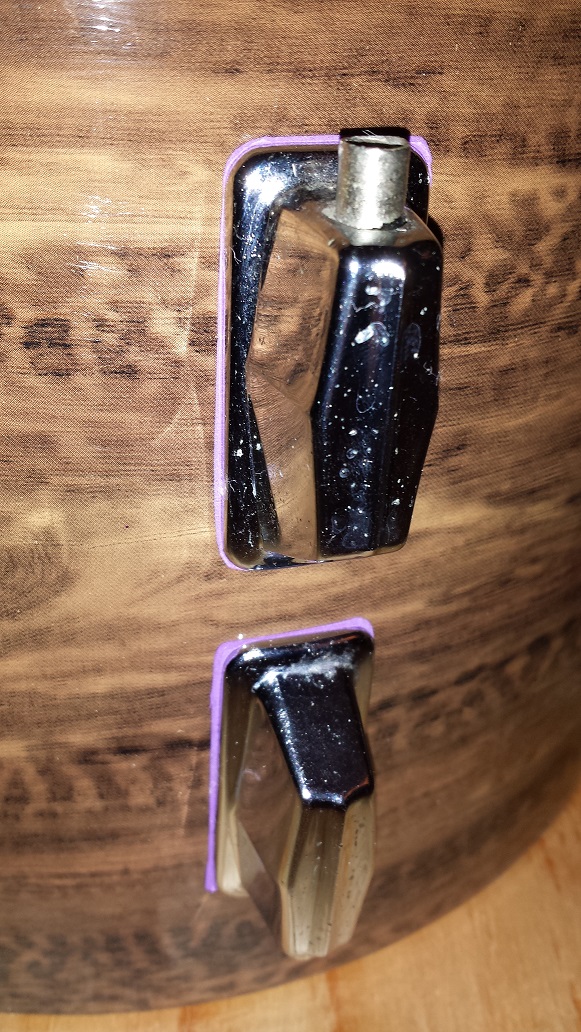
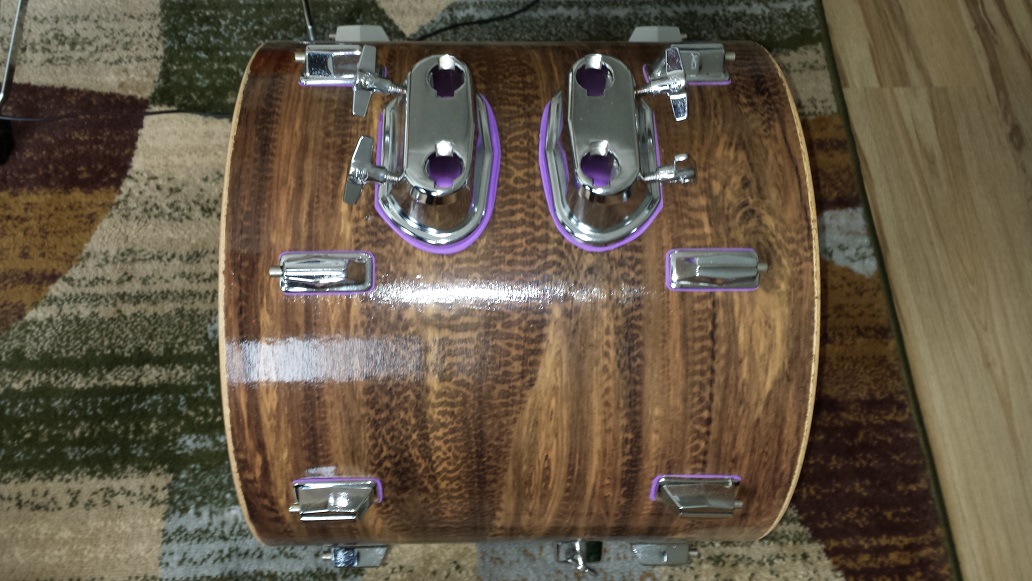
Now that our clear coat is completely cured and we have nice clean lugs, we can proceed with mounting the lugs on the shells. First we stuff a cotton ball in each lug to control buzzing and unwanted additional overtones. For proof that this is worth the effort; leave one lug on a shell and tap the shell. Listen. Take that single lug off and tap the shell again. You will now be convinced not to skip this step. We unwind the cotton ball a little and then simply stuff it in. Since we are optimizing this kit we chose the upgraded pink cotton balls, but the regular white ones work fine too. Since the lug holes are covered with clear-coated vinyl on the outside and a certain amount of sealer on the inside, we need to clean those holes out. We use a Dremel-type tool with a conical grinding bit to ensure not to cause any tearing or splintering. We then proceed with assembling the lug, cotton ball and isolation gasket, insert the assembly and hand-tighten the lug screws. With a Philips head screwdriver proceed to seat the screws starting with the one closest to the centre of the shell, in 16th turn increments, alternating between the two screws until it is snug, but not too tight. Leave them like that for 24 hours and then snug them up just a “tad”, (or smidgeon) more.
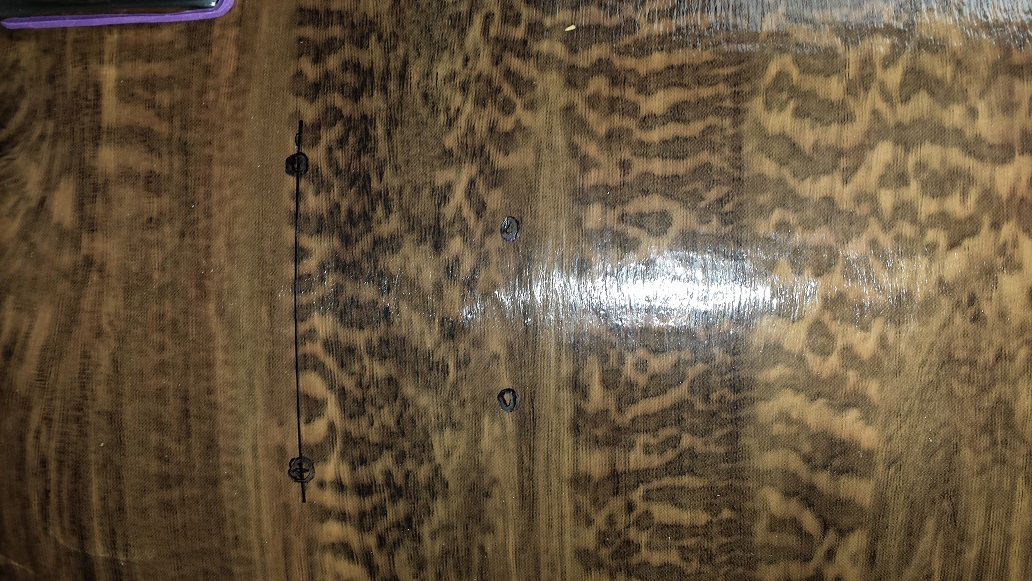
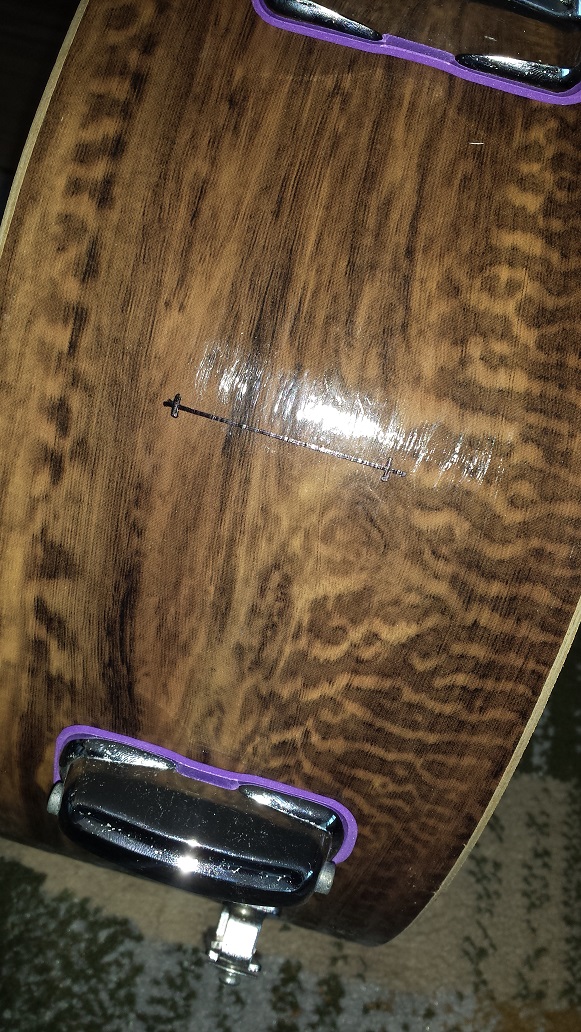
Now that all the lugs are installed we proceed with installing two of the floor tom leg brackets, which will now serve as the bass drum spur brackets. We follow the exact same process as with the lugs, with the exception of the cotton balls since there are no springs involved. Next step is the tom mounts. For the sake of compatibility with anything we may wish to mount to the bass drum we chose tom mounts with 7/8″ receiving holes. Even though this kit is a Bop kit and thus only has one rack tom, we still utilize a dual receiver mount, leaving one available for a cymbal boom arm. To avoid having posts inserted into the bass drum, we will not be drilling the 7/8″ holes in the shell, but rather treating them as suspension mounts. This works well as long as the chosen mounts are of the deeper variety. Also for the tom mounts we make and install two layers of isolation gaskets. The isolation gaskets function as a template for measuring and marking the bolt holes. Measure twice, drill once. Make sure to use a corded drill. The added speed is required to avoid splintering on the inside. Drill at the fastest speed of the drill but with very little pressure and let it take it’s time to go through, also ensure to hold the drill at 90 degrees from the floor the drum is resting on, rather than 90 degrees from the surface of the drum. A brad-point drill greatly helps. If you like me live in Ontario and February is too cold to work outside, make sure to do this when nobody else is home and vacuum immediately. Often other members of the family have little understanding with the necessity of drilling wood on the family room carpet. Install the tom mount. On these we can fasten the bolts fairly tight.
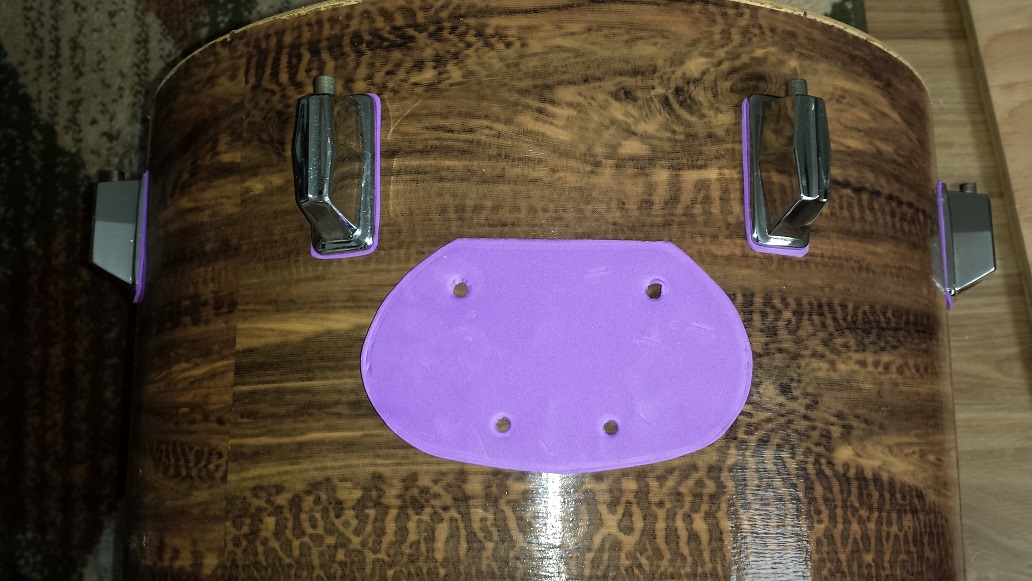

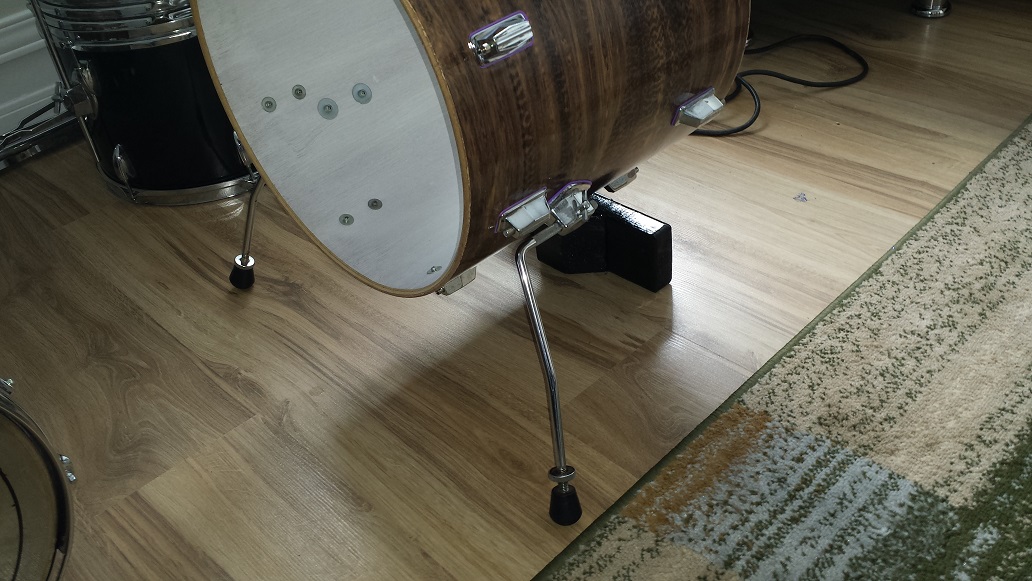
Those with attention to detail will notice we installed the mount with the thumbscrews facing the opposite direction than usual. That’s because this step is so much fun, we want to do it again without causing too much of a crowd with all the thumb screws. Actually, the reason for the dual mounts is to attach the snare and floor tom to the bass drum as well as for a minimum footprint set-up. Inspired by the Hipgig and RT POD. The process for the mounts on the toms is the same as for the tom mounts on the bass drum. We have also proceeded to install the mounting bracket for the DIY Bass Drum Riser on our bass drum, using the riser as a guide for the position. We can now test mount the bass drum with our selected spurs, (Standard Ludwig style) and our newly made riser.


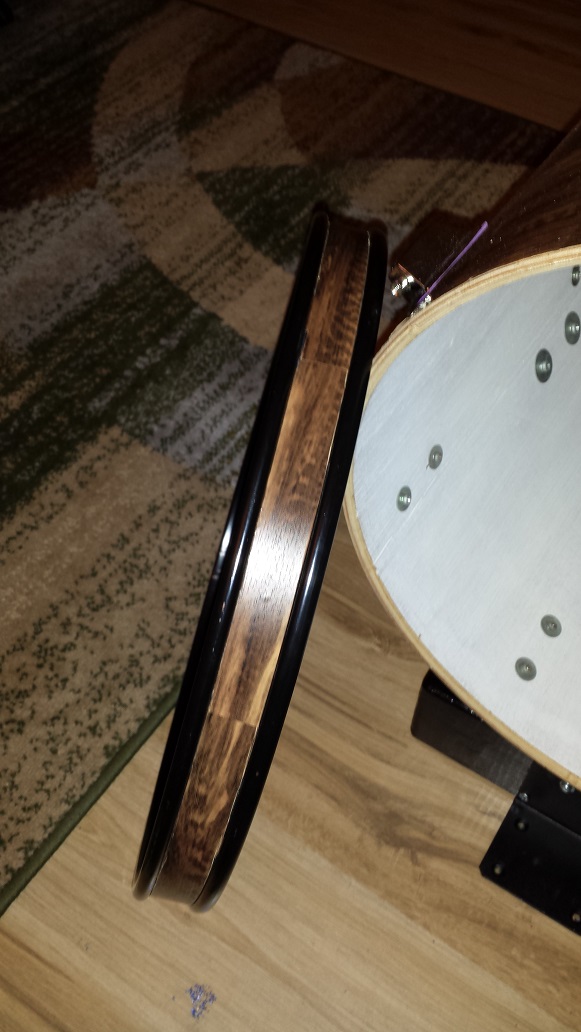
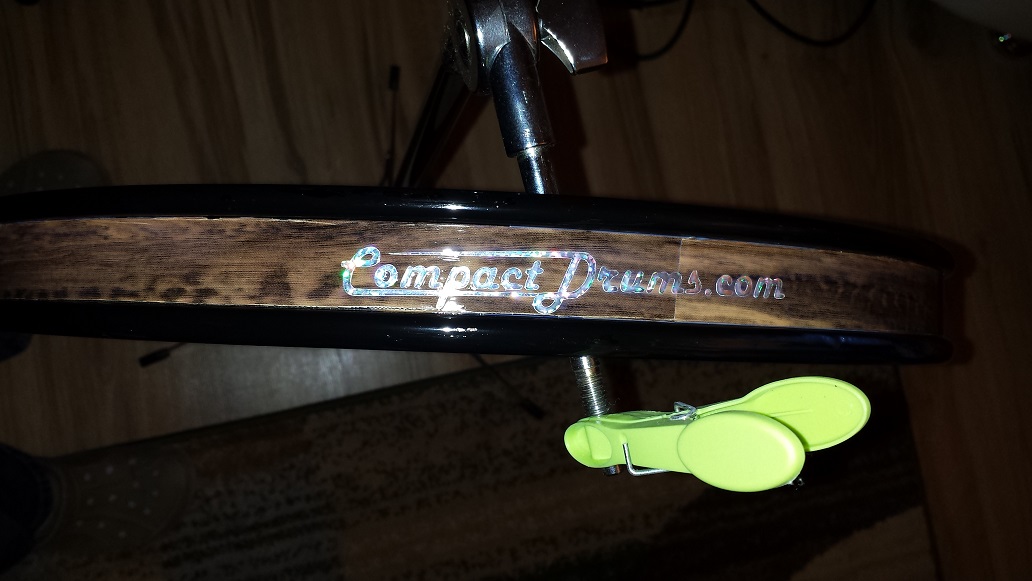
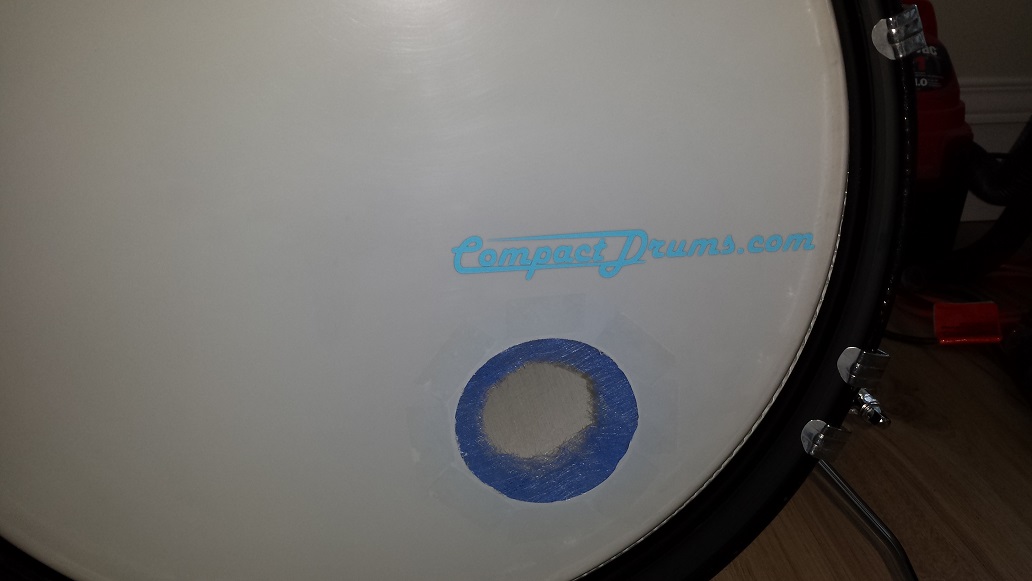
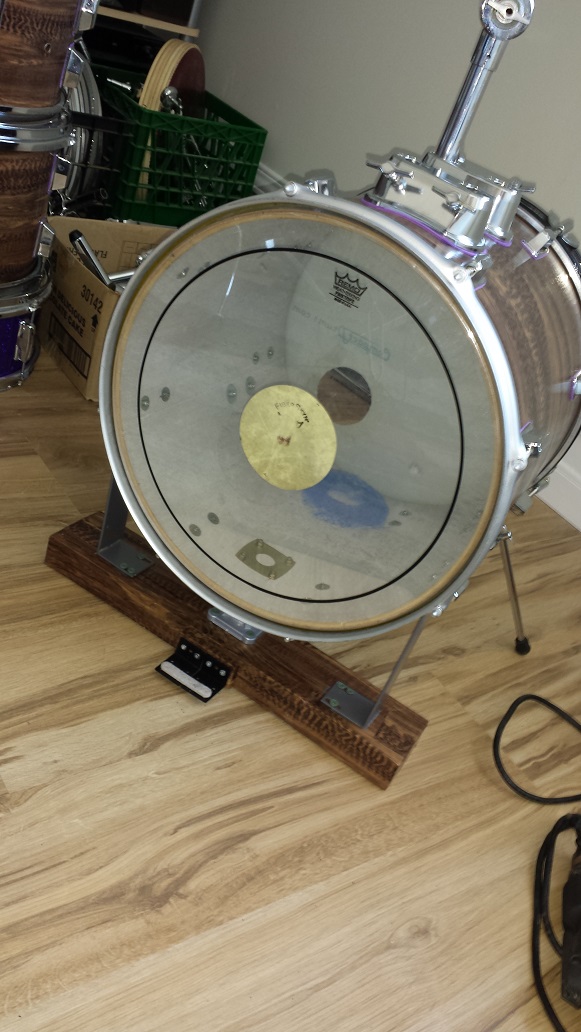
Next we locate and blow the dust off a hoop for the resonant side. Cut a strip of the same vinyl as we used on the shells, line it up an proceed with adhering it to the wrap inlay on the hoop. This step requires a bit of patience working from the outsides and in towards the centre while preventing the vinyl from sticking to the raised hoop edges. Trim the vinyl by running an exacto knife along the edge of the wrap inlay. Then we apply a logo, making sure we don’t get it perfectly straight and cover with a few coats of the same water based polyurethane clear coat we used on the shells earlier.
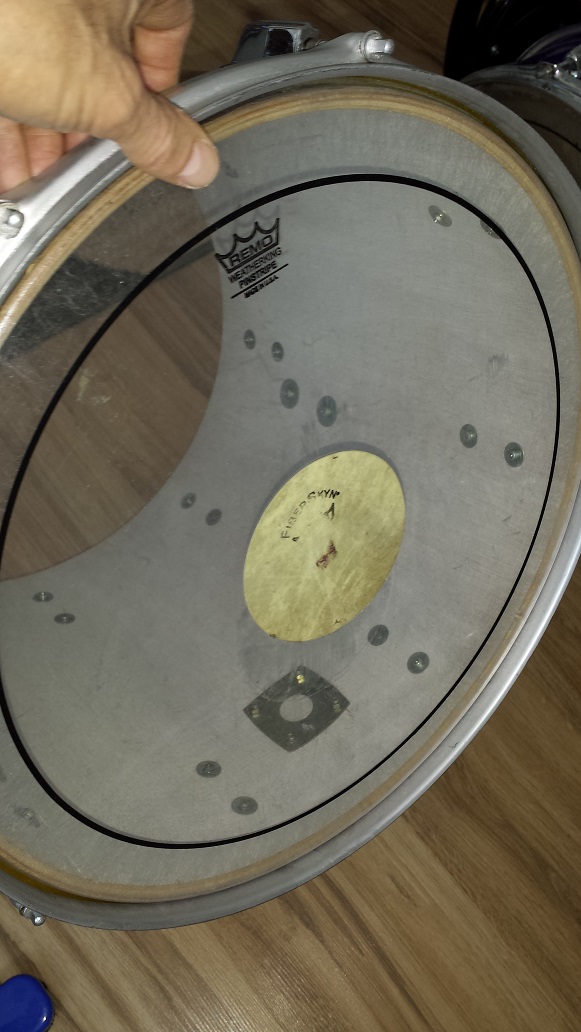
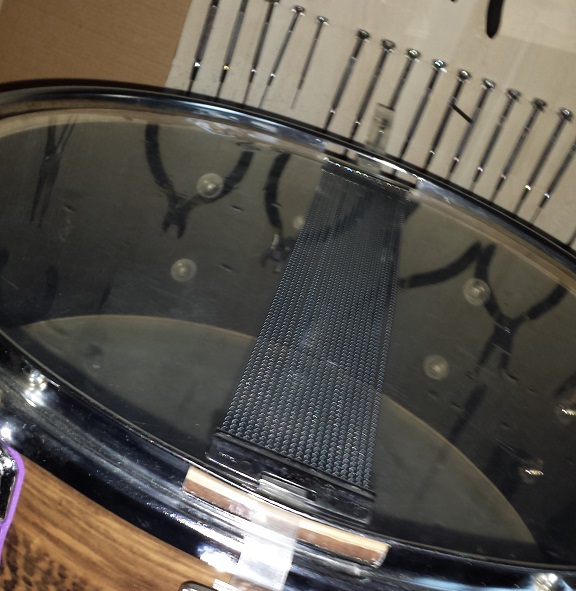
Time to add heads. To optimize the bass drum tone we need to use some forethought. The mahogany shell and round over outside bearing edge both assist in bringing warmth and depth. The heads play a major role in obtaining a bass drum thump sound, rather than a floor tom laying on it’s side sound. For the batter side we chose a Pinstripe, a common choice for a 16″ bass drum. We affixed a patch of Fiber Skyn to the center as well. For the resonant side we use a batter head as well, donated from a Ludwig floor tom. After consulting with an audio engineer friend we learned that a 22″ bass drum has it’s strongest presence around 70-80 Hz. A 16″ simply won’t have it’s dominant frequency in that range, but it’s entire frequency range includes the 70-80 Hz section, it’s just tapered off. A port in the resonance head of 3-3/8 inches is optimal for enhancing the 70-80 Hz range for a drum of our dimensions. 16″ X 14″. If your dimensions are different, a different size port will be necessary for optimal results. also note that 3-3/8″ inch is optimal for a simple hole. Should you choose to add a tube, like that used in a “KickPort”, the port will need to be larger. There is an entire mathematical formula based on volume, target frequency, port size and port depth. More on that topic in a future article.
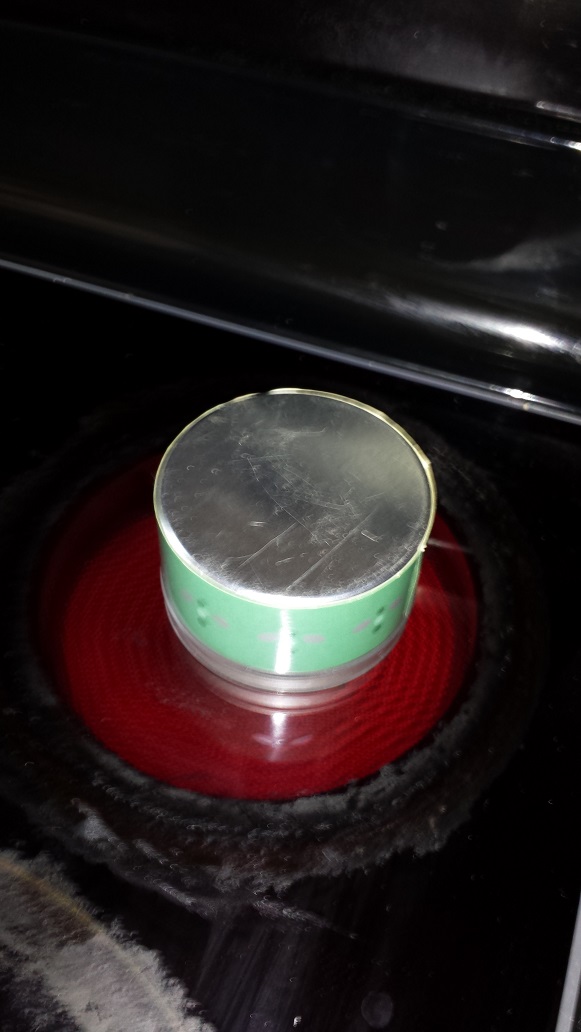
To make the port we obtain a metal can of appropriate dimensions, heat it up on the stove and press it down on the head. We take no responsibility for any consequences you may incur from this step. Next we cut a donut shape with a 2″ center hole, in a piece of light filter material for air purifiers. Affix to the inside of the head, over the port, with double sided tape. This aids in controlling overtones, (caused by “standing waves”) without the need for muffling. Thus we only need to muffle to control sustain if desired. Now we are ready to mount our hoop and add our logo to the front of the head.

The 13″ tom has received a mounting bracket in the same manner as before. Air vents, heads and rims are also installed on the toms. If you washed the lugs with soap like we did, make sure to apply lug grease as the surfactant in the soap will have flushed out any residual grease in those lugs. While performing some initial test-assembly of the kit we ran into our first teething issue. The riser doesn’t offer any where near enough stability to mount the floor tom and snare to the bass. After debating whether to add spurs to the batter side of the bass drum (RT POD Style) or make a riser with a wider base, we decided to try the latter. Mostly to avoid additional pieces and added set-up time.
Section 3: Making/Assembling the Key Components
We chose to publish a separate article on making the DIY Bass Drum Riser. Additional versions of risers will be published on the same page in the near future.
Section 4: The Snare Drum
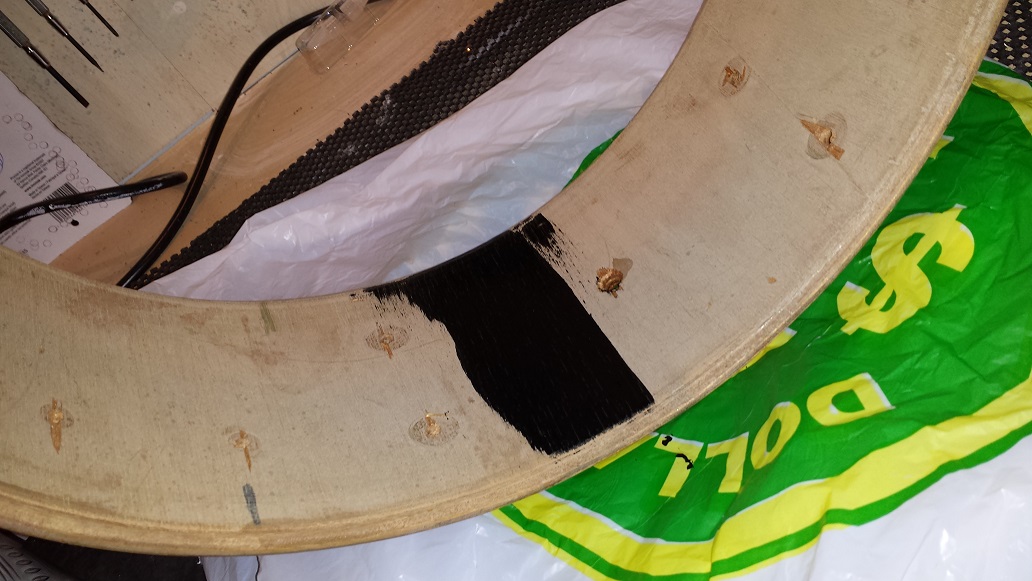
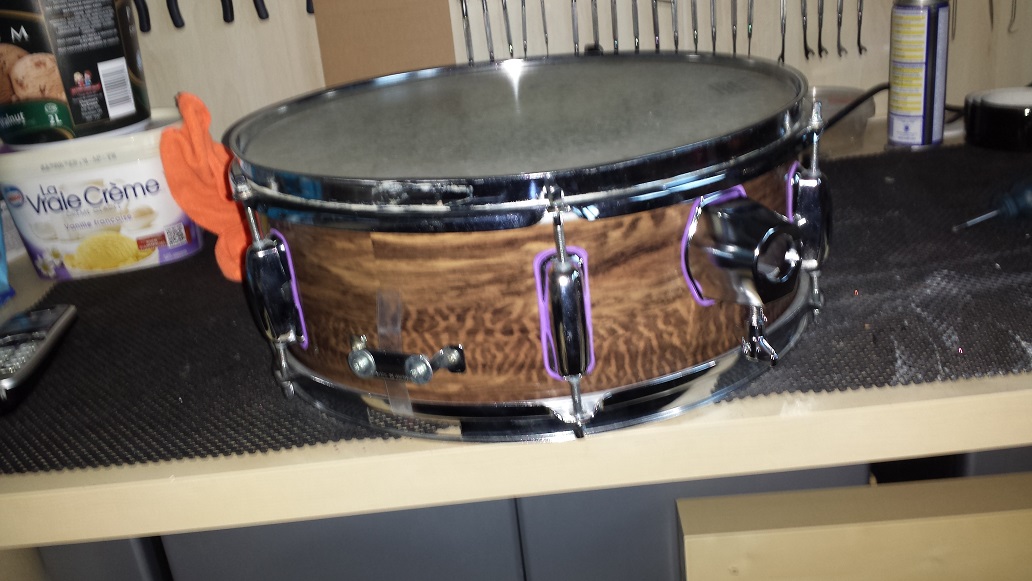
After much debate we finally settled on a snare drum. The candidates were 10″, 12″ 13″ and two different 14″ shells. A final vote dictated the choice of a 14″ mahogany shell to match the rest of the kit. After disassembling and unwrapping we proceed with treating the inside to a couple coats of glossy enamel. The hard, glossy surface provides added projection and snap. This drum harkens back to the day when they were sealed from the factory. Note that we didn’t mask the bearing edges as we will be cutting new 45 degree edges for a bit more punch than the current rounded ones so common in the 60’s and 70’s.
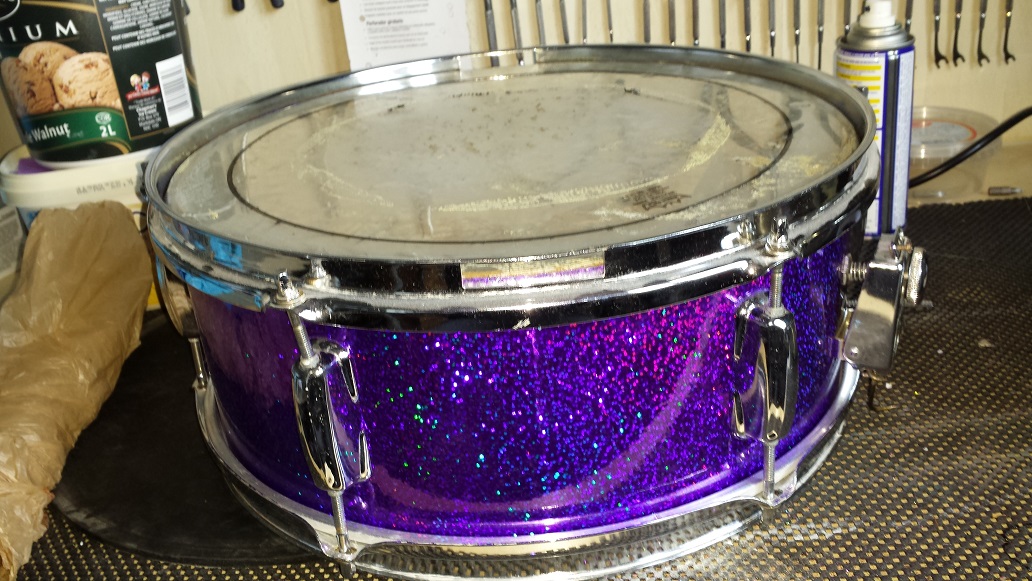
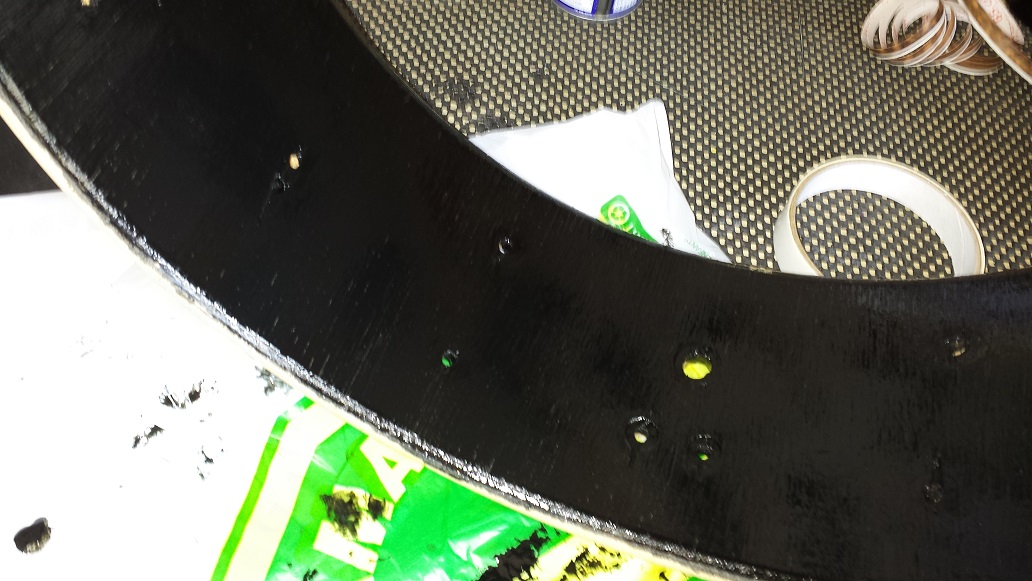
We then proceed with wrapping the vinyl in the same manner as with the toms and apply the first coat of water based polyurethane. After six coats of clear we leave it alone to cure fully for a few days. Next, on to cutting new bearing edges with the router and then sanding smooth with 400-grit paper. The same paper is used to sand down a slight depression for the snare bed.

Isolation gaskets are made the same way as before and then on to installing the lugs, mounting bracket, strainer and butt end plate. We use the same upgraded pink cotton balls in the lugs as used previously. The original strainer was discarded and replaced with a functioning one, necessitating new holes. Take care to line the snares up straight and center them between the rim edges. The only head we had on hand was an old weatherking with a quite weathered appearance. Seems appropriate somehow.
Section 5: Kit Assembly (Our DIY Mini Bop Kit is almost complete)
Since we didn’t want to cut holes through the shells for the L-arms, it’s necessary to cut the L-arms down to the appropriate dimensions. This being an approach we can take when making one drum kit, but obviously not an option for mass production since the L-arms need to fit a variety of kits. Keeping in mind that you can always cut more off, but not really add back on, we take a rough measurement and start cutting down. Using our set up Ludwig Breakbeats kit, (in the same room,) as a template. Each cut is made with an angle grinder and then straightened and smoothed in a bench grinder. Test fit and then lop off some more when required.


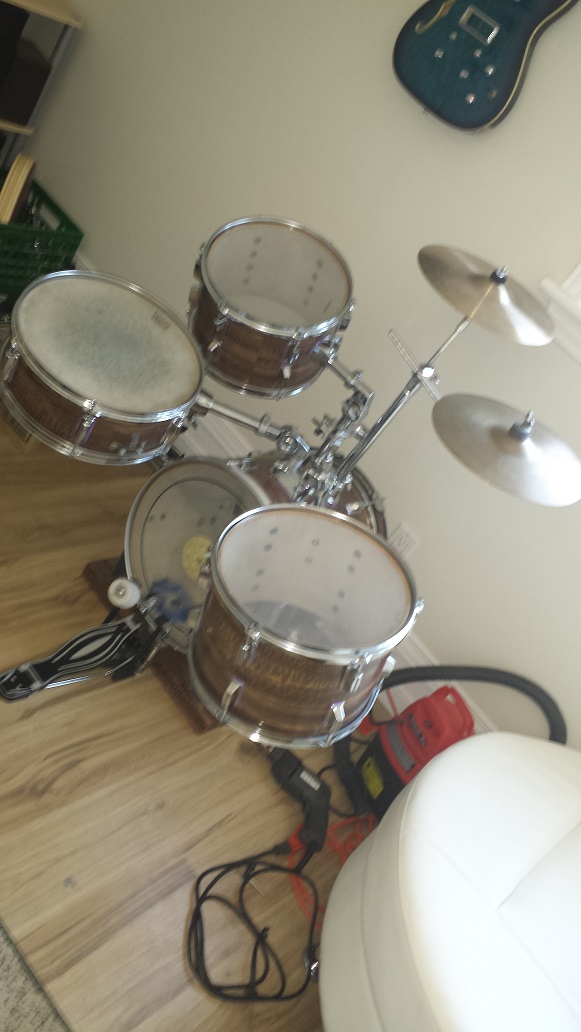

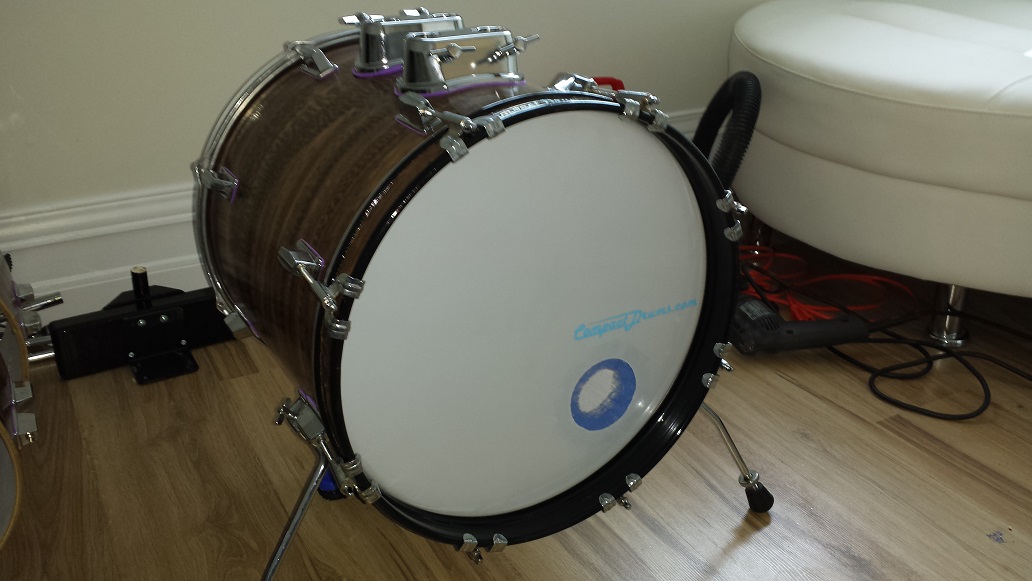
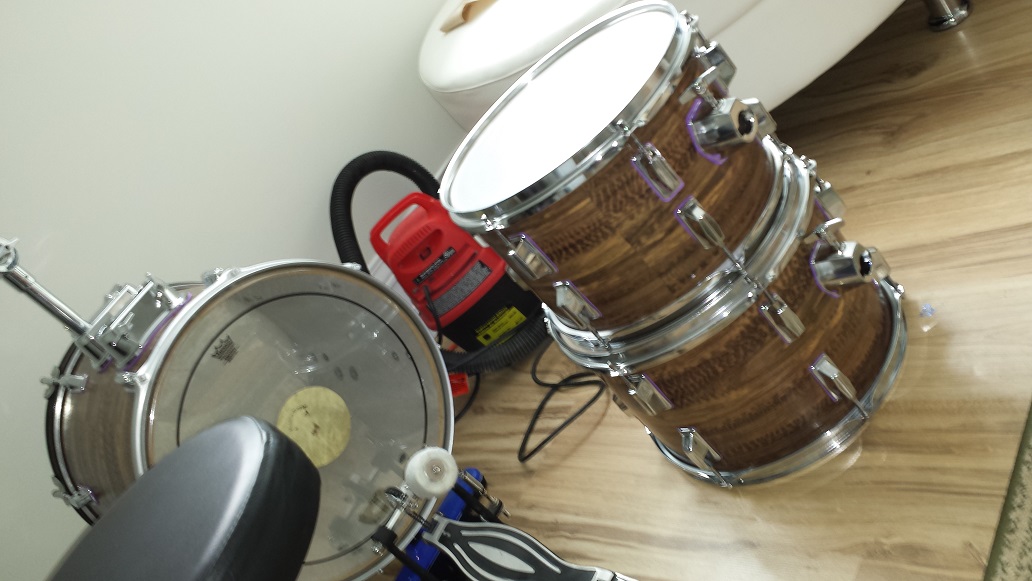
We’re just about there. After test fitting all the drums, we quickly threw on a home-cut mini ride and a crash and gave it a trial run. They do sound as good or better than hoped with a true mahogany tone. Finishing touches include optimizing the cymbal mounts and attempting to mount a pair of closed hats. More pictures of our DIY Mini Bop Drum Kit will be added when we are satisfied with the end result.
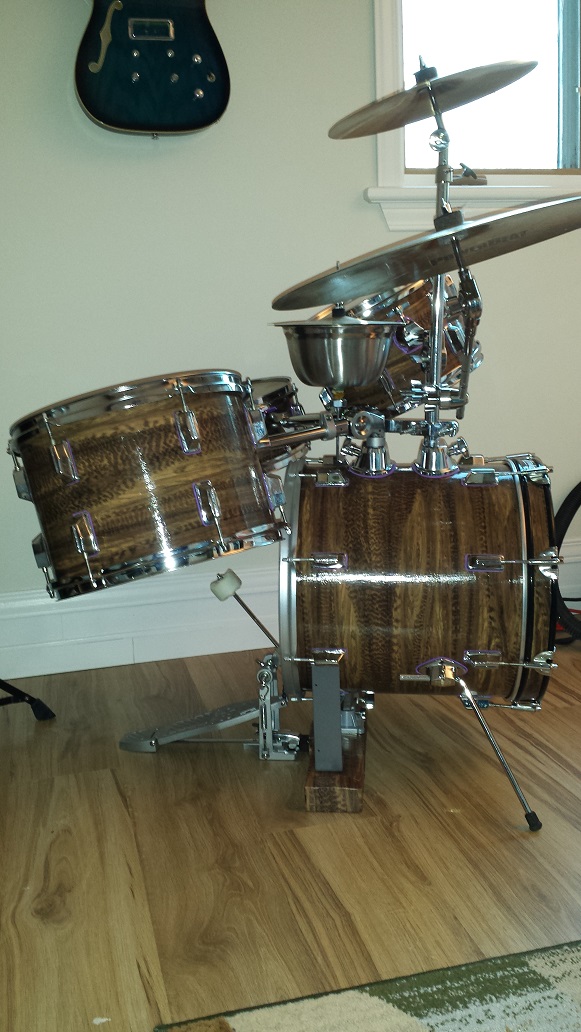
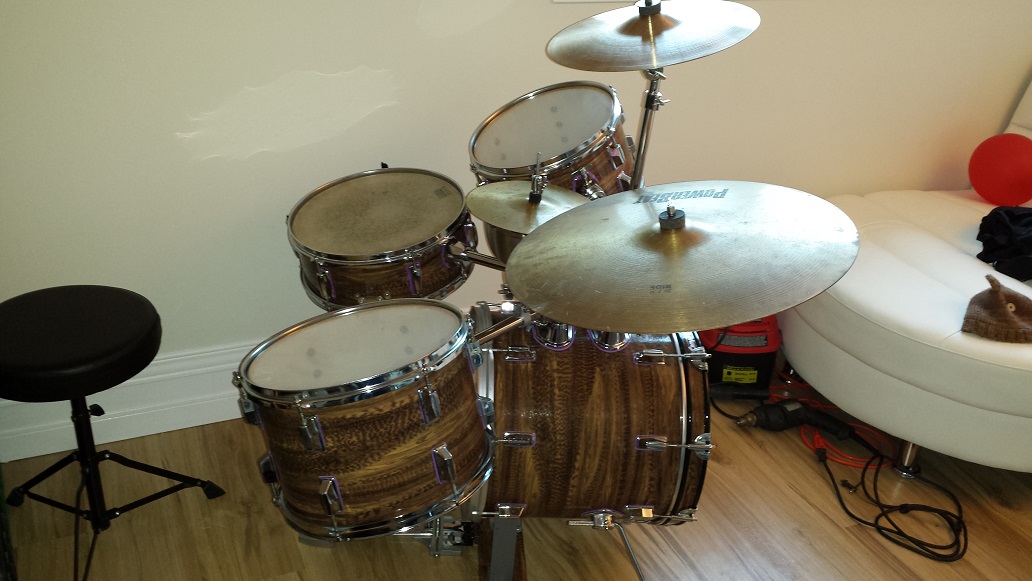
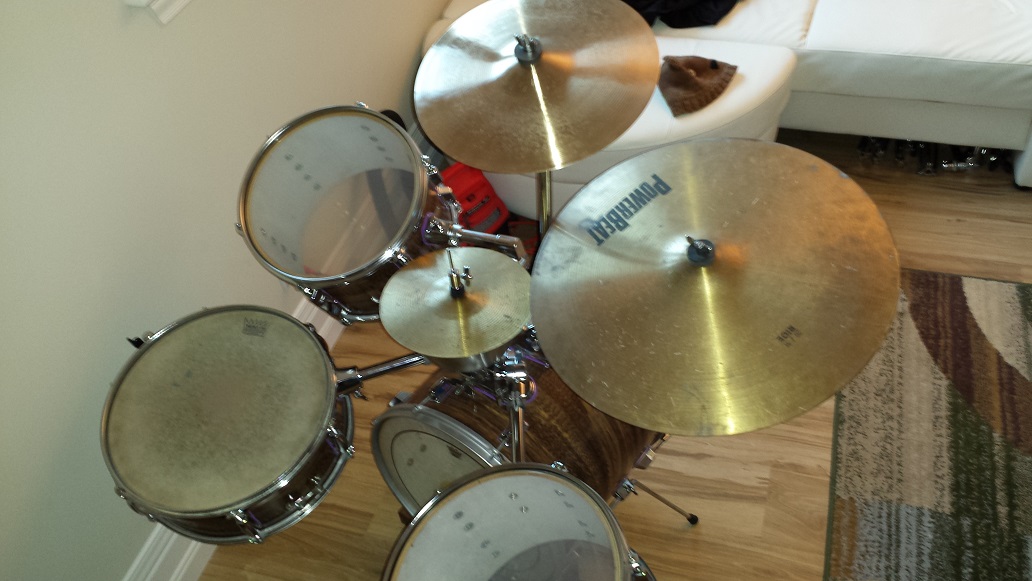
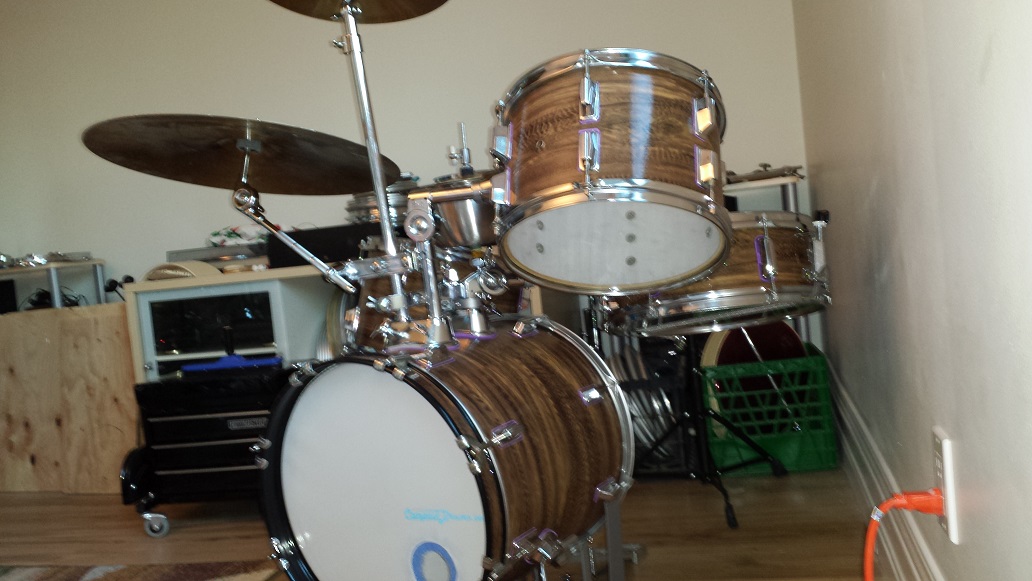
Everything is mounted to the bass drum. The mahogany shells are LOUD! The bass drum sounds like a full size 22″! The little closed hats right in the centre will be covered in a separate DIY article.