

Introduction
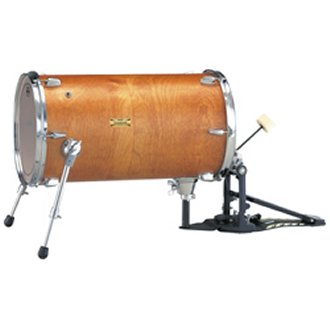
A deeper than standard drum shell is useful for a multitude of purposes. One of the obvious would be for a stand-up Cocktail kit, but also for getting more volume from a smaller bass drum like in this article: Bass Player – Turned Drummer Builds His 1st Custom Drum … Of course simply ordering a perfectly sized shell would be the simplest solution, but also considerably costly. If you’re a “DIYer” You may have a few shells of the same diameter laying around and if not they can usually be obtained for a fraction of the cost of buying an extra deep shell.
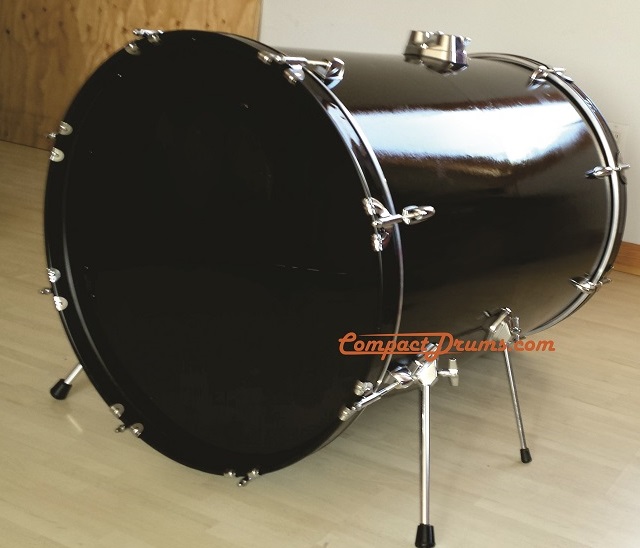
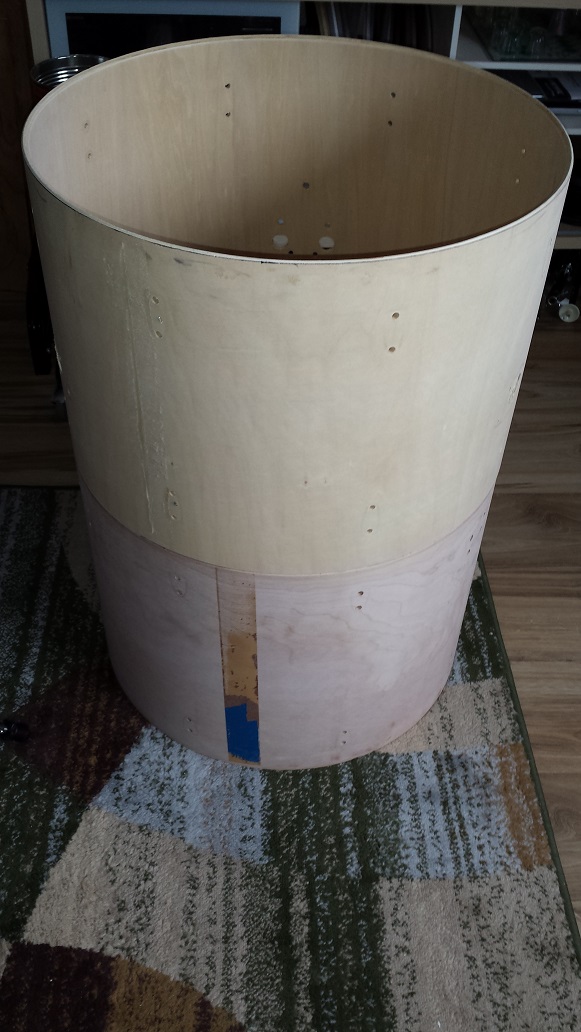
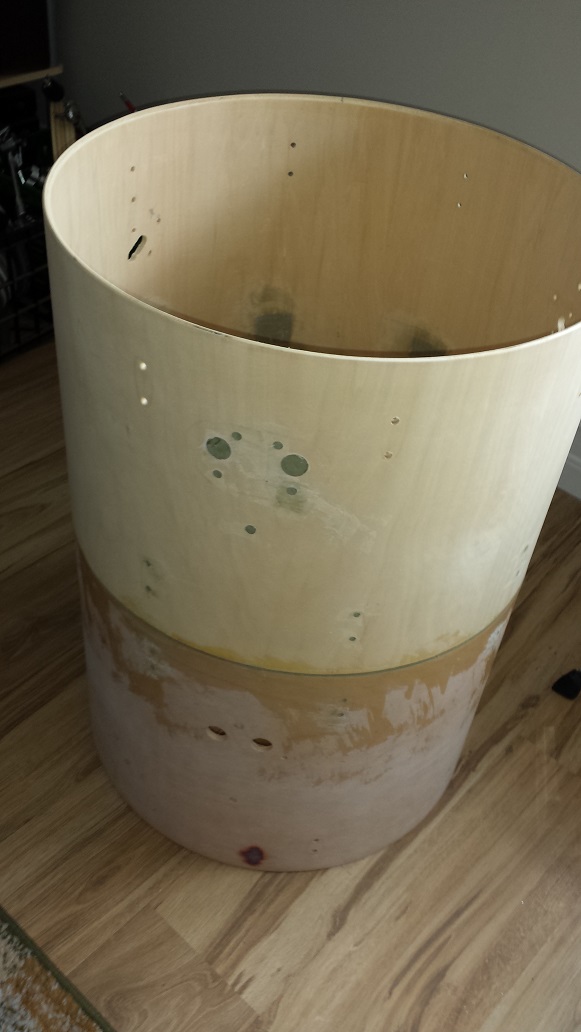
In this example, contrary to what this site is all about, we’ll be joining 22″ bass drum shells into a monster bass drum. The reason being that the more mini and cocktail drum kits I make, the more 22″ bass drums I have laying around. The DIY Fusing / Joining Drum Shells method used is identical regardless of size though.
DIY Fusing / Joining Drum Shells
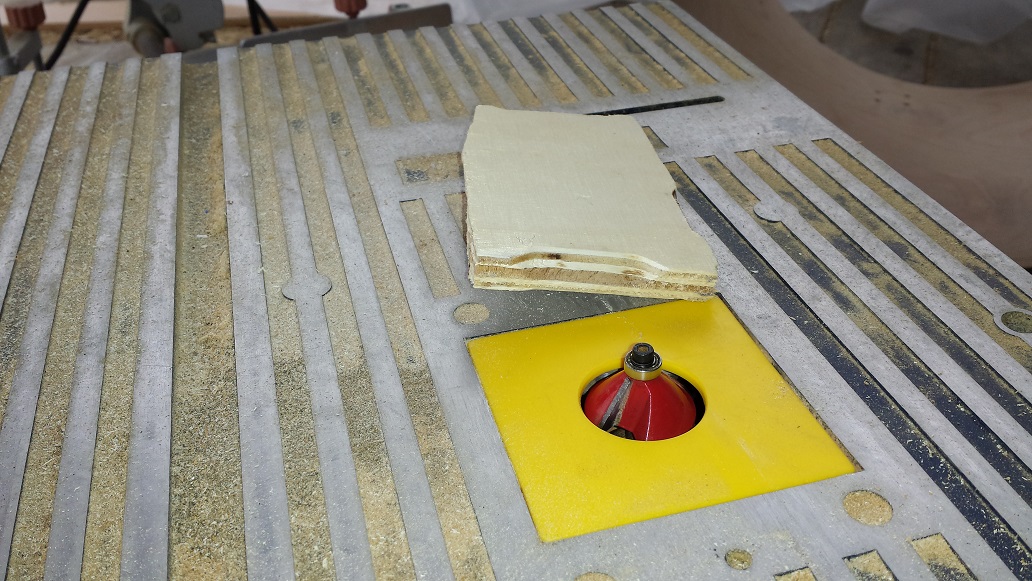
The first step is to make the shells fit together. We do this by cutting a reverse “bearing edge” on one of the shells. Assuming at least one of the shells has standard 45 degree edges, we simply cut a 45 degree edge from the outside of the other shell. Set the router bit depth so it removes slightly less than the shells thickness. This is necessary so that we end up with a consistent edge 90 degrees to the shell surface. If we set the router bit too high removing the same or more as the shell’s thickness, we just end up “spiralling” down the shell at an angle.
If you, like me, have a small router table and a large drum shell, you will need to hold the shell firmly, paying attention to keeping the shell flush on the small table. Go around the shell at least two revolutions.
Click any of the images on this page for a full size view
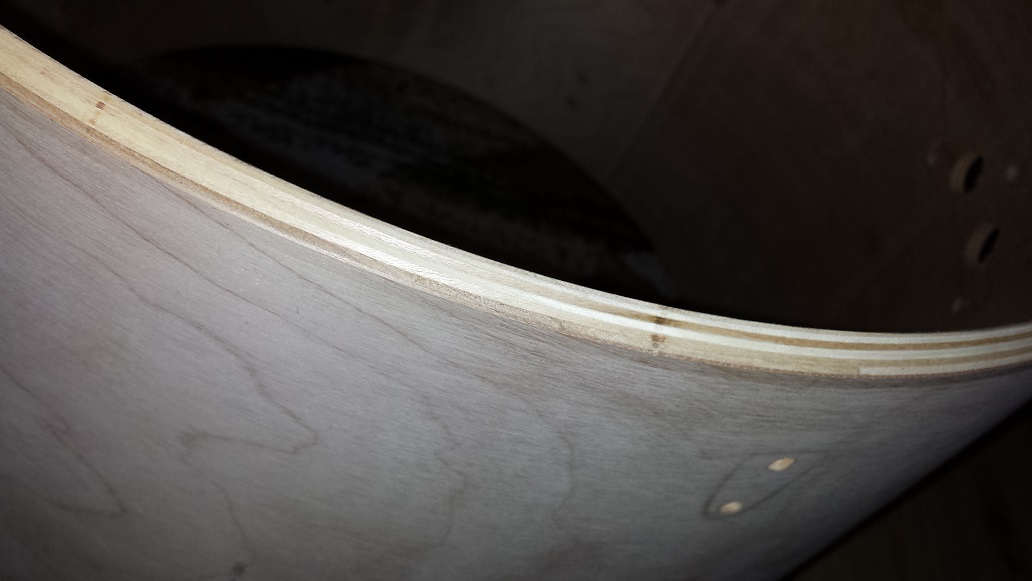
Next, test fit the shells together. Unless you’re cutting into high end shells, it’s likely that they aren’t perfectly round. Rotate the top shell on top of the other until the position of the closest fit is identified. Make a mark on both shells. Mix some carpenters glue, fortified PVA, or white glue with water at a 1:1 ratio. Brush on mixture on both surfaces. This acts as a “primer” for the adhesive to grab on to. Allow to dry for an hour or more.
Once the “primer” is dry, apply the same type of glue liberally along the joining-surface. Place one shell on top of the other, aligning the marks and adjust the position for the best, “flushest” joint. Place a board on top of the to shell and something heavy on top of the board. Wipe off excess glue. Leave to dry over night.
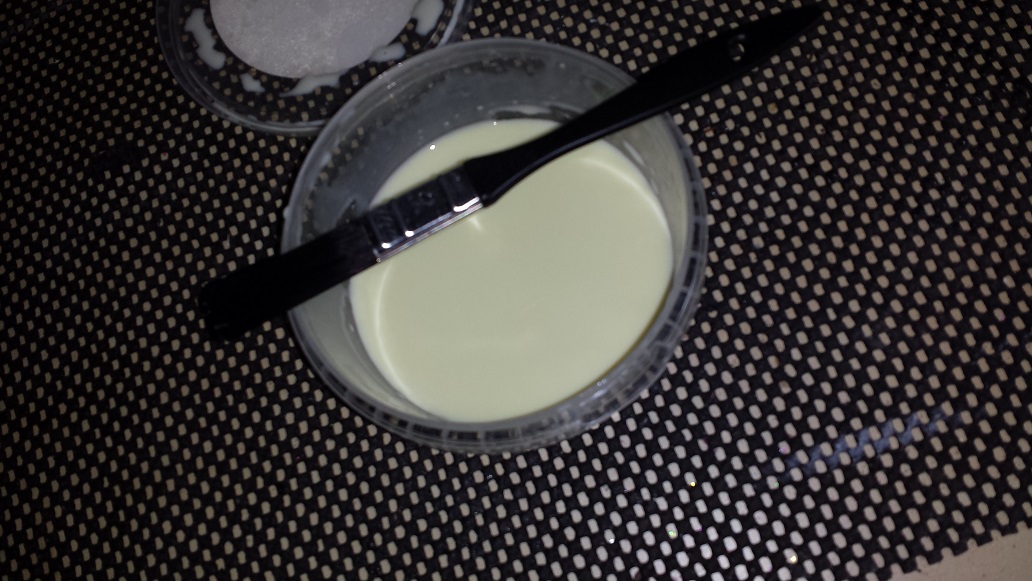

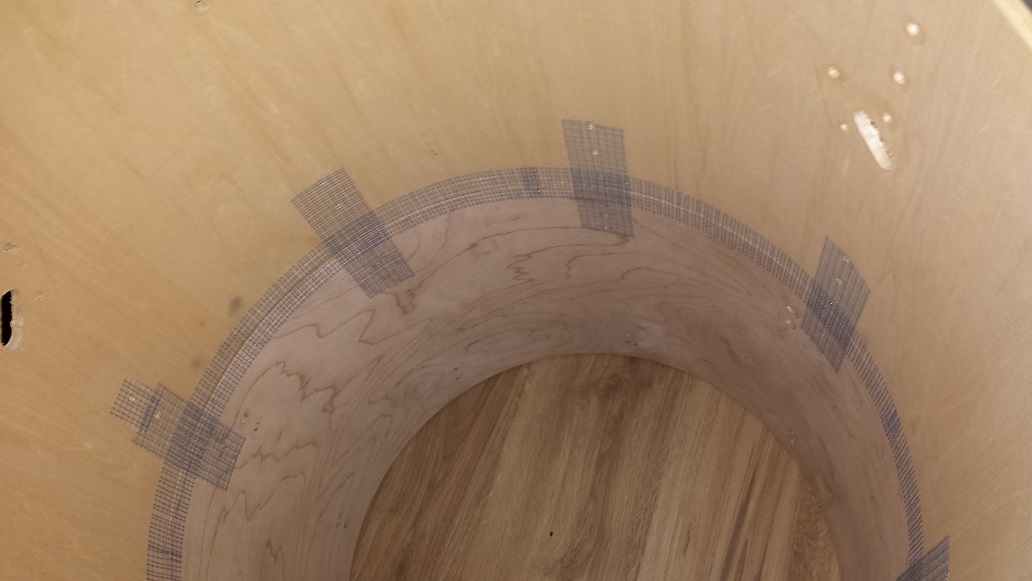
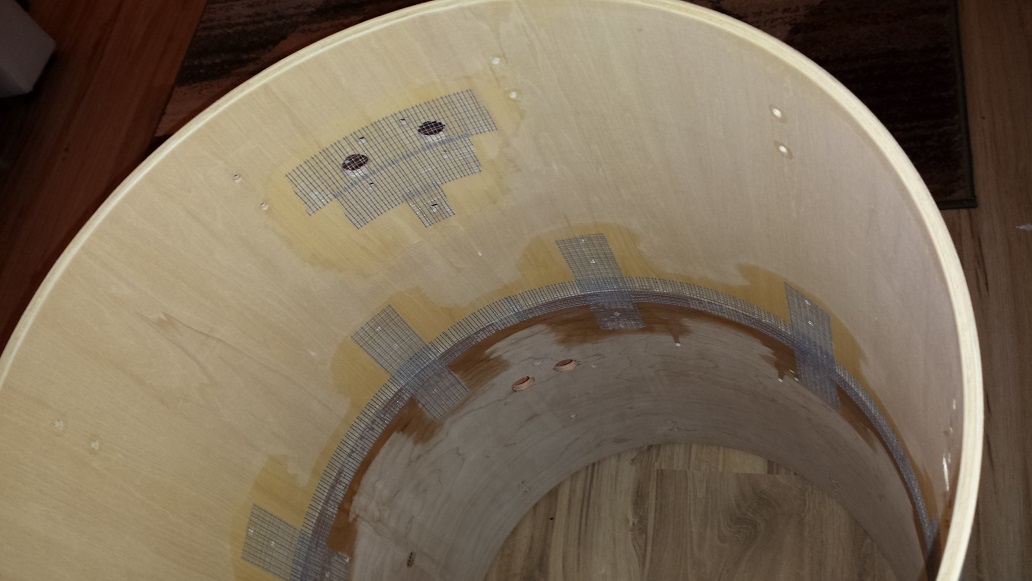
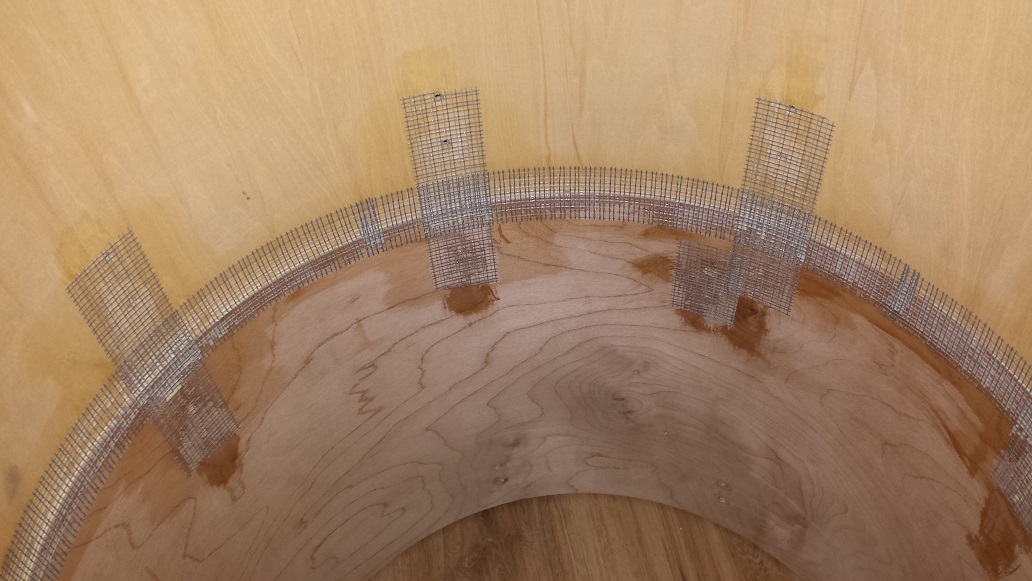
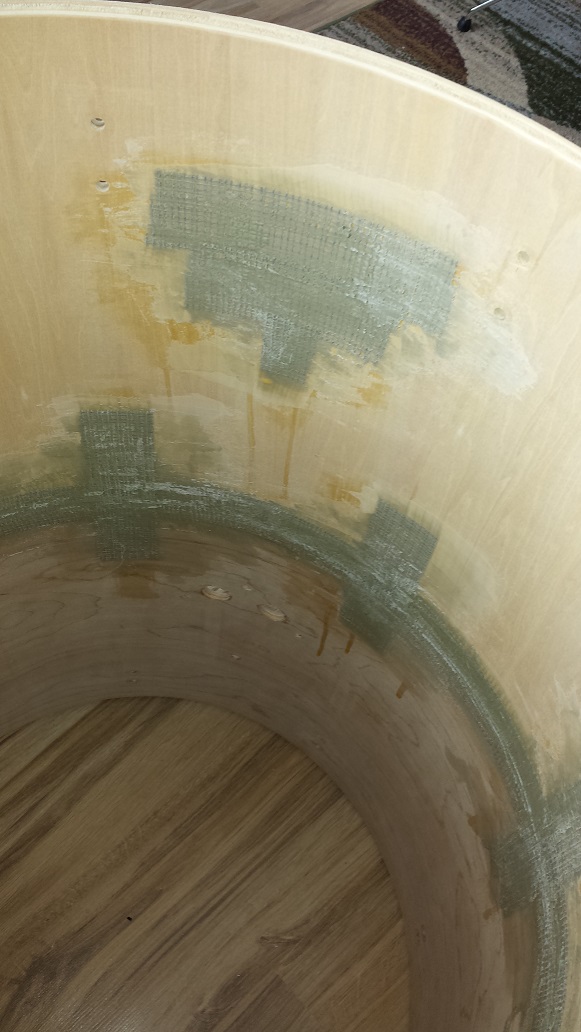
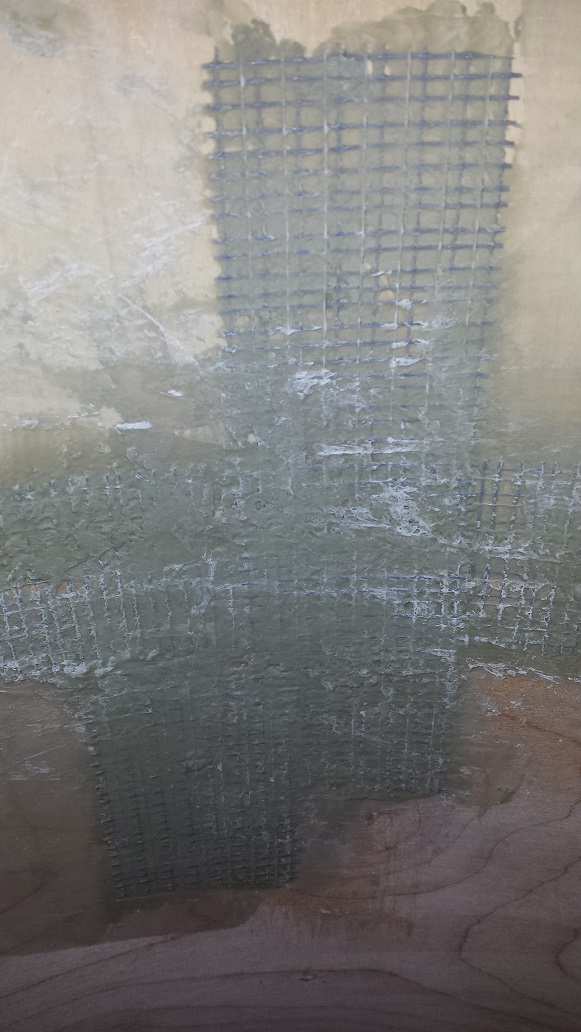
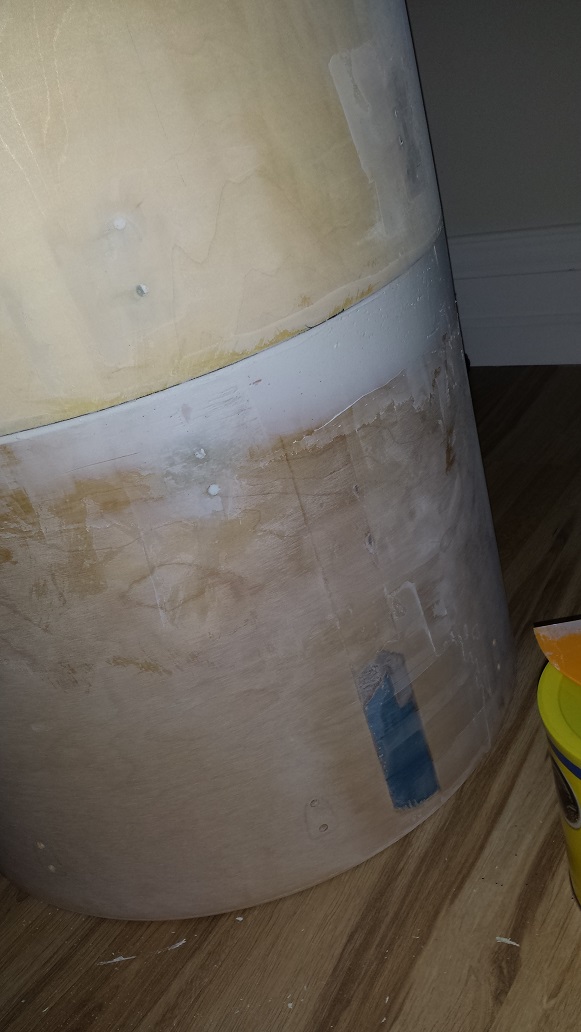
With the glue dry, remove the weight and board. From the shell interior, reinforce the seam and backside of any holes to be filled with fibreglass tape. Rather than using the tape intended for drywall, select the fibreglass tape used for cement-board. This is usually displayed where the cement-board, mortar, grout and related tools are at most home-improvement centres. Once the tape is applied, cover with a coat of the same mixture we used earlier to “prime” the contact surfaces. Let dry for at least an hour. Mix up another batch, this time approximately five parts glue to one part water and again cover all the fibreglass tape, make sure the seam gets saturated. Leave to dry over night.
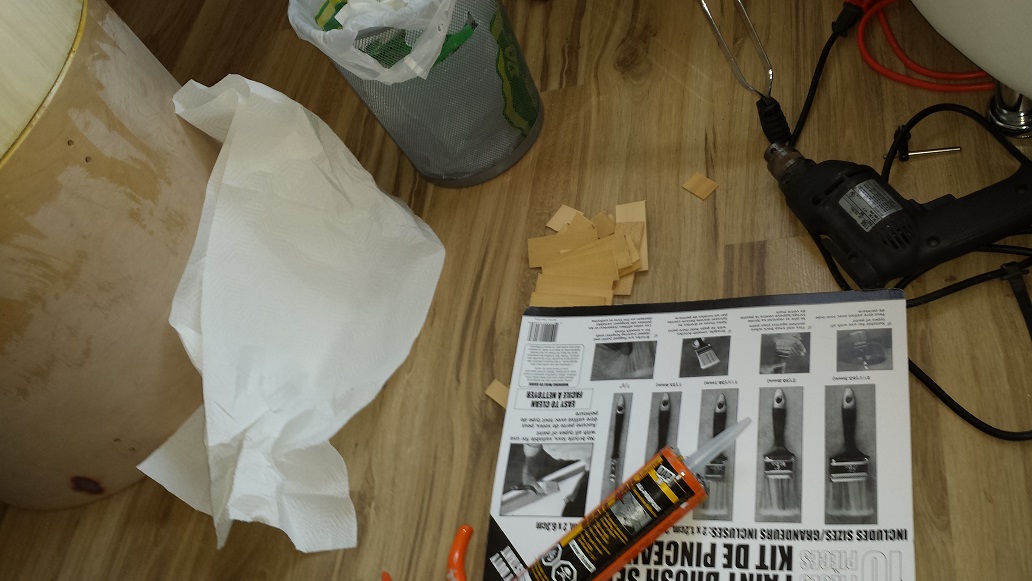

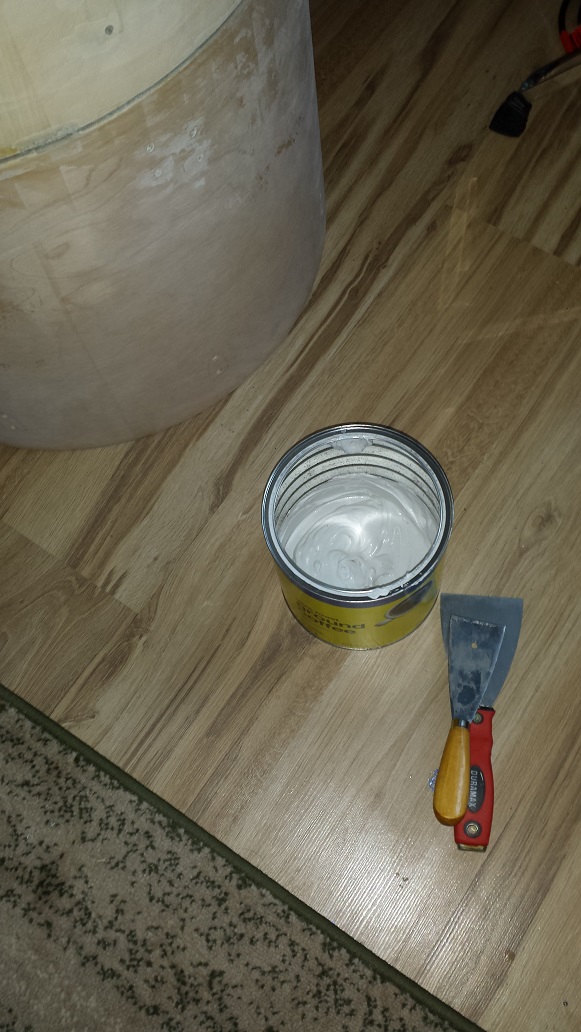
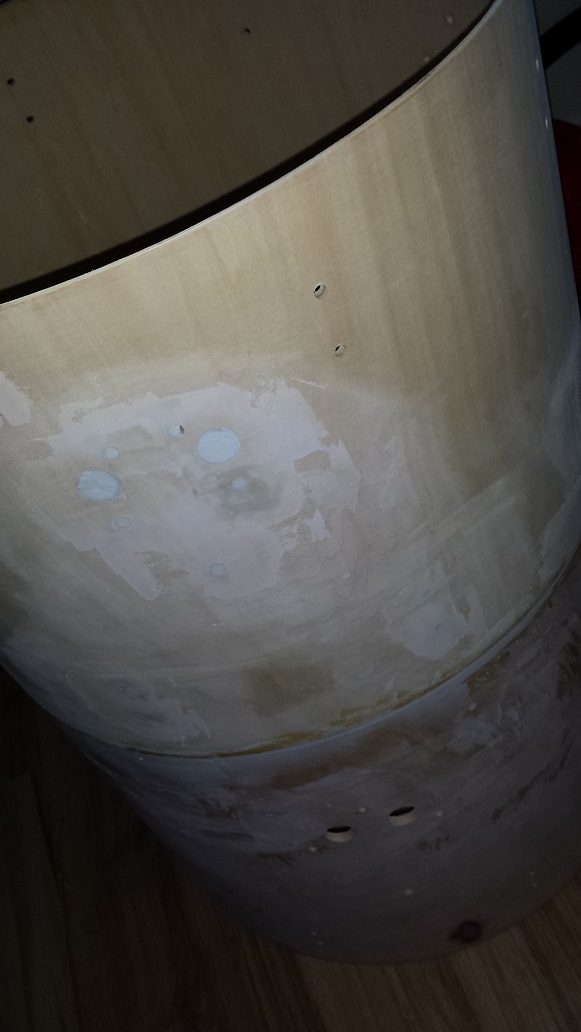
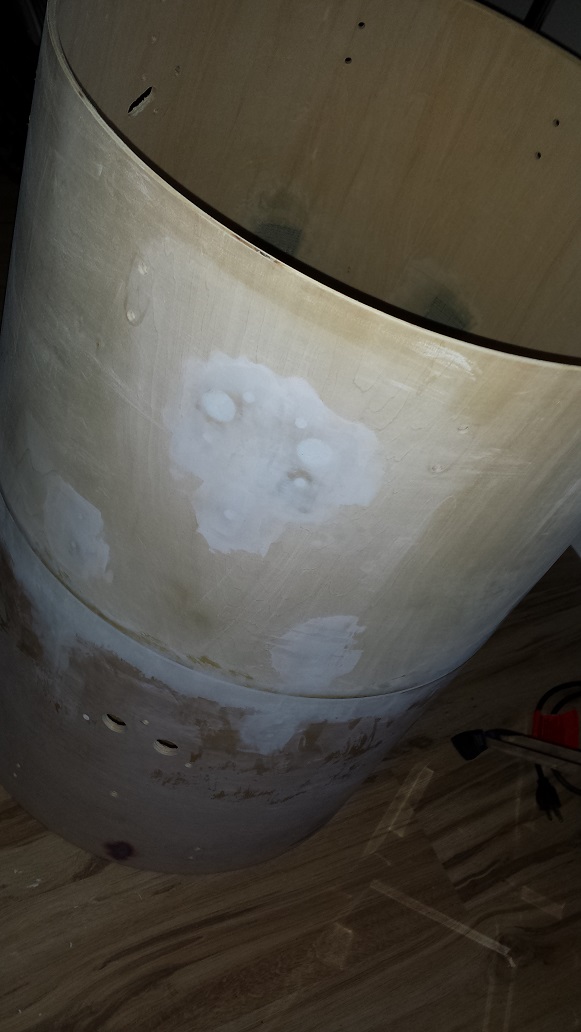
Now we can proceed with completing the seam. For this we use construction adhesive. This stuff is pretty much the same as “Bondo” in a caulking tube. If you’ve ever done auto body repair with Bondo and fibreglass, this will be a familiar process. For those unfamiliar with construction adhesive, this stuff is sticky, gooey and very hard to clean. On the plus side it dries hard and is incredibly strong. Keep plenty of paper towel handy as well as an old newspaper to place the caulking gun on and scrap pieces of wood or other suitable scraping/shaping tool. Naphtha or mineral spirits also come in handy for cleaning any oopses. Construction adhesive dries fast on the surface so working swiftly, completing small areas at a time is crucial. We start with laying a caulking bead in the seam along the outside of the shell. Caulk about 1 foot, or 30 cm at a time and then smooth over with the scrap wood. Use the excess gathered on your scraper to fill holes that will no longer be required. Repeat all the way around the shell and then fill the rest of the undesired holes from the outside.
The inside of the shell is just like auto body repair. Squeeze out a glob of construction adhesive on your wood piece or whatever tool you’re using and spread evenly over the fibreglass tape. Like spreading peanut butter on a sandwich. Overlap the tape onto the wood and ensure to press it in good along the seam. Try your best to get a somewhat smooth surface. Take your time and cover all the tape evenly. Make sure to seal your adhesive tube well to extend the very short shelf life. Use it up on whatever project as soon as possible. If you have adhesive on your hands you will need naphtha or mineral spirits to wash them. Our DIY Fusing / Joining Drum Shells project is almost complete.
Leave to cure for a few days. Even though the surface skins over quickly, it takes a long time to dry through. Once fully dried through give the surface a quick sanding to make sure nothing is protruding. Time for the finish putty. Wood filler would be suitable, or bondo. I like to use a mixture of drywall compound and “Weldbond”. Weldbond is a Canadian brand of fortified PVA. (White glue). This mixture is like mayonnaise. Very shape-able and easy to spread yet dries hard and strong. I slop it on with a small putty-knife and smooth it, following the curve of the shell, with a larger putty knife. Once dry it will require an additional coat as it does shrink.
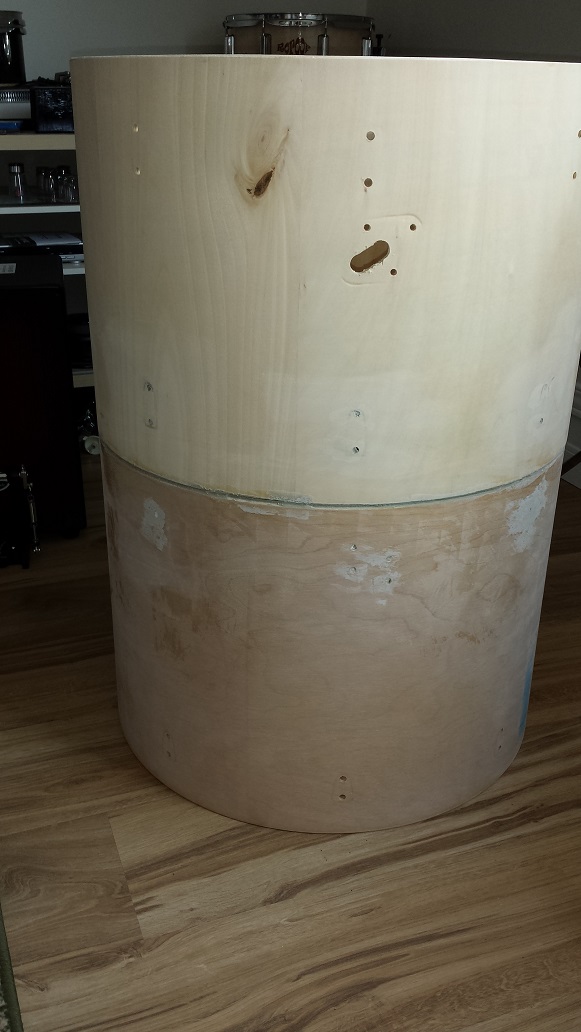
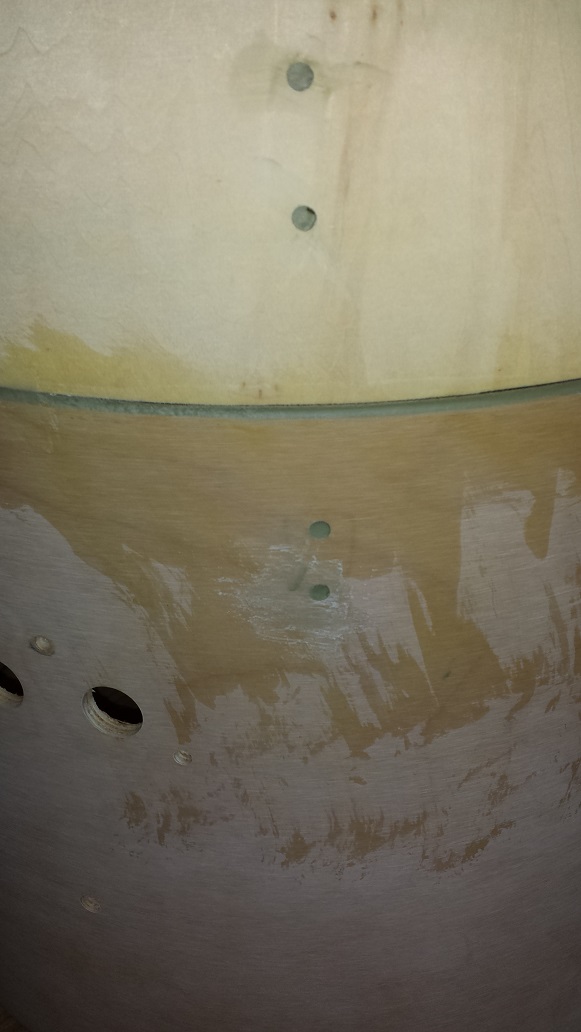
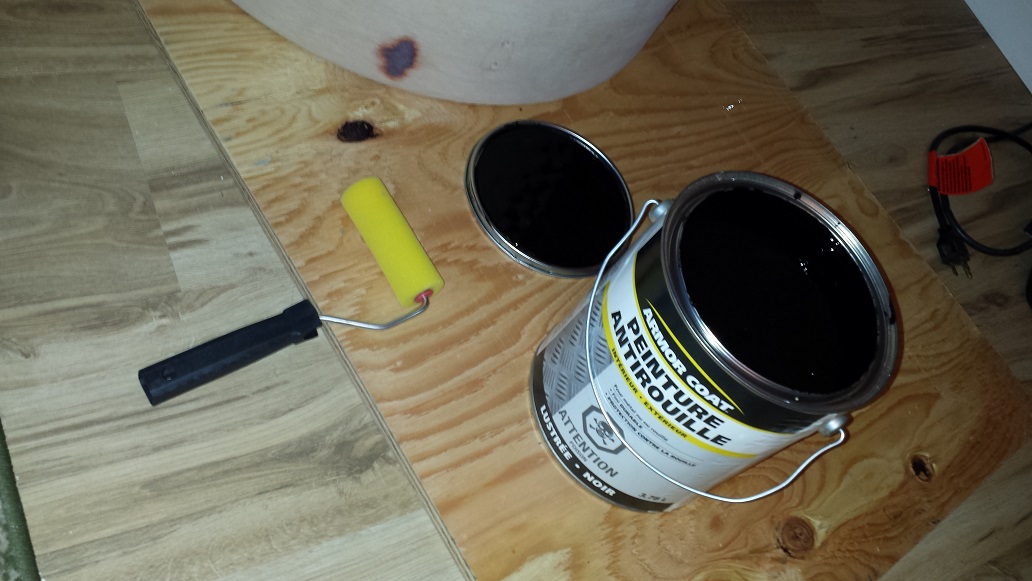
Actually, I ended up going another two rounds with the putty, before final sanding with 200 grit paper. Next we apply an initial coat of black lacquer. This time I’m trying out Armor-Coat. It’s supposed to be suitable for painting directly on wood. Of course, here at CompactDrums.com we use nothing but the most advanced, state-of-the-art painting equipment.

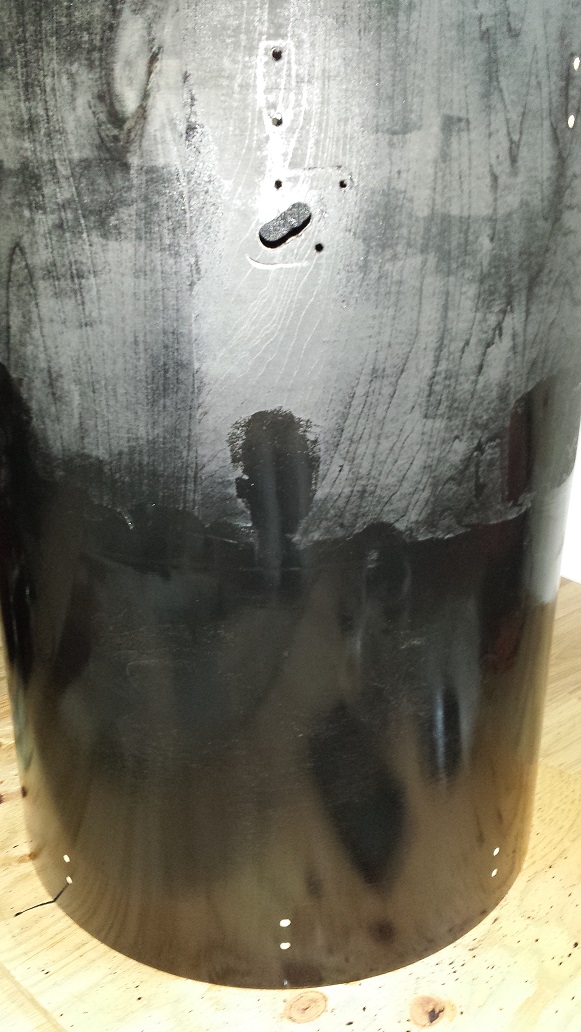

With the first coat of lacquer dry, observe how the bottom shell is glossy and the top shell is flat and shows wood grain. A result of the bottom shell being factory sealed. -an indicator of higher quality comparatively speaking. Even with the second coat still wet, this is still noticeable and means at least one additional coat will be required. As much as Armor-Coat is suitable for painting directly on wood, I think I’ll still be sealing, prior to painting in the future.
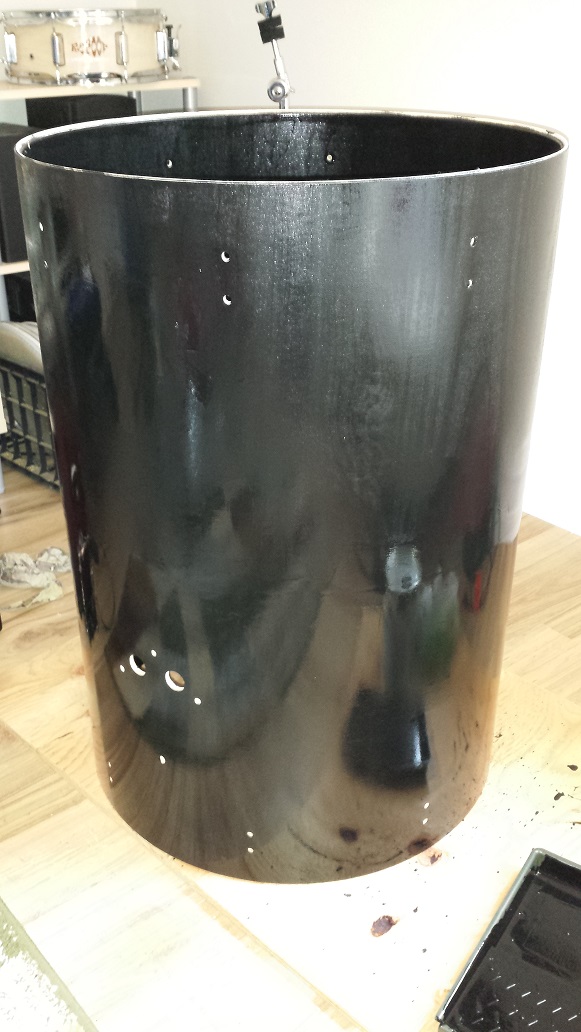
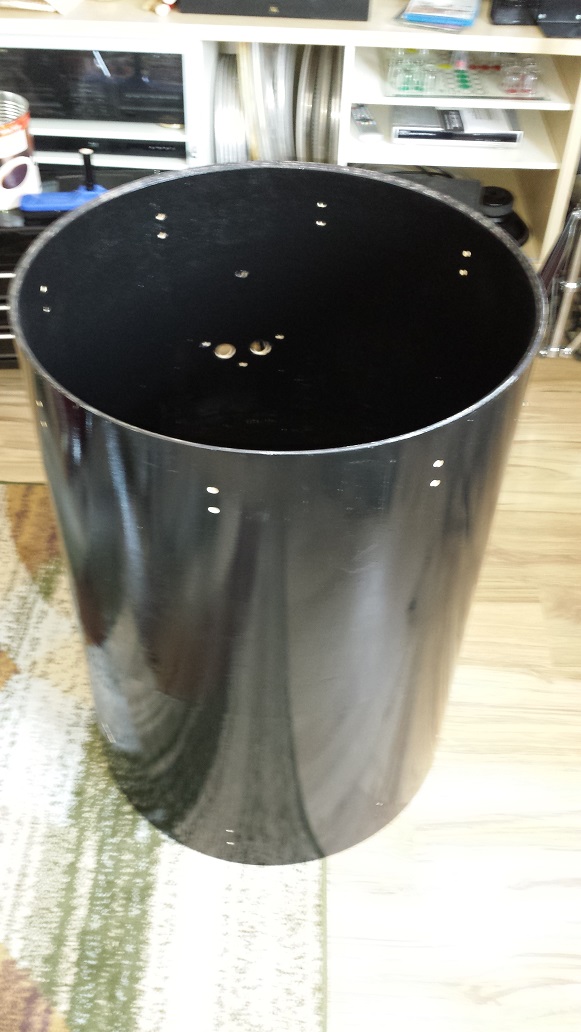
Rather than continuing to add paint layers in an attempt to cover the wood grain texture, I decided to give it a quick sanding with 120 grit paper. I applied two more coats of lacquer with ample drying time in between.
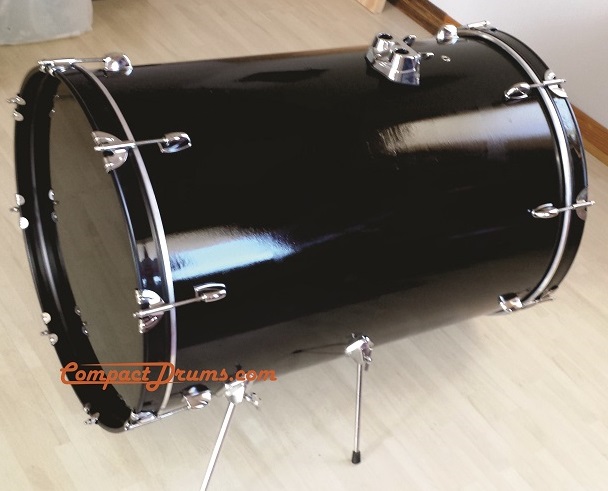
Since it’s a beautiful spring day in Ontario, I brought the big drum outside and sanded the bearing edges. This became necessary as I din’t mask the bearing edges and managed to slop some lacquer on them. Mylar heads stick to lacquer making tuning really challenging. After sanding I coloured the edges with a black felt tip marker to give the entire drum a uniform look. Hopefully I can find the time to get it assembled before the end of the day.
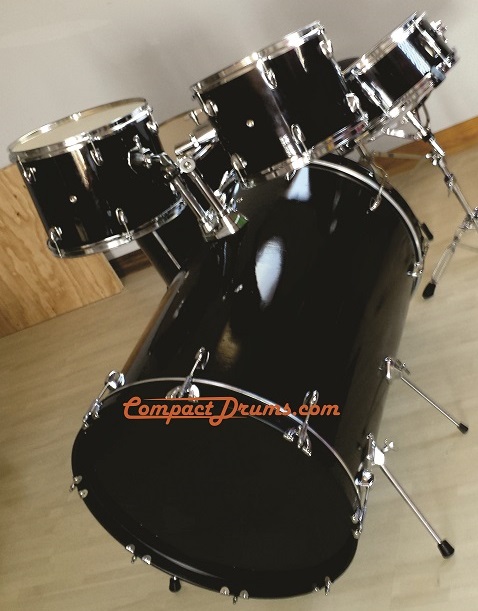
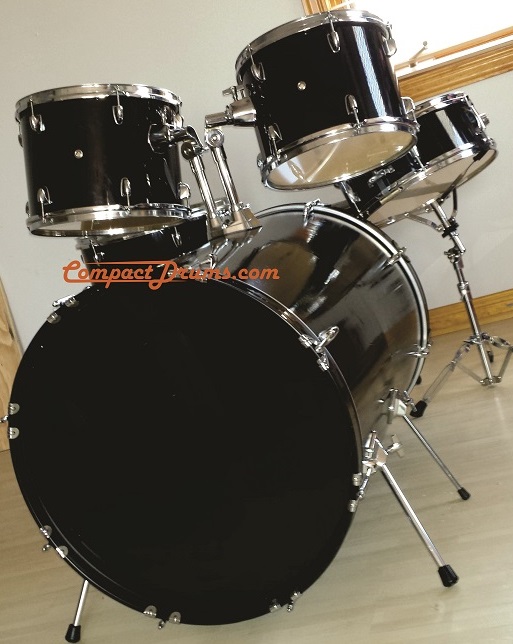
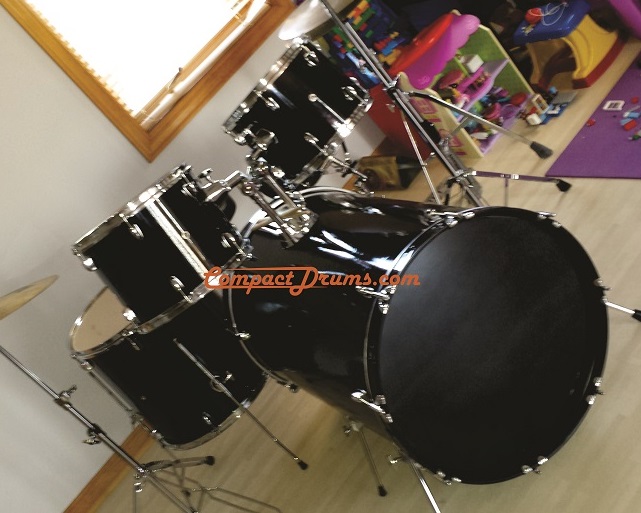
All done, I added an extra set of spurs. Not that I think they’re necessary. It just looked so bare. It makes just about everything in the house rattle. The sound resembles one of those big timpanis out of a classical orchestra.
 |
|
 |
 |
 |
 |
 |
 |
 |
 |
Next time I think I’ll try three shells…